Page 31 of 156

Downloaded from www.Manualslib.com manuals search engine CONTROLS AND EQUIPMENT
esh partition* (Estate)
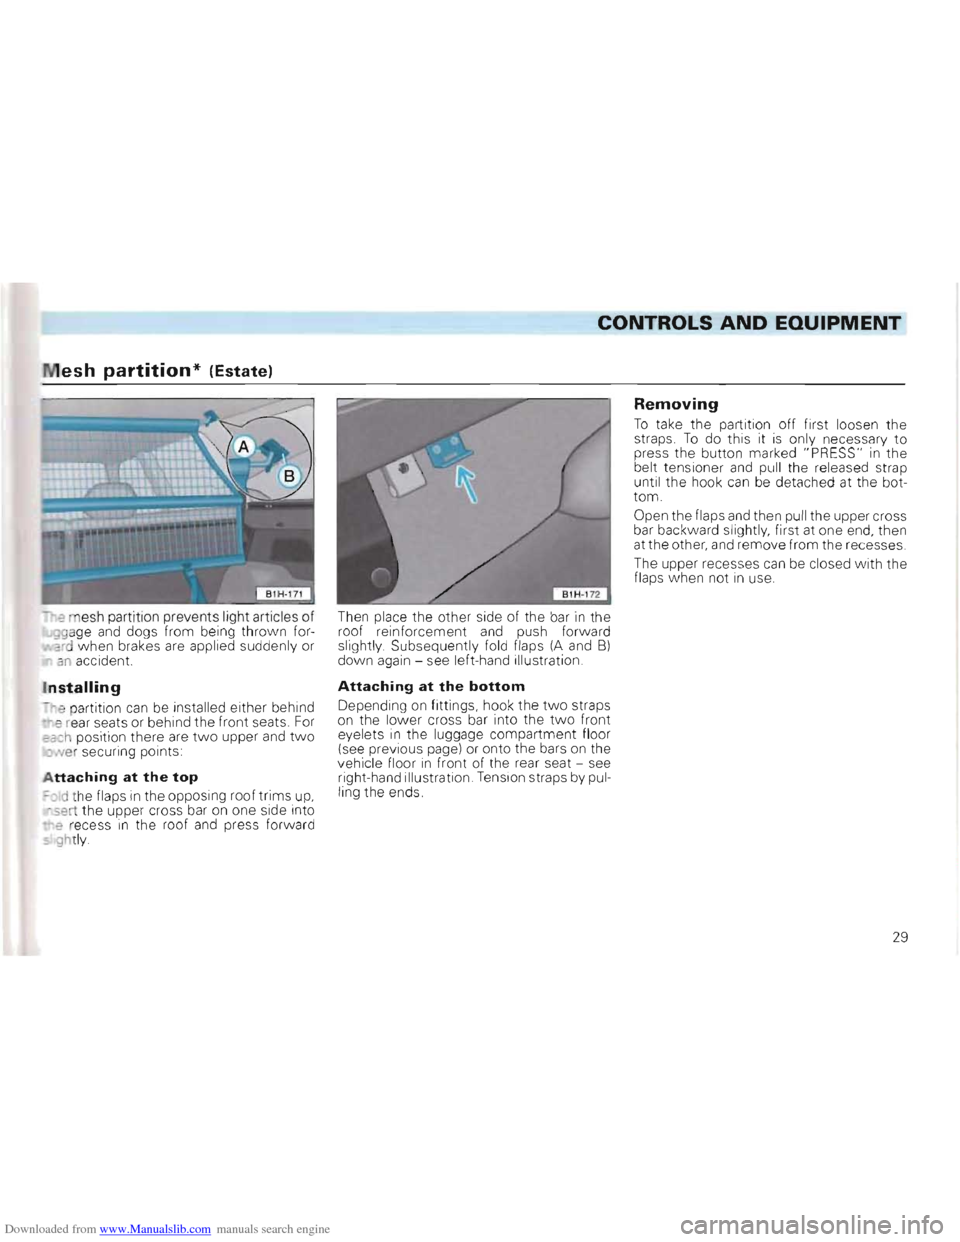
e m esh partit ion prevents light articles of '99age and dogs from being thrown forard when brakes are applied suddenly or ~ an accident.
Installing
-"e part ition can be installed either behind "9 rear seat s or behind the front seats. For "'a::h position there are two upper and two ~ ve r securing points:
Attaching at the top
~:)Id the flaps in the opposing roof trims up, 5ert the upper cross bar on one side into
• e recess in the roof and press forward 5' ghtly. Then
place the other side of the bar
in the
r o of reinforcement and push forward slightly Subsequently fold flaps (A and 8)
down again -see left-hand illustration.
Attaching at the bottom
Depending on fittings, hook the tw o straps
on the lower cross bar into the tw o front
e yelets
in the luggage compartment floor
( see previous page) or onto the bars on the
vehicle floor in front of the rear seat -see
right-hand illustration . Ten sion straps by pul
ling the ends .
Removing
To take the partition off first loosen the straps . To do this it is only necessary to
press the button marked "PRESS" in the
belt tensioner and pull the released strap
until the hook can be detached at the bot
tom.
Open the flaps
and then pull the upper cross
bar bac kward slightly, first at one end, then
at the other, and remo ve from the recesses .
The upper recesses
can be closed with the
flaps when not in use.
29
Page 77 of 156

Downloaded from www.Manualslib.com manuals search engine DRIVING TIPS
Brakes
General notes
• Brake lining wear depends to a la rge ex
t e nt on the operating conditions and style of riving. On vehicles which are used mainly
n town traffi c and stop/start conditions or are driven hard it may be nece ssary to have the thickness of the brake linings checked by a Volkswagen dealer in be tween the in
t er vals given in the Ser vice Schedule. On 'ehic les with brake pad wear indicato r, worn front pads w ill b e indic ated by a wa rnIng lamp -see page 48.
• Change down in good time when driving
d ownhill , in order to make use of the engine
braking effect. This relieves strain on the
brake system . When the brakes are appl ied
d o not keep them on conti nuo usly, apply
a n d release alternately.
• Under certain
operating conditions, for
ex ample after driv ing through water, after
h eavy ra in or after washi ng the vehicle the
braking effect may be reduced by wet, or in linter iced-up brake discs and linings -the
brakes must be dried out first by applying th e footbrake. The
fu
ll braking effect may also be reduced
when vehicle has been driven for som e
tim e on heavily salted roads witho ut using the bra kes, because th e layer of salt on
discs and pads has to wear off first.
Attention
If a front spoiler or full size wheel trims are retrofitted, it is necessary to ensure that the flow of air to the front brakes is not restricted -otherwise the brakes can overheat.
Brake serve
Attention The servo is operated by vacuum which is only generated when en
gine is running. For this reason the vehicle should not be allowed to roll with the engine switched off.
When the brake servo is not working because, for example, the vehicle is being towed or because a defect has occurred on the brake servo itself, the brake pedal must be pressed considerably harder to compensate for the absence of servo assistance.
75
Page 110 of 156

Downloaded from www.Manualslib.com manuals search engine GENERAL MAINTENANCE
• Never fit used tyres where their previ
ous history is not known.
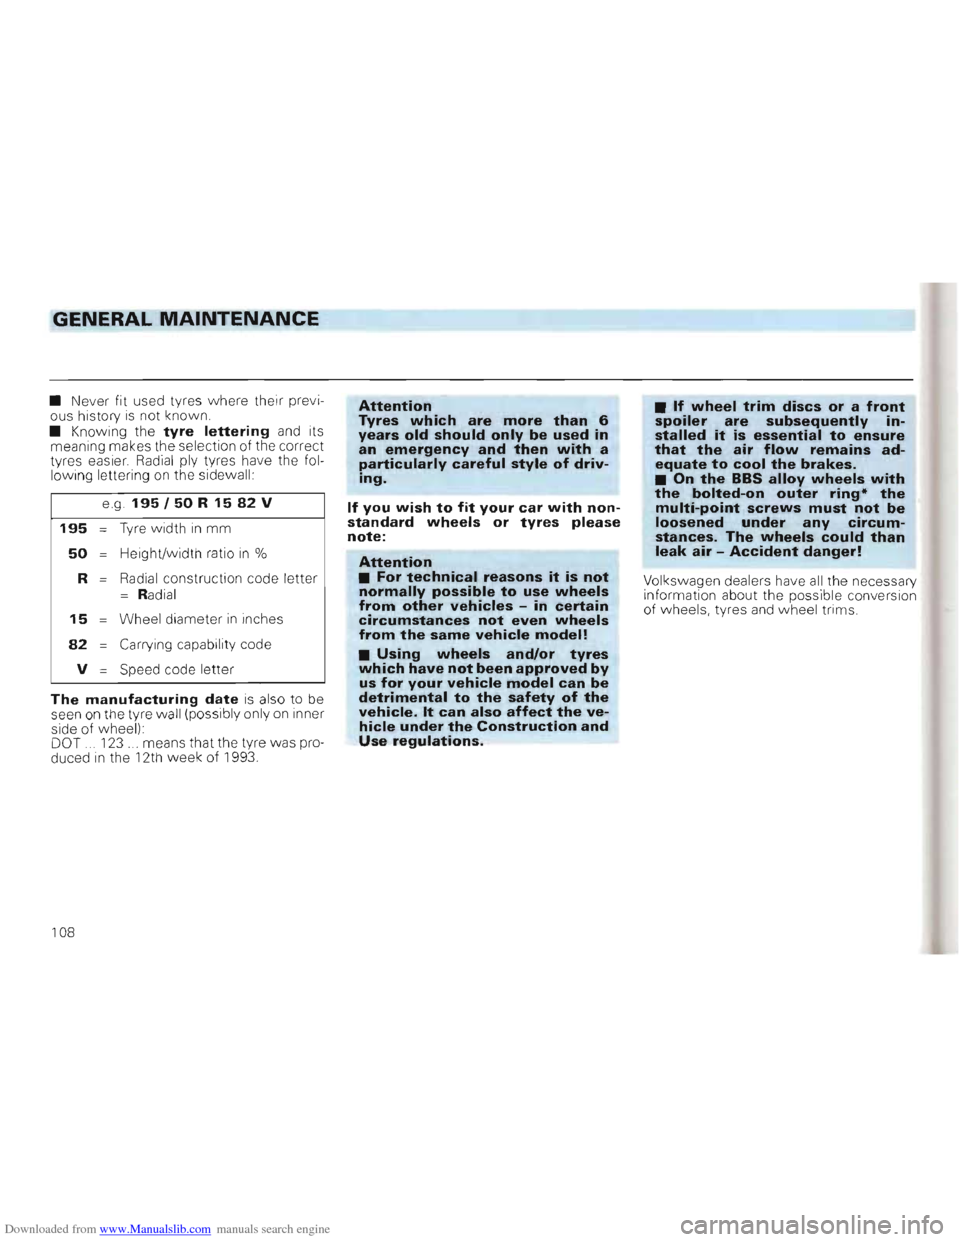
• Knowing the tyre lettering and its
meaning makes the selec tion of the correct
t yres easier.
Radial ply tyres have the fol
lowing lettering on the sidewall:
e .
g. 195/50 R 1582 V
195
50
R
15
82
V
Tyre w idth in mm
Height/width ratio in %
Radial construction code letter
= Radial
Wheel diameter
in inches
Carrying capability code
Speed code letter
The manufacturing date is also to be
seen on th e tyre wall (possibly on ly on inner
sid e of wheel):
DOT
... 123 . . means that the tyre was pro
duced in the 12th week of 1993 .
Attention Tyres which are more than 6 years old should only be used in an emergency and then with a particularly careful style of driving.
If you wish to fit your car with nonstandard wheels or tyres please note:
Attention • For technical reasons it is not normally possible to use wheels from other vehicles -in certain circumstances not even wheels from the same vehicle model!
• Using wheels and/or tyres which have not been approved by us for your vehicle model can be detrimental to the safety of the vehicle. It can also affect the vehicle under the Construction and Use regulations.
• If wheel trim discs or a front spoiler are subsequently installed it is essential to ensure that the air flow remains adequate to cool the brakes. • On the BBS alloy wheels with the bolted-on outer ring* the multi-point screws must not be loosened under any circumstances. The wheels could than leak air -Accident danger!
Volkswagen dealers have all the necessary
information about the possible conversion
of wheels, tyres and wheel trims.
108
Page 119 of 156

Downloaded from www.Manualslib.com manuals search engine DO-lT-YOURSELF
B1H:D5SI
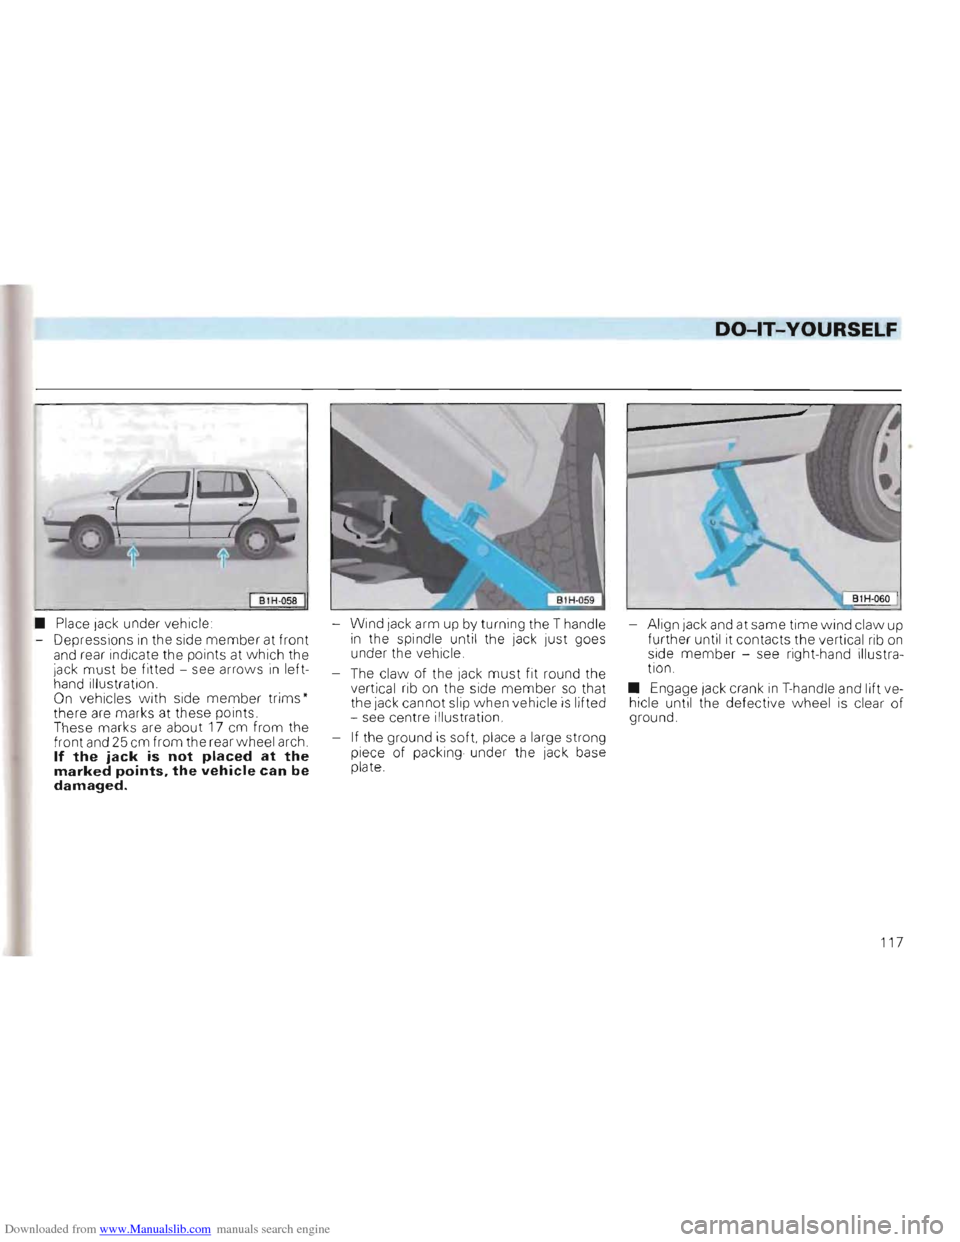
• Place lack under vehicle
- Depressions
in the side member at front and rear indicate the points at w hich the
j ack must be fitted -see arrows in left
hand illustration.
On vehicles w ith side member trims' there are marks at these points.
These marks are about 17 cm from the
front and 25 cm from the rear wheel arch.
If the jack is not placed at the marked points. the vehicle can be damaged.
-Wind lack arm up by turning the T handle in the spindle until the jack just goes
under the veh icle.
-
The cla w of the jack must fit round the
v ertical rib on the side member so that
the jack cannot slip when vehicle is lifted
- see centre illustration.
- If
the ground
is soft, place a large strong
piece of packing under the jack base
plate . -
Align lack
and at same time wind claw up
further until it contacts the vertical rib on side member -see right-hand illustra
tion.
• Engage
Jack crank in T-handle and lift ve
hicle until the defective wheel is clear of
ground.
117