1993 CHEVROLET SUBURBAN transmission
[x] Cancel search: transmissionPage 263 of 386
Pmb/ems on the Road
Spinning your wheels can destroy parts of your vehicle as well as the
Rocking your vehicle to get it out:
First, turn your steering wheel left and right. That will clear the area around
your front wheels. Then shift back and forth between R and a forward gear
(or with a manual transmission, between First or Second gear and Reverse),
spinning the wheels as little as possible. Release the accelerator pedal while
you shift, and press lightly on the accelerator pedal when the transmission is
in gear. If that doesn’t get you out after a few tries, you may need to be
towed out. Or, you can use your recovery hooks, if your vehicle has them. If
you do need to be towed out, see “Towing Your Vehicle” in the Index.
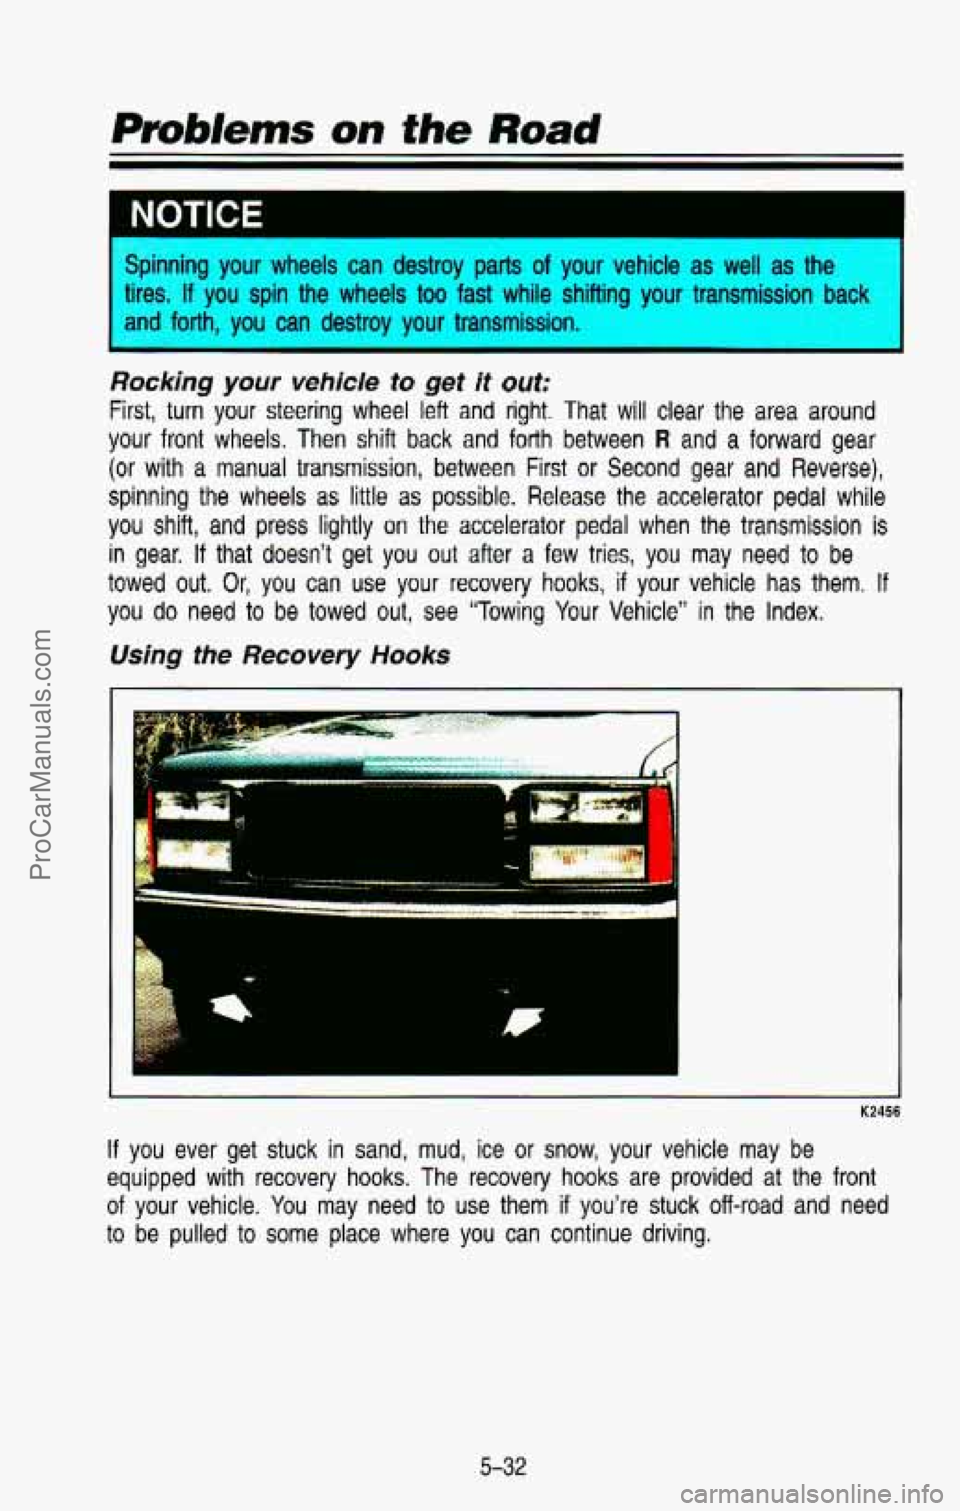
Using the Recovery Hooks
m
K2456
If you ever get stuck in sand, mud, ice or snow, your vehicle may be
equipped with recovery hooks. The recovery hooks are provided a\
t the front
of your vehicle. You may need to use them if you’re stuck off-road and need
to be pulled to some place where you can continue driving.
5-32
ProCarManuals.com
Page 266 of 386
Service & Appearance Care
.
Here you will find information about the care of your vehicle . This section
begins with service and fuel information. and then it shows
how to check
important fluid and lubricant levels
. There is also technical information about
your vehicle. and a section devoted to its appearance care
.
Service ........................................................................\
........................................... 6-3
Fuel ........................................................................\
................................................ 6-4
Checking Things Under the Hood
....................................................................... \
6-8
Hood Release
........................................................................\
............................ 6-8
Engine Oil ........................................................................\
.................................. 6-9
Air Cleaner
........................................................................\
............................... 6-16
Automatic Transmission Fluid
........................................................................\
. 6-17
Manual Transmission Fluid ........................................................................\
..... 6-20
Hydraulic Clutch
........................................................................\
....................... 6-21
Transfer Case
........................................................................\
.......................... 6-23
Front
Axle ........................................................................\
................................. 6-24
Rear Axle
........................................................................\
................................. 6-24
Engine Coolant
........................................................................\
........................ 6-25
Power Steering Fluid
........................................................................\
............... 6-29
Windshield Washer Fluid
........................................................................\
......... 6-31
Brake Master Cylinder
........................................................................\
............. 6-32
6-1
ProCarManuals.com
Page 282 of 386
I CAUTION
I 10 Operating the engine with the air cleaner off can cause you or others
to be burned. The air cleaner not only cleans the air, it
stops flame
if the engine backfires.
If it isn’t there, and the engine backfires, y(--
could be burned. Don’t drive with it
off, and be cr-ful working on
the engine with the air cleaner
off.
~
NOTICE I
If the air cleaner is off, a backfire can cause a damaging engine fire. And,
dirt
can easily get into your engine, which will damage it. Always have the
air cleaner
in place when you’re driving.
Ib remove the air cleaner filter on a gas engine, turn the wing nuts
counterclockwise. Remove the cover and change the filter.
-
Automatic Transmission Fluid
When to Check and Change:
A good time to check your automatic transmission fluid level is when the
engine
oil is changed. Refer to the Maintenance Schedule to determine when
to change your fluid. See “Scheduled Maintenance Services” in \
the Index.
How to Check:
Because this operation can be a little difficult, you may choose to have this
done at a General Motors dealership Sewice Department.
If you do it yourself, be sure to follow all the instructions here, or you could
get
a false reading on the dipstick.
NOTICE I
I
Too much or too little fluid can damage your transmission. Too much can
mean that some of the fluid could come out and fail
on hot engine parts,
I
starting a fire. Be sure to get an accurate reading if you check-your
transmission fluid.
Wait at least
30 minutes before checking the transmission fluid level if you
have been driving:
When outside temperatures are above 90°F (32°C).
At high speed for quite a while.
In heavy traffic-especially in hot weather.
While pulling a trailer.
6-1 7
ProCarManuals.com
Page 283 of 386
Service & Appearance Care
To get the right reading, the fluid must be at normal operating \
temperature,
which is 180°F
to 200°F (82°C to 93°C).
To check the transmission fluid hot: Get the vehicle warmed up by driving
about
15 miles (24 km) when outside temperatures are above 50°F (10°C). If
it's colder than 50°F (lO°C), drive the vehicle in 0 (3rd gear) until the engine
temperature gage moves and then remains steady for ten minutes.\
Then
follow the
hot check procedures.
To check transmission fluid cold: A cold check is made after the vehicle
has been sitting for eight hours or more with the engine
off and is used only
as a reference. Let the engine run at idle for
five minutes if outside
temperatures are 50°F (IO'C) or more. If it's colder than 50°F (1 O'C), you
may have
to idle the engine longer. A hot check must follow when fluid is
added during a cold check.
To check the fluid hot or cold:
Park your vehicle on a level place.
Place the shift lever in P (Park) with the parking brake applied.
With your foot on the brake pedal, move the shift lever throu\
gh each
gear range, pausing for about three seconds
in each range. Then,
position the shift lever in
P (Park).
Let the engine run at idle for three minutes or more.
Then, without shutting off the engine, follow these steps:
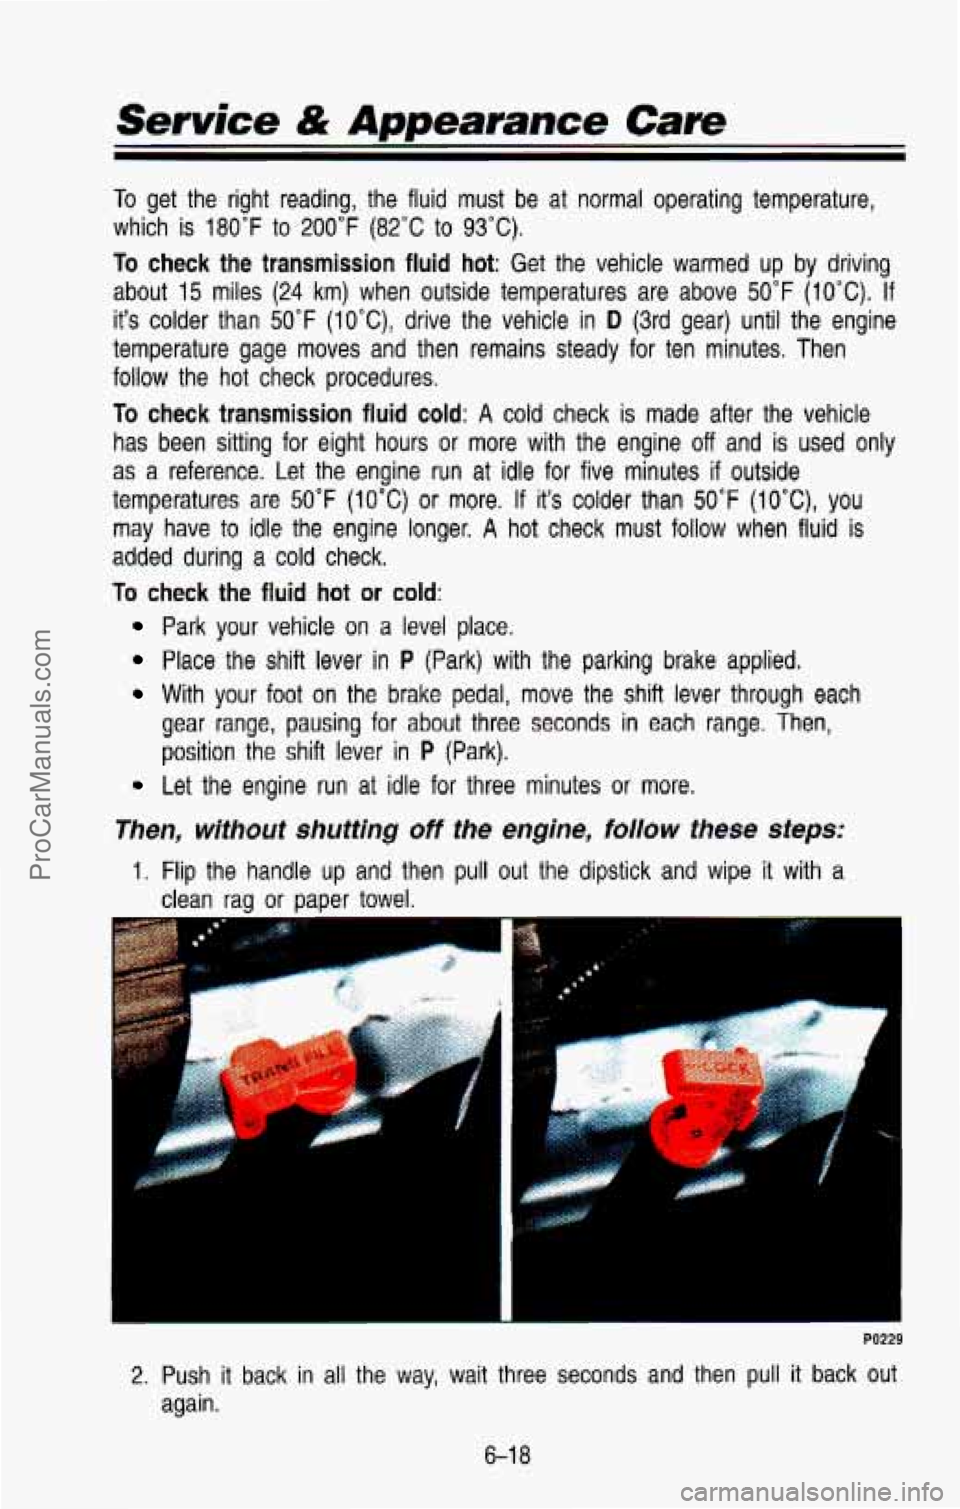
1. Flip the handle up and then pull out the dipstick and wipe it with a
clean raa or DaDer towel.
PO229
2. Push it back in all the way, wait three seconds and then pull it back out
again.
6-1
8
ProCarManuals.com
Page 284 of 386
PO053
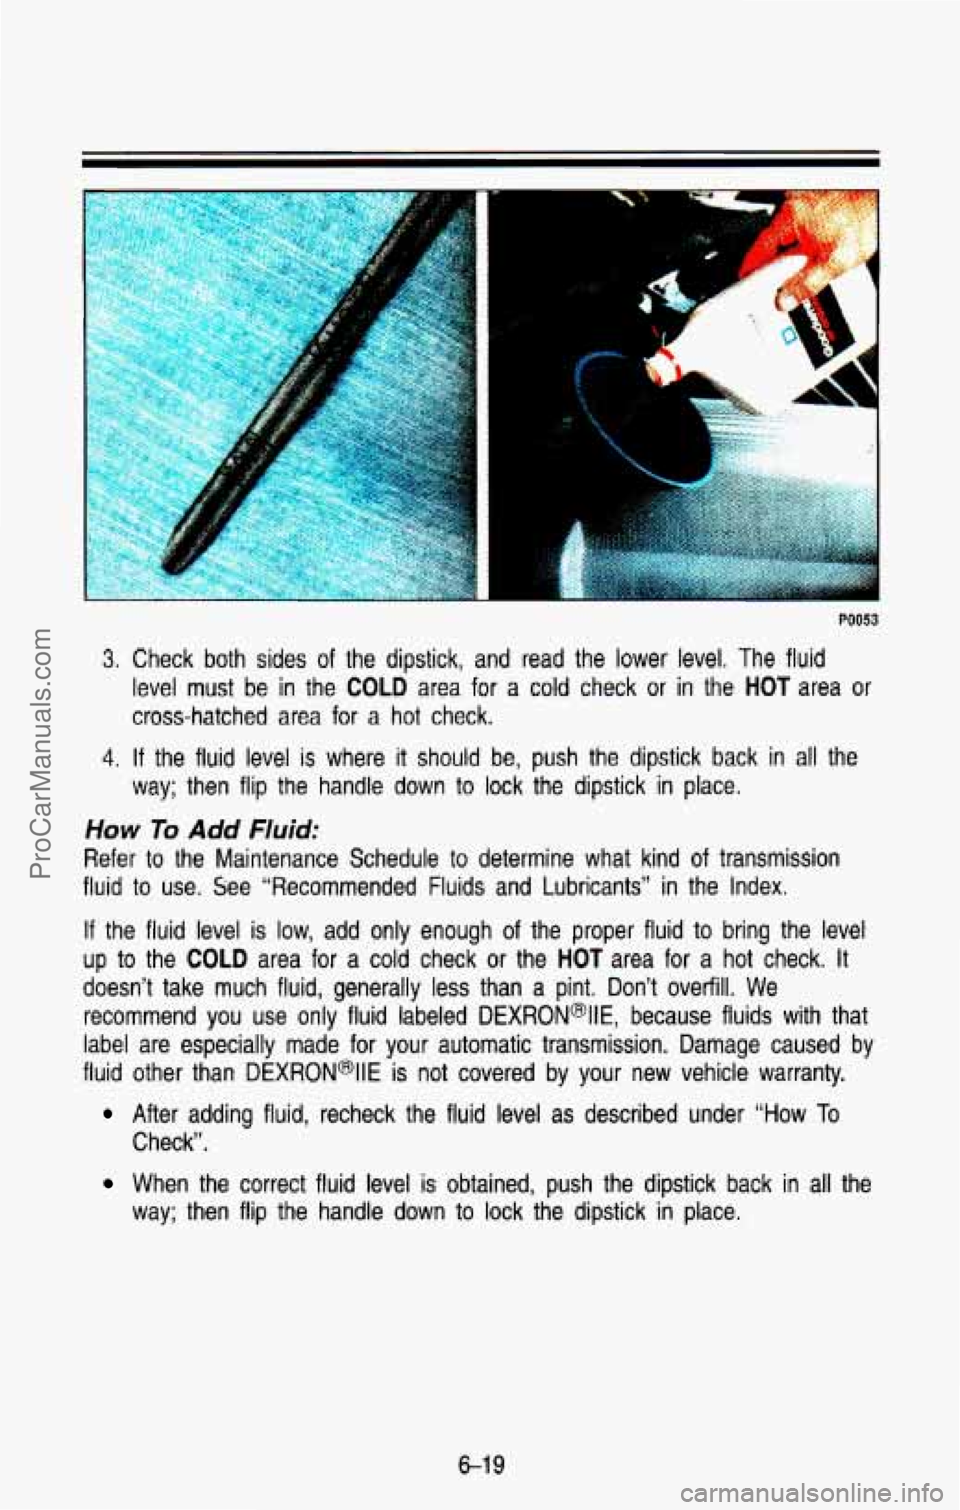
3. Check both sides of the dipstick, and read the lower level, The fluid
level must be in the
COLD area for a cold check or in the HOT area or
cross-hatched area for a hot check.
4. If the fluid level is where it should be, push the dipstick back in all the
way; then flip the handle down to lock the dipstick in place.
HOW To Add Fluid:
Refer to the Maintenance Schedule to determine what kind of transmission
fluid
to use. See “Recommended Fluids and Lubricants” in the Index.
If the fluid level is low, add only enough of the proper fluid to bring the level
up to the COLD area for a cold check or the HOT area for a hot check. It
doesn’t take much fluid, generally less than a pint. Don’t overfill. We
recommend you use only fluid labeled
DEXRON@IIE, because fluids with that
label are especially made for your automatic transmission. Damag\
e caused by
fluid other than
DEXRON@llE is not covered by your new vehicle warranty.
After adding fluid, recheck the fluid level as described under “How To
Check”.
When the correct fluid level is obtained, push the dipstick back in all the
way; then flip the handle down
to lock the dipstick in place.
6-1 9
ProCarManuals.com
Page 285 of 386
Service & Appearance Cam
Manual Transmission Fluid
When to Check:
A good time to have it checked is when the engine oil is changed. However,
the fluid in your manual transmission doesn’t require changing.
How to Check:
Because this operation can be a little difficult, you may choose to have this
done at your dealership Service Department.
If you do it yourself, be sure to follow all the instructions here, or you could
get a false reading.
IYW I ILL
1 Too much or too little fluid can damage your transmission. Too much can 1
mean that some of the fluid could come out and fall on hot engine parts,
starting a fire. Be sure to get an accurate reading if you check your
transmission fluid,
I I
Check the fluld level only when your engine is off, the vehicle is parked on a
level place and the transmission is cool enough for you to rest your fingers
on the transmission case.
Then, follow these steps:
~~~~ K24
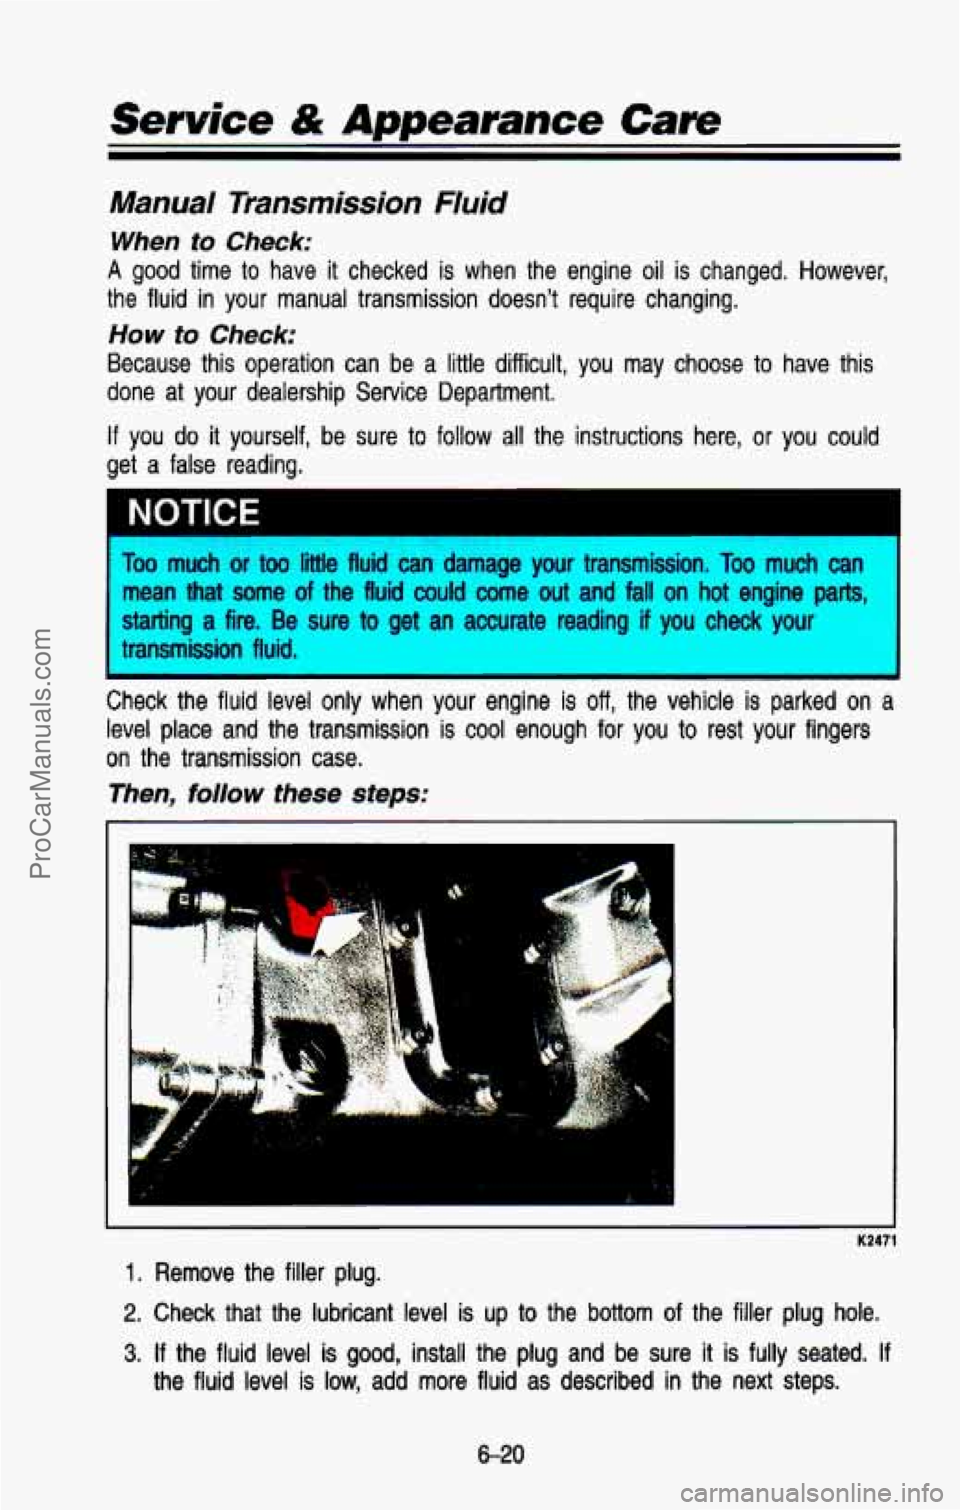
1. Remove the filler plug.
2. Check that the lubricant level is up to the bottom of the filler plug hole.
3. If the fluid level is good, install the plug and be sure it is fully seated. If
the fluid level is low, add more fluid as described in the next steps.
6-20
ProCarManuals.com
Page 345 of 386
Scheduled Maintenance Services
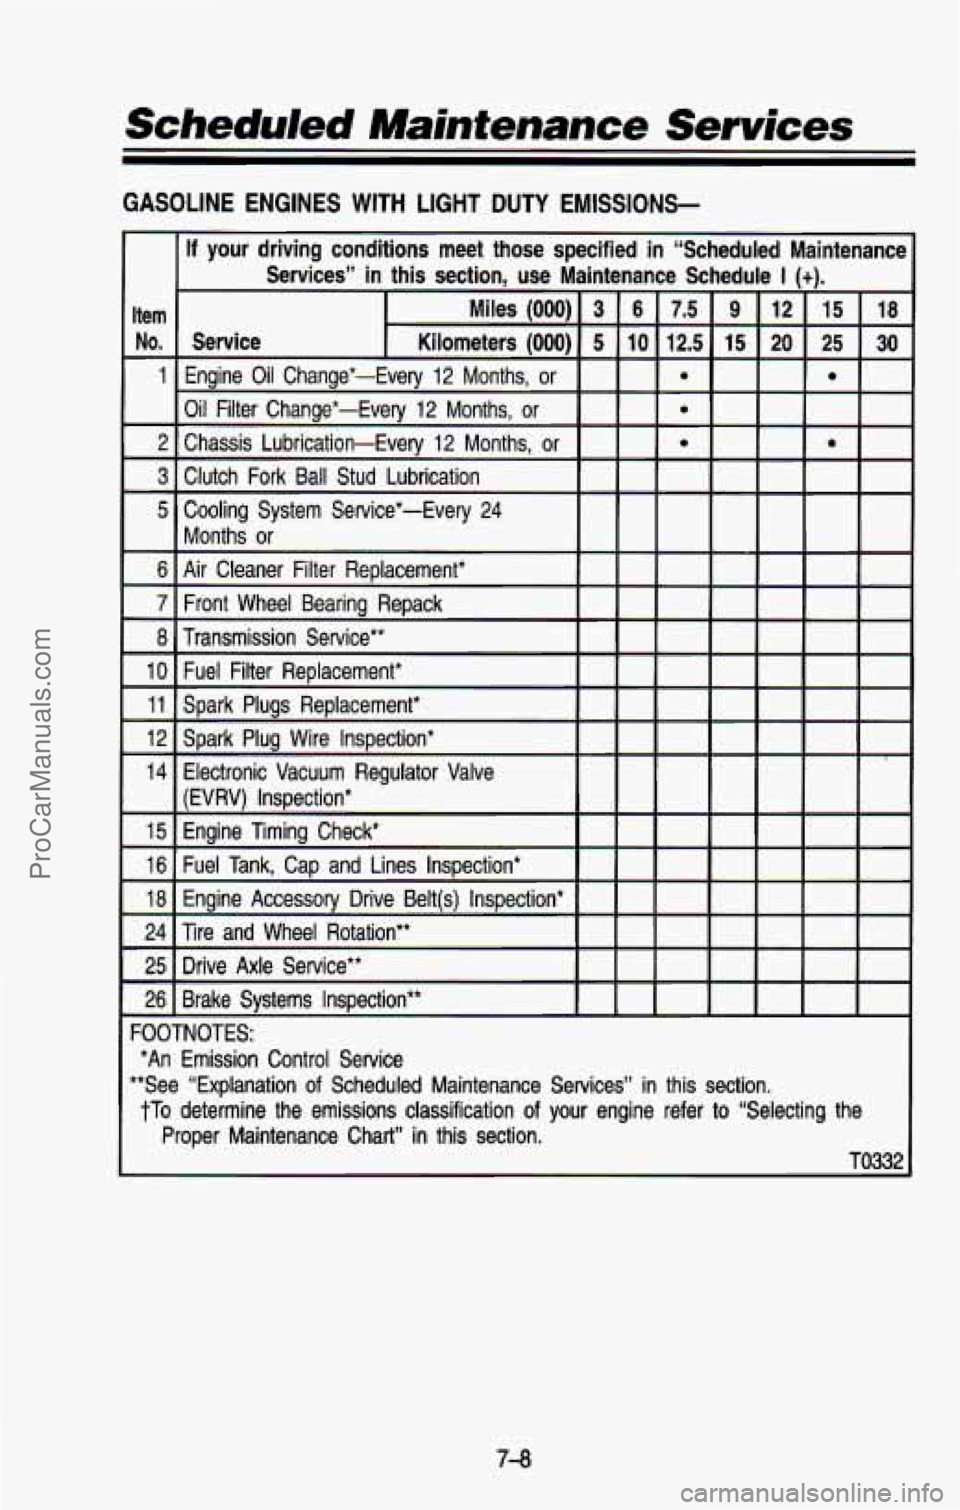
GASOLINE ENGINES WITH LIGHT DUTY EMISSIONS-
If your driving conditions meet those specified in “Scheduled Ma\
intenancc
Services” in this section, use Maintenance Schedule
I (t).
Item Miles (000) 3 6 7.5 9 12 15 18
No. Service Kilometers (000) 5 10 12.5 15 20 25 30
1 Engine Oil Change*-Every 12 Months, or e
Oil Filter Change*-Every 12 Months, or e
2 Chassis Lubrication-Every 12 Months, or e
3 Clutch Fork Ball Stud Lubrication
5 Cooling System Service*-Every 24
6 Air Cleaner Filter Replacement* Months
or
7 Front Wheel Bearing Repack
8 Transmission Service**
25 Drive Axle Service**
26 Brake Systems Inspection**
FOOTNOTES:
**See “Explanation
of Scheduled Maintenance Services” in this section.
*An Emission Control Service
tTo determine the emissions classification of your engine refer to “Selecting
the
Proper Maintenance Chart”
in this section.
TO332
ProCarManuals.com
Page 355 of 386
Scheduled Maintenance Services
Explanation Of Scheduled Maintenance Services
Below are explanations of the services listed in the maintenance charts.
The proper fluids and lubricants to use are listed in this section. Make sure
whoever services your vehicle uses these.
All parts should be replaced and
all necessary repairs done before you or anyone else drives the ve\
hicle.
1. ENGINE OIL AND OIL FILTER CHANGE* -ALWAYS USE SG OR
SG/CE QUALITY, ENERGY CONSERVING II OILS OF THE PROPER
VISCOSITY. To determine the preferred viscosity oil for your vehicle’s
engine (e.g. SAE 5W-30 or
10W-30), see “Engine Oil” in the Index.
2. CHASSIS LUBRICATION -Lubricate the front suspension, king pin
bushings, steering linkage, transmission, and transfer case shift\
linkage,
parking brake cable guides, propshaft splines
(2 wheel drive), brake
pedal springs, and clutch pedal springs at the intervals specif\
ied.
If you have a 3500 HD, lubricate the king pins and king pin bushings
every
1,500 miles (2500 km) for Maintenance Schedule 1, or every 3,000
(5000 km) for Maintenance Schedule 2.
Ball joints and king pin bushings should not be lubricated unl\
ess their
temperature is
10°F (-12”C), or higher. When the weather is cold, let
them warm up before lubrication
or they could be damaged.
Also, be sure to check all the vehicle fluid levels at this time.
3.
CLUTCH FORK BALL STUD LUBRICATION -Lubricate the clutch fork
ball stud through the fitting on the clutch housing. Lubricant \
must be
added “sparingly” to the fitting, as only.
0066 Ib. (.003 kg) is required to
lubricate the ball stud surface. Do not add lubricant more often than the
intervals in the Maintenance Charts.
Too much lubricant will damage
the clutch
assembly.
4. ENGINE IDLE SPEED ADJUSTMENT (DIESEL ENGINES)* -Adjust to
the specifications shown on the underhood label. You must use
calibrated test equipment.
5. COOLING SYSTEM SERVICE* -Drain, flush and refill system with new
coolant. See “Engine Coolant” in the Index for the proper\
coolant and
mixture
to use in your vehicle.
Also inspect the hoses and replace them if they i cracked, swollen, or
deteriorated. Tighten all hose clamps (except consrant tension clamps).
Remove debris and clean the outside of the radiator and air c\
onditioning
condenser. Wash the radiator neck.
To ensure proper operation, pressure
test the radiator and cap.
* An Emission Control Service
7-1 8
ProCarManuals.com