1993 CHEVROLET S10 ignition
[x] Cancel search: ignitionPage 144 of 356
Downloaded from www.Manualslib.com manuals search engine Comfort Contmls & Audio Systems
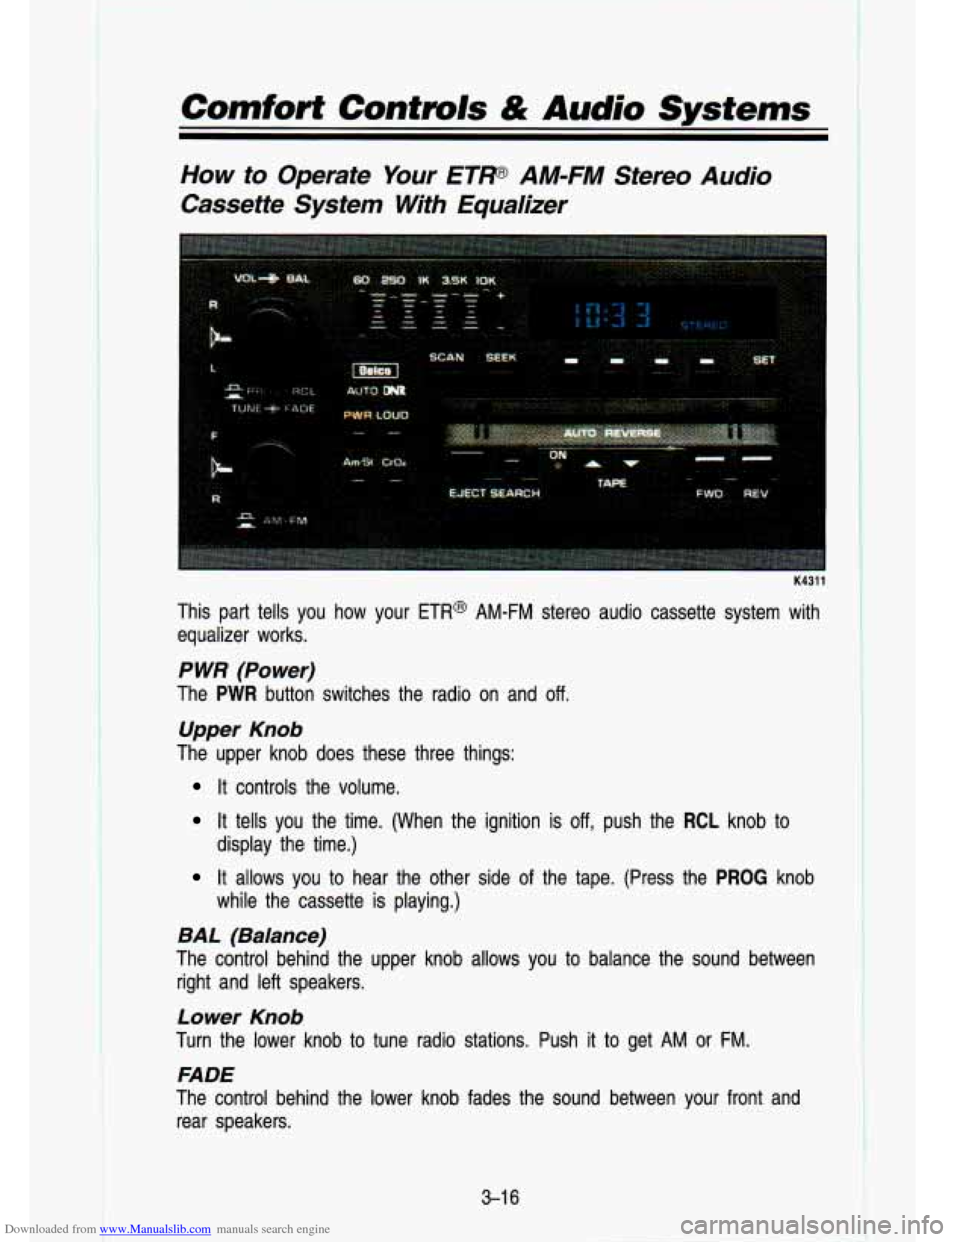
How to Operate Your ETW AM-FM Stereo Audio
Cassette System With Equalizer
K4311
This part tells you how your ETR@ AM-FM stereo audio cassette system with
equalizer works.
P WR (Power)
The PWR button switches the radio on and off.
Upper Knob
The upper knob does these three things:
It controls the volume.
It tells you the time. (When the ignition is off, push the RCL knob to
It allows you to hear the other side of the tape. (Press the PROG knob
display the time.)
while the cassette is playing.)
BAL (Balance)
The control behind the upper knob allows you to balance the sound between
right and left speakers.
Lower Knob
Turn the lower knob to tune radio stations. Push it to get AM or FM.
FADE
The control behind the lower knob fades the sound between your\
front and rear speakers.
3-1 6
Page 148 of 356
Downloaded from www.Manualslib.com manuals search engine Comfort Controls & Audio Systems
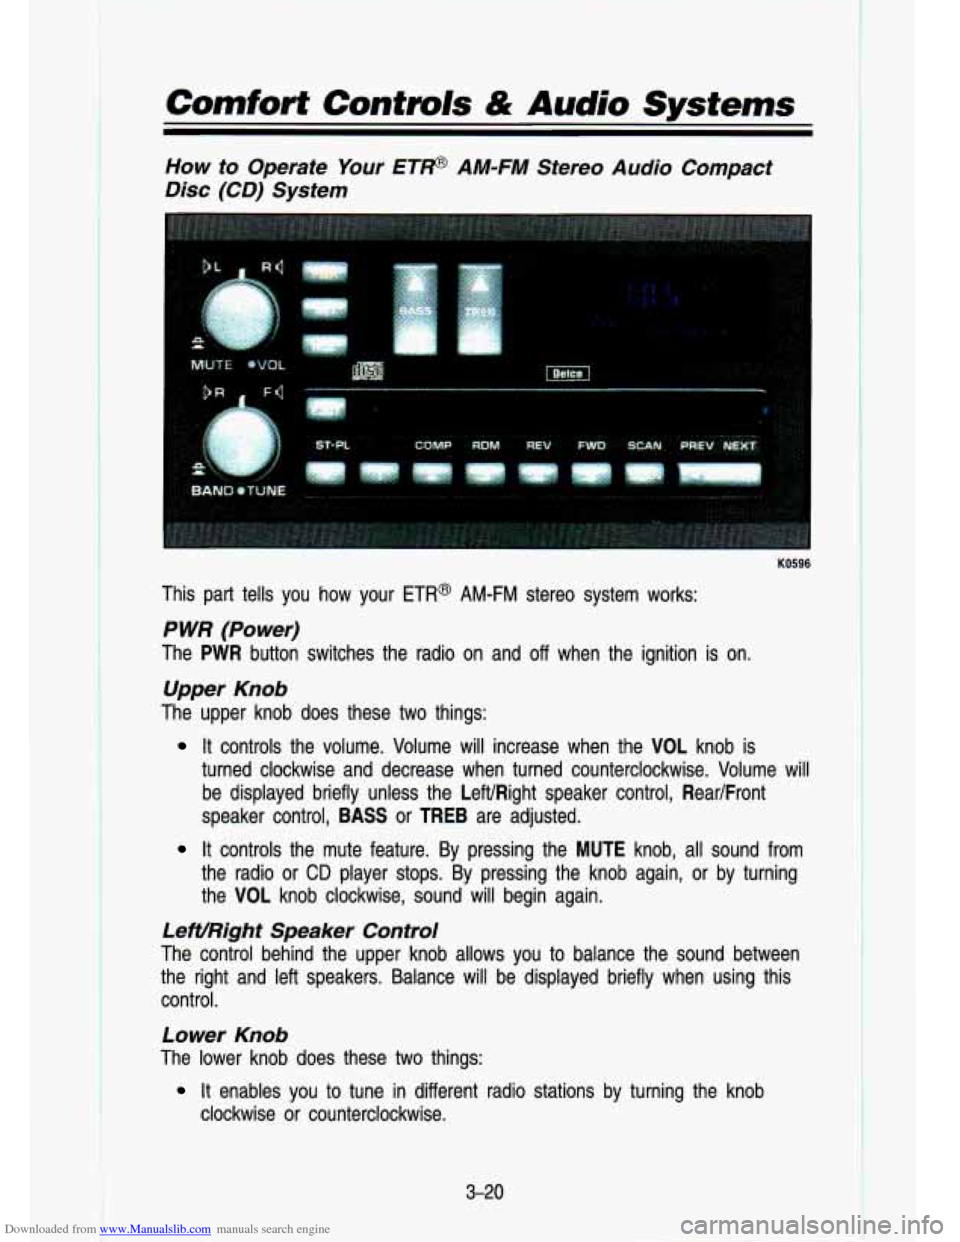
How to Operate Your ETP AM-FM Stereo Audio Compact
Disc (CD) System
KO596
This part tells you how your ETR@ AM-FM stereo system works:
P WR (Power)
The PWR button switches the radio on and off when the ignition is on.
Upper Knob
The upper knob does these two things:
It controls the volume. Volume will increase when the VOL knob\
is
turned clockwise and decrease when turned counterclockwise. Volum\
e will
be displayed briefly unless the LeWRight speaker control, Rear/Front
speaker control,
BASS or TREB are adjusted.
It controls the mute feature. By pressing the MUTE knob, all sound from
the radio or
CD player stops. By pressing the knob again, or by turning
the VOL knob clockwise, sound will begin again.
LeWRight Speaker Control
The control behind the upper knob allows you to balance the s\
ound between
the right and left speakers. Balance will be displayed briefly \
when using this
control.
Lower Knob
The lower knob does these two things:
clockwise or counterclockwise.
It enables you to tune in different radio stations by turning the knob
3-20
Page 149 of 356
Downloaded from www.Manualslib.com manuals search engine It enables you to alternate between AM and FM stations by pressing the
BAND knob. Your selection will be briefly displayed.
RearIFront Speaker Control
The control behind the lower knob fades the sound between your\
front and
rear speakers. Fade levels
will be briefly displayed.
SEEK
Pressing the SEEK b button will cause the receiver to seek the next higher
station and stop.
Pressing the
4 SEEK button will cause the receiver to seek the next lower
station and stop.
SCAN
When you press SCAN, the radio will go to the next station and pause, and
will keep scanning until you press SCAN again.
SC will be displayed when
using this control.
Pushbuttons
The five pushbuttons let you return to favorite stations. They are also used
when you play a disc. (See “To Play
A Compact Disc”.)
To set the pushbuttons for up to ten favorite stations (5 AM and 5 FM):
Tune in the desired station.
* Push the SET button. (SET is displayed briefly.)
Within 5 seconds, push one of the five pushbuttons to store the station.
Whenever you press that button, the preset station will return.\
Clock
To set the clock, just:
Press the SET pushbutton. The radio may be on or off.
Within 5 seconds, press and hold either SEEK b to increase the min-
utes or
4 SEEK to decrease the minutes until the correct minute
appears on the display.
Press and hold SCAN until the correct hour appears on the dis\
play.
3-2 1
RCL
Press the RCL button to alternate between time and radio station on the
display. RCL may be pressed when the ignition is
off to see the time.
Page 151 of 356
Downloaded from www.Manualslib.com manuals search engine REV
Press and hold the REV button to quickly return to a favorite passage. The
counter reading will be displayed when using this control.
FWD
Press and hold the button to advance quickly within a track. Release it
to resume playing. Watch the display to stop at a specific passage.
SCAN
Press SCAN to sample each track for approximately 10 seconds. Scanning
will continue until the
RDM, SCAN or any other motion button is pressed
again.
PREV
If you hold the PREV (4 SEEK) button, or press it more than once, the disc
will return to previous tracks.
NEXT
Press NEXT (SEEK b) to hear the next track now instead of waiting until the
present track is finished.
If you hold this button or press it more than once,
the disc will advance further.
ST-PL
Press ST-PL (Stop-Play) to make the disc stop and the radio play. Press
ST-PL again to restart the disc at the point where it stopped.
Press
PWR or turn the ignition key off to stop the disc player. The disc stays
in the player and will resume playing at the point where it stopped.
Press EJECT to eject the disc and make the radio play. The disc will start at
tract
1 when you reinsert it.
Anti-Theft Feature
Delco LOC ll@ is an Anti-Theft feature for the compact disc player. It can be
used or ignored. If ignored, the system plays normally.
If it is used, your
player won’t be usable
if it is ever stolen, because it won’t turn on.
The instructions below tell you how to enter a secret code into the system.
If
your car loses battery power for any reason, you must unlock \
the system with
the secret code before the radio will turn on.
To Lock The System:
1. Write down any 6 digit number and keep it in a safe place.
2. Turn the ignition to the “Accessory” or “Run” position.
3. Press the PWR button to turn the radio off.
3-23
Page 152 of 356
Downloaded from www.Manualslib.com manuals search engine Comfort Contmls & Audio Systems
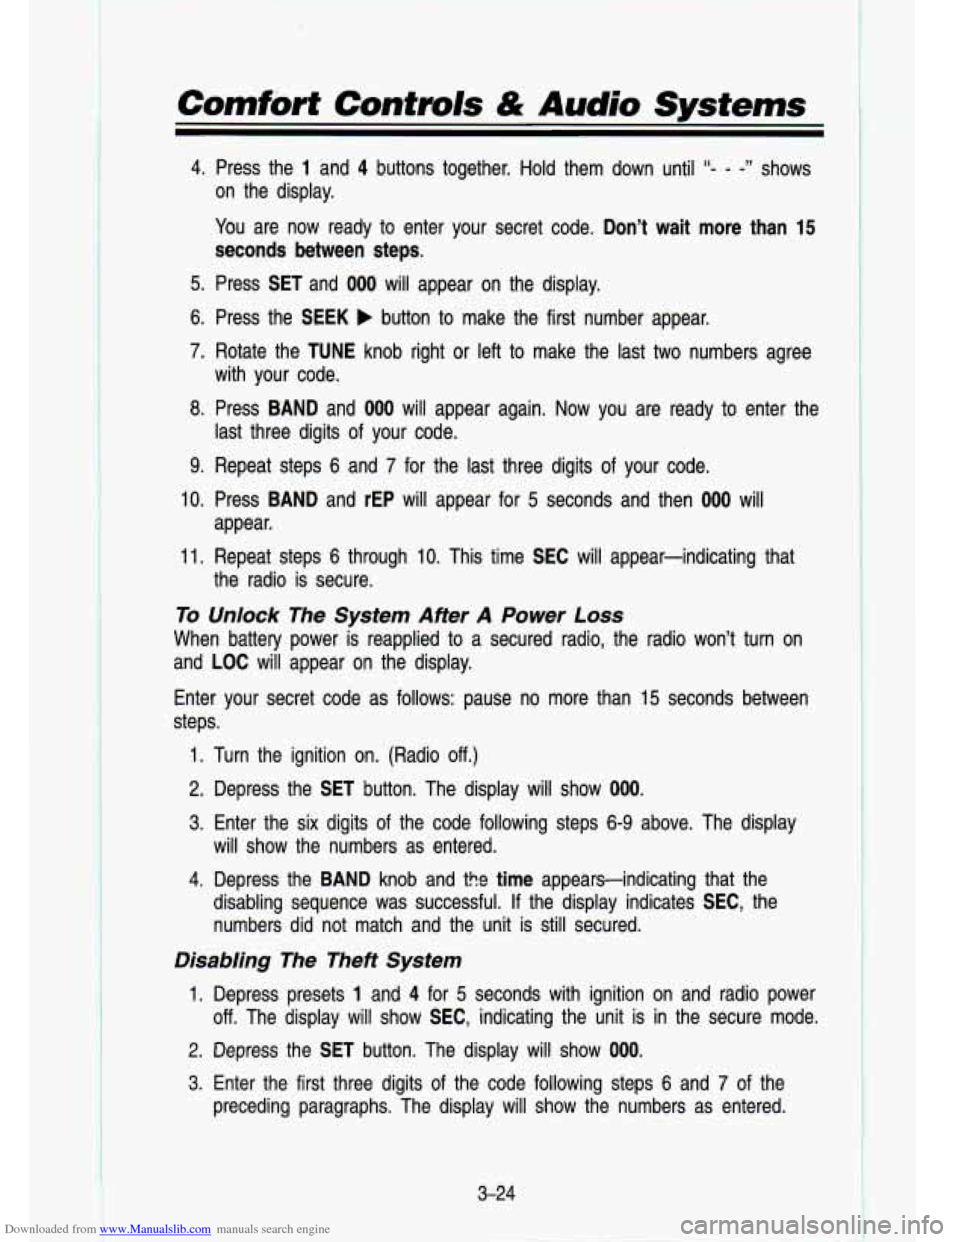
4. Press the 1 and 4 buttons together. Hold them down until “- - -” shows
on the display.
You are now ready to enter your secret code. Don’t wait more than
15
seconds between steps.
5. Press SET and 000 will appear on the display.
6. Press the SEEK b button to make the first number appear.
7. Rotate the TUNE knob right or left to make the last two numb\
ers agree
8. Press BAND and 000 will appear again. Now you are ready to enter the
9. Repeat steps
6 and 7 for the last three digits of your code.
with your code.
last three digits of your code.
IO. Press BAND and rEP will appear for 5 seconds and then 000 will
11. Repeat steps 6 through 10. This time SEC will appear-indicating that
To Unlock The System Afier A Power Loss
When battery power is reapplied to a secured radio, the radio won’t turn on
and LOC will appear on the display.
Enter your secret code as follows: pause no more than
15 seconds between
steps. appear.
the radio is secure.
1. Turn the ignition on. (Radio off.)
2. Depress the SET button. The display will show 000.
3. Enter the six digits of the code following steps 6-9 above. The display
will show the numbers as entered.
4. Depress the BAND knob and the time appears-indicating that the \
disabling sequence was successful.
If the display indicates SEC, the
numbers did not match and the unit is still secured.
Disabling The Theft System
1. Depress presets 1 and 4 for 5 seconds with ignition on and radio power
off. The display will show SEC, indicating the unit is in the secure mode.
2. Depress the SET button. The display will show 000.
3. Enter the first three digits of the code following steps 6 and 7 of the
preceding paragraphs. The display will show the numbers as entered.
3-24
Page 187 of 356
Downloaded from www.Manualslib.com manuals search engine on beaches or sand dunes) your tires will tend to sink into \
the sand. This has an effect on steering, accelerating, and braking. You may want to reduce
the air pressure in your tires slightly when driving on sand. \
This will improve
traction.
Hard packed snow and ice offer the worst tire traction. On these surfaces, it’s
very easy to lose control. On wet ice, for example, the tract\
ion
is so poor
that you will have difficulty accelerating. And
if you do get moving, poor
steering and difficult braking can cause you to slide out of control.
nds or rivers can be dangerous.
~;~:.cx :. 2’’
nderwater springs, currents under the ice, or sudden thaws can \
25
weaken the ice. Your vehicle could fall through the ice and you ad.
. your passengers could drown. Drive your vehicle on safe surface\
s
~~ : . I’ .: . :j/-
,. ,/ ., ‘!...,I:, I -
Driving In Water
Light rain causes no special off-road driving problems. But hea\
vy rain can
mean flash flooding, and flood waters demand extreme caution.
Find out how deep the water is before you drive through
it. If it’s deep
enough to cover your wheel hubs, axles, or exhaust pipe, don’t
try it-you
probably won’t get through. Also, water that deep can damage\
your axle and
other vehicle parts.
If the water isn’t too deep, then drive through it slowly. At fast speeds, water
splashes on your ignition system and your vehicle can stall. S\
talling can also
occur
if you get your tailpipe under water. And, as long as your tailp\
ipe is
under water, you’ll never be able to start your engine. Whe\
n you go through
water, remember that when your brakes get wet,
it may take you longer to
stop.
A
Driving through rushing water can be dangerous. Deep water can
sweep your vehilcle downstream and you and your passengers could
drown.
If it’s only inches deep, it can still wash away the ground
from under your tires, and you could lose traction and roll the vehicle
over.
Don’t drive through rushing water.
4-33
Page 201 of 356
Downloaded from www.Manualslib.com manuals search engine CAUTION
A Coasting downhill in N (Neutral) or with the ignition off is dangerous. I
2 Your brakes will have to do all the work of slowing down. They could
get
so hot that they wouldn’t work well. You could crash. Always
have your ignition on and your vehicle in gear when you go d\
ownhill.
e
Know how to go uphill. You may want to shift down to a lower gear.
The lower gears help cool your engine and transmission, and yo\
u can climb the hill better.
Stay in your own lane when driving on two-lane roads in hills or
mountains. Don’t swing wide or cut across the center
of the road. Drive
at speeds that let you stay in your own lane. That way, you won’t be
surprised by a vehicle coming toward you in the same lane.
It takes longer to pass another vehicle when you’re going u\
phill. You’ll
want
to leave extra room to pass. If a vehicle is passing you and
doesn’t have enough room, slow down to make
it easier for the other
vehicle to get by.
As you go over the top
of a hill, be alert. There could be something in
your lane, like a stalled car or an accident.
You may see highway signs on mountains that warn
of special. problems.
Examples are long grades, passing or no-passing zones, a fallin\
g rocks
area, or winding roads. Be alert to these and take appropriate\
action.
Winter driving can present special problems. See “Winter Driving” in the
Index.
Page 209 of 356
Downloaded from www.Manualslib.com manuals search engine Before towing you should:
1. Set the parking brake firmly.
2. Place the auto’matic transmission in P (Park) or the manual transmission
in th:e lowest gear
(1 st gear).
3. Firmly attach the vehicle being towed to the tow vehicle. Refer to the
hitch manufacturer’s instructions.
Shifting the transfer case to N (Neutral) can cause your veh\
icle
to
roll even if the transmission is in P (Park), for an automatic
transmission, or
if your vehicle is in gear, for a manual transmission.
This is because the transfer case overrides the transmission.
I
1 NOTICE
6. Insert the ignition key into the iginition switch and turn it one notch .for-
ward of the “LOCK’ position. This places the key into the “OFF” position,
which unlocks the steering column while preventing battery drain\
. Unlock-
ing the steering column will allow for proper movement of the front
wheelshires during towing.
4-55