1993 CHEVROLET S10 window
[x] Cancel search: windowPage 208 of 356
Downloaded from www.Manualslib.com manuals search engine -.
-.
”, . c.
Your Driving and the Road
-
. ..
..
I>: ”
.,. .,,-.
‘6
AM480042
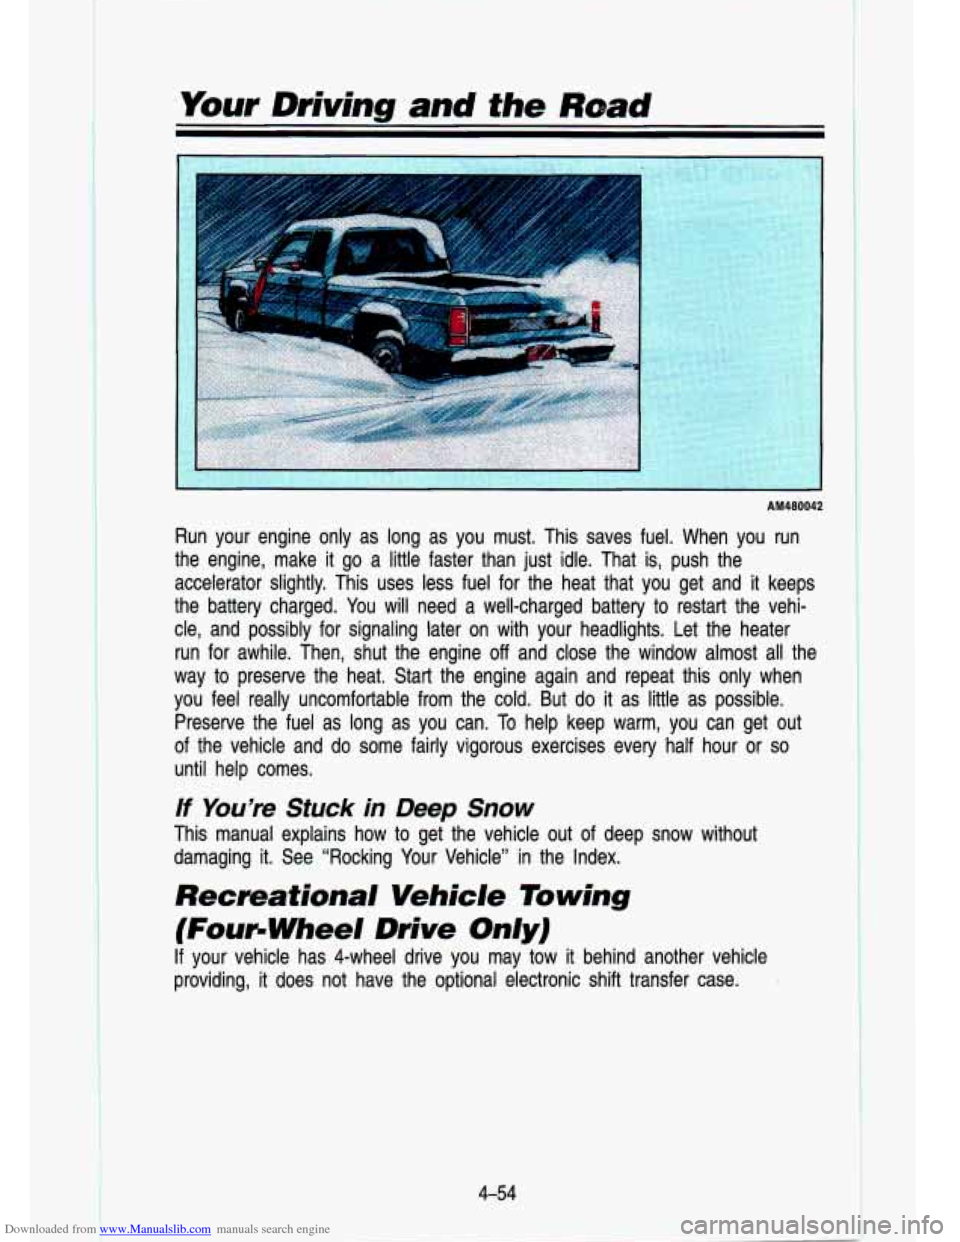
Run your engine only as long as you must. This saves fuel. W\
hen you run
the engine, make it go a little faster than just idle. That is, push the\
accelerator slightly. This uses less fuel for the heat that yo\
u get and it keeps
the battery charged. You will need
a well-charged battery to restart the vehi-
cle, and possibly for signaling later on with your headlights. Let the heater
run for awhile. Then, shut the engine
off and close the window almost all the
way
to preserve the heat. Start the engine again and repeat this only\
when
you feel really uncomfortable from the cold. But
do it as little as possible.
Preserve the fuel as long as you can.
To help keep warm, you can get out
of the vehicle and
do some fairly vigorous exercises every half hour or so
until help comes.
lf You’re Stuck in Deep Snow
This manual explains how to get the vehicle out of deep snow without
damaging it. See “Rocking Your Vehicle’’ in the Index.
Recreational Vehicle Towing
(Foue Wheel Drive Only)
If your vehicle has 4-wheel drive you may tow it behind another vehicle
providing, it does not have the optional electronic shift trans\
fer case.
4-54
Page 226 of 356
Downloaded from www.Manualslib.com manuals search engine Problems on the Road
If No Steam Is Coming From Your Engine:
If you get the overheat warning but see or hear no steam, the problem may
not be too serious. Sometimes the engine can get a little
too hot when you:
Climb a long hill on a hot day.
Stop after high speed driving.
Idle for long periods in traffic.
Tow a trailer.
If you get the overheat warning with no sign of steam, try this for a minute
or so:
1. If you have an air conditioner, turn it off.
2. Turn your heater to full hot at the highest fan speed and open the
3. If you're in a traffic jam, shift to N (Neutral).
window as necessary.
If you no longer have the overheat warning, you can drive. Just to
be safe,
drive slower for about ten minutes. If the warning doesn't com\
e back on, you
can drive normally.
If the warning continues, pull over, stop, and park your vehicle \
right away.
If there's still no sign of steam, push the accelerator until the engine speed is
about twice as fast as normal idle speed. Bring the engine sp\
eed back to
normal idle speed after
two or three minutes. Now see if the warning stops.
But then,
if you still have the warning, TURN OFF THE ENGINE AND GET
EVERYONE
OUT OF THE VEHICLE until it cools down.
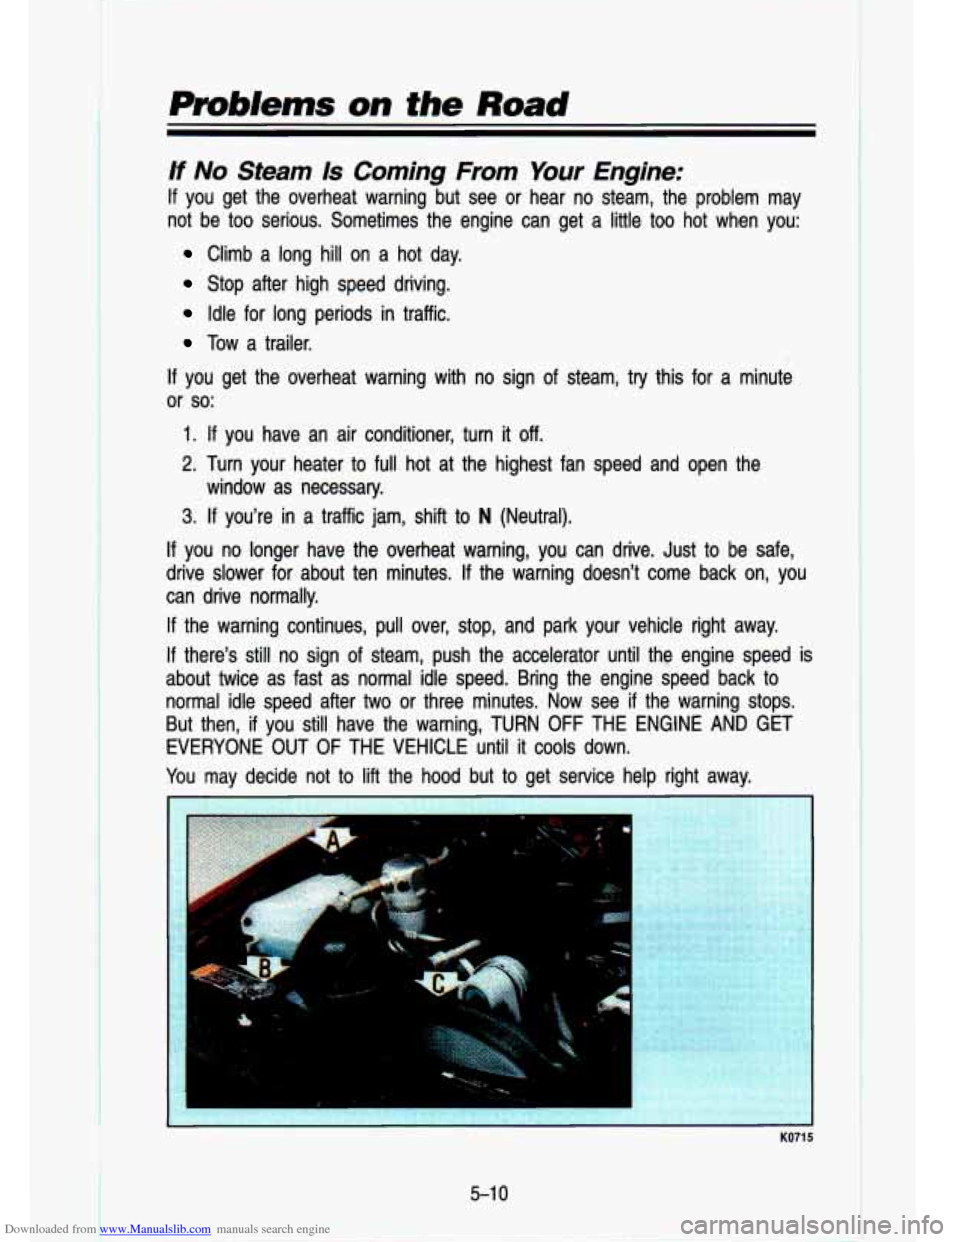
You may decide
not to lift the hood but to get service help right away.
KO71 5
5-1 0
I
Page 278 of 356
Downloaded from www.Manualslib.com manuals search engine . ..
Service & Appearance Care
To Check Brake Fluid:
You can check the brake fluid without taking off the cap. Just look at the
windows on the brake fluid reservoir. The fluid levels should be above
MIN. If
they aren’t, have your brake system checked to see if there is a leak.
After work is done on the brake hydraulic system, make sure t\
he levels are above
MIN and below the top of each window.
What To Add
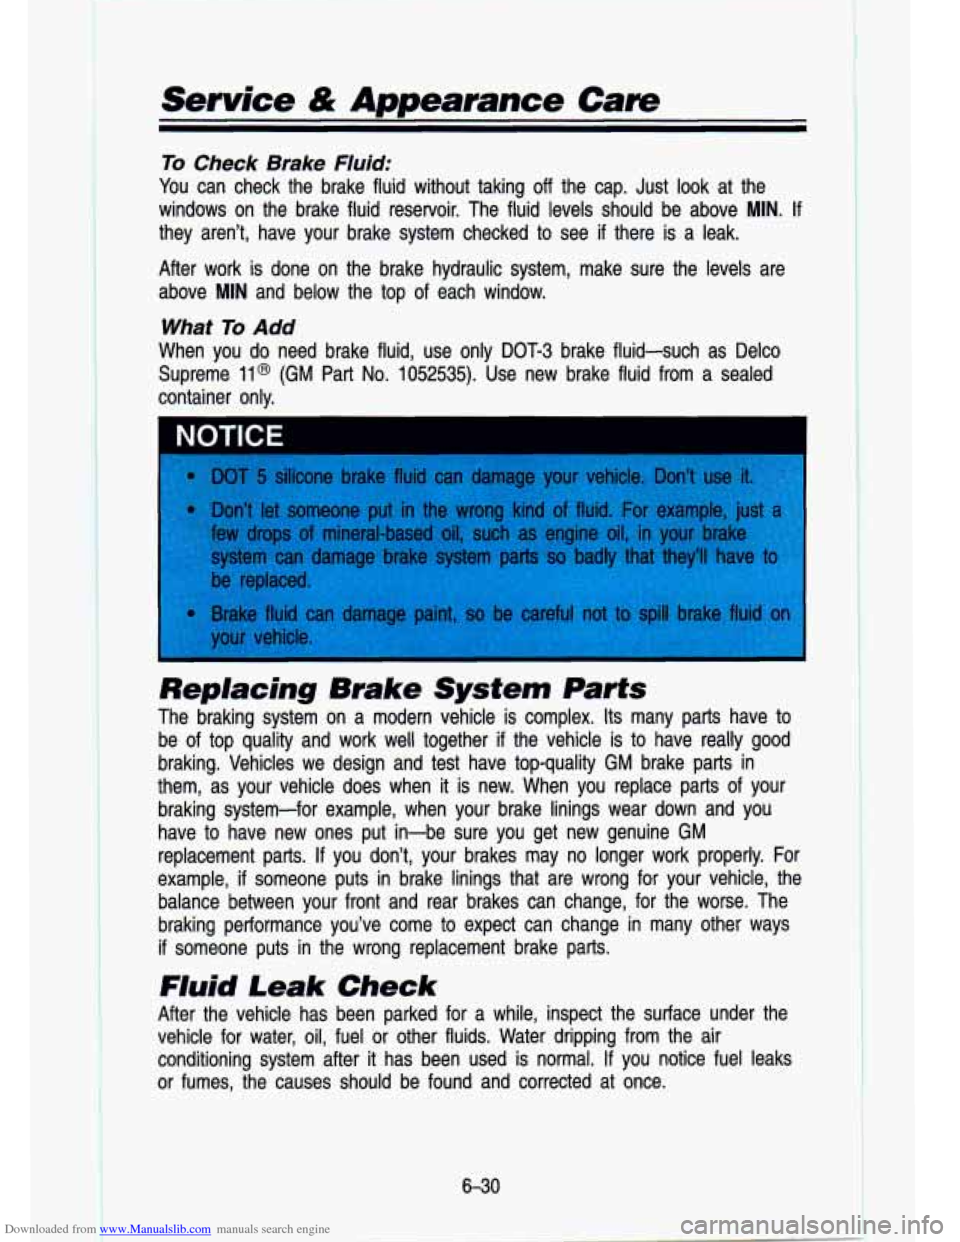
When you do need brake fluid, use only DOT-3 brake fluid-such as Delco
Supreme
11 @ (GM Part No. 1052535). Use new brake fluid from a sealed
container only.
Replacing Brake System Parts
The braking system on a modern vehicle is complex. Its many parts have to
be of top quality and work well together if the vehicle is to have really good
braking. Vehicles we design and test have top-quality GM brake parts in
them, as your vehicle does when
it is new. When you replace parts of your
braking system-for example, when your brake linings wear down and you
have to have new ones put in-be sure you get new genuine GM
replacement parts.
If you don’t, your brakes may no longer work properly. For
example,
if someone puts in brake linings that are wrong for your vehicle, the
balance between your front and rear brakes can change, for the\
worse. The braking performance you’ve come
to expect can change in many other ways
if someone puts in the wrong replacement brake parts.
Fluid Leak Check
After the vehicle has been parked for a while, inspect the su\
rface under the
vehicle for water, oil, fuel or other fluids. Water dripping from the air
conditioning system after
it has been used is normal. If you notice fuel leaks
or fumes, the causes should be found and corrected at once.
6-30
Page 284 of 356
Downloaded from www.Manualslib.com manuals search engine The sBat adjusters and seat track should be lubricated with chassis grea\
se.
Door weather strips and rubber hood bumpers should be wiped cl\
ean with a
wet cloth and lightly coated with
a rubber lubricant.
Never use too much
of any lubricant and be-sure to wipe up any extra
lubricant when you are finished.
Window regulators and controls are inside the
doors. They are lubricated with
a long lasting grease.
If lubricali'on is. re.quired your dealer shauld perform this
service.
Refer to the Maintenance Schedule to determine how often to lu\
bricate these
items and what type of lubricant
to use.
Tailgate Handle
The tailgate handle pivot points on your vehicle should be lubricate-d to keep
the handle working smoothly.
6-36
d
Page 298 of 356
Downloaded from www.Manualslib.com manuals search engine Service & Appearance Care
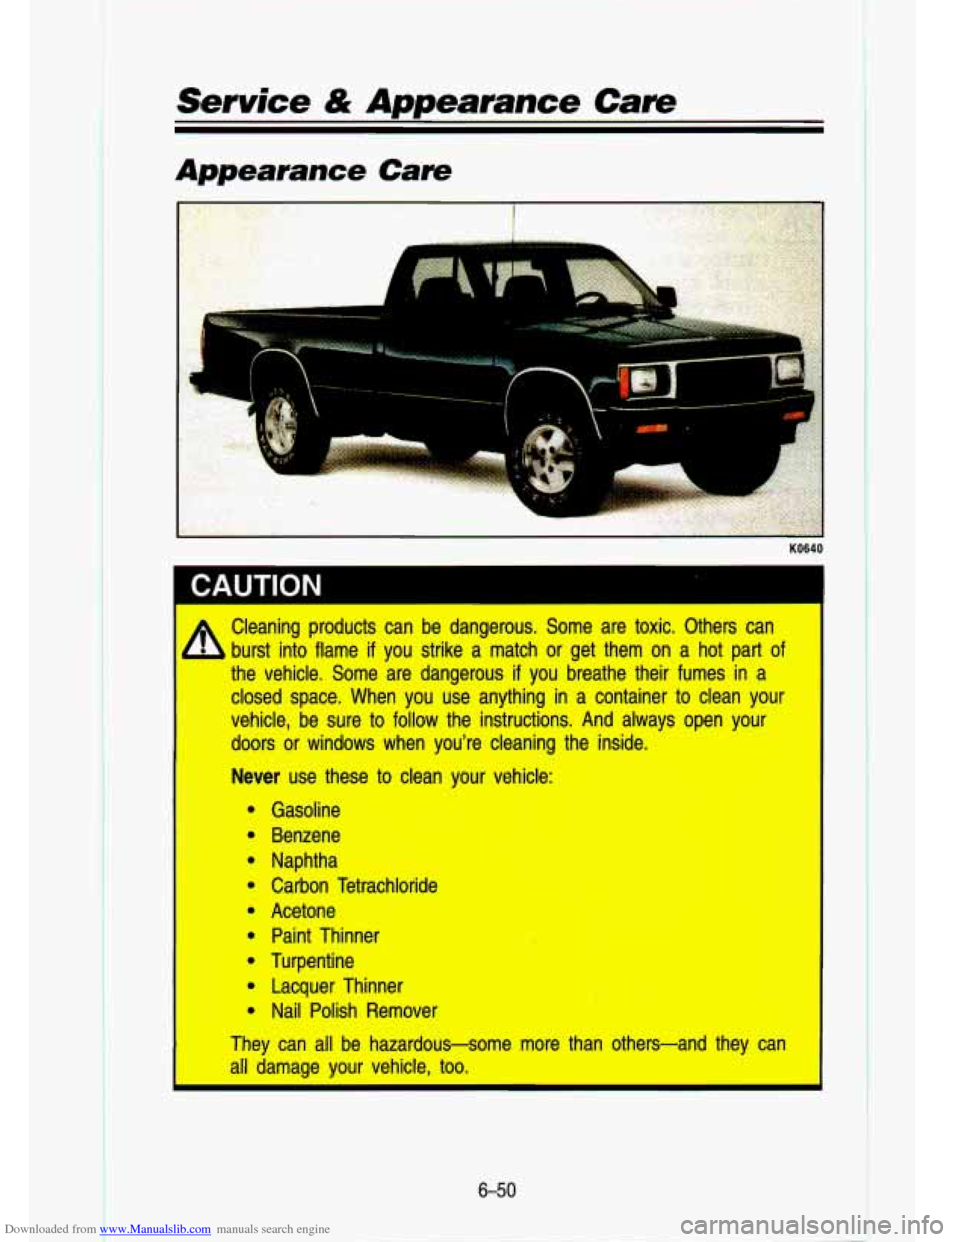
Appearance Care
-
KO640
CAI lTlnN
I.
Cleaning products can be dangerous. Some are toxic. Others can \
burst into flame
if you strike a match or get them on a hot part of
the vehicle. Some are dangerous if you breathe their fumes in a
closed space. When you use anything in a container to clean your
vehicle, be sure to follow the instructions. And always open your
doors or windows when you’re cleaning the inside.
Never use these to clean your vehicle:
Gasoline Benzene
Naphtha
Carbon Tetrachloride
Acetone Paint Thinner
Turpentine Lacquer Thinner
Nail Polish Remover
They can all be hazardous-some more than others-and they can
all damage your vehicle, too.
6-50
Page 301 of 356
Downloaded from www.Manualslib.com manuals search engine If an odor lingers after cleaning vomit or urine, treat the area \
with a
watedbaking soda solution:
1 teaspoon (5 ml) of baking soda to 1 cup
(250 ml) of lukewarm water.
Finally, if needed, clean lightly with solvent-type cleaner.
Combination Stains: Like candy, ice cream, mayonnaise,
c i sauce and
unknown stains.
Carefully scrape off excess stain, then clean with cool water and allow to
dry.
If a stain remains, clean it with solvent-type cleaner.
Cleaning Vinyl or Leather
Just use warm water and a clean cloth.
Rub with a clean, damp cloth to remove dirt. You may have to do it
more than once.
Things like tar, asphalt and shoe polish will stain if you^ don’t get them
off quickly. Use a clean cloth and solvent-type vinylheather cleaner.
Cleaning the Top of the Instrument Panel
Use only mild soap and water to clean the top surfaces of the instrument
panel. Sprays containing silicones or waxes may cause annoying \
reflections in
the windshield and even make it difficult to see through the windshield under
certain conditions.
Care of Safety Belts
Keep belts clean and dry.
I
CAUTION
I
A
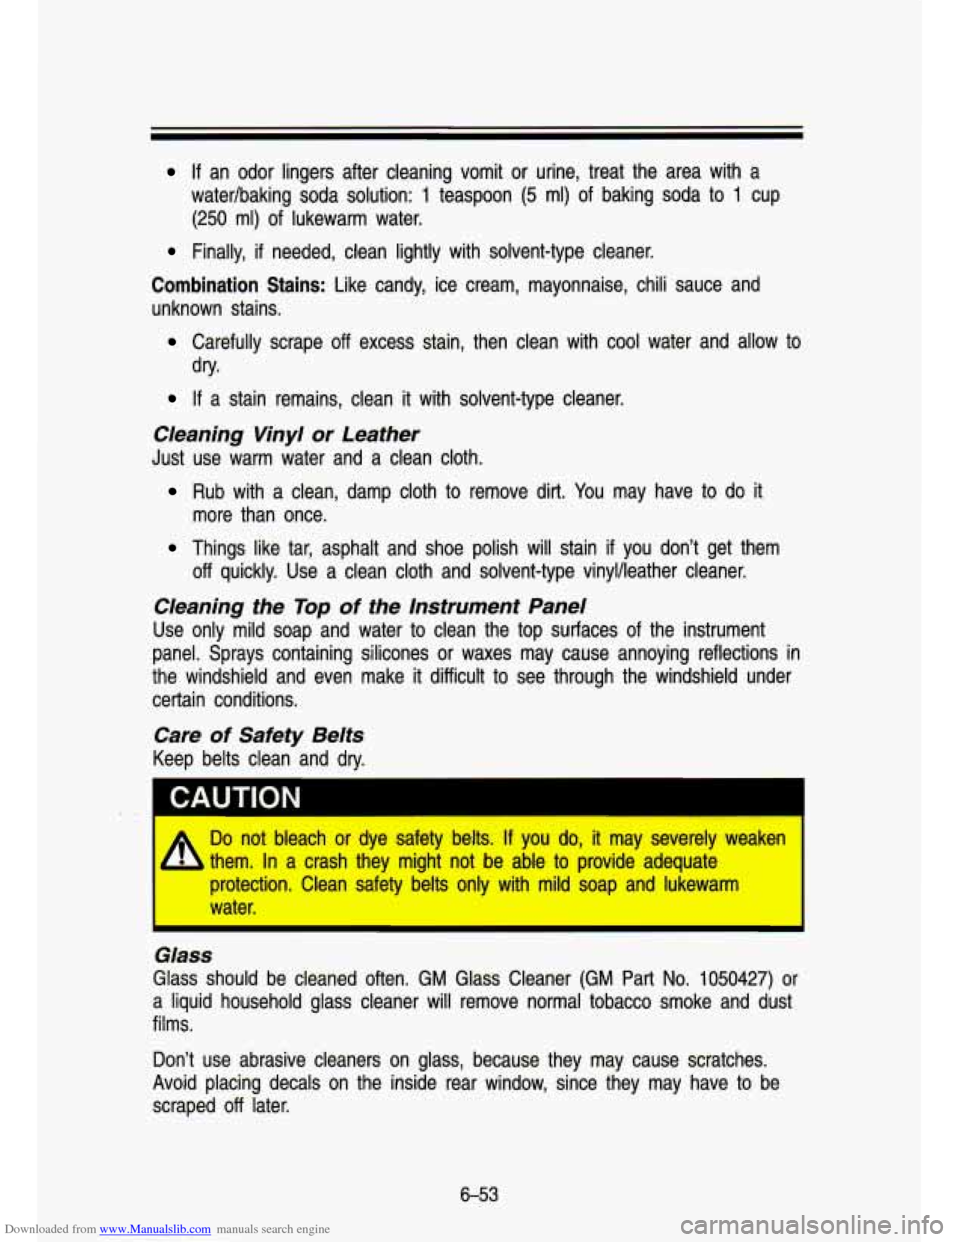
Do not bleach or dye safety kits. If you do, it may severely weaken
them. In a crash they might not be able to provide adequate
protection. Clean safety belts only with mild
soap and lukewarm
water.
Glass
Glass should be cleaned often. GM Glass Cleaner (GM Part No. 1050427) or
a liquid household glass cleaner will remove normal tobacco smo\
ke and dust
films.
Don’t use abrasive cleaners
on glass, because they may cause scratches.
Avoid placing decals on the inside rear window, since they may have to be
scraped off later.
6-53
Page 308 of 356

Downloaded from www.Manualslib.com manuals search engine I
Service & Appearance Cave
Headlights
The headlight wiring is protected by a circuit breaker in the \
light switch. An electrical overload will cause the lights to go on and
off, or in some cases to
remain
off. If this happens, have your headlight wiring checked right away.
Windshield Wipers
The windshield wiper motor is protected by a circuit breaker a\
nd a fuse. If
the motor overheats due to heavy snow, etc., the wiper will s\
top until the
motor cools. If the overload is caused by some electrical problem and not
snow, etc., be sure to get it fixed.
Power Windows and Other Power Options
Circuit breakers in the fuse panel protect the power windows a\
nd other power
accessories. When the current load is
too heavy, the circuit breaker opens
and closes, protecting the circuit until the problem is fixed \
or goes away.
Trailer Wiring Harness
The optional seven-wire trailer wiring I ;s is protected by an in-line fuse
in the battery feed wire. This fuse is near rhe junction bloc\
k. See “Trailer
Wiring Harness” in the “Features
& Controls’’ section.
Fuse Block
KO631
The fuse block is in the instrument panel on the driver’s side.
- .: .-: 1
.- .
Remove the cover with a screwdriver and then you can remove f\
uses with a
fuse extractor.
6-60
Page 315 of 356
Downloaded from www.Manualslib.com manuals search engine Fuses and Circuit Breakers
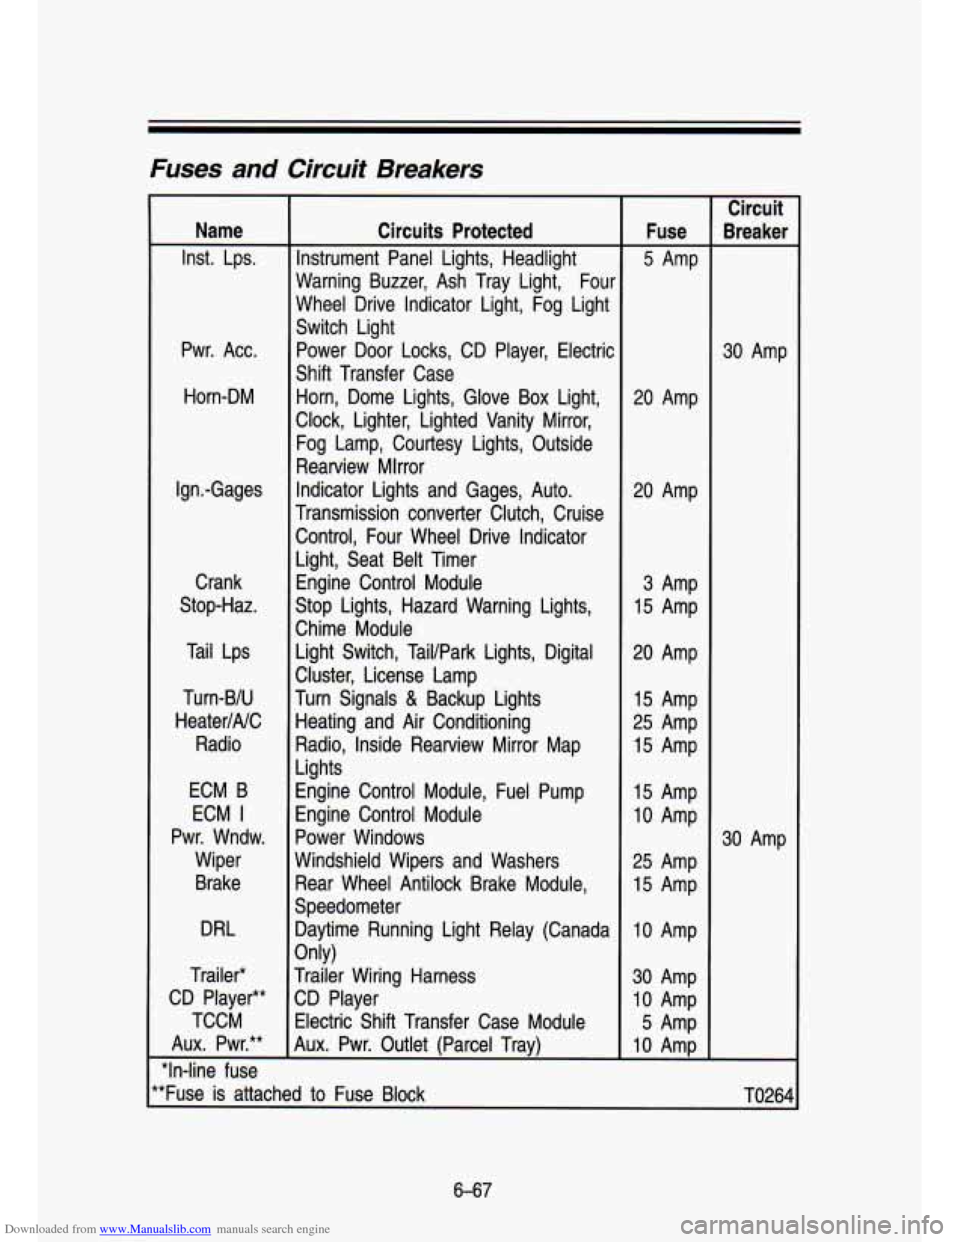
Name
Inst. Lps.
Pwr. Acc. Horn-DM
Ign.-Gages Crank
Stop-Haz.
Tail Lps
Turn-BIU
HeaterINC Radio
ECM B
ECM
I
Pwr. Wndw. Wiper
Brake
DRL
Trailer*
CD Player**
TCCM
Aux. Pwr.**
"In-line fuse Circuits Protected
Instrument Panel Lights, Headlight
Warning Buzzer, Ash Tray Light, Four
Wheel Drive Indicator Light, Fog Light
Switch Light Power Door Locks, CD Player, Electric
Shift Transfer Case Horn, Dome Lights, Glove Box Light,
Clock, Lighter, Lighted Vanity Mirror,
Fog Lamp, Courtesy Lights, Outside
Rearview Mlrror
Indicator Lights and Gages, Auto.
Transmission converter Clutch, Cruise Control, Four Wheel Drive Indicator
Light, Seat Belt Timer Engine Control Module
Stop Lights, Hazard Warning Lights,
Chime Module Light Switch, Tail/Park Lights, Digital
Cluster, License Lamp
Turn Signals
& Backup Lights
Heating and Air Conditioning
Radio, Inside Rearview Mirror Map
Lights
Engine Control Module, Fuel Pump
Engine Control Module
Power Windows
Windshield Wipers and Washers Rear Wheel Antilock Brake Module,
Speedometer Daytime Running Light Relay (Canada
Trailer Wiring Harness
CD Player
Electric Shift Transfer Case Module
Aux. Pwr. Outlet (Parcel Trav)
Only) Fuse
5 Amp
20 Amp
20 Amp
3 Amp
15 Amp
20 Amp 15 Amp
25 Amp
15 Amp
15 Amp
10 Amp
25 Amp
15 Amp
10 Amp
30 Amp
10 Amp
5 Amp
10 AmD Circuit
kea ker
30 Amp
30 Amp
'*Fuse is attached to Fuse Block
TO264
6-67