1993 CHEVROLET CAVALIER belt
[x] Cancel search: beltPage 3 of 308
Downloaded from www.Manualslib.com manuals search engine I993 Owner’s Manual
0 Chevrolet Cavalier Table of Contents
Printed in USA
introduction How to Use this Manual . . . . . . . . . . . . 6
Part I Seats & Safety Belts , ‘I . . i, . . . . . .
Part 2 Features & Controls . . . . . . . . . . . . 47 =
Part 3
Part 4
Part 5
Part 6
Part 7
Part 8
Part 9
Comfort Controls & Audio Systems . . . I O!
Your Driving and the Road . . , . . . . . . . . 123 I
Problems on the Road. . . . . . . a . . . a
Service & Appearance Care . . . . . . . . . I95
Maintenance Schedule . . . . . . . . . . 259 r
Customer Assistance Information . . . . . 281 I
Includes “Reporting Safety Defects” on page 286
Index .................... 295
Service Station Information . . . . Last Page
10202145 B Second Printing .
Page 8 of 308
Downloaded from www.Manualslib.com manuals search engine How to Use this Manual
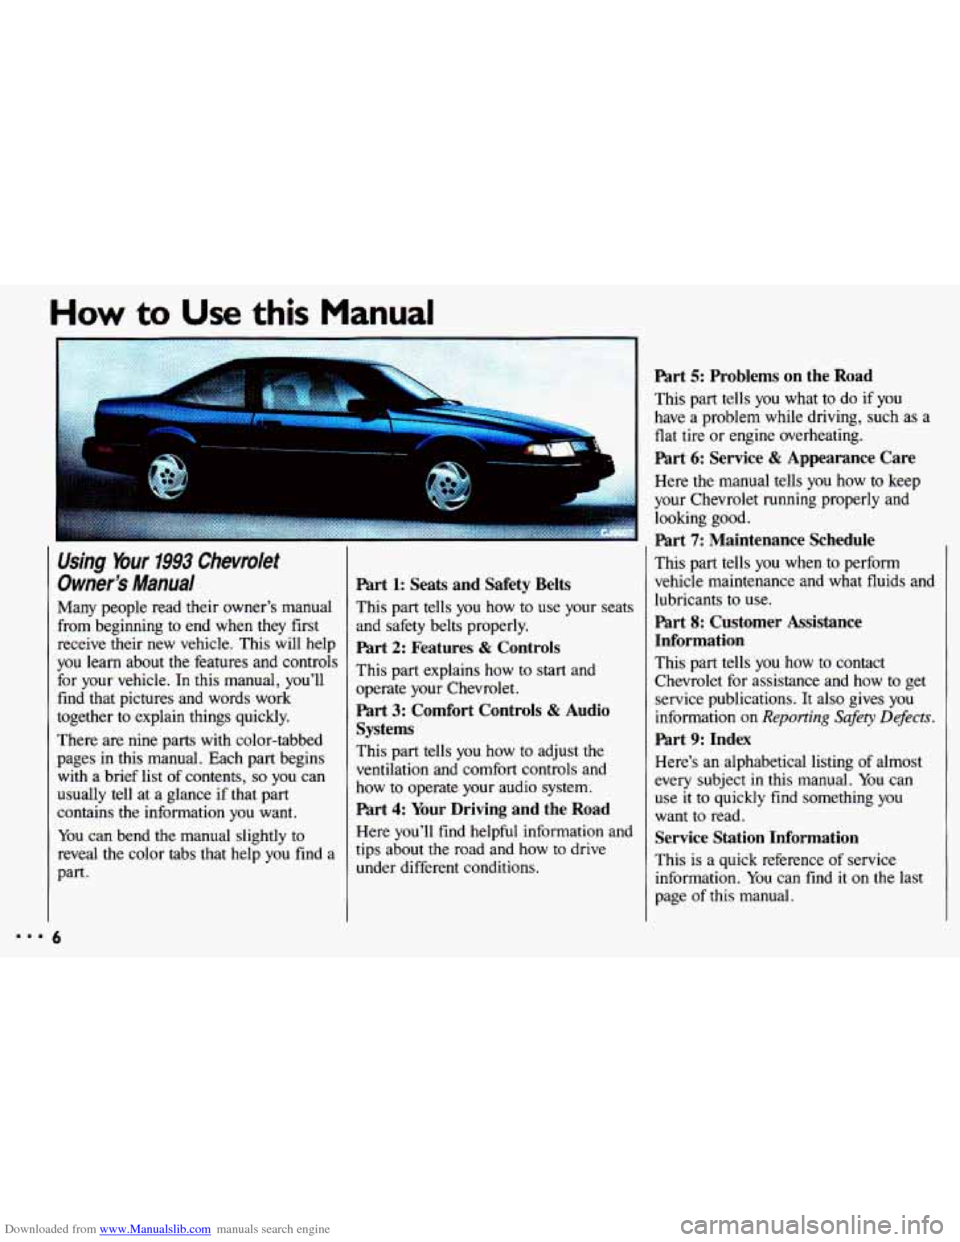
Using Your 1993 Chevrolet
Owner's
Manual
Many people read their owner's manual
from beginning to end when they first
receive their new vehicle. This will help
you learn about the features and controls
for your vehicle.
In this manual, you'll
find that pictures and words work
together to explain things quickly.
There are nine parts with color-tabbed
pages in this manual. Each part begins with a brief list of contents,
so you can
usually tell at a glance if that part
contains the information you want.
You can bend the manual slightly to
reveal the color tabs that help you find a
part.
5
Part 1: Seats and Safety Belts
This part tells you how to use your seats
and safety belts properly.
Part 2: Features & Controls
This part explains how to start and
operate your Chevrolet.
Part 3: Comfort Controls & Audio
Systems
This part tells you how to adjust the
ventilation and comfort controls and
how to operate your audio system.
Part 4: Your Driving and the Road
Here you'll find helpful information and
tips about the road and how to drive
under different conditions.
Part 5: Problems on the Road
This part tells you what to do if you
have a problem while driving, such as a
flat tire or engine overheating.
Part 6: Service & Appearance Care
Here the manual tells you how to keep
your Chevrolet running properly and looking good.
Part 7: Maintenance Schedule
This part tells you when to perform
vehicle maintenance and what fluids and
lubricants to use.
Part 8: Customer Assistance
Information
This part tells you how to contact
Chevrolet for assistance and how to get
service publications. It also gives you
information on
Reporting Safety Defects.
Part 9: Index
Here's an alphabetical listing of almost
every subject
in this manual. You can
use it
to quickly find something you
want to read.
Service Station Information
This is a quick reference of service
information.
You can find it on the last
page of this manual.
Page 10 of 308
Downloaded from www.Manualslib.com manuals search engine How to Use this Manual
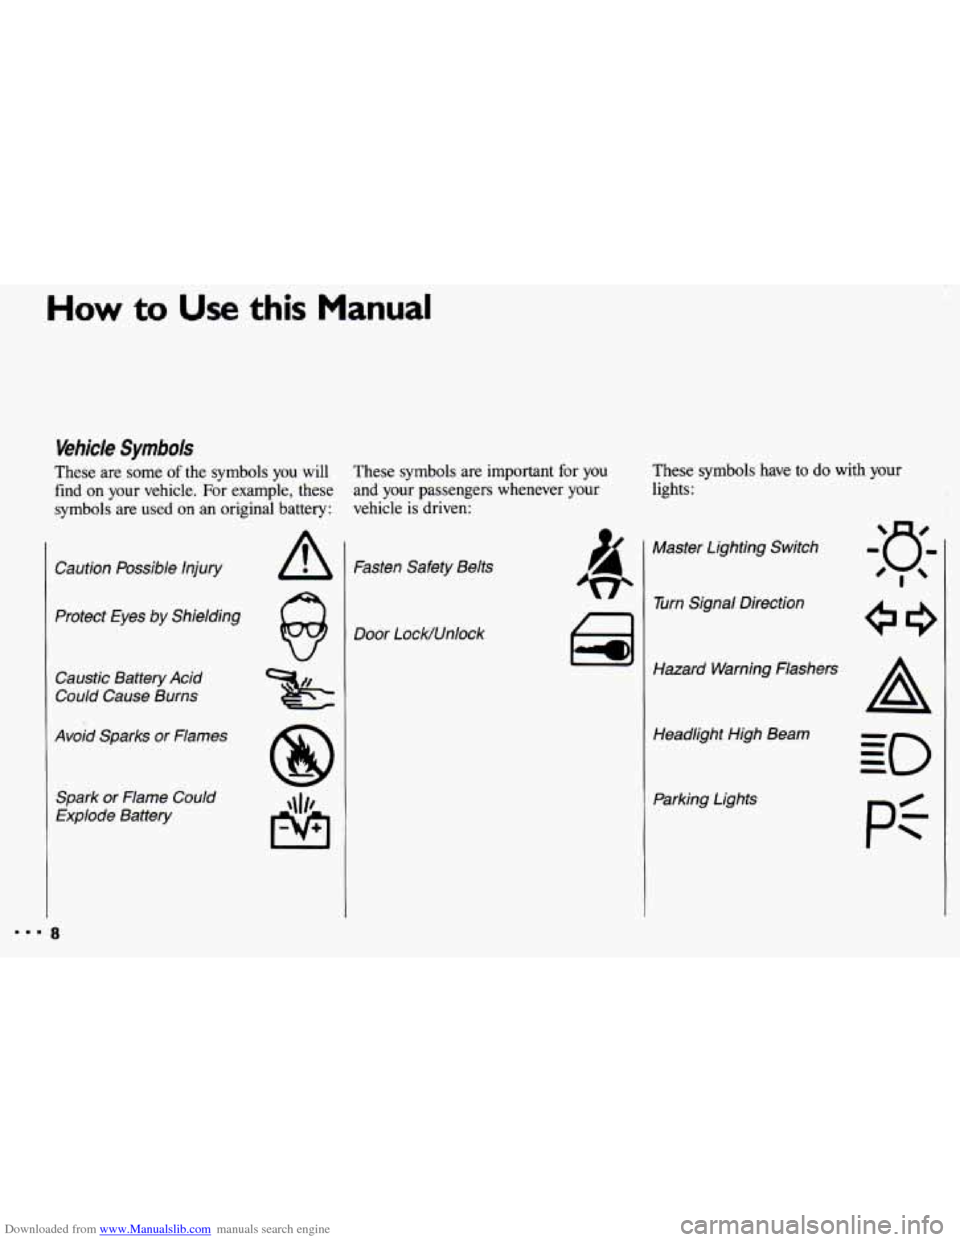
Vehicle Symbols
These are some of the symbols you will
find
on your vehicle. For example, these
symbols are used on an original battery:
Caution Possible Injury
Protect Eyes by Shielding
Caustic Battery Acid
Could Cause Burns
Avoid Sparks or Flames
Spark or Flame Could
Explode Battery
These symbols are important for you
and your passengers whenever your
vehicle
is driven: These
symbols have to do with your
lights:
Fasten Safety Belts
Door LocWUnlock ai
Master Lighting Switch
w Turn Signal Direction
Hazard Warning Flashers Headlight High Beam
Parking Lights
pi
Page 13 of 308
Downloaded from www.Manualslib.com manuals search engine .
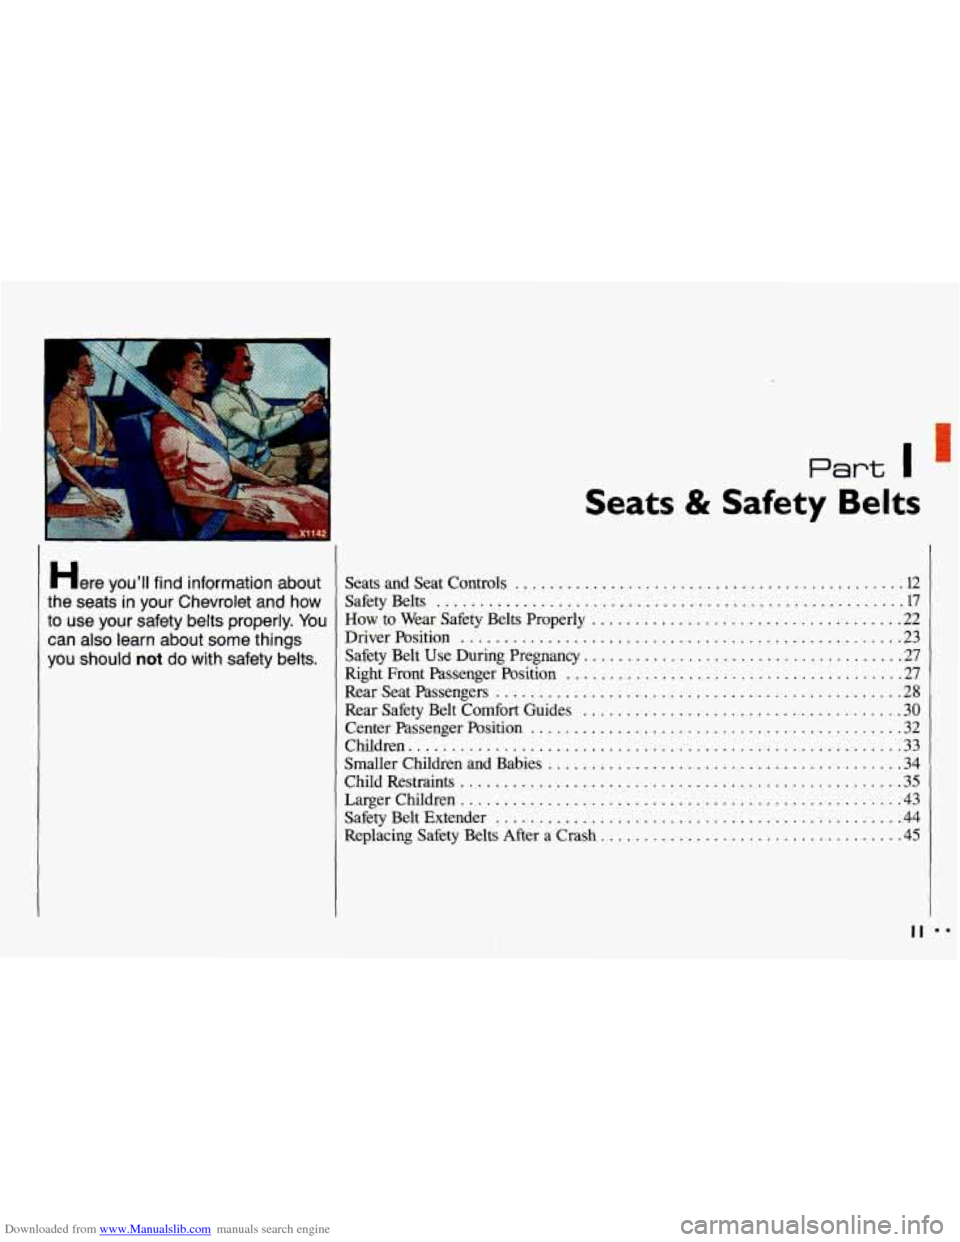
Here YOU’II find information about
the seats in your Chevrolet and how
to use your safety belts properly
. You
can also learn about some things
you should
not do with safety belts .
Part I
I
Seats & Safety Belts
Seats and Seat Controls ............................................. 12
SafetyBelts ...................................................... 17
How. to Wear Safety Belts Properly .................................... 22
DriverPosition ................................................... 23
Safety Belt Use During Pregnancy ..................................... 27
Right Front Passenger Position
....................................... 27
Rear Safety Belt
Comfort Guides ..................................... 30
Center Passenger Position
........................................... 32
Children
......................................................... 33
Smaller Children and Babies
......................................... 34
Child Restraints
................................................... 35
LargerChildren ................................................... 43
SafetyBeltExtender ............................................... 44
Replacing Safety Belts After a Crash
................................... 45
RearSeatPassengers ............................................... 28
II mm
Page 14 of 308
Downloaded from www.Manualslib.com manuals search engine Seats & Safety Belts
Seats and Seat Controls
This section tells you about the seats-
how to adjust them-and
also about
reclining seatbacks and head restraints.
I2
Manual Front Seat
IC"
I , You can lose control of the
- b vehicle if you try to adjust a
manual driver's seat while the
vehicle is moving. The sudden
movement could startle and
confuse you, or make
you push a
pedal when you don't want to.
Adjust the driver's seat only when
the vehicle is not moving.
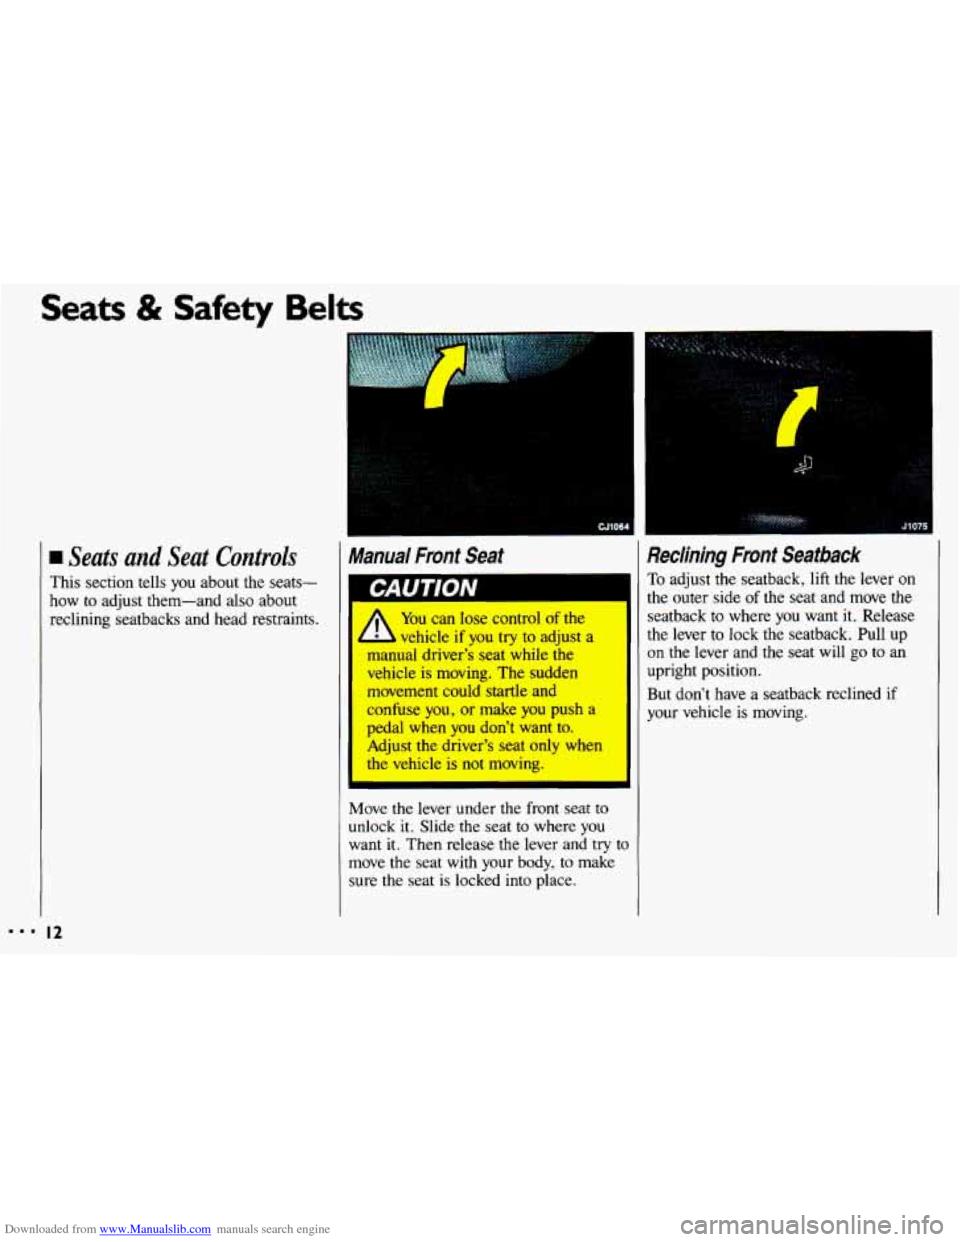
Move
the lever under the front seat to
unlock it. Slide the seat to where you
want
it. Then release the lever and try tc
move the seat with your body, to make
sure the seat is locked into place.
1
,
1
1
3
Reclining Front Seatback
To adjust the seatback, lift the lever on
the outer side
of the seat and move the
seatback
to where you want it. Release
the lever
to lock the seatback. Pull up
on the lever and the seat will go to an
upright position.
But don't have a seatback reclined if
-Jour vehicle is moving.
Page 15 of 308
Downloaded from www.Manualslib.com manuals search engine I
9u I lVlV
A
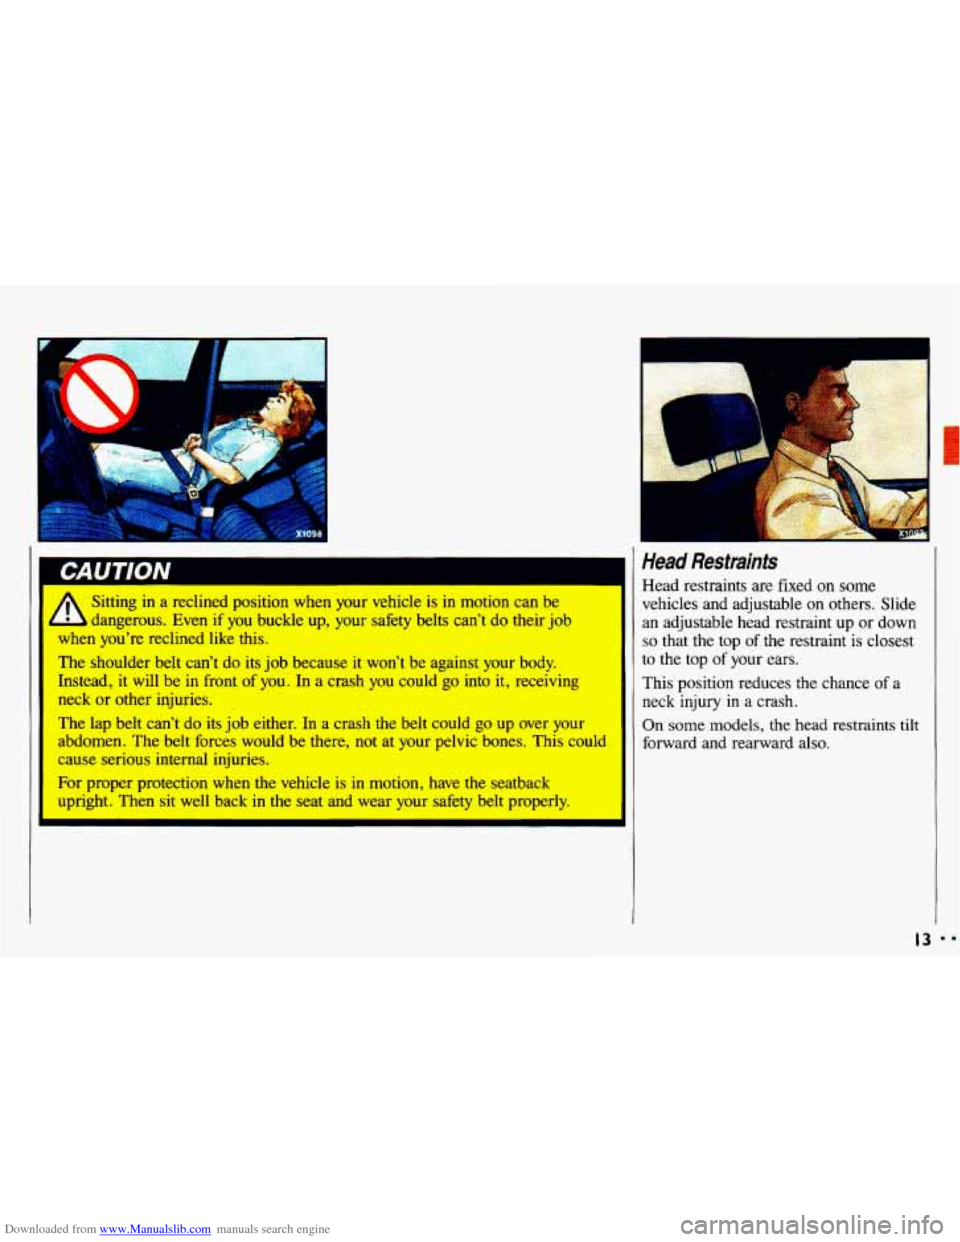
Sitting in a reclined position when your vehicle is in motion can be
dangerous. Even
if you buckle up, your safety belts can’t do their job
when you’re reclined like this.
The shoulder belt can’t do
its job because it won’t be against your body.
Instead, it will be
in front of you. In a crash you could go into it, receiving
neck
or other injuries.
The lap belt can’t do its job either. In
a crash the belt could go up over your
abdomen. The belt forces would be there, not at your pelvic bones.
This could
cause serious internal injuries.
For proper protection when the vehicle
is in motion, have the seatback
upright. Then sit well back in the seat and wear your safety belt properly.
Head Restraints
Head restraints are fixed on some
vehicles and adjustable on others. Slide
an adjustable head restraint up or down
so that the top of the restraint is closest
to the top
of your ears.
This position reduces
the chance of a
neck
injury in a crash.
On some models, the head restraints tilt
forward and rearward also.
L
13 DD
Page 16 of 308
Downloaded from www.Manualslib.com manuals search engine ...
Seats & Safety Belts
Mama/ 4- Way Adjustab/e Driver’s
Seat
(OPTION)
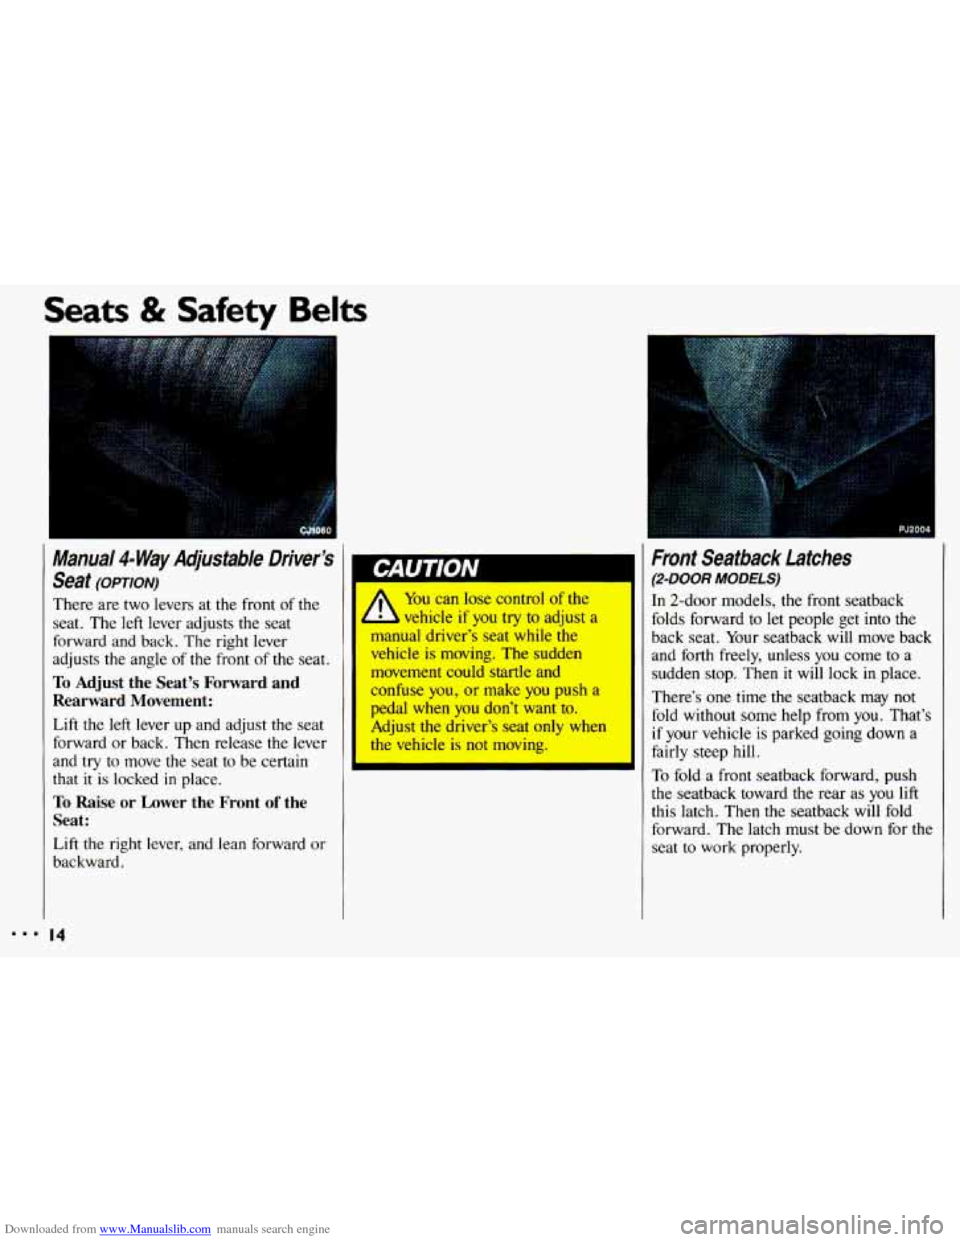
There are two levers at the front of the
seat. The left lever adjusts the seat
forward and back. The right lever
adjusts
the angle of the front of the seat.
To Adjust the Seat’s Forward and
Rearward Movement:
Lift the left lever up and adjust the seat
forward or back. Then release the lever
and
try to move the seat to be certain
that
it is locked in place.
To Raise or Lower the Front of the
Seat:
Lift the right lever, and lean forward or
backward.
14
You can lose control of the
b vehicle if you try to adjust a
manual driver’s seat while the
vehicle
is moving. The sudden
movement could startle and
confuse you, or make you push a
pedal when you don’t want to.
Adjust the driver’s seat only when
the vehicle is not moving.
I
I
I Front Seatback Latches
(2-DOOR MODELS)
In 2-door models, the front seatback
folds forward
to let people get into the
back seat. Your seatback will move back
and
forth freely, unless you come to a
sudden stop. Then it will lock
in place.
There’s one time the seatback may
not
fold without some help from you. That’s
if your vehicle is parked going down a
fairly steep hill.
To fold a front seatback forward, push
the seatback toward the rear as you
lift
this latch. Then the seatback will fold
forward. The latch must be down for the
seat
to work properly.
Page 18 of 308
Downloaded from www.Manualslib.com manuals search engine ...
Seats & Safety Belts
Folding Rear Wagon Seats
To add more cargo room, your rear
seatback can be easily folded down. Be
sure to check your seatback latches now
and then by pushing the seatback back
and forth. If they do not latch properly,
have them checked by your dealer.
Remember to keep safety belts clear of
seat hinges and latches
so they are not
damaged when you raise and lower the
seatback.
&
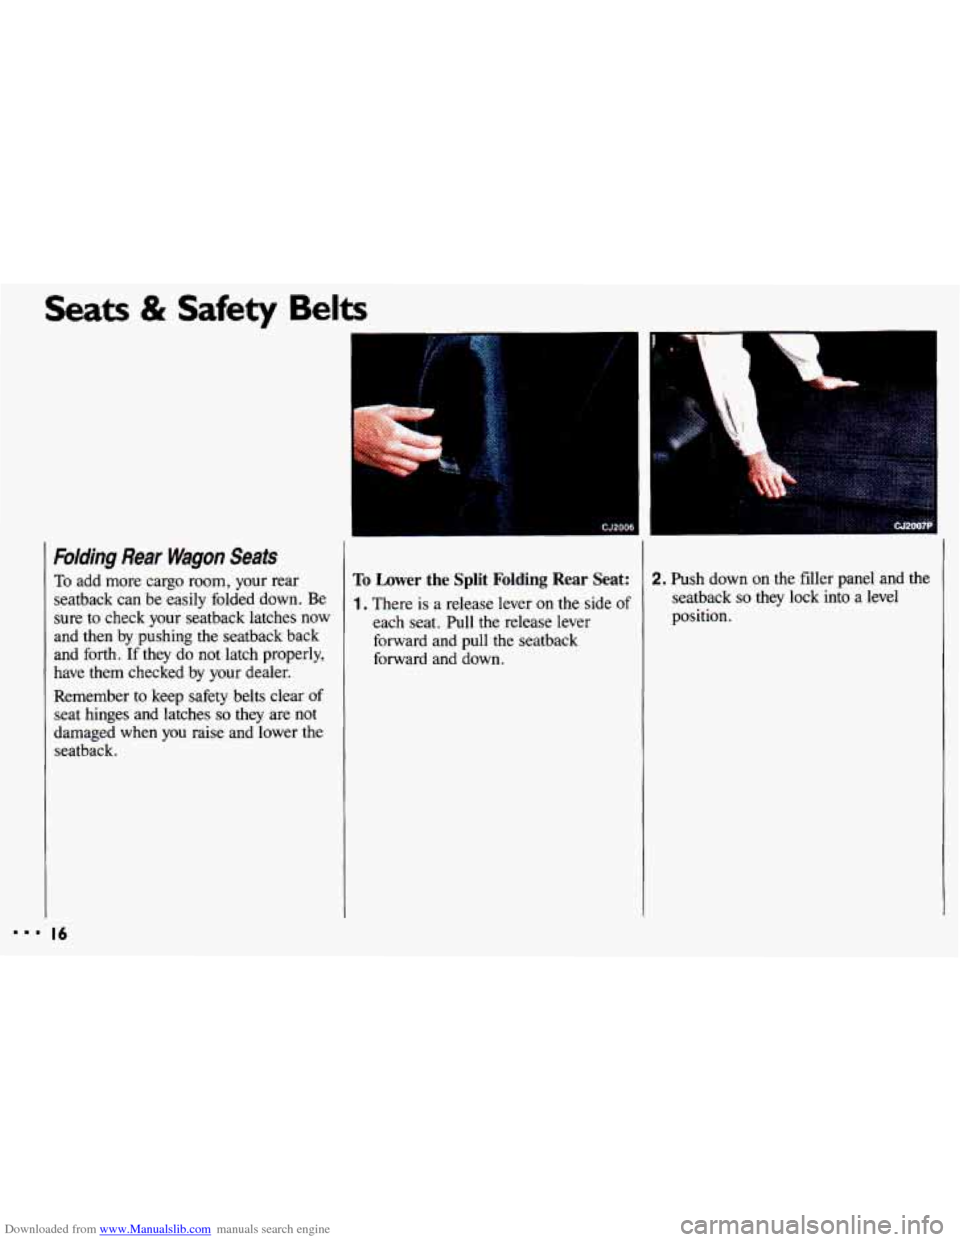
To Lower the Split Folding Rear Seat:
1. There is a release lever on the side of
each seat. Pull the release lever
forward and pull the seatback
forward and down.
1 .-”_ 1
2. Push down on the filler panel and the
seatback
so they lock into a level
position.