1993 CHEVROLET BLAZER change time
[x] Cancel search: change timePage 3 of 386

Important Notes to Owners and Drivers
. . . .About Driving your Blazer: As with other vehicles of this type,
failure to operate this vehicle correctly may result in
loss of control or an
accident. Be sure to read the “on-pavement” and “off-road’’ driving guid\
elines
in this manual. (See “Driving Guidelines” and “Off-Road Dr\
iving With Your
Four-wheel Drive Vehicle” in the Index.)
. . . .About This Manual: Please keep this manual in your vehicle, so it
will be there if you ever need it when you’re on the road. If you sell the
vehicle, please leave this manual
in it so the new owner can use it.
This manual includes the latest information at the time
it was printed, We
reserve the right
to make changes in the product after that time without
further notice. For vehicles first sold in Canada, substitute the. name “General
Motors of Canada Limited” for Chevrolet Motor Division whenever
it appears
in this manual.
. . I .For Canadian Owners Who Prefer a French Language Manual:
Aux proprietaires canadiens: Vous pouvez vous procurer un exemplaire de ce
guide en francais chez votre concessionaire ou au DGN Marketing Services
Ltd.,
1500 Bonhill Rd., Mississauga, Ontario L5T 1C7.
r
GENERAL MOTORS, GM, the GM Emblem, Chevrolet, the Chevrolef Emblem,
BLAZER and SUBURBAN are registered trademarks of General Motors
Corporation.
ii
Page 85 of 386
Shift to R (Reverse) only after your vehicle is stopped. Shifting to R :I
?verse) while your vehicle is moving could damage your transmisslor
Also. use Reverse. alona with the Darkina brake. for oarkina vour ve\
hic.,
.-
Shift Light
1 K2317
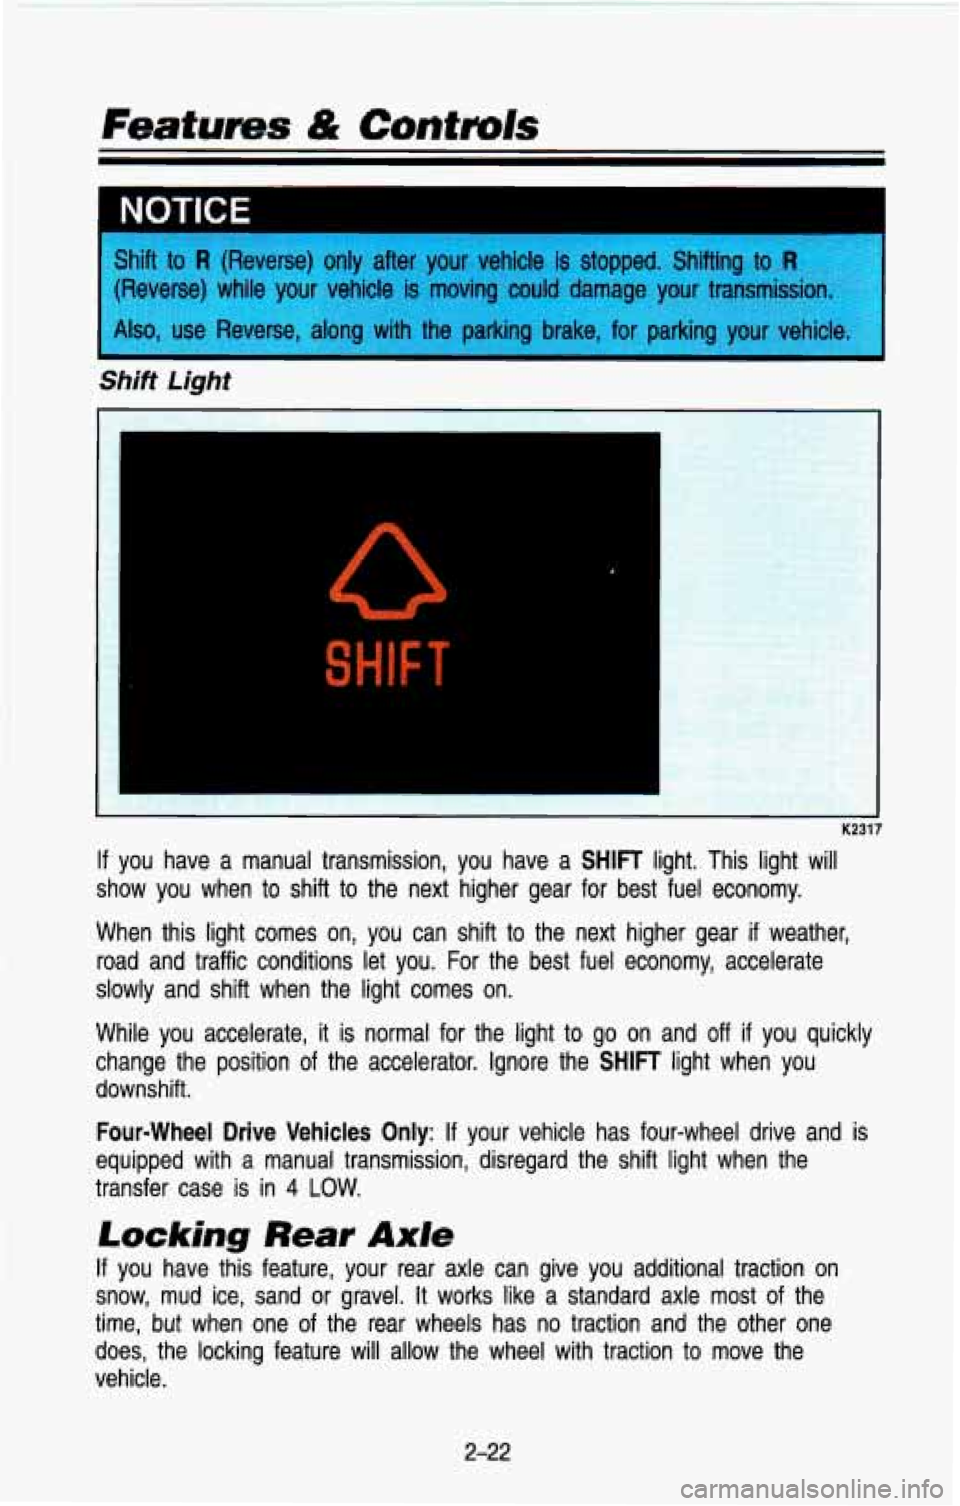
If you have a manual transmission, you have a SHIFT light. This light will
show you when to shift to the next higher gear for best fuel\
economy.
When this light comes on, you can shift to the next higher g\
ear
if weather,
road and traffic conditions let you.
For the best fuel economy, accelerate
slowly and shift when the light comes on.
While you accelerate, it
is normal for the light to go on and off if you quickly
change the position
of the accelerator. Ignore the SHIFT light when you
downshift.
Four-wheel Drive Vehicles Only: If your vehicle has four-wheel drive and is
equipped with a manual transmission, disregard the shift light \
when the
transfer case is in
4 LOW.
Locking Rear Axle
If you have this feature, your rear axle can give you additional \
traction on
snow, mud ice, sand or gravel. It works like a standard axle \
most of the
time, but when one of the rear wheels has no traction and the other one
does, the locking feature will allow the wheel with traction t\
o move the
vehicle.
2-22
Page 101 of 386
Features & Contmls
beam lights with fog lamps at all times, or that headlights be turned on
whenever you must use your windshield wipers. In addition, most jurisdictions
prohibit driving solely with parking lights, especially
at dawn or dusk. It is
recommended that you check with your own state or provincial h\
ighway
authority for applicable lighting regulations.
Head/ight Hiah-Low Beam
F. p h*' .- ..
K2242
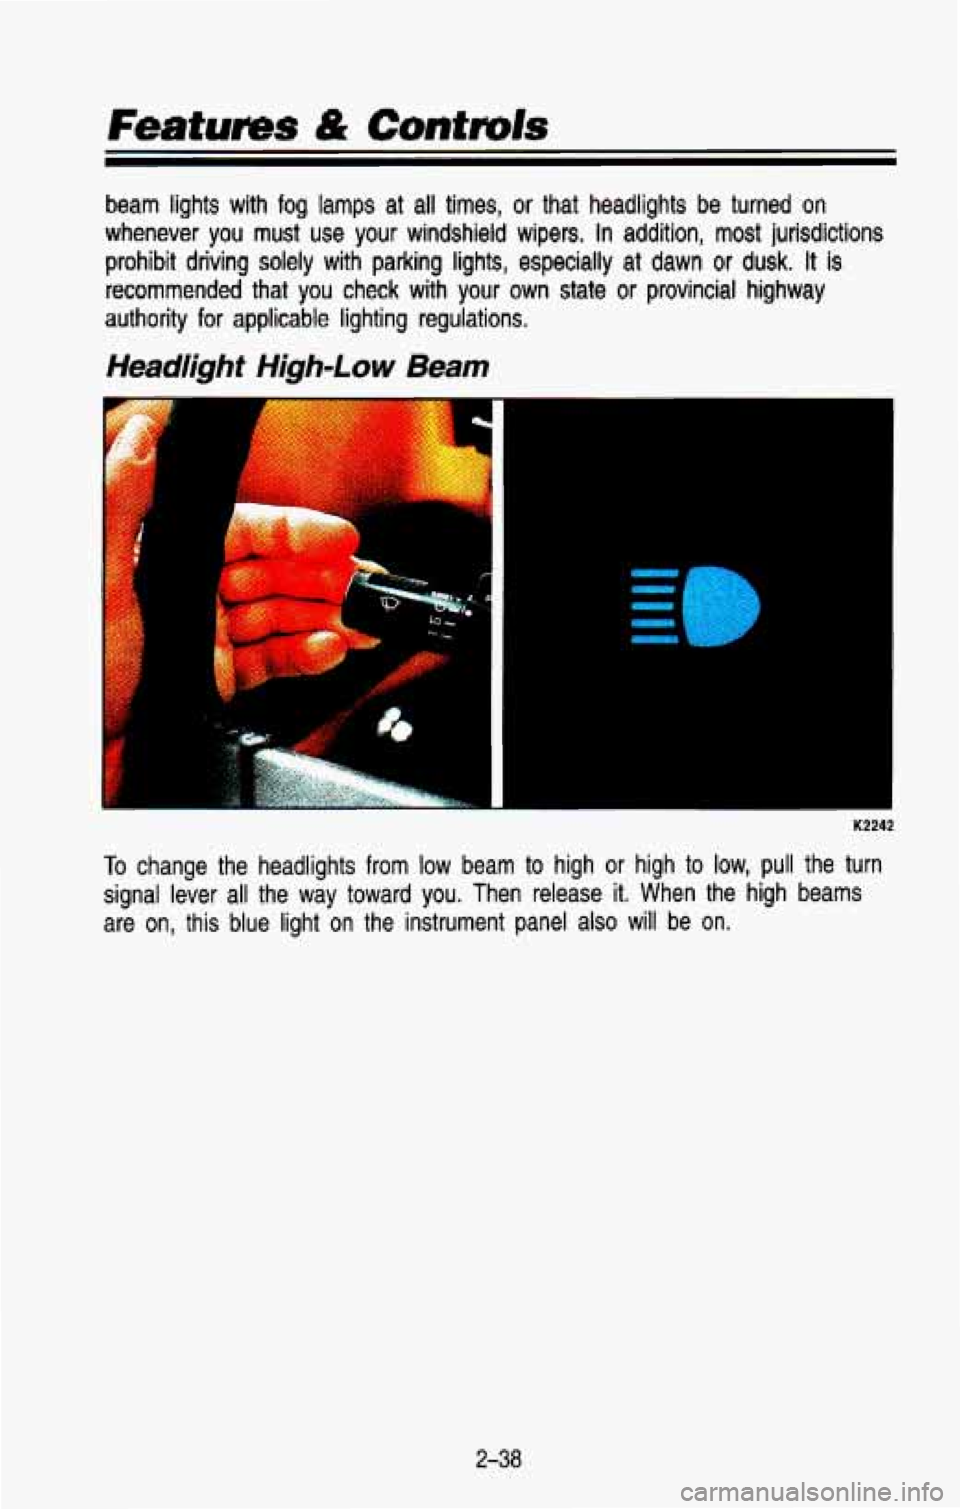
To change the headlights from low beam to high or high to low, pull the turn
signal lever all the way toward you. Then release it. When the high beams
are on, this blue light on the instrument panel
also will be on.
2-38
Page 111 of 386
Features & Controls
The high beam headlights will come on at reduced brightness in\
Daylight
when:
The ignition is on
The headlight switch is off, and
The parking brake is released
When you turn on your headlights, the DRL will switch
off and the exterior
lights come on. When you turn
off the headlights, the exterior lights will go
out and the high beams
will change to the reduced brightness of DRL again.
The DRL indicator light on the instrument panel will go on wh\
enever the DRL are
on. This light means that only the DRL are on. When you turn on your
exterior lights, this light will go out.
Of course, you may still turn on the
headlights any time you need to.
To idle your vehicle with the DRL
off, set the parking brake. The DRL will
stay off until you release the parking brake.
Dome Lights
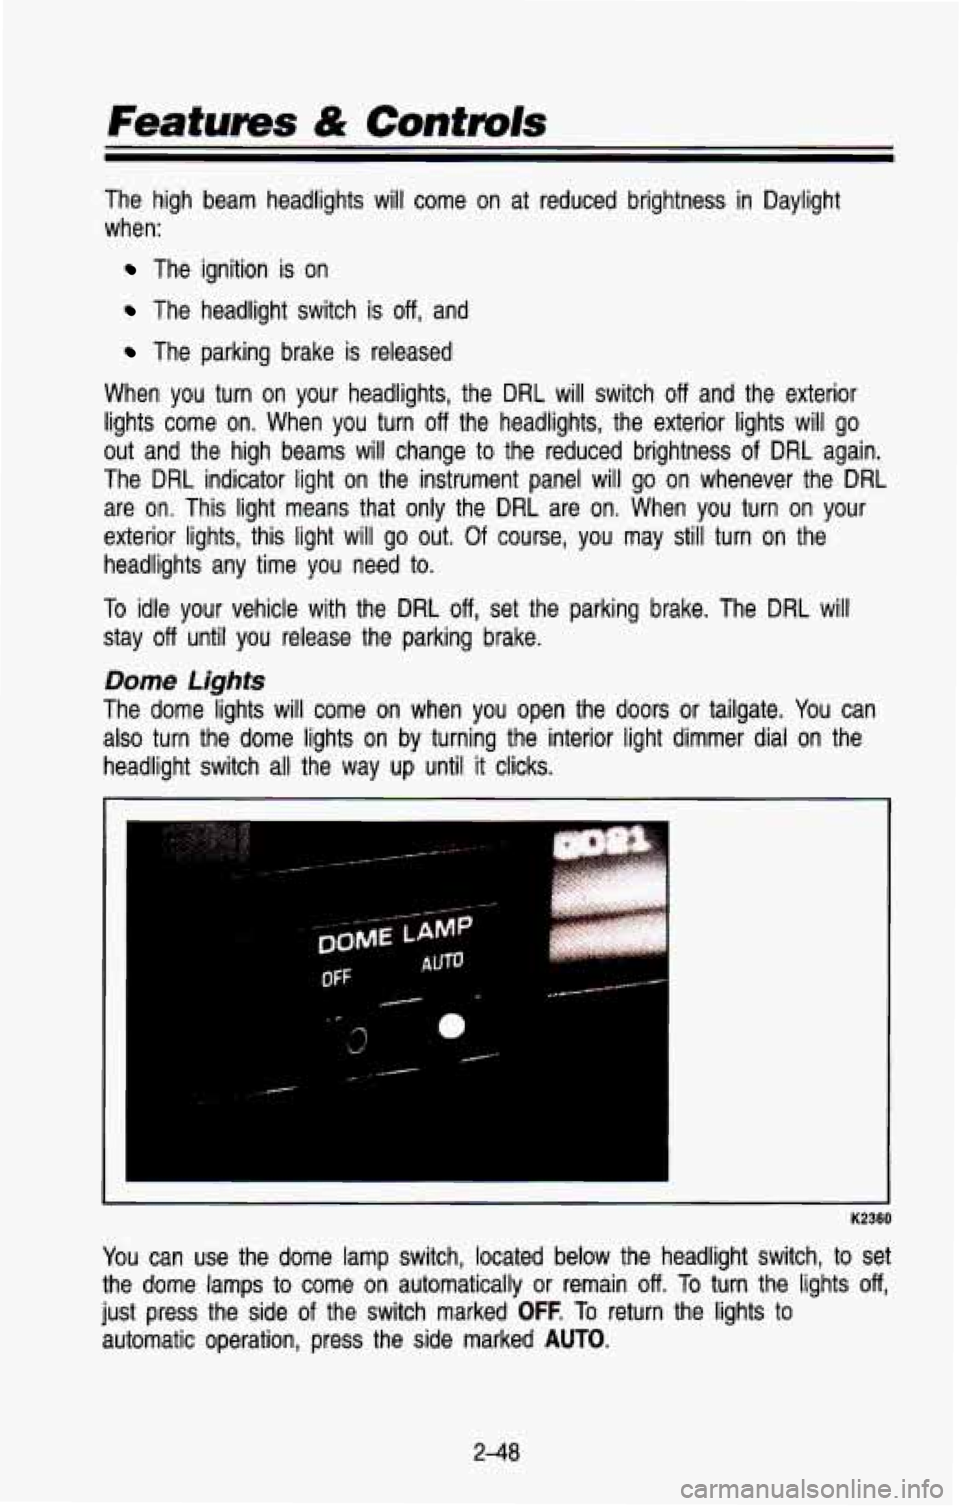
The dome lights will come on when you open the doors or tailgate. You can
also turn the dome lights on by turning the interior light dimmer dial on the
headlight switch all the way
up until it clicks.
K2360
You can use the dome lamp switch, located below the headlight swit\
ch, to set
the
dome lamps to come on automatically or remain off. To turn the lights off,
just press the side of the switch marked OFF. To return the lights to
automatic operation, press the side marked
AUTO.
2-48
Page 175 of 386
Pavement Markings
NO PASSING ZONE
AM40201 6
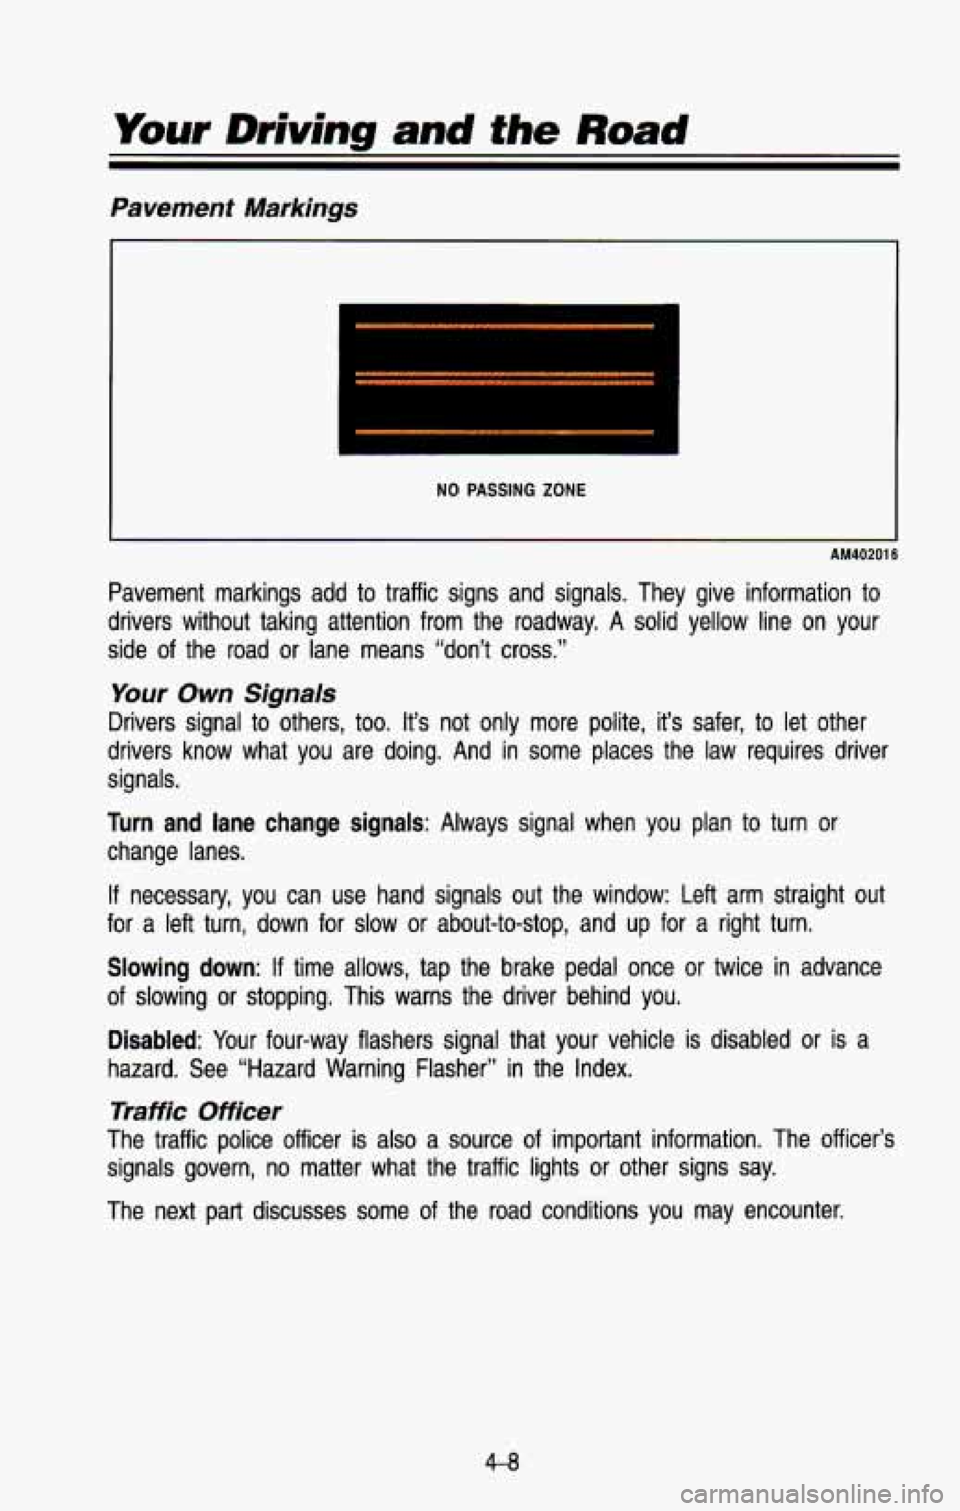
Pavement markings add to traffic signs and signals. They give information to
drivers without taking attention from the roadway. A solid yell\
ow line on your
side of the road or lane means “don’t cross.”
Your Own Signals
Drivers signal to others, too. It’s not only more polite, it’s safer, to let other
drivers know what you are doing. And in some places the law requires driver
signals.
Turn and lane change signals: Always signal when you plan to turn or
change lanes.
If necessary, you can use hand signals out the window: Left arm straight out
for
a left turn, down for slow or about-to-stop, and up for a right\
turn.
Slowing down: If time allows, tap the brake pedal once or twice in advance
of slowing or stopping. This warns the driver behind you.
Disabled: Your four-way flashers signal that your vehicle is disabled or \
is a
hazard. See “Hazard Warning Flasher” in the Index.
Traffic Officer
The traffic police officer is also a source of important information. The officer’s
signals govern, no matter what the traffic lights or other signs say. \
The next part discusses some of the road conditions you may e\
ncounter.
4-8
Page 183 of 386
Your Driving and fhe Road
AM41501 6
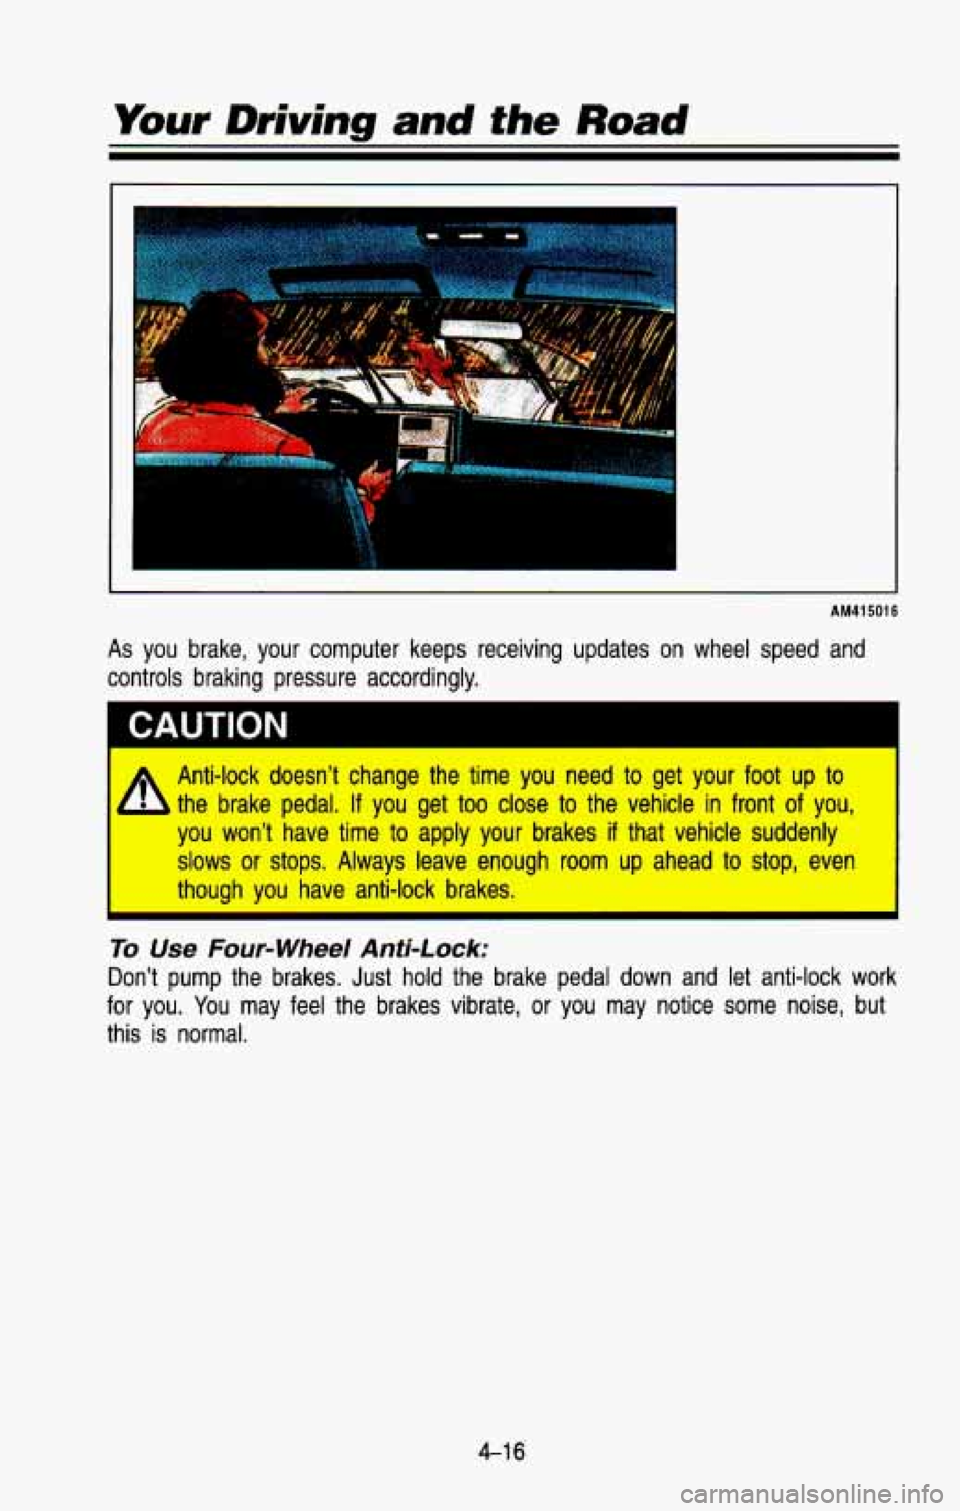
As you brake, your computer keeps receiving updates on wheel speed and
controls braking pressure accordingly.
CAUTION I
A Anti-lock doesn’t change the time you need to get your foot up to
- the brake pedal, If you get too close to the vehicle in front of you,
you won’t have time to apply your brakes if that vehicle suddenly
slows or stops. Always leave enough room up ahead to stop, even
I though you have anti-lock brakes. I
To Use Four-wheel Anti-Lock:
Don’t pump the brakes. Just hold the brake pedal down and let anti-lock work
for you.
You may feel the brakes vibrate, or you may notice some noise, but
this
is normal.
4-1 6
Page 185 of 386
Your Driving and the Road
Rear Drum Brakes
Your rear drum brakes don’t have the wear indicators, but if you ever hear a
rear brake rubbing noise, have the rear brake lining inspected.\
Also, the rear
brake drums should be removed and inspected each time the tire\
s are removed for rotation or changing. When you have the front brak\
es replaced,
have the rear brakes inspected, too.
Brake linings should always be replaced as complete axle sets. \
Brake Pedal Travel
See your dealer if the brake pedal does not return to normal height, or if
there is a rapid increase in pedal travel. This could be a sign of brake
trouble.
Brake Adjustment
Every time you make a brake stop, your disc brakes adjust for\
wear. If your
brake pedal goes down farther than normal, your rear drum brak\
es may need
adjustment. Adjust them by backing up and firmly applying the brakes a few
times.
Braking In Emergencies
Use your anti-lock braking system when you need to. With anti-lock, you \
can
steer and brake at the same time. In many emergencies, steerin\
g can help
you more than even the very best braking.
Steering
Power Steering
If you lose power steering assist because the engine stops or the\
system
fails to function, you can steer but it will take much more effort.
Steering Tips
Driving on Curves
It’s important to take curves at a reasonable speed.
A lot of the “driver lost control” accidents mentioned on the n\
ews happen on
curves. Here’s why:
Experienced driver
or beginner, each of us is subject to the same laws of
physics when driving on curves. The traction of the tires against the road
surface makes
it possible for the vehicle to change its path when you turn
the front wheels.
If there’s no traction, inertia will keep the vehicle going in
the same direction.
If you’ve ever tried to steer a vehicle on wet ice, you’ll \
understand this.
4-1 8
Page 189 of 386
Your Driving and the Road
Watch for traffic signs, pavement markings, and lines. If you can see a
sign up ahead that might indicate a turn
or an intersection, delay your
pass.
A broken center line usually indicates it’s all right to pass
(providing the road ahead is clear). Never cross a solid lin\
e on your side
of the lane
or a double solid line, even if the road seems empty of
approaching traffic.
If you suspect that the driver of the vehicle you want to pass isn’t aware
of your presence, tap the horn a couple of times before passi\
ng.
Do not get too close to the vehicle you want to pass while you’re
awaiting an opportunity.
For one thing, following too closely reduces your
area
of vision, especially if you’re following a larger vehicle. Also, you
won’t have adequate space
if the vehicle ahead suddenly slows or stops.
Keep back a reasonable distance.
When it looks like a chance
to pass is coming up, start to accelerate
but stay in the right lane and don’t get too close. Time your move
so
you will be increasing speed as the time comes to move into the other
lane.
If the way is clear to pass, you will have a “running start” that
more than makes up for the distance you would lose by dropping back.
And
if something happens to cause you to cancel your pass, you need
only slow down and drop back again and wait for another opportunity.
If other cars are lined up to pass a slow vehicle, wait your turn. But
take care that someone isn’t trying
to pass you as you pull out to pass
the
slow vehicle. Remember to glance over your shoulder and check the
blind spot.
Check your mirrors, glance over your shoulder, and start your
left lane
change signal before moving out of the right lane to pass. When you
are far enough ahead of the passed vehicle to see its front in your
inside mirror, activate your right lane change signal and move \
back into
the right lane. (Remember that your right outside mirror is convex. The
vehicle
you just passed may seem to be farther away from you than it
really is).
Try not to pass more than one vehicle at a time on two-lane roads.
Reconsider before passing the next vehicle.
Don’t overtake a slowly moving vehicle too rapidly. Even tho\
ugh the
brake lights are not flashing,
it may be slowing down or starting to turn.
If you’re being passed, make it easy for the following driver to get ahead
of you. Perhaps you can ease a little to the right.
4-22