1993 CHEVROLET BLAZER roof
[x] Cancel search: roofPage 109 of 386

Features & Controls
Headlights and Vehicle Lighting
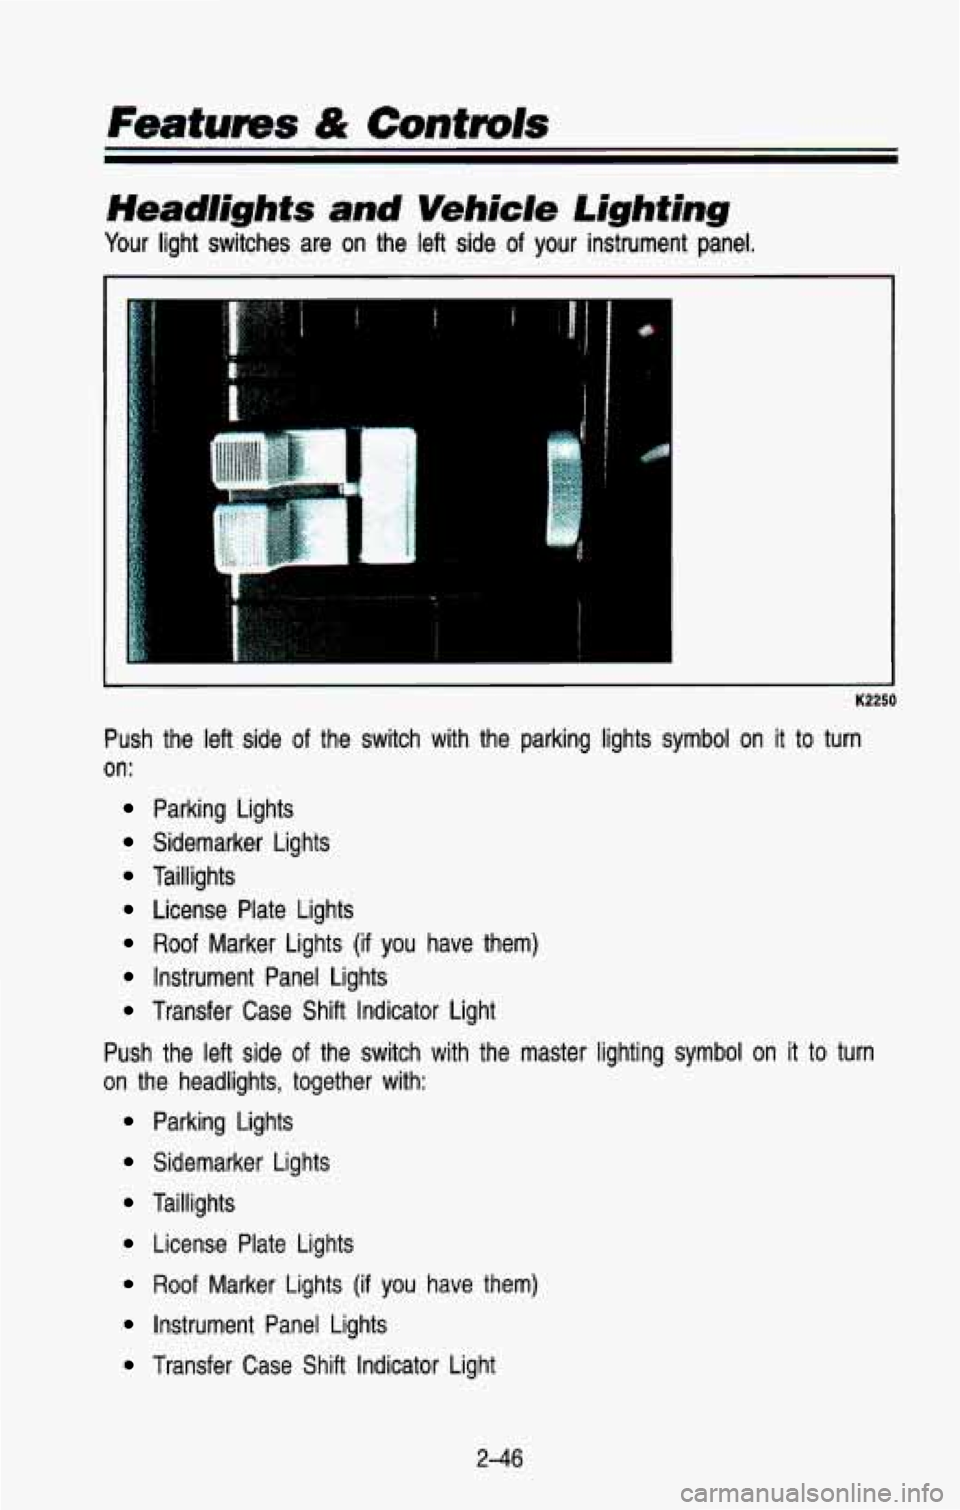
Your light switches are on the left side of your instrument panel.
!
K2250
Push the left side of the switch with the parking lights symbol on it to turn
on:
Parking Lights
Sidemarker Lights
Taillights
License Plate Lights
Roof Marker Lights (if you have them)
Instrument Panel Lights
Transfer Case Shift Indicator Light
Push the left side of the switch with the master lighting symbol on it
to turn
on the headlights, together with:
Parking Lights
Sidemarker Lights
Taillights
License Plate Lights
Roof Marker Lights (if you have them)
Instrument Panel Lights
Transfer Case Shift Indicator Light
2-46
Page 143 of 386

Features & Controls
You can only drive for a short time with the reading in either warning zone. If
you must drive, turn off all unnecessary accessories, and have the vehicle
serviced as soon
as possible.
Convenience Net
CAUTION
A
An improperly stored convenience net could be thrown about the
vehicle during a collision
or sudden maneuver. You or others could
be injured. When you are done using the convenience net, always
store it in its original storage pouch,
and securely reattach the pouch
on the rear side of the spare tire cover.
I
PO22
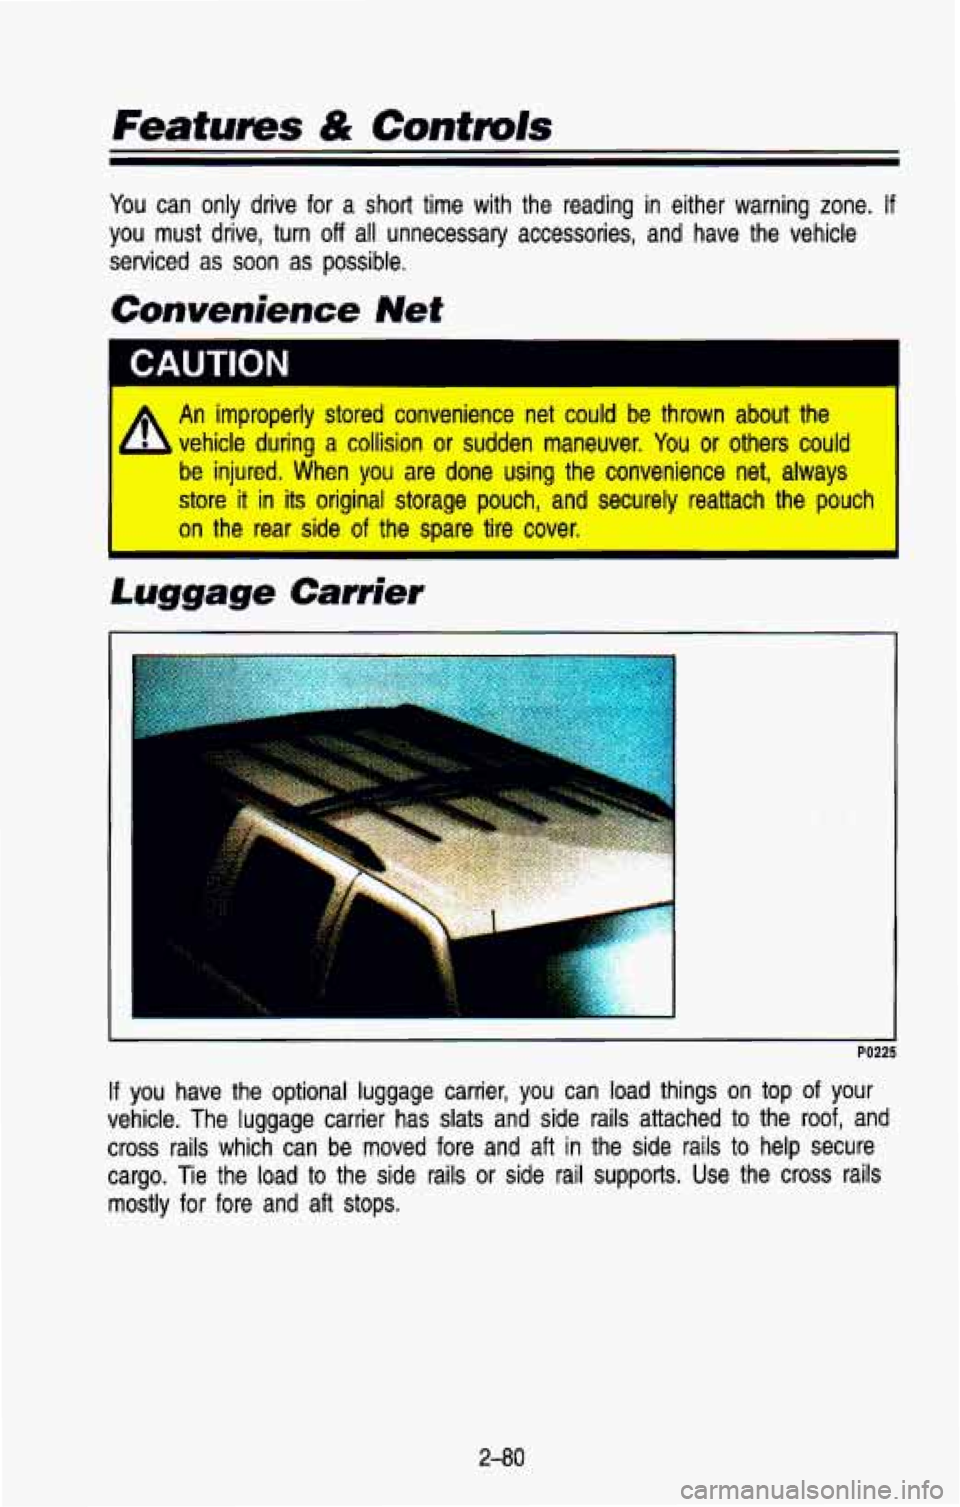
If you have the optional luggage carrier, you can load things on top of your
vehicle. The luggage carrier has slats and side rails attached \
to the roof, and
cross rails which can be moved fore and aft in the side rail\
s to help secure
cargo. Tie the load to the side rails or side rail supports. Use the cross rails
mostly for fore and aft stops.
2-80
Page 144 of 386

NOTICE
Don’t exceed the maximum vehicle capacity when loading your \
vehicle. For
more information on vehicle capacity and loading, see “Loadin\
g Your Vehicle”
in the Index.
To prevent damage or loss of cargo as you’re driving, check now and then to
make sure the luggage carrier and cargo are still securely fastened.
Be sure the cargo is properly loaded.
If small heavy objects are placed on the roof, place the load in the area
over the rear wheels (behind the rear side door on wagon mod\
els).
If
you need to, cut a piece of 3/8 inch plywood to fit inside the cross rails
and side rails to spread the load.
If plywood is used, tie it to the side
rail supports.
Tie the load to the cross rails or the side rail supports. Use the cross
rails only to keep the load from sliding.
If you need to carry long items, move the cross rails as far\
apart as
they will go. Tie the load to the cross rails and the side \
rails or side rail supports. Also tie the load to the bumpers.
Do not tie the load so tightly
that the cross rails or side rails are damaged.
After moving the cross rails, be sure to tighten all the slider screws.
To reduce wind noise, the cross rails must be installed with the \
narrow edge
toward the front of the vehicle.
Also, the front cross rail should be about 8 inches (200 mm) behind the front
anchor on Utility models.
2-8 1
Page 192 of 386

Loading Your Vehicle for Off-Road Driving
There are some important things to remember about how to load \
your
vehicle.
The heaviest things should be on the load floor and forward of your rear
axle. Put heavier items as far forward as you can.
Be sure the load is secured properly, so driving on the off-road terrain
doesn’t toss things around.
rn CAUTION
m m
Cargo on the load floor piled higher than the seatbacks can be
thrown forward during
a sudden stop. You or your passengers
could
be injured. Keep cargo below the top of the seatbacks.
Unsecured
cargo on the load floor can be tossed about when
driving over rough terrain.
You or your passengers can be struck
by flying objects. Secure the cargo properly.
Heavy loads on the roof raise the vehicle’s center
of gravity,
making
.it more likely to roll over. You can be seriously or fatally
injured
if the vehicle rolls over. Put heavy loads inside the cargo
area, not on the roof. Keep
cargo in the cargo area as far
forward and
low as possible. I
You’ll find other important information in this manual. See “Vehicle Loading”,
“Luggage Carrier” and “Tires” in the Index.
Traveling to Remote Areas
It makes sense to plan your trip, especially when going to a \
:emote area.
Know the terrain and plan your route. You are much less likely
to get bad
surprises. Get accurate maps of trails and terrain.
Try to learn of any blocked
or closed roads.
It‘s also a good idea to travel with at least one other vehicle. If something
happens to one of them, the other can help quickly.
Does your vehicle have a winch?
If so, be sure to read the winch
instructions. In a remote area,
a winch can be handy if you get stuck. But
you’ll want to know how to use it properly.
Getting Familiar with Off-Road Driving
It’s a good idea to practice in an area that’s safe and close to home befor\
e
you go into the wilderness. Off-road driving does require some \
new and
different driving skills. Here’s what
we mean.
4-25
Page 307 of 386

Roof Marker Lights
e
1. Remove the screws and lift off the lens.
2. Pull the bulb straight out of the socket
3. Put a new bulb into the socket and push it in until it is tight.
4. Replace the lens and tighten the screws.
Rear Lights
PO498
1 I Open the tailgate or rear doors.
6-42
Page 337 of 386

Service & Appearance Care
Light Bulb Data
Lamp or Bulb
6052
Headlamps: 2 Headlamp System
Exterior Liqhts:
Trade No.
Haloaen (Opt.) H6054
Headlamps: 4 Headlamp System
9005
(Composite) 9006
Interior Lights:
Dome Lamps 21
1-2
I Readina Lamps I 211-2
Roof Console Lamps
1 94
Instrument Panel Compartment Lamp 1
94
Four Wheel Drive Shift Lever 161
Four Wheel Drive Indicator 194
, Heater or
NC Control Lamp 1003
, Courtesy Lamp
168
1 Ashtray Lamp I 194
Malfunction Indicator (“Service Engine
-
Soon”)
*Suburban only tCanadian Vehicles only
74
Upshift Indicator 74
Power Rating
55/65 121
35/65
2
65
2
1 Candle Power
,,.,I
32-2
11
10
12 2
XI
TO293
6-72
Page 379 of 386

INDEX
H
Halogen Bulbs .............................. 6.38
Hazard Warning Flashers
.............. 5-2
Head Restraints
.............................. 1-5
Headlights
............... 2-46, 6-38, 6-43
Composite
.................................. 6-39
High Beam Indicator Light
...... 2-74
High-Low Beam
............. 2-38, 4-36
Reminder
................................... 2-47
Replacement
................... 6-37, 6-72
Sealed Beam
............................. 6-38
Heating System (with AIC)
........... 3-5
Rear (Wagon Models)
................ 3-8
Rear Window Defogger
........... 3-11
System Controls
......................... 3-6
Heating System (without AIC)
..... 3-4
Fan Knob ..................................... 3-4
Function Lever
............................ 3-4
Rear Window Defogger
........... 3-1 1
Temperature Lever ...................... 3-4
Highway Hypnosis
........................ 4-46
Hitches
........................................... 4-59
Hood
Latches and Hinge ................... 6-36
Release
........................................ 6-8
Horn
............................................... 2-35
Hydraulic Clutch
........................... 6-21
Grease Fitting
............................ 6-23
Hydroplaning
................................. 4-38
1
If You’re Stuck In Sand, Mud,
Ice or Snow
.............................. 5-31
Ignition Switch
.............................. 2-1 1
Inflation-Tire Pressure ................. 6-49
Instrument Panel
.......................... 2-62
Standard Cluster
....................... 2-64
J
Jack and Tools ............................. 5-18
Removal ..................................... 5-1 8
Storage
............................ 5-29, 5-30
Jump Starting
................................. 5-3
K
Key Release Lever ....................... 2-13
Keys
................................................. 2-3
L
Lights ............................................. 2-46
Brake System Warning
............ 4-17
Bulb Replacement .................... 6-37
Charging System Light
........... 2-71
Check Gages Light
.................. 2-73
Dome
......................................... 2-48
Front Parkingnurn Signal
........ 6-40
Headlights (See “Headlights”)
Indicator
..................................... 2-68
Operation
................................... 2-37
Reading
..................................... 2-49
Roof Marker
.............................. 6-42
Service Engine
Soon ..... 2-72, 6-45
Rear
........................................... 6-42
Replacement Chart
.................. 6-72
Side Marker
.............................. 6-41
Underhood Reel
....................... 2-50
Loading Your Vehicle
........ 4-25, 6-46
Add-on Equipment
................... 6-48
Lubrication
..................................... 6-35
Accelerator Control System
.... 6-35
Constant Velocity Joints
......... 6-36
Front Axle
................................. 6-24
Front Shock Absorbers
........... 6-34
Front Suspension and Steering Linkage
................... 6-34
Front Wheel Bearings
.............. 6-34
Tailgate Handle
......................... 6-37
Hydraulic Clutch Grease Fitting
....................... 6-23
Hood Latches and Hinge
........ 6-36
Lock Cylinders
.......................... 6-36
Propeller Shaft Slip Splines
... 6-36
Rear Axle
.................................. 6-24
Recommended Lubricants
...... 7-25
Transfer Case
............................ 6-23
Luggage Carrier
........................... 2-80
Body
........................................... 6-36
9-4