Page 86 of 345

Downloaded from www.Manualslib.com manuals search engine Features & Controls
Turn Signal and Lane Change hdicator
The turn signal has two upward (for Right) and two downward \
(for Left)
positions. These positions allow you to signal a turn or a la\
ne change.
To signal a turn, move the lever all the way up or down. When the turn is
finished, the lever will return automatically.
A green arrow on the instrument panel will flash in the direction of the turn
or lane change.
To signal a lane change, just raise or lower the lever until the green arrow
starts to flash.
Hold it there until you complete your lane change. The lever
will return by itself when you release it.
As you signal a turn or a lane change, if the arrows don't flash but just stay
on, a signal bulb may be burned out and other drivers won't see your turn
signal.
If a bulb is burned out, replace it to help avoid an accident. If the green
arrows don't go on at all when you signal a turn, check the \
fuse (see "Fuses" in the Index) and for burned-out bulbs.
If you have a trailer towing option with added wiring for the tr\
ailer lights, a
different turn signal flasher is used. With this flasher installed, the signal
indicator will flash even
if a turn signal bulb is burned out. Check the front
and rear turn signal lights regularly to make sure they are working.
2-30
Page 87 of 345

Downloaded from www.Manualslib.com manuals search engine Operation of Lights
Although your vehicle's lighting system (headlights, parking lig\
hts, fog lamps,
side marker lights and tail lights) meet all applicable Federal lighting
requirements, certain states and provinces may apply their own \
lighting
regulations that may require special attention before you operate these lights.
For example, some jurisdictions may require that you operate yo\
ur lower
beam lights with fog lamps at all times, or that headlights be turned on
whenever you must use your windshield wipers. In addition, most jurisdictions
prohibit driving solely with parking lights, especially at dawn or dusk.
It is
recommended that you check with your own state or provincial h\
ighway
authority for applicable lighting regulations.
Headlight High-Low Beam
I
PO433
To change the headlights from low beam to high or high to low, pull the turn
signal lever all the way toward you. Then release
it. When the high beams
are on, a blue light on the instrument panel also will be on\
.
2-31
Page 88 of 345

Downloaded from www.Manualslib.com manuals search engine Windshield Wipers
PO478
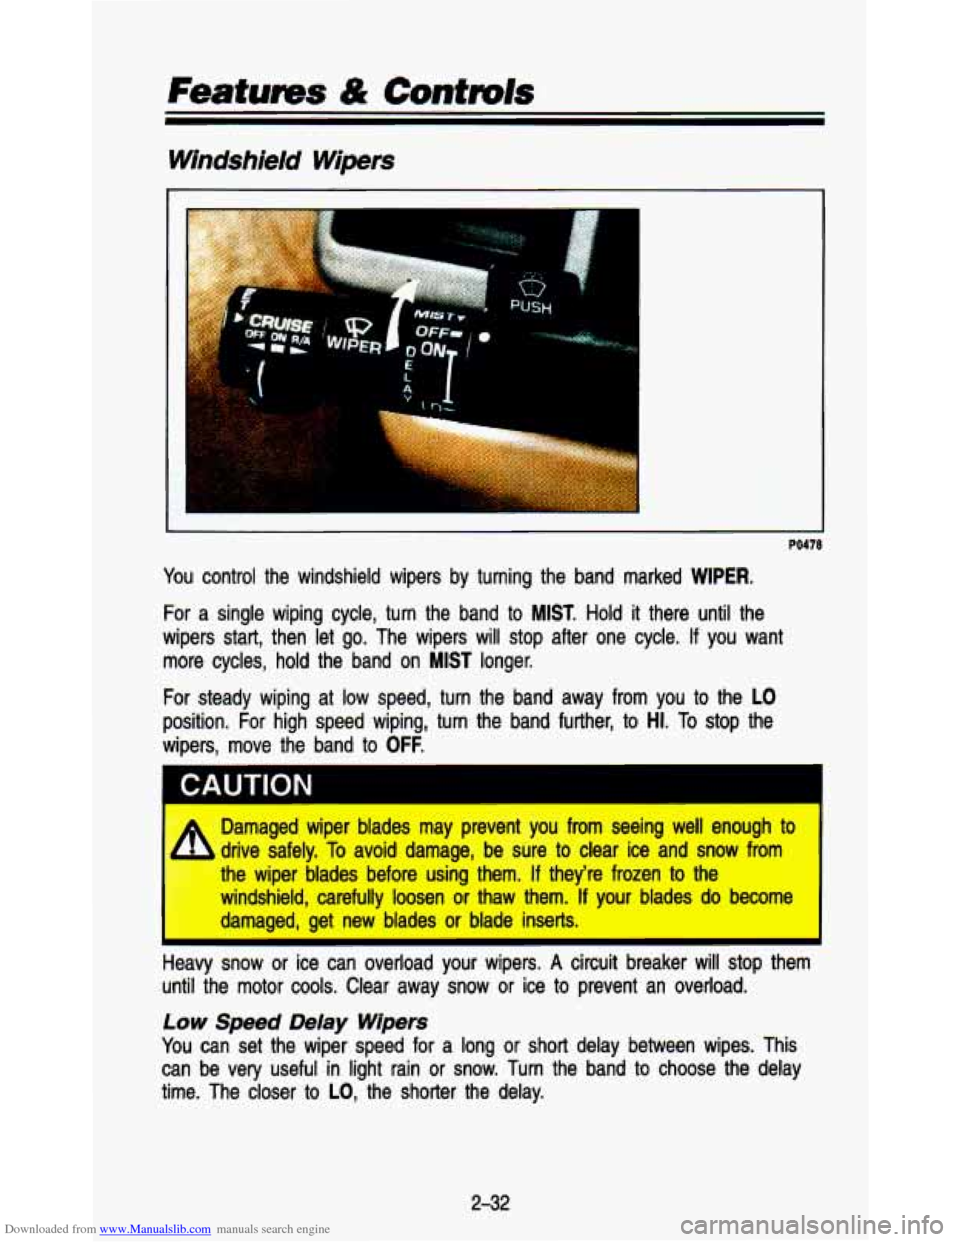
You control the windshield wipers by turning the band marked WIPER.
For a single wiping cycle, turn the band to MIST. Hold it there until the
wipers start, then let go. The wipers will stop after one cyc\
le.
If you want
more cycles, hold the band on
MIST longer.
For steady wiping at low speed, turn the band away from you to the
LO
position. For high speed wiping, turn the band further, to HI. To stop the
wipers, move the band to
OFF.
‘ ~~~ CAUTION I
Damaged wiper blades may prevent you from seeing well enough to
drive safely. To avoid damage, be sure to clear ice and snow from
the wiper blades before using them.
If they’re frozen to the
windshield, carefully loosen or thaw them.
If your blades do become
damaged, get new blades or blade inserts.
I
A
Heaw snow or ice can overload your wipers. A circuit breaker will stop them
unt.. .he motor cools. Clear away snow
or ice to prevent an overload.
LOW Speed Delay Wipers
You can set the wiper speed for a long or short delay between wi\
pes. This
can be very useful in light rain or snow. Turn the band
to choose the delay
time. The closer
to LO, the shorter the delay.
2-32
Page 96 of 345
Downloaded from www.Manualslib.com manuals search engine Featums & Controls
To Get Out of Cruise Confrol
, ,) . I
:A
. .. ./. ..
PO429
There are two ways to turn off the Cruise Control:
1. Step lightly on the brake pedal OR
2. Move the Cruise switch to OFF.
To Erase Speed Memory
When you turn off the Cruise Control or the ignition, your Cruise Control
memory
is erased.
Lights
. .. , . .. . . .. . , . . ... . . .... .-
. ..
PO397
2-40
Page 97 of 345

Downloaded from www.Manualslib.com manuals search engine Your light switches are on the left side of the instrument panel above the
vent.
Press the top light switch
to the left to turn on:
Parking Lights
Taillights
License Plate Lights
Instrument Panel Lights
Press the bottom light switch to the left to turn on the headlights, together
with:
Parking Lights
Taillights
License Plate Lights
Instrument Panel Lights
Press both switches to the right to turn
off your lights.
Turn the dial above the light switches to the left
to dim your instrument panel
lights.
Turn the dial to the right to brighten your instrument panel lights.
If you turn
the dial all the way
to the right until it clicks, your interior lights will come on.
You can switch your headlights from high to
low beam by pulling on the
multifunction lever on the left of the steering column.
A circuit breaker protects your headlights. If you have an electrical overload,
your headlights will flicker on and
off. Have your headlight wiring checked
right away
if this happens.
2-41
Page 98 of 345
Downloaded from www.Manualslib.com manuals search engine Features & Contmls
PO396
Use your optional fog lamps for better vision in foggy or misty conditions.
Your parking lights and/or low beam headlights must be on or your fog lamps
won't work.
Your fog lamp switch
is in the center of the instrument panel above the radio.
Slide the right side
of the switch to turn the fog lamps on, and the left side
of the switch to turn them
off. A warning light in the switch will remind you
that your fog lights are
on.
Remember, fog lamps alone will not give off as much light as your headlights.
Never use your fog lamps in the dark without turning on your headlights.
Fog lamps will go
off whenever your high beam lights come on. When the
high beams go
off, the fog lamps will come on again.
2-42
Page 99 of 345

Downloaded from www.Manualslib.com manuals search engine Daytime Running Lights (DM) lndicator Light (Canada Only)
K3269
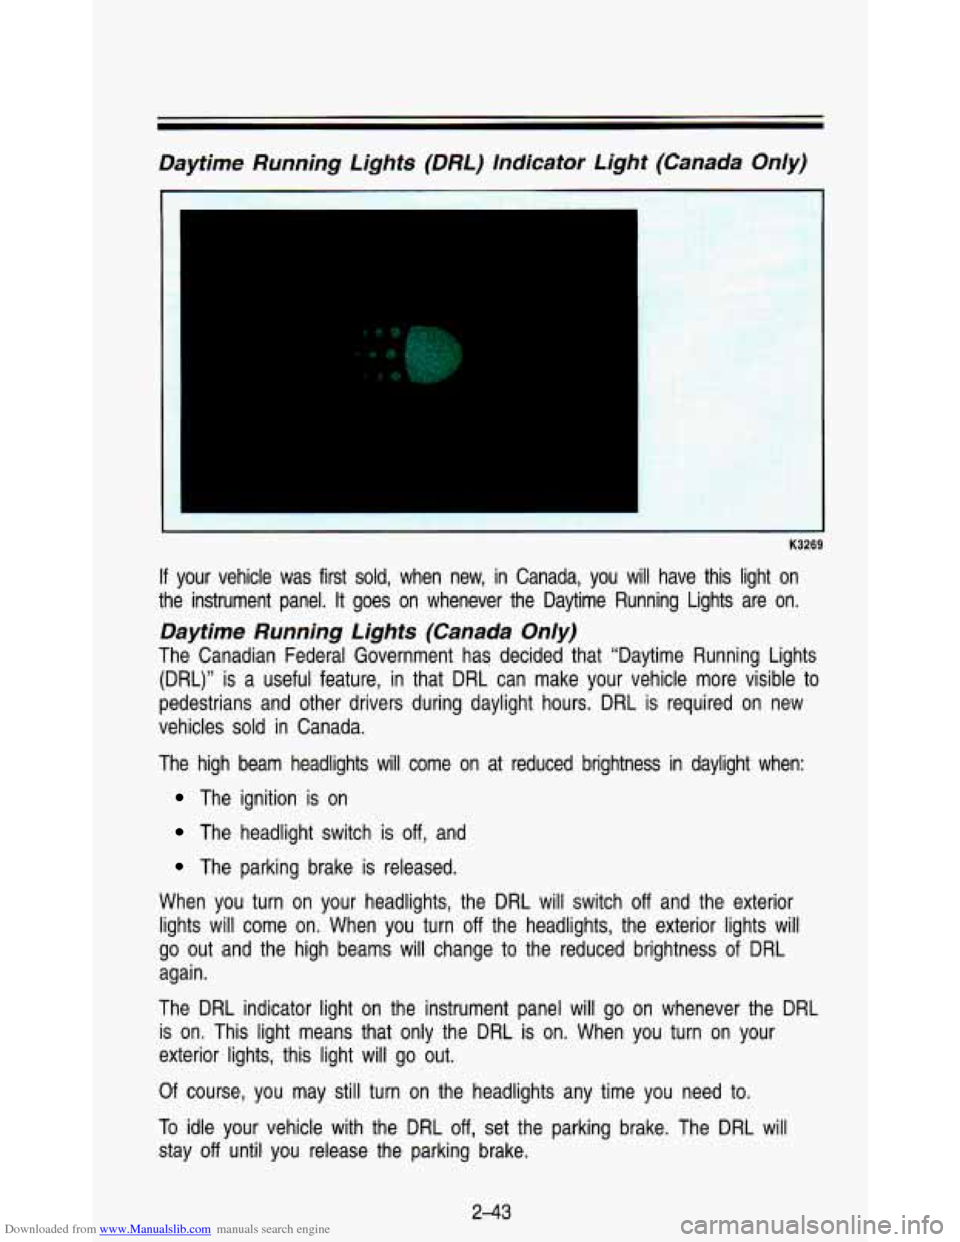
If your vehicle was first sold, when new, in Canada, you will ha\
ve this light on
the instrument panel. It goes on whenever the Daytime Running Lights are on.
Daytime Running Lights (Canada Only)
The Canadian Federal Government has decided that “Daytime Run\
ning Lights
(DRL)” is a useful feature, in that DRL can make your vehicle more visible to
pedestrians and other drivers during daylight hours. DRL is required on new
vehicles
sold in Canada.
The high beam headlights will come on at reduced brightness in\
daylight when:
The ignition is on
The headlight switch is off, and
The parking brake is released.
When you turn on your headlights, the DRL will switch
off and the exterior
lights will come on. When you turn off the headlights, the exterior lights will
go out and the high beams will change to the reduced brightness of
DRL
again .
The DRL indicator light on the instrument panel will go on wh\
enever the DRL
is on. This light means that only the DRL is on. When you turn on your
exterior lights, this light will go out.
Of course, you may still turn on the headlights any time you need to.
To idle your vehicle with the DRL off, set the parking brake. The DRL will
stay
off until you release the parking brake.
2-43
Page 100 of 345
Downloaded from www.Manualslib.com manuals search engine Featums & Contmls
Headlights-On Reminder
If you have this option, a reminder tone will sound when your headlights are
turned on and your ignition is
in Off, LOCK or Acc. To turn the tone off,
press both light switches to the right.
Dome Lights
I
. . ...
PO395
The dome lights may come on when you open any of the doors. You can
also turn on the dome lights by turning the dimmer dial
to the right until it
clicks.
Reading Lights
You may have the optional reading lights next to the dome lig\
hts. Turn the lights
on and off by pressing the switch next to the light.
You can adjust the lights
to any desired position by rotating the lamp and
they will work when the ignition is on or
off. Be sure to turn the lights off
before you leave the vehicle.
244