Page 135 of 340

i
the sun may adequately warm your upper body, but your
lower body may not be warm enough.
The Bi-level settbg directs outside air.into your vehicle
in two ways.-Cool air
is directed 'toward your upper
body through the front instrument panel outlets, ,while
slightly warmed
air is directed through the heater outlet
at
your feet.
.The air conditioner compressor operates in all Air
Conditioning positions, and the Defrost position when
.the outside temperature is above
40 OF (4.5 C).
R
Ventilation
For mild outside temperatures, when little heating ox ,
cooling is needed, slide the upper lever to Vent, Air will,'
flow through the .instrument panel outlets. Use the air
oudets to turn on, adjust and turn
off the air, flow. Adjust.
the lower lever to control the temperature;
'.
.. .
Heating
When outside temperatures are cold, 8liding:the upper .
lever to Heater and the' lower lever to :Warm will send,
heated air though the heater outlets, 'and-some through
the defroster vents. Vent and Heater arelabeled
economy positions. because the
dr conditioner
compres.sor doesn't run in these..two settings. "This . .
reduces engine load, resulting in impioyed I.. fyd.
economy.
Defrosting
The Defrost setting directs most of the- air through the
defroster vents, and some through.the heater outlets. Use
defrost when you want to remove fog
,6r ice from the
windshield.
133
Page 137 of 340
AM Stereo
This means the Delco@ system can receive C-QUAM@
stereo broadcasts. Many
AM stations around the country
use C-QUAM@ to produce stereo, though
some do not.
(C-QUAM@ is
a registered trademark of Motorola, Inc.)
If your Delco@ system can get C-QUAM@, your
“STEREO” light will come on when you’re receiving it.
A CAUTION-
Hearing damage from loud noise is alrk..A
undetectable until it is too late. Your hearing
can adapt to higher volumes
of sound. Sound
that seems normal can be
loud and harmful to I
your hearing. Take precautions by adjusting the
volume control on your radio
to a safe =T)UP~
level before your hearing adapts to it.
To help avoid hearing loss or damage:
@ Adjust the volume control to the Is
setting.
Increase volume
slowly unt ’ou ea! ~
cc for’ Yy clear1
135
Page 142 of 340
FWD ,, . ,. .
To.advance the tape, press. and. the tape will advance;
rapidly until you press the
STOP-EJECT button lightly. j?:
REV
To reverse the tape, press 4 and the tape will reverse. .
Rnidly until: you press .the :STOP-EJECT button lightly.
!
To go from one side of the tape to $he other, prms'thef- ..!., . .e;. L
upper .. knob (RCL-FROG). . '
STOP-E JECT
.. , . .. .
,. .,
,.
To remove or stop the tape and switch.toradio, press-the'
STOP-EJECT button. ' , , : I, . ,
PWR
To turn on the radio, press the PWR button.
-m
Page 143 of 340

The Upper Knob
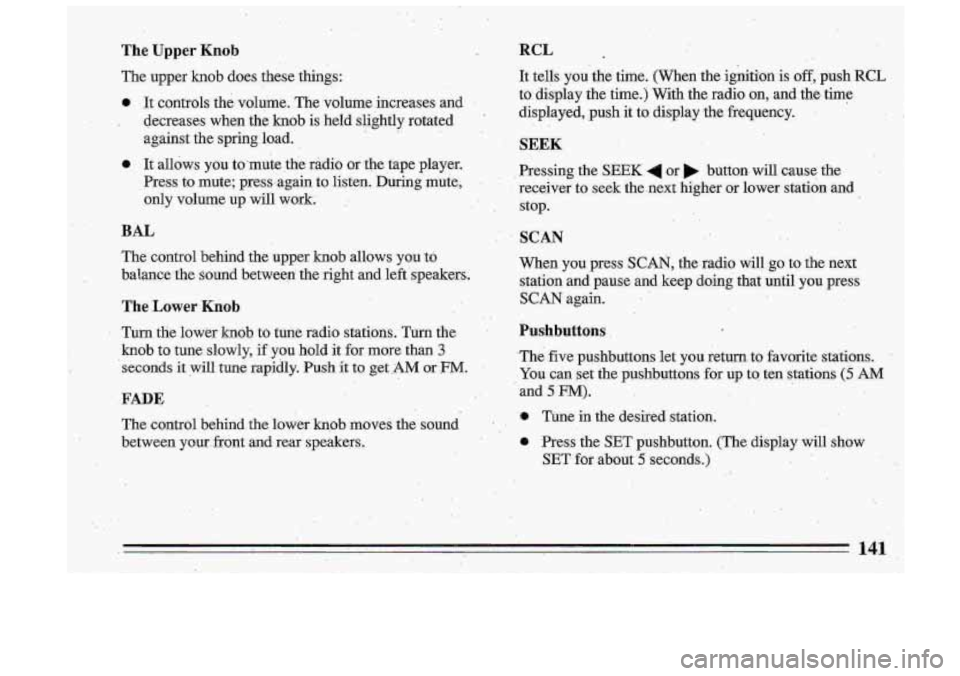
The upper knob does these things:
0 It controls the volume. The volume increases and I
I decretises when the knob is held slightly rotated
against the spring load.
e It allows you to.mute the radio or the tape player.
Press to mute; press:again to listen. During
mute;
only volume up will work: .
BAL
The coiltrol behind the upper h0.b allows you 'to
balance-the sound between the right and left'speakers.
The Lower -Knob
' Turn the lower knob to tune radio statians. Turn the .
knob to tune slowly, if you hold it for more than 3
'seconds it will tune rapidly. Push it to get .AM OF .FM.
FADE
The control behind the lower knob moves the sound
between your, front and. rear speakers.
RCL _.
It tells you.the time. (When the,ignition-is off, push RCL
to display the time.); With the radio on, and the time
displayed, push it to, display the frequency.
- .
SEEK &
Pressing the SEEK 4 or button, will cause the
rec-eiver
to seek the.next higher or lower station and
stop.
SCAN
When you press SCAN, the radio will go to .the next
station and pause and keep doing that ,until you press
SCAN again.
Pushbuttons
.The. five. pushbuttons let you return. to favorite stations ..
You can .set the pushbuttons for up to ten stations (5 AM
and 5 FM).
Tune in the desired' station.
0 .Press the SET pushbutton. (The display will show
SET-for abiouf
5 seconds.)
. .. 141
Page 145 of 340
REV
To reverse the tape, press REV and the tape will rapidly
reverse to the beginning
of the tape or until you press
the
REV button lightly.
FWD
To advance the tape, press FWD and the tape will
rapidly
go forward to the end of the tape or until you
press the
FWD button lightly.
PREV
To hear a passage on the tape that has just played, press
' PREV and the tape will back up and stop at either the
first 4-second quiet spot in the tape or when you press
PREV again.
NEXT
To go immediately to the next selection on the tape,
press
NEXT. A 4-second quiet interval must be present
for the- tape to stop.
EJECT
To remove or stop the tape and switch to radio, press the
EJECT button.
ST-PL
To immediately switch from tape to radio, press the
ST-PL button and the radio will resume playing the
station that, was tuned in when you inserted a tape.
Pressing ST-PL again
will allow the tape to resume
where it stopped.
To Play This Radio
PWR
To turn on the radio, press the PWR button.
Page 150 of 340

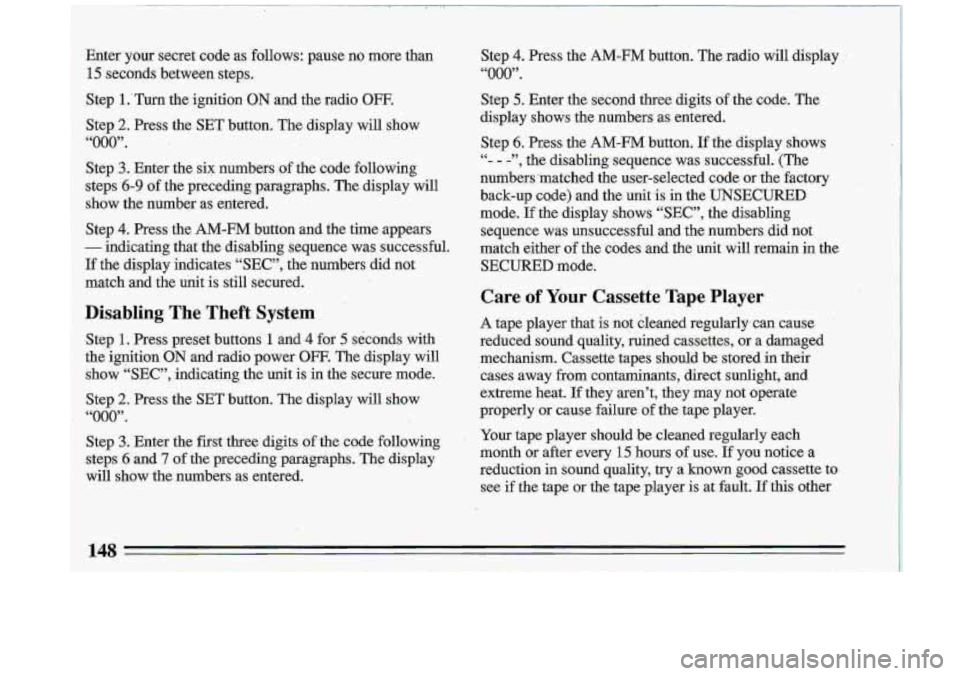
Step 4. Press the AM-FM button. The radio will display
“000”.
Step 5. Enter the second three digits of the code. The
display shows the numbers as entered.
Step
6. Press the AM-FM button. If the display shows
“- - -”, the disabling sequence was successful. (The
numbers .matched the user-selected code
or the factory
back-up code) and the
unit is in the UNSECURED.
mode. If the display shows “SEC”, the disabling sequence was unsuccessful and the numbers did not
match either of the codes and the unit will remain in the
SECURED mode.
C-are of Your Cassette Tape Player
A tape player that is not cleaned regularly can cause
reduced sound quality, ruined cassettes, or a damaged mechanism. Cassette -tapes should be stored in. their
cases away from contaminants, direct sunlight, and
extreme heat. If they aren’t, they may not operate
properly or cause failure
of the tape player.
I Your tape player should be cleaned regularly each
month or after every
15 hours of use. If you notice a
reduction in sound quality, try a known good cassette to
see
if the tape or the tape player is at fault. .E this other
Page 151 of 340

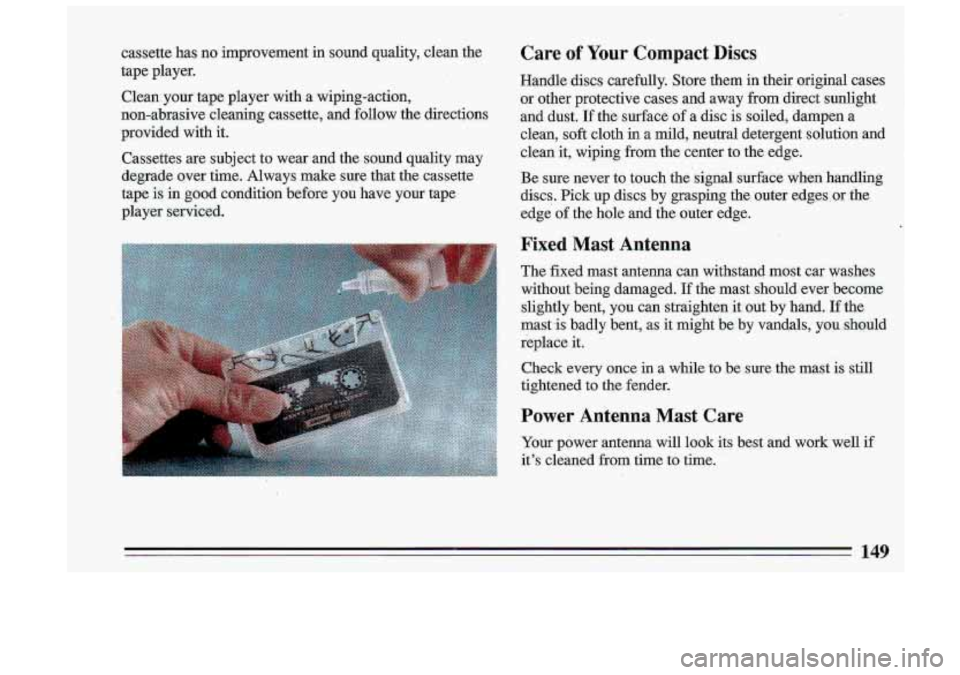
cassette has no improvement in s.ound quality, clean the
tape player.
Clean
your tape player with a wiping-action,
non-abrasive cleaning cassette, and follow the directions
provided with it.
Cassettes are subject to wear and the sound quality may
degrade over time. Always make sure that the cassette
tape
is in good condition before you have your tape
player serviced.
Care of Your Compact Discs
Handle discs carefully. Store them in their original cases
or other protective cases and away from direct sunlight
1
and dust. If the surface of a disc is soiled, dampen a
clean, soft cloth in
a mild, neutral detergent solution and i
clean it, wiping from the center to the edge. I
Be sure never to touch the signal surface when handling
discs. Pick up discs by grasping the outer edges ,or .the
edge'of the hole and the outer edge.
I
-1
Fixed Mast Antenna
The fixed mast antenna can withstand most car washes
without being damaged. If the mast should ever become slightly bent, you can straighten it out by hand.
If the
mast is badly bent,
as it might be by vandals, you should
replace
it.
Check every once in a while to be sure the mast is still
tightened to the fender.
Power Antenna Mast Care
Your power antenna will look its best and work well if
it's cleaned from time to time.
149
Page 160 of 340
REVERSl8lE LANE ON
MULTI-
LANE
ROADWAY
I
dany .city roads and. expressways, and even bridges, use
reversible-lane traffic control during rush hours. A red X
light above a liane means no driving in that iane at that
time.
A green arrow means you may drive in that lane.
Look
for the signs posted to warn drivers what hours
:md days these systems are in effe
Pavement Markings
Pavement Markings
NO
PASSING
ZONE
Pavement markings add to traffic signs and signals.
They give information to drivers without taking
attention from the roadway.
A solid yellow line on your
side of the road or lane means "don't cross."
D-