1993 BUICK RIVIERA buttons
[x] Cancel search: buttonsPage 103 of 324
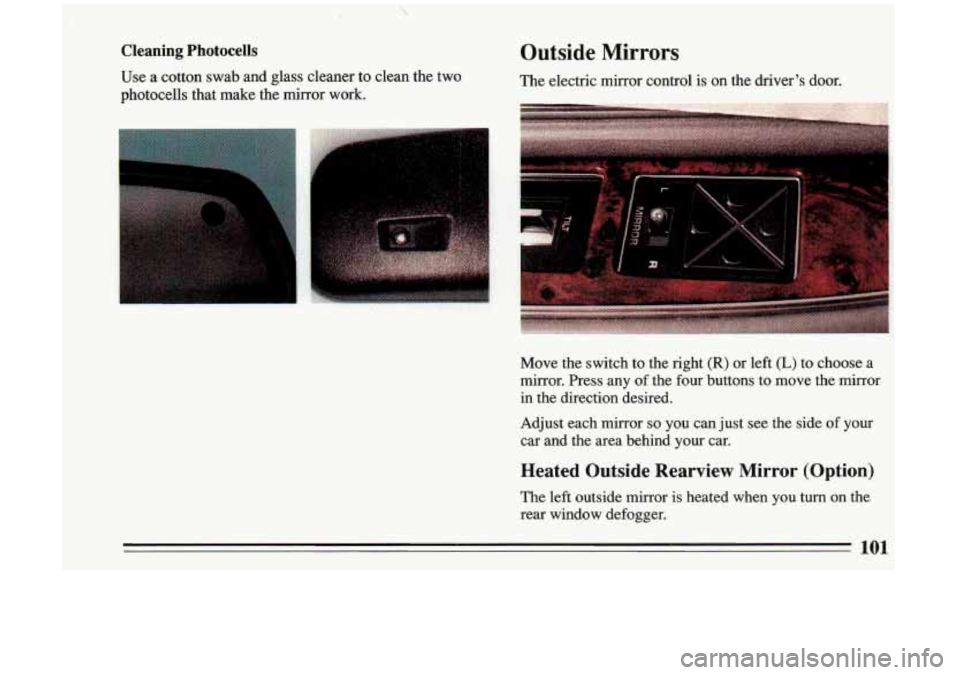
Cleaning Photocells
Use a cotton swab and glass cleaner to clean the two
photocells that make the mirror work.
Outside Mirrors
The electric mirror control is on the driver's door.
Move the switch to the right
(R) or left (L) to choose a
mirror. Press any
of the four buttons to move the mirror
in the direction desired.
Adjust each mirror
so you can just see the side of your
car and the area behind your car.
Heated Outside Rearview Mirror (Option)
The left outside mirror is heated when you turn on the
rear window defogger.
101
Page 125 of 324
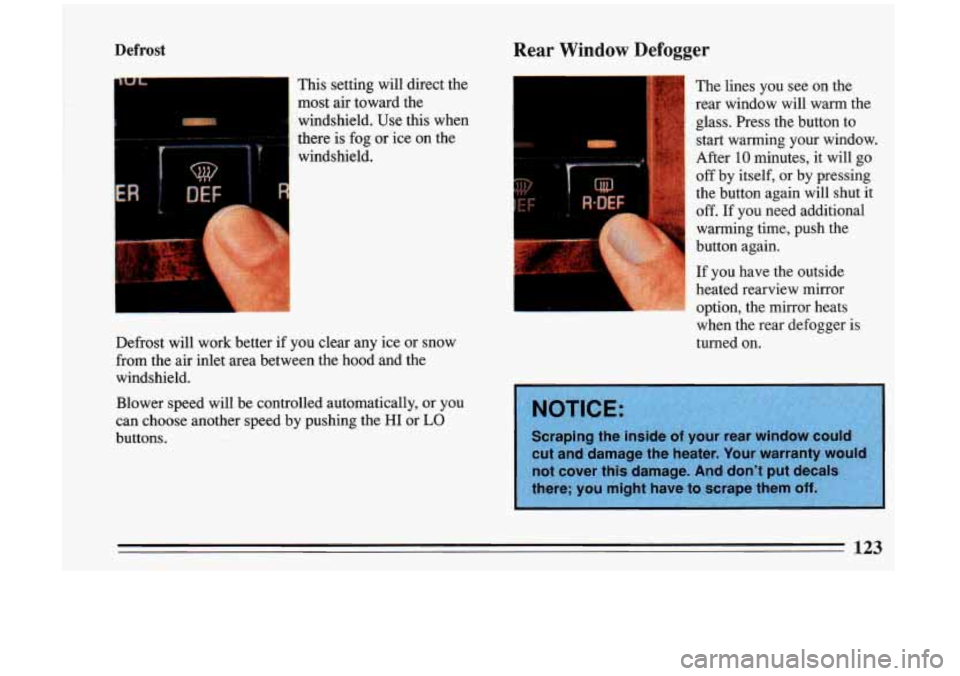
Defrost
This setting will direct the
most air toward the
windshield. Use this when
there is fog
or ice on the
Rear Window Defogger
f
windshield.
Defrost will work better if you clear any ice or snow
from the air inlet area between the hood and the
windshield.
Blower speed will be controlled automatically, or you
can choose another speed by pushing the HI
or LO
buttons. The
lines you see
on the
rear window will warm the
glass. Press the button to
start warming your window.
After
10 minutes, it will go
off by itself, or by pressing
the button again will shut it
off. If you need additional
warming time, push the
button again.
If you have the outside
! heated rearview mirror option, the mirror heats
when the rear defogger is
turned on.
Page 129 of 324
Pushbuttons
The four pushbuttons let you return to favorite stations.
You can set the pushbuttons for up to fourteen stations
(7 AM and 7 FM).
0
0
0
0
0
0
Tune in the desired station.
Press the SET pushbutton. (SET appears in the
display.)
Within
5 seconds, push one of the four pushbuttons.
Whenever you press that button, the preset station
will return. In additional to the
4 stations set as
above, up to three additional stations may be preset
on each band by pressing two adjoining buttons at
the same time.
Tune in the station you want.
Press SET pushbutton. (SET appears in the display.)
Within
5 seconds, push any two adjoining
pushbuttons at the same time. (The station will return
when the same two buttons are pressed again.)
Clock
To set the clock,
0 Press the SET pushbutton.
0 Within 5 seconds, press and hold SCAN until the
0 Press and hold SEEK until the correct minute correct hour appears on
the display.
appears on the display.
Treble
Slide the treble lever up to increase the treble response.
If station is weak or noisy, slide the treble lever down to
reduce the noise.
Bass
Slide the bass lever up to increase the bass response.
Adjust the bass lever to give a pleasing sound to your
ear.
DNR Q
This is the Dynamic Noise Reduction button. DNR Q
helps remove background hiss from the radio or tape
player. You may want to leave
it pushed in all the time.
127
Page 131 of 324
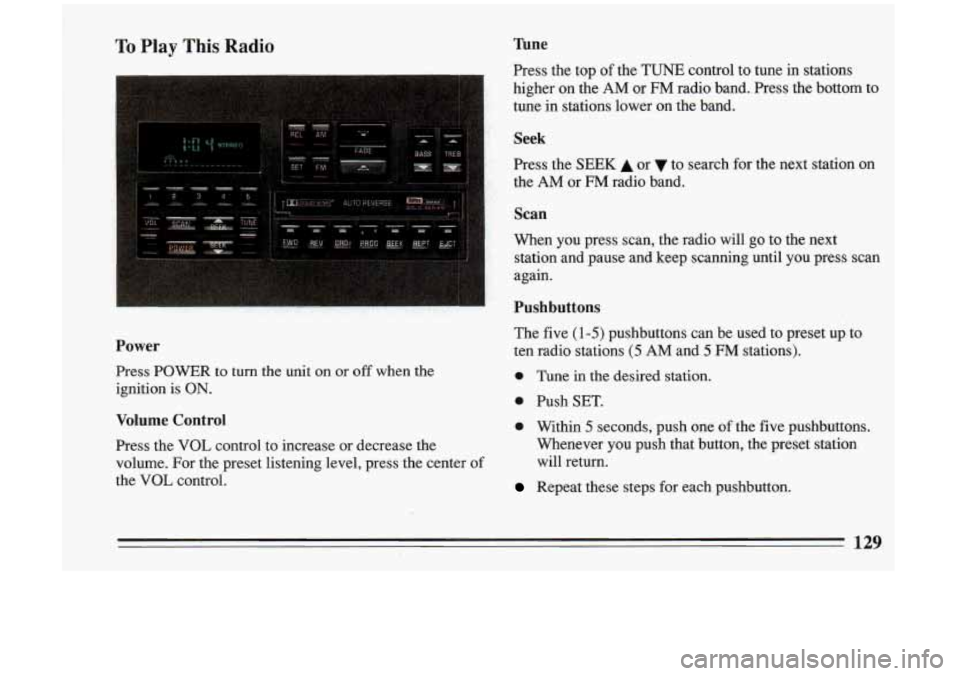
To Play This Radio
Power
Press POWER to turn the unit on or off when the
ignition is
ON.
Volume Control
Press the VOL control to increase or decrease the
volume. For the preset listening level, press the center of
the
VOL control.
Tune
Press the top of the TUNE control to tune in stations
higher
on the AM or FM radio band. Press the bottom to
tune in stations lower
on the band.
Seek
Press the SEEK A or to search forthe next station on
the AM,or FM radio band.
Scan
When you press scan, the radio will go to the next
station and pause and keep scanning until you press scan
again.
Pushbuttons
The five (1-5) pushbuttons can be used to preset up to
ten radio stations
(5 AM and 5 FM stations).
0 Tune in the desired station.
0 Push SET.
0 Within 5 seconds, push one of the five pushbuttons.
Whenever you push that button, the preset station
will return.
Repeat these steps for each pushbutton.
129
Page 132 of 324
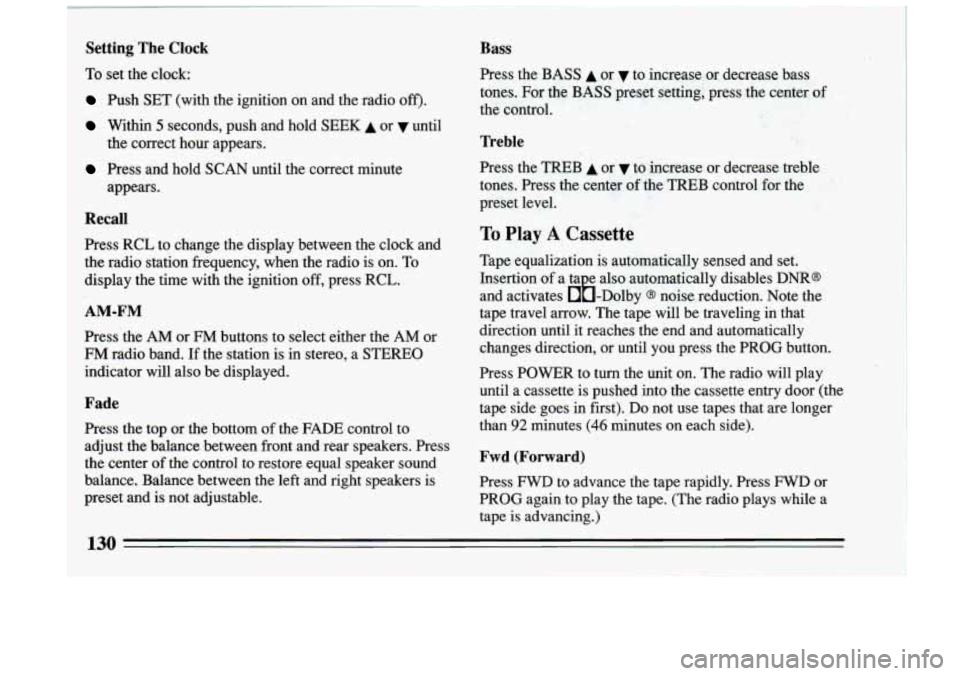
Setting The Clock
To set the clock:
Push SET (with the ignition on and the radio off').
Within 5 seconds, push and hold SEEK A or until
Press and hold SCAN until the correct minute the correct hour appears.
appears.
Recall
1 Press RCL to change the display between the clock and
the radio station frequency, when the radio is on. To
display the time with the ignition
off, press RCL.
AM-FM
Press the AM or FM buttons to select either the AM or
FM radio band. If the station is in stereo, a STEREO
indicator will also be displayed.
Fade
Press the top or the bottom of the FADE control to
adjust the balance between front and rear speakers. Press
the center
of the control to restore equal speaker sound
balance. Balance between the left and right speakers is
preset and is not adjustable.
Bass
Press the.BASS A or v to increase or decrease bass
tones. For the
BASS preset setting, press the center of
the control.
Treble
Press the TREB A or v to increase or decrease treble
tones. Press the center
of the TREB control for the
preset level.
To Play A Cassette
Tape equalization is automatically sensed and set.
Insertion
of a ta e also automatically disables DNR@
and activates &-Dolby
@ noise reduction. Note the
tape travel arrow. The tape will be traveling in that
direction until it reaches the end and automatically
changes direction, or until you press the PROG button.
Press POWER to turn the unit
on. The radio will play
until a cassette is pushed into the cassette entry door (the
tape side goes
in first). Do not use tapes that are longer
than
92 minutes (46 minutes on each side).
Fwd (Forward)
Press FWD to advance the tape rapidly. Press FWD or
PROG again to play the tape. (The radio plays while a
tape is advancing.)
130
Page 134 of 324
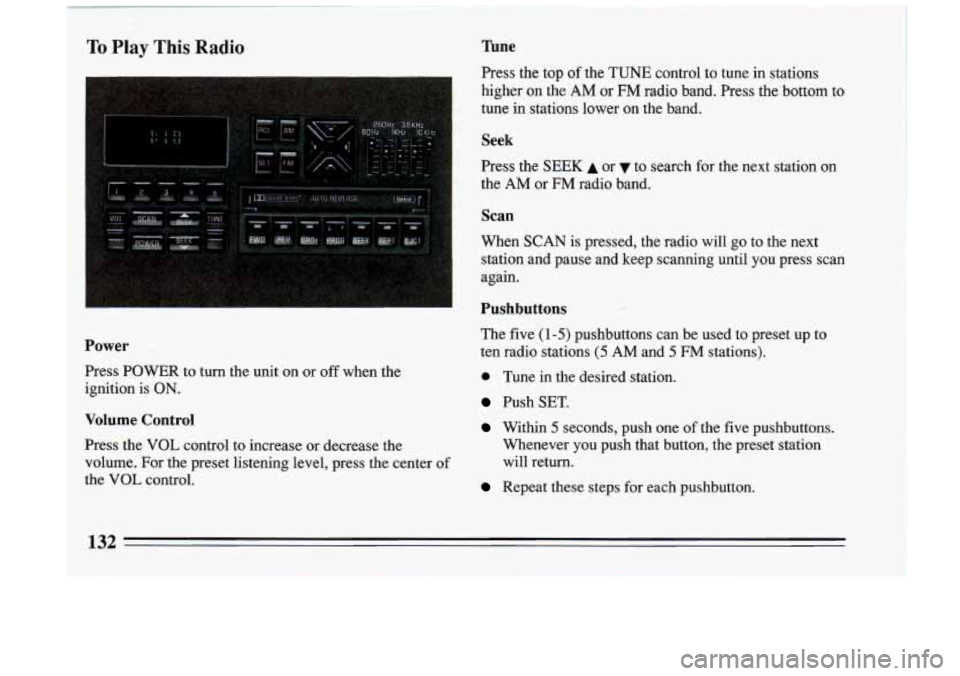
To Play This Radio Tune
Press the top of the TUNE control to tune in stations
higher
on the AM or FM radio band. Press the bottom to
tune in stations lower on the band.
Seek
Press the SEEK A or to search for the next station on
the
AM or FM radio band.
Scan
When SCAN is pressed, the radio will go to the next
station and pause and keep scanning until
you press scan
again.
Pushbuttons
The five (1-5) pushbuttons can be used to preset up to
e Tune in the desired station.
Push SET.
Within 5 seconds, push one of the five pushbuttons.
Power ten radio stations (5 AM and 5 FM stations).
Press POWER to turn the unit on or
off when the
ignition
is ON.
Volume Control
Press the VOL control to increase or decrease the Whenever you push that button, the preset station
volume. For the preset listening level, press the center of will return.
the VOL control.
Repeat these steps for each pushbutton.
132
Page 135 of 324
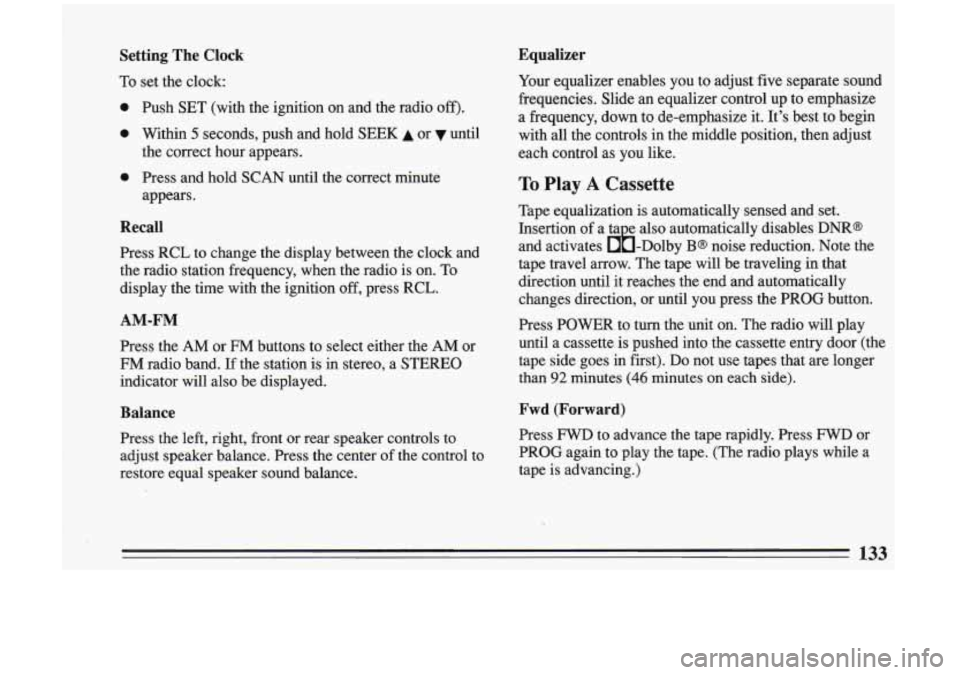
Setting The Clock
To set the clock:
0
0
0
Push SET (with the ignition on and the radio off).
Within 5 seconds, push and hold SEEK A or until
the correct hour appears.
Press and hold
SCAN until the correct minute
appears.
Recall
Press RCL to change the display between the clock and
the radio station frequency, when the radio is on.
To
display the time with the ignition off, press RCL.
AM-FM
Press the AM or FM buttons to select either the AM or
FM radio band. If the station is in stereo, a STEREO
indicator will also be displayed.
Balance
Press the left, right, front or rear speaker controls to
adjust speaker balance. Press the center of the control to
restore equal speaker sound balance.
Equalizer
Your equalizer enables you to adjust five separate sound
frequencies. Slide an equalizer control up to emphasize
a frequency, down to de-emphasize it. It's best to begin
with all the controls in the middle position, then adjust
each control as you like.
To Play A Cassette
Tape equalization is automatically sensed and set.
Insertion of a ta e also automatically disables
DNR@
and activates &-Dolby B@ noise reduction. Note the
tape travel arrow. The tape will be traveling in that
direction until it reaches the end and automatically
changes direction, or until
you press the PROG button.
Press POWER
to turn the 'unit on. The radio will play
until a cassette is pushed into the cassette entry door (the
tape side goes in first). Do not use tapes that are longer
than
92 minutes (46 minutes on each side).
Fwd (Forward)
Press FWD to advance the tape rapidly. Press FWD or
PROG again to play the tape. (The radio plays while a
tape is advancing.)
133