Page 14 of 324
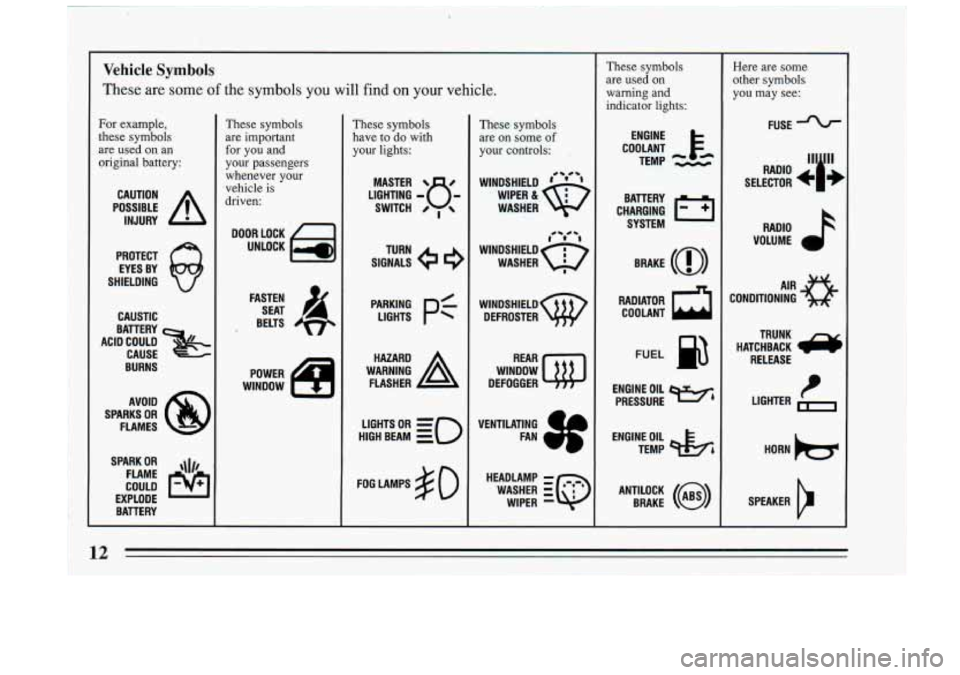
Vehicle Symbols
These are some of the symbols you will find on your vehicle.
For example,
these symbols
are used on an
original battery:
POSSIBLE A
CAUTION
INJURY
PROTECT EYES BY
SHIELDING
CAUSTIC
BURNS AVOID
SPARKS
OR
FLAMES
SPARK
OR ,111,
COULD pq
FLAME
EXPLODE BATTERY
These symbols
are important
for you and
your passengers whenever your
vehicle
is
driven:
FASTEN SEAT 4
BELTS
These symbols
have to do with
your lights:
SIGNALS TURN
HIGH BEAM
OR = =o
FOG LAMPS $0
These symbols
are on some
of
your controls:
WINDSHIELD ’ ’ ’ 4- #-
WASHER
f0 -**
WINDSHIELD Q
WASHER I
WINDSHIELD
DEFROSTER
WINDOW
DEFOGGER
VENTILATING
FAN
L.
HEADLAMP - ,~*-,
WASHER iQ
WIPER -
L
These symbols
are used on
warning and
indicator lights:
COOLANT F-
TEMP --
ENGINE
CHARGING
I-1
BATTERY SYSTEM
RADIATOR
a
COOLANT
FUEL
ENGINE OIL
PRESSURE
Wb
TEMP OIL &
ANTILOCK (@)
BRAKE
Here are some
other symbols
you may see:
FUSE
RADIO
‘‘ill
SELECTOR
RADIO
k
VOLUME
CONDITIONING
AIR 33
HATCHBACK /y
TRUNK
RELEASE
t LIGHTER 1-
HORN
SPEAKER
cr
~ 12 , .
Page 61 of 324
@) Part 2 Features & Controls
Here you can learn about the many standard and optional featur\
es on your Buick. and information on starting. shifting
and braking
. Also explained are the instrument panel and the warning systems that tell you if everything is working
properly
.. and what to do if you have a problem .
Part 2 includes:
Keys
........................................................................\
....
DoorLocks ....................................................................... \
NewVehicleBreak-In ..............................................................
StartingtheEngine .................................................................
ShiftingtheTransaxle ..............................................................
Windows ........................................................................\
.
TiltSteeringWheel ................................................................
Multi-FunctionLever ...............................................................
TurnandLaneChangeSignals ...................................................
Headlight High-Low Beam Changer ..............................................
Windshield Wipermasher ......................................................
CruiseControl ................................................................
Instrumentpanel ...................................................................
Speedometer and Odometer ......................................................
Warning Lights and Gages ......................................................
60
61
70
72
75 84
84
85
85 87
87
90
105
105
107
c 59
Page 87 of 324
1Ai
The Turn SignallHeadlight Beam
Lever nrn Signal and Lane Change Indicator
The lever an the left side of the steering column
includes
your:
0 Turn Signal and Lane Change Indicator
0 Headlight High-Low Beam & Passing Signal.
0 Flash-To-Pass Feature
6 Windshield Wipers
0 Windshield Washer
0 Cruise Control The turn signal has two upward (for Right) and two
downward (for Left) positions. These positions allow
you to signal a turn or a lane change.
To signal a turn, move the lever all the way up or down.
When the turn is finished, the lever will return
automatically.
85
Page 88 of 324
L
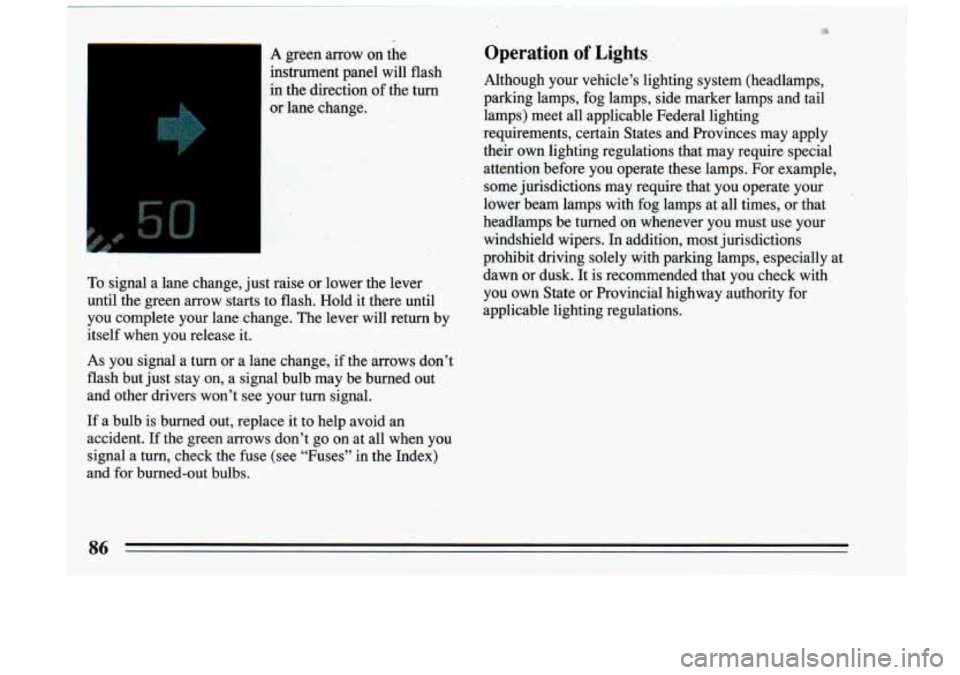
in the direciion of the turn
or lane change.
To signal a lane change, just raise or lower
the lever
until the green arrow starts to flash. Hold it there until
you complete your lane change. The lever will return by
itself when you release it.
As you signal a turn or a lane change, if the arrows don’t
flash but just stay on, a signal bulb may be burned out
‘and other drivers won’t see your turn signal.
Operation of Lights.
Although your vehicle’s lighting system (headlamps,
parking lamps, fog lamps, side marker lamps and tail
lamps) meet all applicable Federal lighting
requirements, certain States and Rovinces may apply
their
own lighting regulations that may require special
attention before you operate these lamps. For example,
some jurisdictions may require that you operate your
lower beam lamps with fog lamps at all times, or that
headlamps be turned on whenever you must use your
windshield wipers. In addition, most jurisdictions
prohibit driving solely with parking lamps, especially at
dawn or dusk. It is recommended that you check with you own State or Provincial highway authority
for
applicable lighting regulations.
1
If a bulb is burned out, replace it to help avoid an
accident.
If the green arrows don’t go on at all when you
signal a turn, check the fuse (see “Fuses” in the Index)
hnd-fQr bumed-Qvt bulbs. i
3
Page 89 of 324
Headlight High-Low Beam
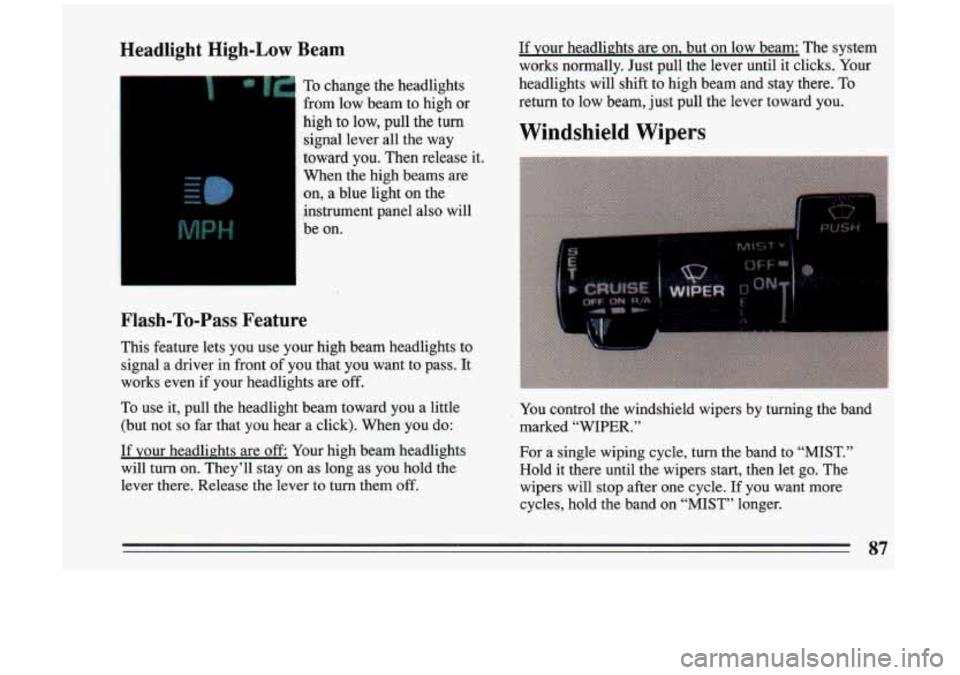
To change the headlights
from low beam to high or
high to low, pull the turn signal lever all the way
toward
you. Then release it.
When the high beams are
on, a blue light on the
instrument panel also will
be on.
If your headlights are on, but on low beam: The system
works normally. Just pull the lever until it clicks. Your
headlights will shift to high beam and stay there. To
return to low beam, just pull the lever toward you.
Windshield Wipers
Flash-To-Pass Feature
This feature lets you use your high beam headlights to
signal a driver in front of you that
you want to pass. It
works even if your headlights are
off.
To use it, pull the headlight beam toward you a little
(but not
so far that you hear a click). When you do:
If your headlights are off Your high beam headlights
will
turn on. They’ll stay on as long as you hold the
lever there. Release the lever to turn them
off.
.
. . . ~
You control the windshield wipers by turning the band
marked “WIPER.”
For a single wiping cycle, turn the band to
“MIST.”
Hold it there until the wipers start, then let go. The
wipers will stop after one cycle. If
you want more
cycles, hold the band on
“MIST” longer.
87
Page 109 of 324
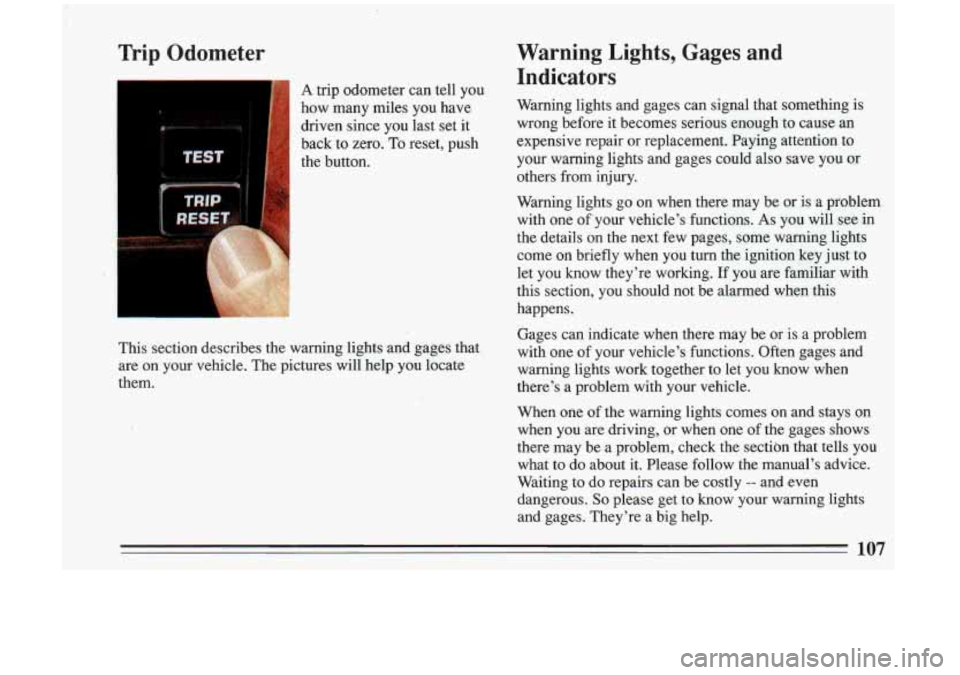
Trip Odometer
I
Warning Lights, Gages and Indicators
A trip odometer can tell you
how many miles you have Warning lights and gages can signal t\
hat something is
driven since you last set it wrong before it becomes serious enough to cause an
back to zero.
TO reset, push expensive repair or replacement. Paying attention to
the button. your warning lights and gages could also save you or
others from injury.
Warning lights go on when there may be or
is a problem
with one
of your vehicle's functions. As you will see in
the details on the next few pages, some warning lights come on briefly when you turn the ignition key just to
let you know they're working.
If you are familiar with
this section, you should not be alarmed when this
happens.
This section describes the warning lights and gages that
are on your vehicle. The pictures will help
you locate
them. Gages can indicate when there may be or is a problem
with one
of your vehicle's functions. Often gages and
warning lights work together to let you know when
there's a problem with your vehicle.
When one of the warning lights comes on and stays on
when you are driving, or when one of the gages shows
there may be a problem, check the section that tells
you
what to do about it. Please follow the manual's advice.
Waiting to do repairs can be costly
-- and even
dangerous.
So please get to know your warning lights
and gages. They're a big help.
107
Page 117 of 324
Hazard Warning Flasher Service A/C
- This light
on your
instrument panel lets you
know when you have the
hazard warning flashers
on.
When the hazard flashers are on, your turn signals will
not work.
If you apply the brakes, the flashing will stop
until’you release the brake pedal. See “Hazard Warning
Flashers” in the Index for more information.
If this light stays on 60
seconds or more, your air
conditioning system needs service. It comes
on as a
bulb cheek, whenever you
turn the ignition to “Run”.
Page 139 of 324
Cassettes are subject to wear and the sound quality may
degrade over time. Always make sure that the cassette
tape is in good condition before you have your tape
player serviced.
i
Care of Your Compact Discs
Handle discs carefully. Store them in their original cases
or other protective cases and away from direct sunlight
and dust. If the surface
of a disc is soiled, dampen a
clean,
soft cloth in a mild, neutral detergent solution and
clean it, wiping from the center to the edge.
Be sure never to touch the signal surface when handling
discs. Pick up discs by grasping the outer edges or the
edge of the hole and the outer edge.
Power Antenna Mast Care
Your power antenna will look its best and work well if
it’s cleaned from time to time.
To Clean the Antenna Mast:
1. Turn on the ignition and radio to raise the antenna to
full mast extension.
2. Dampen a clean cloth with mineral spirits or
equivalent solvent.
137