1993 BUICK RIVIERA low beam
[x] Cancel search: low beamPage 61 of 324
@) Part 2 Features & Controls
Here you can learn about the many standard and optional featur\
es on your Buick. and information on starting. shifting
and braking
. Also explained are the instrument panel and the warning systems that tell you if everything is working
properly
.. and what to do if you have a problem .
Part 2 includes:
Keys
........................................................................\
....
DoorLocks ....................................................................... \
NewVehicleBreak-In ..............................................................
StartingtheEngine .................................................................
ShiftingtheTransaxle ..............................................................
Windows ........................................................................\
.
TiltSteeringWheel ................................................................
Multi-FunctionLever ...............................................................
TurnandLaneChangeSignals ...................................................
Headlight High-Low Beam Changer ..............................................
Windshield Wipermasher ......................................................
CruiseControl ................................................................
Instrumentpanel ...................................................................
Speedometer and Odometer ......................................................
Warning Lights and Gages ......................................................
60
61
70
72
75 84
84
85
85 87
87
90
105
105
107
c 59
Page 87 of 324
1Ai
The Turn SignallHeadlight Beam
Lever nrn Signal and Lane Change Indicator
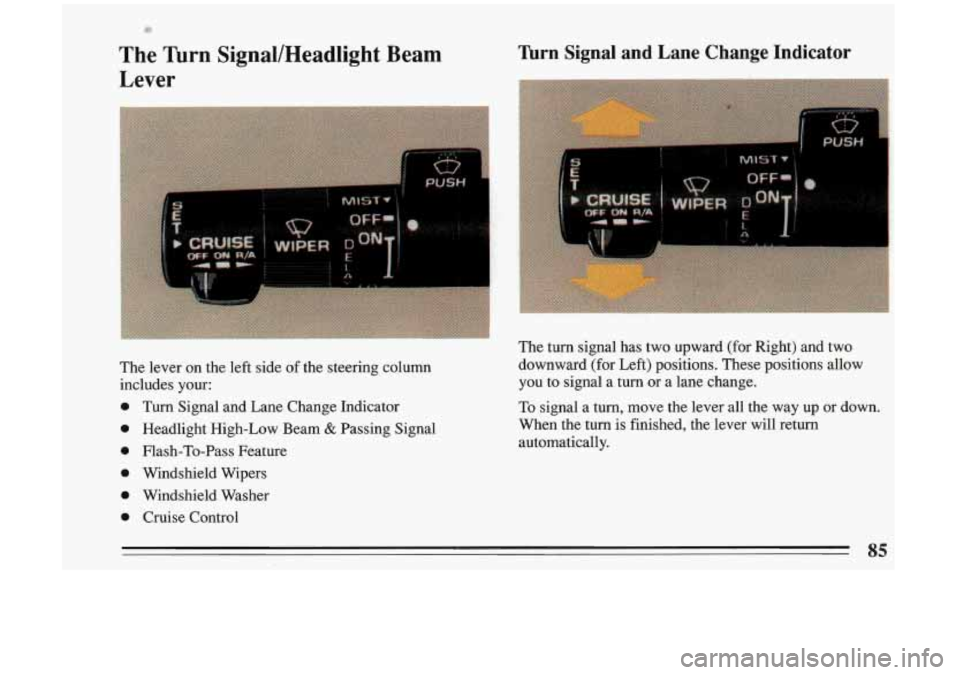
The lever an the left side of the steering column
includes
your:
0 Turn Signal and Lane Change Indicator
0 Headlight High-Low Beam & Passing Signal.
0 Flash-To-Pass Feature
6 Windshield Wipers
0 Windshield Washer
0 Cruise Control The turn signal has two upward (for Right) and two
downward (for Left) positions. These positions allow
you to signal a turn or a lane change.
To signal a turn, move the lever all the way up or down.
When the turn is finished, the lever will return
automatically.
85
Page 88 of 324
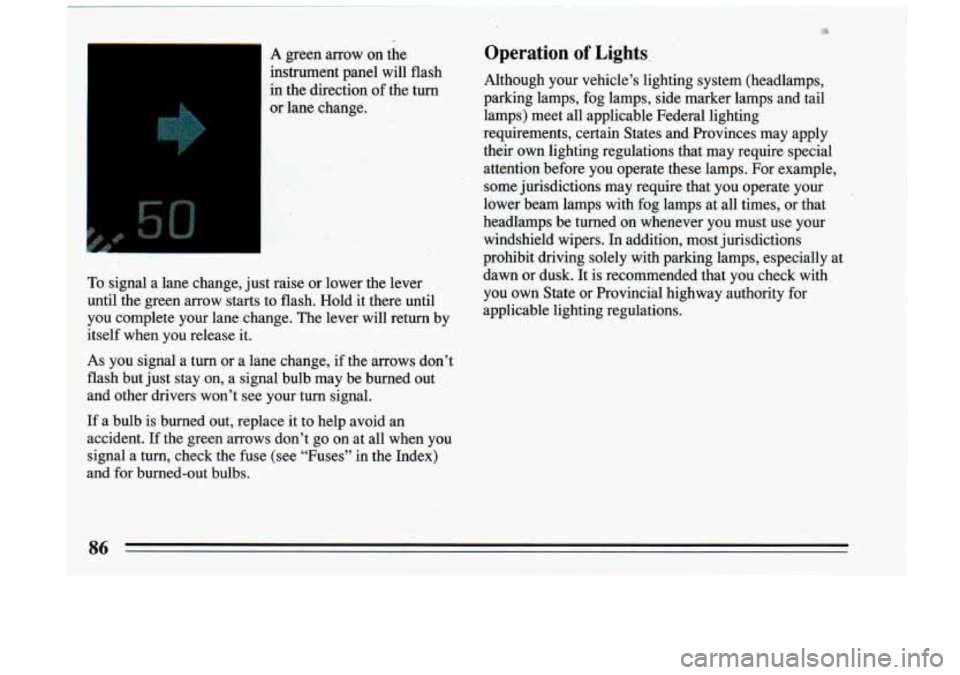
L
in the direciion of the turn
or lane change.
To signal a lane change, just raise or lower
the lever
until the green arrow starts to flash. Hold it there until
you complete your lane change. The lever will return by
itself when you release it.
As you signal a turn or a lane change, if the arrows don’t
flash but just stay on, a signal bulb may be burned out
‘and other drivers won’t see your turn signal.
Operation of Lights.
Although your vehicle’s lighting system (headlamps,
parking lamps, fog lamps, side marker lamps and tail
lamps) meet all applicable Federal lighting
requirements, certain States and Rovinces may apply
their
own lighting regulations that may require special
attention before you operate these lamps. For example,
some jurisdictions may require that you operate your
lower beam lamps with fog lamps at all times, or that
headlamps be turned on whenever you must use your
windshield wipers. In addition, most jurisdictions
prohibit driving solely with parking lamps, especially at
dawn or dusk. It is recommended that you check with you own State or Provincial highway authority
for
applicable lighting regulations.
1
If a bulb is burned out, replace it to help avoid an
accident.
If the green arrows don’t go on at all when you
signal a turn, check the fuse (see “Fuses” in the Index)
hnd-fQr bumed-Qvt bulbs. i
3
Page 89 of 324
Headlight High-Low Beam
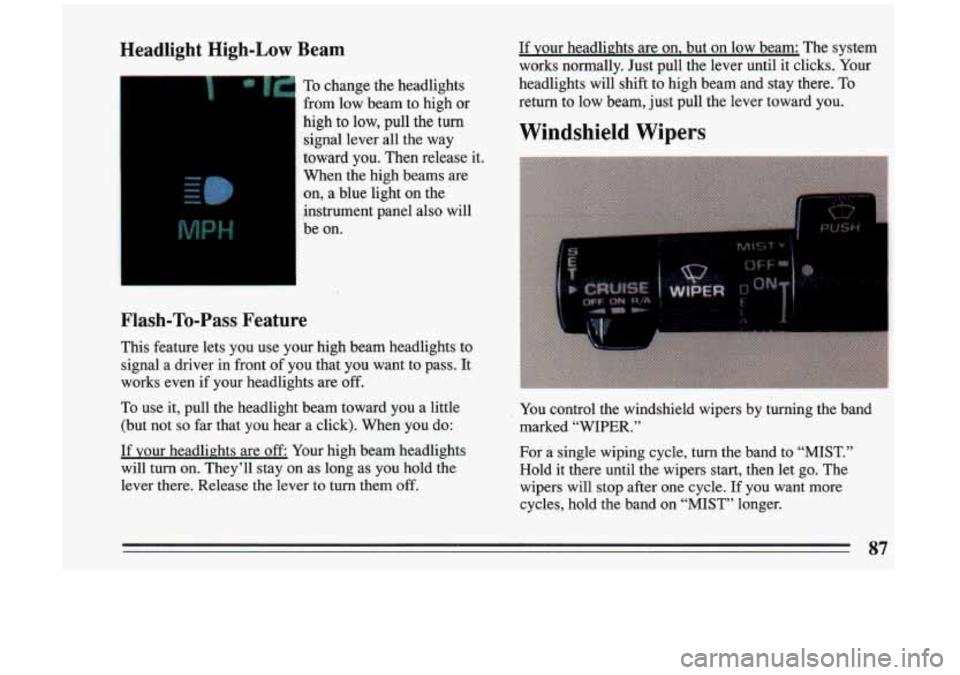
To change the headlights
from low beam to high or
high to low, pull the turn signal lever all the way
toward
you. Then release it.
When the high beams are
on, a blue light on the
instrument panel also will
be on.
If your headlights are on, but on low beam: The system
works normally. Just pull the lever until it clicks. Your
headlights will shift to high beam and stay there. To
return to low beam, just pull the lever toward you.
Windshield Wipers
Flash-To-Pass Feature
This feature lets you use your high beam headlights to
signal a driver in front of you that
you want to pass. It
works even if your headlights are
off.
To use it, pull the headlight beam toward you a little
(but not
so far that you hear a click). When you do:
If your headlights are off Your high beam headlights
will
turn on. They’ll stay on as long as you hold the
lever there. Release the lever to turn them
off.
.
. . . ~
You control the windshield wipers by turning the band
marked “WIPER.”
For a single wiping cycle, turn the band to
“MIST.”
Hold it there until the wipers start, then let go. The
wipers will stop after one cycle. If
you want more
cycles, hold the band on
“MIST” longer.
87
Page 100 of 324
-Headlights Reminder Light (Canada Only)
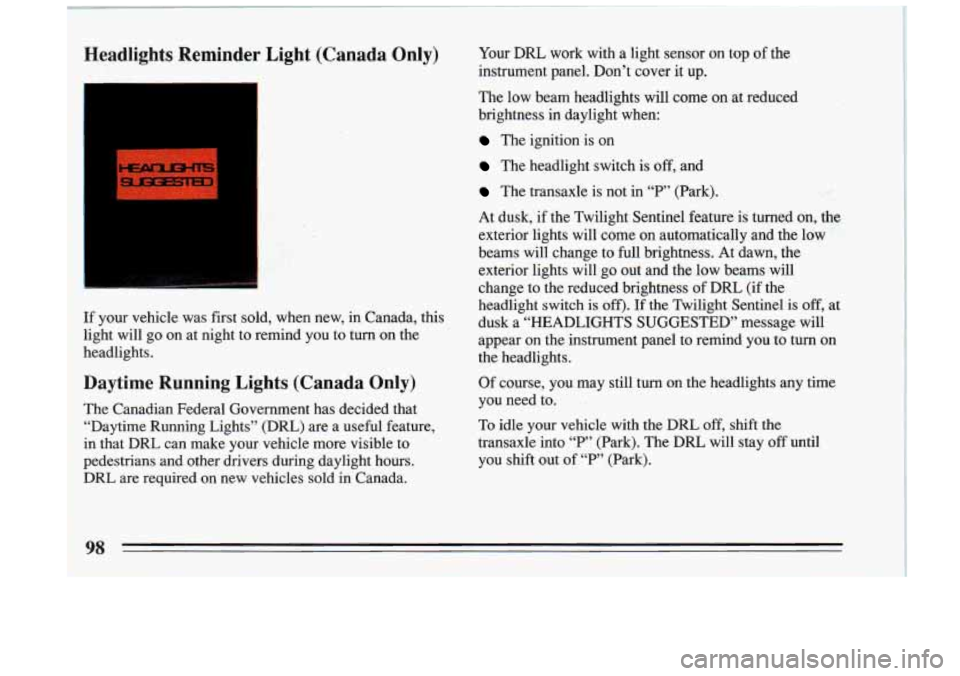
If your vehicle was first sold, when new, in Canada, this
light will go on at night to remind you to turn on the
headlights.
Daytime Running Lights (Canada Only)
The Canadian Federal Government has decided that
“Daytime Running Lights” (DRL) are a useful feature,
in that DRL can make your vehicle more visible to
pedestrians and other drivers during daylight hours.
DRL are required on new vehicles sold in Canada. Your
DRL work with a light sensor on
top of the
instrument panel. Don’t cover it up.
The low beam headlights will come
on at reduced
brightness in daylight when:
The ignition is on.
The headlight switch is off, and
The transaxle is not in “P” (Park).
At dusk, if the Twilight Sentinel feature is turned
on, the
exterior lights will come on automatically and the low
beams will change to
full brightness. At dawn, the
exterior lights will
go out and the low beams will
change to the reduced brightness of DRL (if the
headlight switch is
off). If the Twilight Sentinel is off, at
dusk a “HEADLIGHTS SUGGESTED” message will
appear on the instrument panel to remind you to turn. on
the headlights.
Of course, you may still turn on the headlights any time
you need to.
.
To idle your vehicle with the DRL off, shift the
transaxle into
T“ (Park). The DRL will stay off until
you shift out of “P”.(Park).
98
Page 165 of 324
by alcohol or drugs, with night vision problems, or by
fatigue.
Here are some tips on night driving.
0
0
0
0
0
0
0
Drive defensively. Remember, this is the most
dangerous time.
Don’t drink and drive. (See “Drunken Driving” in
the Index for more on this problem.)
Adjust your inside rearview mirror to reduce the
glare
from headlights behind you.
Since you can’t see as well, you may need to slow
down and keep more space between you and other
vehicles. It’s hard to tell how fast the vehicle ahead
is going just by looking at its tail’lights.
Slow’’ down, especially on higher speed roads. Your
headlights can light up only
so much road ahead.
In remote areas, watch for’animals.
If you’re tired, pull off the road in a safe place and
rest.
Night Vision
No one can see as well at night as in the daytime. But as
we get older these differences increase. A 50-year-old
driver may require at least twice as much light to see the
same thing at night as a 20-year-old. What you
do in the daytime can also affect your night
I
vision. For example, if you spend the day in bright
sunshine you are wise to wear sunglasses. Your eyes will
have less trouble adjusting to night.
But if you’re driving, don’t wear sunglasses at night.
They may cut down on glare from headlights, but they
also make a lot of things invisible that should remain
visible
- such as parked cars, obstacles, pedestrians, or
even trains blocking railway crossings. You may want to
put on your sunglasses after you have pulled into a
brightly-lighted service or refreshment area. Eyes
shielded from that glare may adjust more quickly to
darkness back on the road. But be sure to remove your
sunglasses before you leave the service area.
You can be temporarily blinded by approaching lights. It
can take a second or two, or even several seconds, for
your eyes
to readjust to the dark. When you are faced
with severe glare (as from a driver who doesn’t lower
the hi.gh beams, or a vehicle with misaimed headlights),
slow down a little. Avoid staring directly into the
approaching lights.
If there is a line of opposing traffic,
make occasional glances over the line of headlights to
make certain that one of the vehicles isn’t starting to
move into your lane. Once you are past the bright lights,
give
your eyes time to readjust before resuming speed.
163 ,
Page 196 of 324
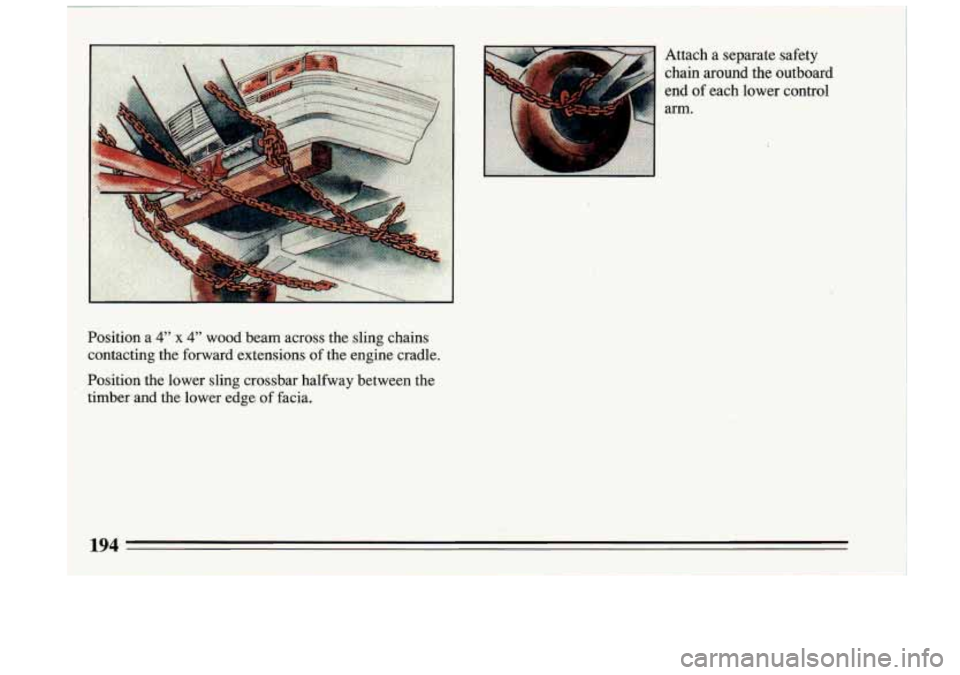
Position a 4" x 4" wood beam across the sling chains
contacting the forward extensions of the engine cradle.
, Position the lower sling crossbar halfway between the
timber and the lower edge of facia. Attach
a separate safety
chain around the outboard
end
of each lower control
arm.
Page 269 of 324
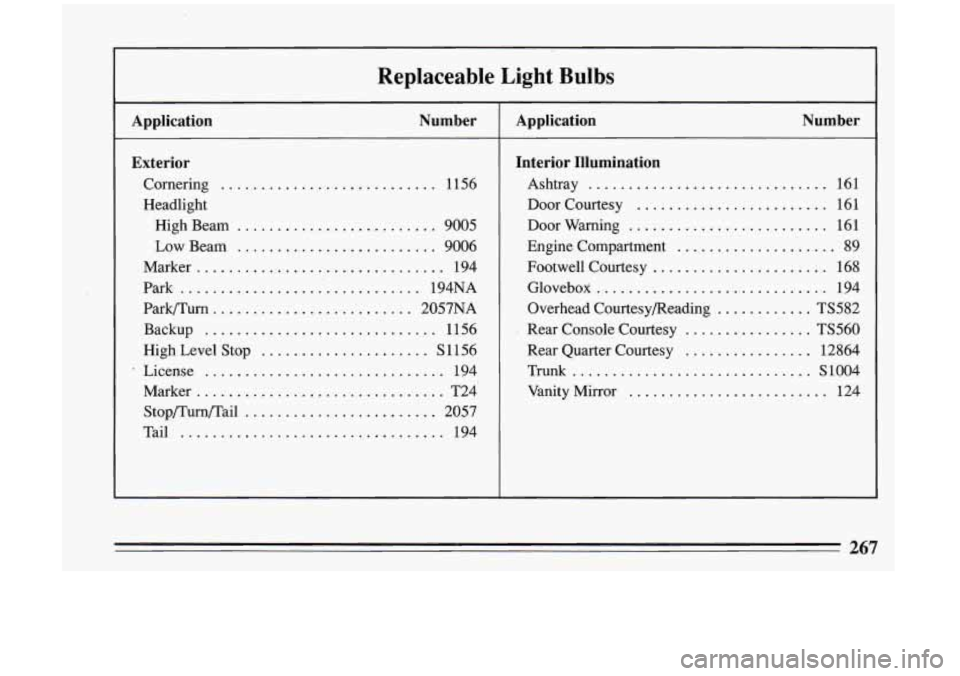
Replaceable Light Bulbs
Application Number
Exterior
Cornering ........................... 1156
Headlight
High Beam
......................... 9005
Low Beam ......................... 9006
Marker
............................... 194
Park
.............................. 194NA
Park/Turn
......................... 2057NA
Backup
............................. 1156
High Level Stop
..................... S1156
. License ............................... 194
Marker
............................... T24
Stop/Turn/Tail
........................ 2057
Tail
................................. 194
Application Number
Interior Illumination
Ashtray .............................. 161
DoorCourtesy
........................ 161
Door Warning ......................... 161
Engine Compartment
..................... 89
Footwell Courtesy
...................... 168
Glovebox
............................. 194
Overhead Courtesy/Reading
............ t5582
Rear Console Courtesy ................ t5560
Rear Quarter Courtesy ................ 12864
Trunk
.............................. 51004
Vanity Mirror ......................... 124