1990 VOLKSWAGEN TRANSPORTER spare tire
[x] Cancel search: spare tirePage 4 of 165

Downloaded from www.Manualslib.com manuals search engine
1
INSTRUMENT PANEL
Illustration instruments and controls
Warning and indicator light symbols
CONTROLS AND EQUIPMENT
Keys,
central locking system .... 7, 8
Doors 9
Rear lid 11
Windows, mirrors 12, 13 Safety belts, head restraints . . . .14,19
Seats 20 Luggage compartment, pedals . 28,29
Brakes, Transmission 29, 32 Differential lock 33
Automatic-transmission 35 Steering lock/ignition/starter switch . 38
Starting procedures 39 Instrument cluster 40
Warning/indicator lights 43 Switches 46 Emergency flasher 46
Light switch, turn signals .... 46,48
Cruise control 49
Windshield wipers 50 Ventilation/Heating 51
Air conditioning 54
Heater 57
Sliding roof 62
Roof-rack 68 VEHICLE OPERATION
Break-in period - and afterwards . . 69
Operate your vehicle safety 70
Operate your vehicle economically
and minimize pollution 72
Trailer towing 73 Driving with the all-wheel drive ... 75
VEHICLE CARE
Fuel tank, fuel supply 85,86
Vehicle care (exterior/interior) . . 90, 93 Maintenance, inspection intervals . . 95 Engine compartment lid,
engine compartment 97 Lubricants, engine oil 98,99
Engine oil filter 101
Transmission oil 102
Power steering 103
Cooling system 104 Brake fluid 108
Battery 109
Windshield washers/wipers . . . 112,113
Tires/wheels 114 Difficult operating conditions .... 120
Winter driving 121
Accessories 122
DO-IT-YOURSELF SERVICE
Jack and tools 123 Spare wheel 124
Changing a wheel 125 Fuses, bulbs 128, 130 Adjusting headlights
134
Installing,
replacing the radio . . . . 135
Emergency starting 136
Emergency towing 138
Lifting vehicle . . 140
TECHNICAL DESCRIPTION
Engine, transmission 142
Steering,
suspension, brakes,
body, chassis 143 Emission-control-system 144
TECHNICAL DATA
Engine, spark plugs .
V-belts capacities . . Dimensions
Weights
Vehicle identification 146
147
148
150 151
CONSUMER INFORMATION
Service manuals 152
GAS STATION INFORMATION
Location of servicing points 156
ALPHABETICAL INDEX 158
www.westfaliaT3.info - a useful website for owners and enthusiasts of VW Westfalia T25 / T3 Campervans
Page 119 of 165

Downloaded from www.Manualslib.com manuals search engine
VEHICLE CARE
TIRES/WHEELS
New tires
New
tires
do not
possess
maximum trac
tion
and
should
be
driven
at
moderate
speeds
and
with
caution
for the
first
100
miles (160 kilometers).
Tire traction
WARNING
When driving on wet or slushy roads, a wedge of
water
may build up
between
the tires and the road. This phenome non is known as aquaplaning or hydro
planing and may cause
partial
or
com
plete
loss
of traction, vehicle control or
stopping ability. Always reduce speed
on
wet roads.
Tire service life
The service
life
of
your tires depends
for
the most
part
on the following factors:
Tire pressures
WARNING
•
Incorrect
tire
pressures cause
increased
tire
wear
and adversely
affect
road holding of the vehicle, lead ing to
loss
of control and personal
injury.
•
Incorrect
tire
pressures can also
lead to
sudden
deflation, resulting
in
an
accident and personal injury.
Check
your
tire
pressures twice
a
month,
and especially before taking
a
long
trip.
Be
sure
not to
forget
to
check
the
spare tire.
Always check
tire
pressures when the tires are cold. When
the
tires
are
warm,
the
pressure
will
be
higher.
Do not
reduce
the
pressure
of
warm tires.
Use
an accurate
tire
pressure gauge when
checking inflation pressures.
Do not
exceed
the
maximum
tire
inflation pres sure listed
on the
tire
sidewalk Cold
tire
inflation pressure means: when
a
vehicle
has
been standing
for at
least
3
hours
or
driven
for
less than 1 mile.
Always include the spare
tire
during
a
pres sure check.
Driving habits
Fast
cornering, heavy acceleration
and
hard braking all increase
tire
wear.
Wheel balancing
The
front
wheels
on new
vehicles
are
balanced.
When driving, however, various
conditions can cause
a
wheel
to
become
unbalanced.
This may
be
noticed as vibra
tions
in the
steering.
Since
tire
imbalance
can
cause wear
or
the steering, suspension
and
tires,
you
should have your wheels rebalanced.
A
wheel should always
be
balanced
if a
nev,
tire
has
been mounted
or a
tire
was re
paired.
114
www.westfaliaT3.info - a useful website for owners and enthusiasts of VW Westfalia T25 / T3 Campervans
Page 129 of 165

Downloaded from www.Manualslib.com manuals search engine
DO-IT-YOURSELF-SERVICE
SPARE
WHEEL
The
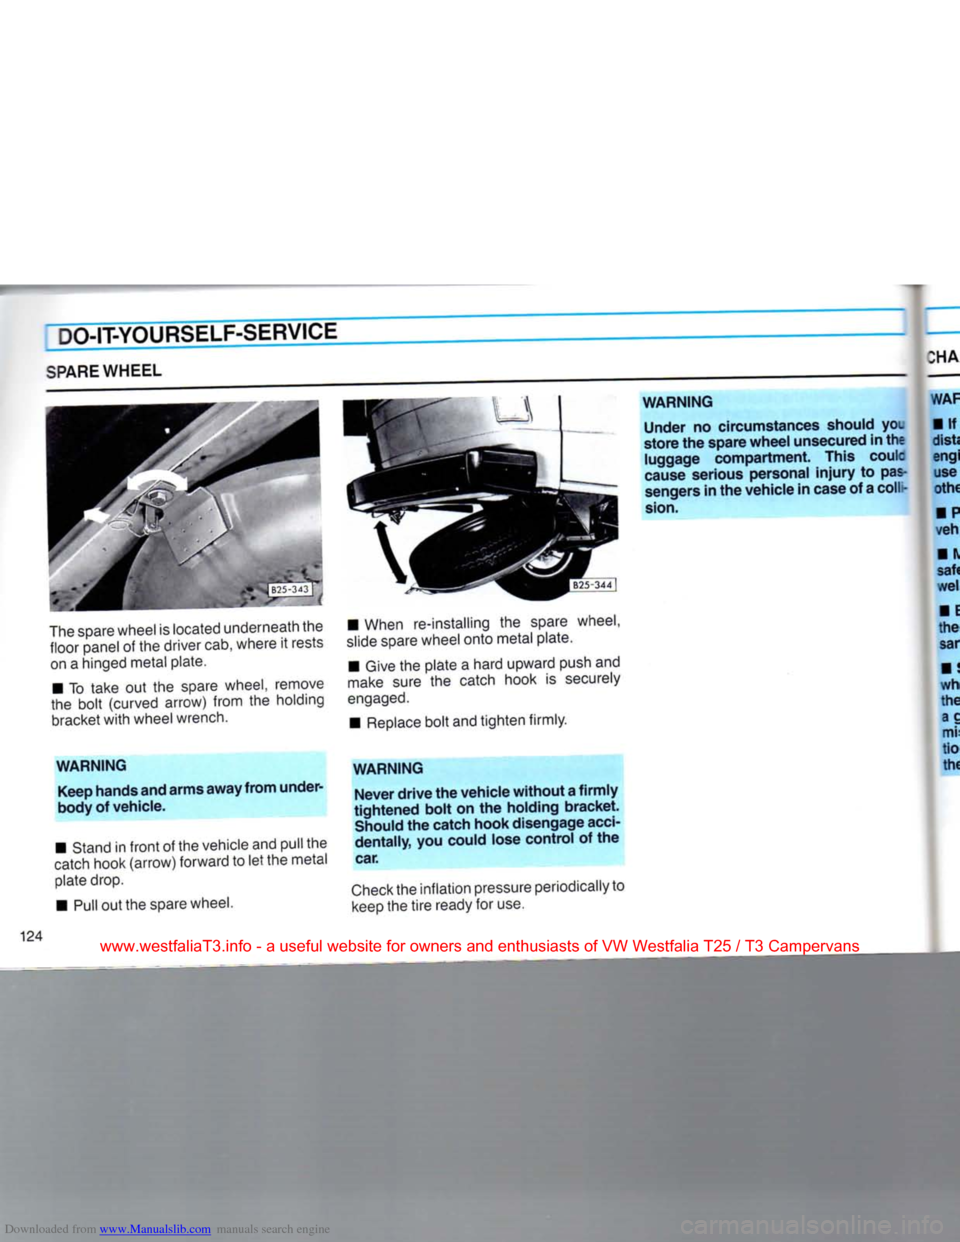
spare wheel is located underneath the floor panel of the driver cab, where it rests on a hinged metal plate.
• To take out the spare wheel, remove
the bolt (curved arrow) from the holding bracket
with
wheel wrench,
WARNING
Keep hands and
arms
away
from
under-
body of vehicle.
• Stand in
front
of the vehicle and pull the
catch
hook (arrow) forward to let the metal
plate drop.
•
Pull
out the spare wheel. • When re-installing the spare wheel,
slide
spare wheel onto metal plate.
•
Give
the plate a hard upward push and
make
sure the catch hook is securely
engaged.
•
Replace
bolt and tighten firmly.
WARNING
Never
drive
the
vehicle
without
a
firmly
tightened
bolt
on the holding
bracket.
Should the catch
hook
disengage acci
dentally,
you could lose
control
of the
car.
Check
the inflation pressure periodically to
keep
the
tire
ready for use.
WARNING
Under
no circumstances should you
store
the spare
wheel
unsecured in the
luggage
compartment.
This coulc
cause serious personal
injury
to pas
sengers in the
vehicle
in case of a coll -
sion.
www.westfaliaT3.info - a useful website for owners and enthusiasts of VW Westfalia T25 / T3 Campervans
Page 132 of 165

Downloaded from www.Manualslib.com manuals search engine
DO-IT-YOURSELF-SERVICE
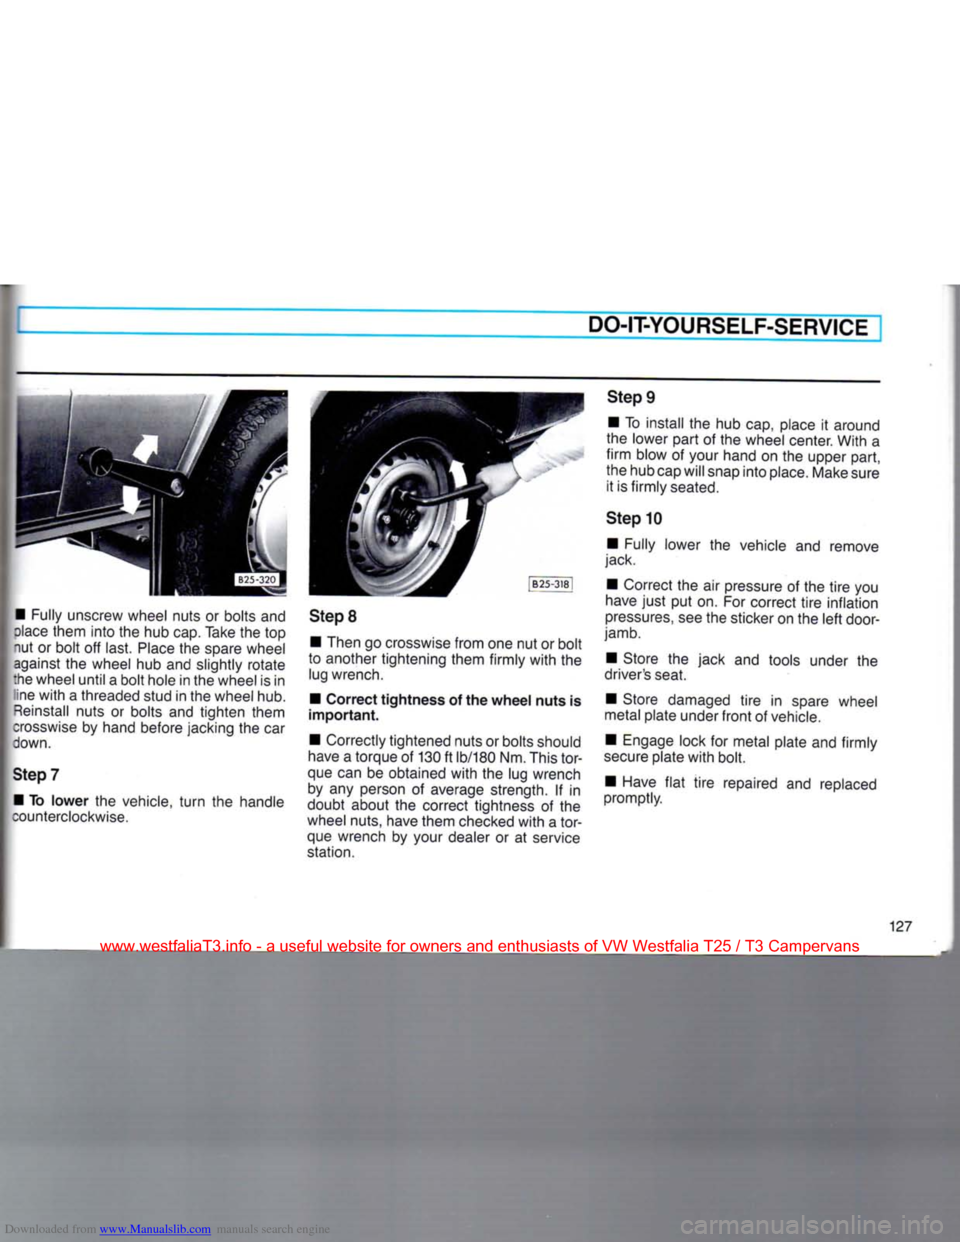
• Fully unscrew wheel nuts or bolts and
dace
them into the hub cap. Take the top
nut or bolt off last.
Place
the spare wheel against the wheel hub and slightly rotate
:he wheel until a bolt hole in the wheel is in ine
with
a threaded stud in the wheel hub.
Reinstall
nuts or bolts and tighten them
crosswise
by hand before jacking the car
down.
Step
7 • To
lower
the vehicle,
turn
the handle
counterclockwise.
Step
8
• Then go crosswise from one nut or bolt
to another tightening them firmly
with
the lug wrench.
• Correct
tightness
of the
wheel
nuts
is
important.
• Correctly tightened nuts or bolts should
have
a torque of 130 ft lb/180 Nm. This
tor
que can be obtained
with
the lug wrench by any person of average strength. If in
doubt about the correct tightness of the
wheel nuts, have them checked
with
a
tor
que wrench by your dealer or at service
station.
Step
9
• To install the hub cap, place it around
the lower part of the wheel center. With a
firm
blow of your hand on the upper part,
the hub cap will snap into place. Make sure it is firmly seated.
Step
10 • Fully lower the vehicle and remove
jack.
• Correct the air pressure of the
tire
you
have
just
put on. For correct
tire
inflation
pressures,
see the sticker on the
left
door-
jamb.
• Store the jack and tools under the
driver's seat.
• Store damaged
tire
in spare wheel
metal plate under
front
of vehicle.
• Engage lock for metal plate and firmly
secure
plate
with
bolt.
• Have
flat
tire
repaired and replaced
promptly.
127
www.westfaliaT3.info - a useful website for owners and enthusiasts of VW Westfalia T25 / T3 Campervans