1990 VOLKSWAGEN TRANSPORTER dashboard
[x] Cancel search: dashboardPage 52 of 165
Downloaded from www.Manualslib.com manuals search engine
EMULATION/HEATING
CONTROLS
AND EQUIPMENT
I
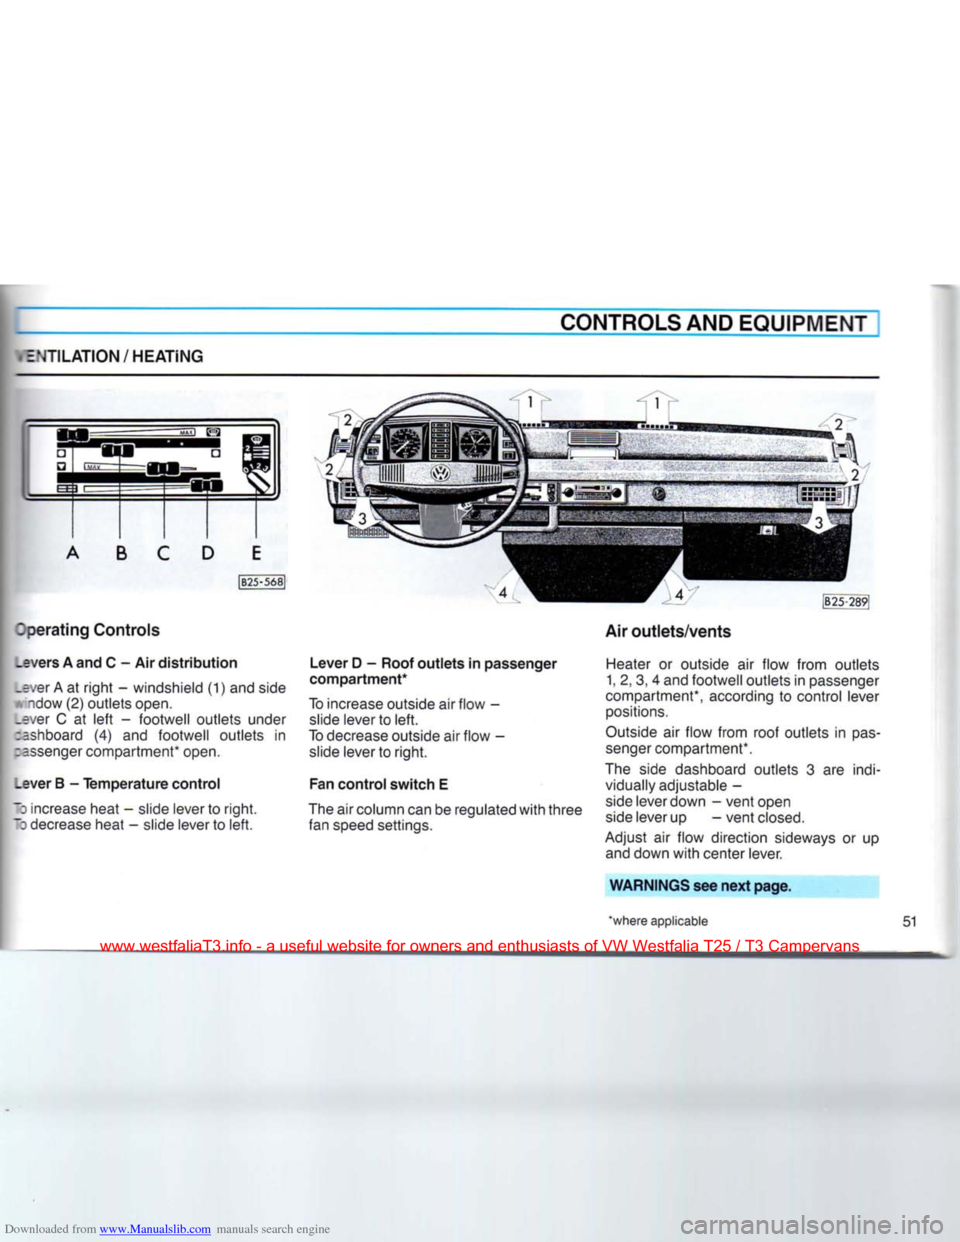
perating
Controls
_evers
A and C - Air
distribution
.ever A at
right
- windshield (1) and side
A'ndow
(2)
outlets
open,
•ver C at
left
-
footwell
outlets
under
:ashboard (4) and
footwell
outlets
in
:=ssenger compartment* open.
_ever
B -
Temperature
control
•
increase heat - slide lever to
right.
~3
decrease heat - slide lever to
left.
Lever
D -
Roof
outlets
in
passenger
compartment*
To increase outside air
flow
- slide lever to
left.
To decrease outside air
flow
- slide lever to
right.
Fan
control
switch
E
The air column can be regulated
with
three
fan speed settings. Air
outlets/vents
Heater or outside air
flow
from
outlets
1, 2, 3, 4 and
footwell
outlets
in passenger
compartment*, according to control lever positions.
Outside air
flow
from
roof
outlets
in
pas
senger compartment*.
The side dashboard
outlets
3 are indi vidually adjustable -
side lever down -
vent
open side lever up
-vent
closed.
Adjust air
flow
direction sideways or up and down
with
center lever.
WARNINGS
see
next
page.
'where
applicable
51
www.westfaliaT3.info - a useful website for owners and enthusiasts of VW Westfalia T25 / T3 Campervans
Page 60 of 165
Downloaded from www.Manualslib.com manuals search engine
CONTROLS AND EQUIPMENT
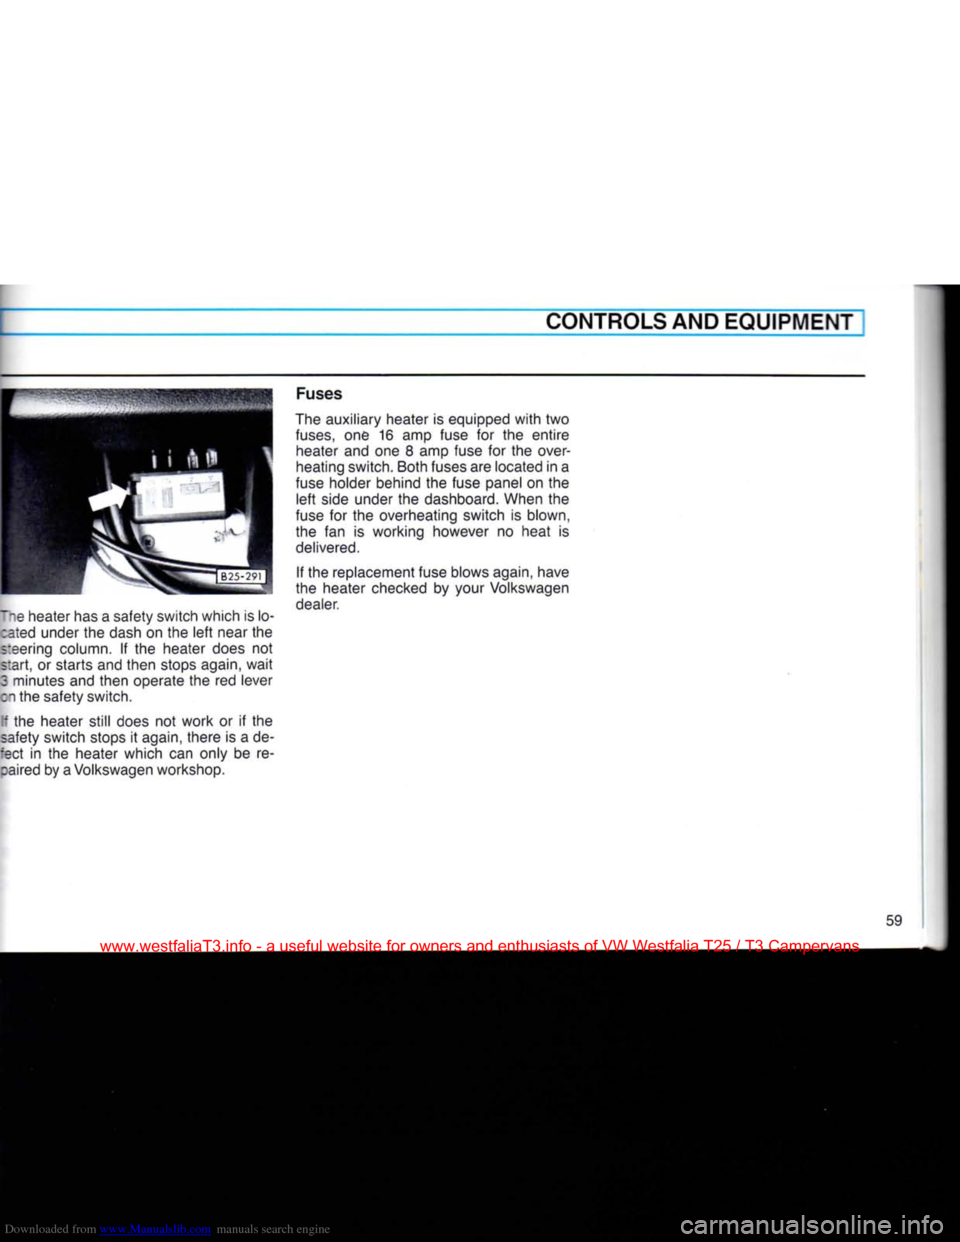
lie heater has a safety switch which is lo- :ated under the dash on the left near the
steering column. If the heater does not
start, or starts and then stops again, wait
3 minutes and then operate the red lever
on the safety switch.
[f the heater still does not work or if the
safety switch stops it again, there is a de-
:ect in the heater which can only be re- :aired by a Volkswagen workshop. Fuses
The auxiliary heater is equipped with two
fuses,
one 16 amp fuse for the entire heater and one 8 amp fuse for the over
heating switch. Both fuses are located in a
fuse holder behind the fuse panel on the left side under the dashboard. When the
fuse for the overheating switch is blown,
the fan is working however no heat is
delivered.
If the replacement fuse blows again, have
the heater checked by your Volkswagen dealer.
59
www.westfaliaT3.info - a useful website for owners and enthusiasts of VW Westfalia T25 / T3 Campervans
Page 64 of 165
Downloaded from www.Manualslib.com manuals search engine
CONTROLS AND
EQUIPMENT
NTERIOR
LIGHTS
Switch
positions
-ront
interior
light:
Up
-ON-with doors open 3enter -OFF
Down -ON-with doors closed
Rear
interior
light:
Jp/front -ON-with doors open
3enter -OFF
Down/rear -ON-with doors closed
Reading
light
on the dashboard |p -Off
Down -On CIGARETTE
LIGHTER
•
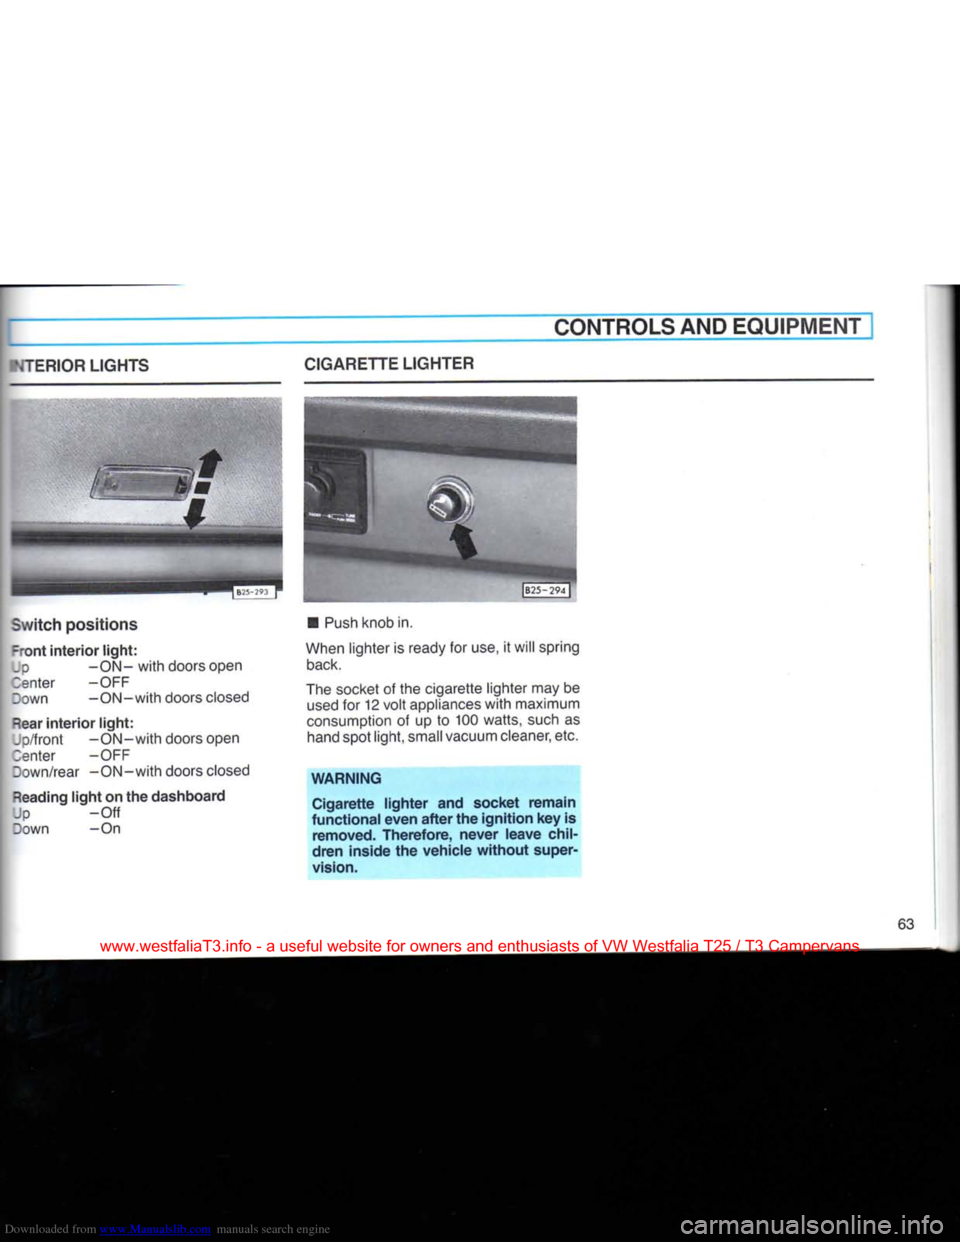
Push
knob in.
When lighter is ready for use, it will spring
back.
The socket of the cigarette lighter may be
used
for 12
volt
appliances
with
maximum
consumption of up to 100 watts, such as hand spot
light,
small vacuum cleaner, etc.
WARNING
Cigarette lighter and socket remain
functional even after the ignition key is
removed.
Therefore, never leave
chil
dren inside the vehicle
without
super
vision.
63
www.westfaliaT3.info - a useful website for owners and enthusiasts of VW Westfalia T25 / T3 Campervans
Page 65 of 165
Downloaded from www.Manualslib.com manuals search engine
CONTROLS AND EQUIPMENT
ASHTRAYS
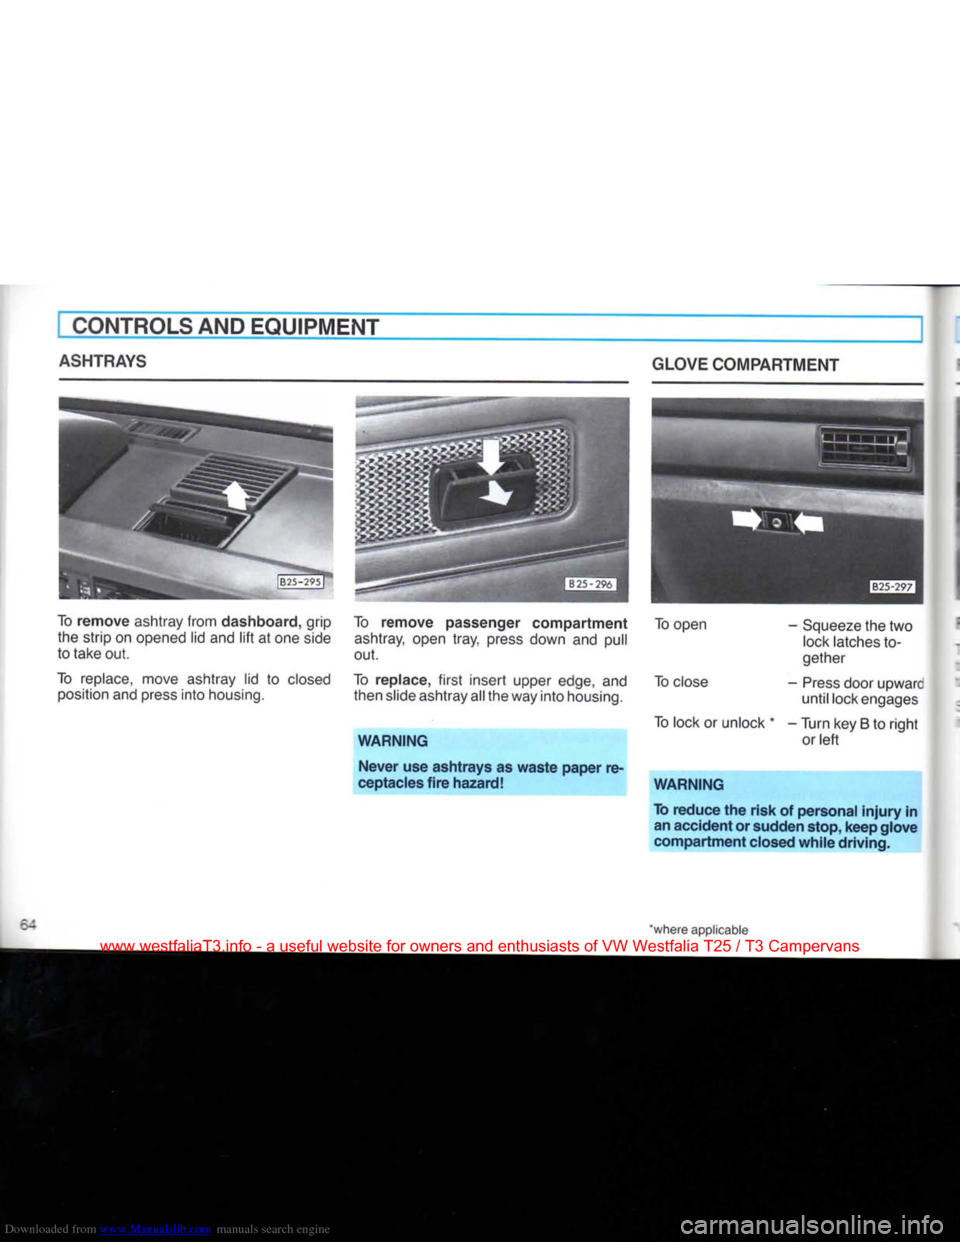
To remove ashtray from dashboard, grip the strip on opened lid and lift at one side
to take out.
To replace, move ashtray lid to closed position and press into housing. To remove passenger compartment
ashtray, open tray, press down and pull
out.
To replace, first insert upper edge, and then slide ashtray all the way into housing.
WARNING Never use ashtrays as waste paper re
ceptacles fire hazard! GLOVE COMPARTMENT
To open - Squeeze the two lock latches to
gether
To close - Press door upwarc until lock engages
To lock or unlock * - Turn key B to right or left
WARNING
To reduce the risk of personal injury in an accident or sudden stop, keep glove compartment closed while driving.
*where applicable
www.westfaliaT3.info - a useful website for owners and enthusiasts of VW Westfalia T25 / T3 Campervans
Page 113 of 165
Downloaded from www.Manualslib.com manuals search engine
VEHICLE CARE
BRAKE FLUID 3 ATT
108 Brake fluid reservoir
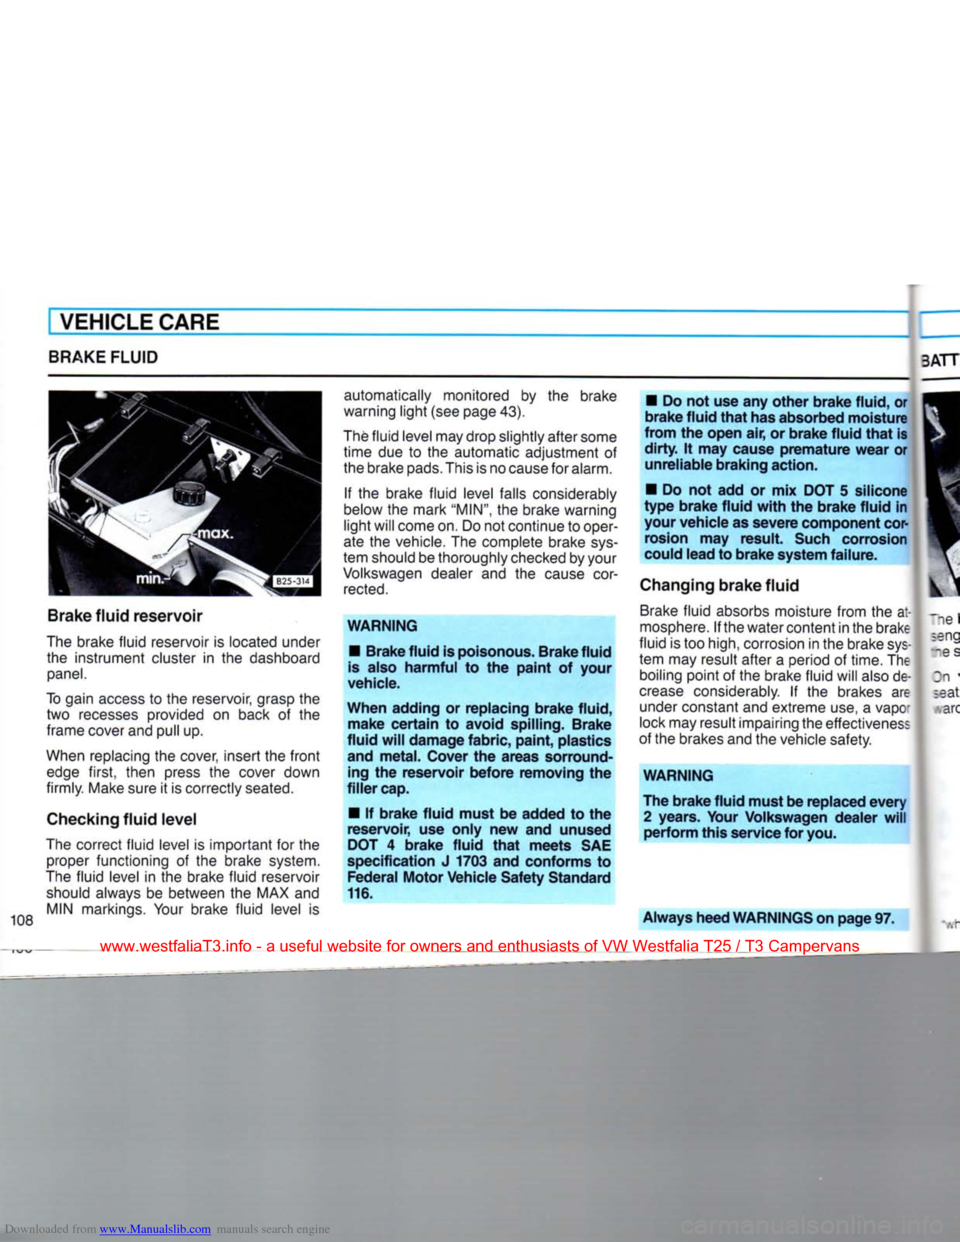
The brake fluid reservoir is located under the instrument cluster in the dashboard
panel.
To gain access to the reservoir, grasp the two recesses provided on back of the frame cover and pull up.
When replacing the cover, insert the front edge first, then press the cover down
firmly. Make sure it is correctly seated.
Checking fluid level
The correct fluid level is important for the proper functioning of the brake system.
The fluid level in the brake fluid reservoir should always be between the MAX and MIN markings. Your brake fluid level is automatically monitored by the brake
warning light (see page 43).
The fluid level may drop slightly after some time due to the automatic adjustment of
the brake pads. This is no cause for alarm.
If the brake fluid level falls considerably
below the mark
"MIN",
the brake warning
light will come on. Do not continue to oper
ate the vehicle. The complete brake sys
tem should be thoroughly checked by your
Volkswagen dealer and the cause cor
rected.
WARNING • Brake fluid is poisonous. Brake fluid
is also harmful to the paint of your
vehicle.
When adding or replacing brake fluid, make certain to avoid spilling. Brake
fluid will damage fabric, paint, plastics and metal. Cover the areas sorround-ing the reservoir before removing the
filler cap.
• If brake fluid must be added to the
reservoir, use only new and unused
DOT 4 brake fluid that meets SAE
specification J 1703 and conforms to Federal Motor Vehicle Safety Standard
116.
• Do not use any other brake fluid, or
brake fluid that has absorbed moisture
from the open air, or brake fluid that is
dirty. It may cause premature wear or unreliable braking action.
• Do not add or mix DOT 5 silicone
type brake fluid with the brake fluid in your vehicle as severe component corrosion may result. Such corrosion
could lead to brake system failure.
Changing brake fluid Brake fluid absorbs moisture from the at
mosphere. If the watercontent in the brake
fluid is too high, corrosion in the brake sys
tem may result after a period of time. The boiling point of the brake fluid will also de
crease considerably. If the brakes are under constant and extreme use, a vapc
lock may result impairing the effectiveness
of the brakes and the vehicle safety. -e s
Dn seat arc
WARNING
The brake fluid must be replaced every 2 years. Your Volkswagen dealer will perform this service for you.
Always heed WARNINGS on page 97.
www.westfaliaT3.info - a useful website for owners and enthusiasts of VW Westfalia T25 / T3 Campervans
Page 133 of 165
Downloaded from www.Manualslib.com manuals search engine
DO-IT-YOURSELF-SERVICE
FUSES
A
failure in the electrical system may be
caused
by a burned fuse.
Fuses
are arranged in one centralized
unit.
The
unit
is located on the
left
side under the dashboard behind a cover.
Removing
cover:
Detach cover at
front,
swing downwards
and take it off.
Installing
cover:
Hang
cover in the eyes of fuse box
bracket, swing it upwards and press it
firmly
into
position.
Replacing
a
fuse
Before
replacing
a fuse,
turn
off all
lights
and accessories and
remove
the
ignition
key to
avoid
damaging
the
electrical
system.
• Consult the fuse listing on the following
page to
find
out which fuse belongs to the
component
that
has failed.
• Remove blown fuse
with
the plastic clip
located on cover in
front
of fuse box.
Three spare fuses can be attached to the
bottom
of the fuse panel. It is good planning to keep a supply of spare fuses on
hand.
They are available at your Volks
wagen dealer.
• Replace the blown fuse which can be
recognised by the
burnt
metal strip,
with
a
fuse of equal ampere rating. If a
fuse
blows
repeatedly,
do not
keep
or
replacing
it. The cause of the
short
cir
cuit
or
overload
must
be found. On nc
account
should fuses be
patched
up
with
tin
foil
or
wire
as
this
may cause serious
damage
elsewhere
in the
electrj
cal
circuit
or cause a
fire.
WARNING
Do not use a
fuse
of
higher
amperage,
because
this
could
damage
the
elec
trical
part
and
fire
can
result.
128
www.westfaliaT3.info - a useful website for owners and enthusiasts of VW Westfalia T25 / T3 Campervans
Page 162 of 165
Downloaded from www.Manualslib.com manuals search engine
ALPHABETICAL
INDEX
page
Accessories
122
Air
cleaner 103
Air
Conditioner 54 All-wheel-drive 75
Alternator warning
light
44
Ashtrays
64
Assist
handles and coat hooks ... 67
Automatic safety belts 14
Automatic Transmission 35
Automatic Transmission Fluid .... 102 Auxiliary Heater 57, 60
Battery 109
Battery charging 110
Brake
fluid reservoir 108
Brake
warning
light
43
Brakes
29
Break-in
period 69
Bulb
chart 130
Bulb
replacing 130
Buzzer
7,35
Capacities
147
Catalytic
converter 144
Central
locking system 8
Cigarette lighter 63
Child
safety 15
Chime
7,35
Cleaning
products 89
Climate
controls 51
Clock
41 page
Coolant
temperature gauge .... 41
Cooling
system 104
Consumer
information 152
Corrosion
protection 94
Cruise
control 49
Curtains
27
Cup
holder 66
Dashboard
4
Data
146
Defogging/defrosting 52 Differential lock 33
Dimensions
148
Do-it-yourself service 123
Doors
9
Economically
driving 72
Electric
windows 12
Emergency
equipment 70
Emergency
flasher 46
Emergency
starting 136
Emergency
towing 138
Emission
Control System 144
Engine
code letter 151
Engine
compartment lid 97
Engine
cooling 41,104
Engine
exhaust 144
Engine
number 151
Engine
oil changing 100
pace
Engine
oil checking 9?
Engine
oil grades 9E
Expansion
tank 105
Fan
41, 10c
Folding
table 65
Foreign
country driving 120 Front seats 20
Fuel
economy 72
Fuel
gauge 42
Fuel
injection 142
Fuel
supply 86
Fuel
tank 85
Fuses
12E
Gas
Station
Information
156
Gasoline
additives 86
Gearshift lever 32
Glove
compartment 64
Headlight dimmer and flasher .... 48 Headlights 13C
Headlight adjustment 134
Headlight switch 46
Head
restraints 19 HeatingA/entilation 51
High beam 45,48
Horn 4
Identification label and number ... 151
Ignition/steering lock 38
Indicator lights 43
www.westfaliaT3.info - a useful website for owners and enthusiasts of VW Westfalia T25 / T3 Campervans