1990 VOLKSWAGEN TRANSPORTER check engine light
[x] Cancel search: check engine lightPage 30 of 165
Downloaded from www.Manualslib.com manuals search engine
^EDALS
BRAKES CONTROLS AND EQUIPMENT
WARNING • The movement of the pedals must
never be obstructed by a floor mat or
any other object.
• In case one of the two brake circuits
fails,
increased brake pedal travel is required to bring your vehicle to a full
stop.
• It should always be possible to
depress the clutch and accelerator pedals fully.
• All pedals must be able to return
freely to their normal positions.
Only use floor mats which leave the pedal area free and can be secured with
floor mat fasteners. Functioning of brake system
Your vehicle is equipped with a power assisted hydraulic dual circuit brake
system with disc brakes at the front and
self-adjusting drum brakes at the rear. Both circuits function independently.
One brake circuit operates the front
wheels and the other the rear wheels. In the unlikely event of hydraulic failure of
one circuit, push the brake pedal down
firmly and hold it in that position. A mechanical linkage activates the second
circuit, and you will be able to bring the
vehicle to a stop.
WARNING Failure of one brake circuit will impair
the braking capability resulting in an increased stopping distance. If one brake circuit fails, the other will still
operate. However, you will notice an increased pedal travel when you step on
the brake. Should you encounter such experience, bring your vehicle safely to a
full stop.
Avoid driving the vehicle and have it
towed to the nearest Volkswagen dealer or qualified workshop.
Brake operation and brake
warning light
Make it a habit to check the operation of
your brakes before driving. The brake
warning light will light up while the engine is cranking and the parking brake is pulled
and/or the brake fluid level is too low. For more details see "Brake warning light" on
page 43.
Keep in mind that the braking distance
increases very rapidly as the speed increa
ses.
At 60 mph or at 100 km/h, for example, it is not twice but four times longer than at 30 mph or at 50 km/h. Tire
traction is also less effective when the roads are wet and slippery. Therefore,
always maintain a safe distance from the
vehicle in front of you.
29
www.westfaliaT3.info - a useful website for owners and enthusiasts of VW Westfalia T25 / T3 Campervans
Page 31 of 165
Downloaded from www.Manualslib.com manuals search engine
CONTROLS
AND
EQUIPMENT
Brake
booster
The brake booster works
only
when
the engine is running.
WARNING
When the vehicle is moving while the engine is not running, more force on
the brake pedal is required to bring the
vehicle to
a
stop. Conditions affecting braking
efficiency
Moisture or road salt
WARNING
•
Under
certain
climatic
and
operating
conditions such as passing
through
water, driving in
heavy
rain or after
washing the vehicle the effectiveness of the brakes can be reduced. In
winter
ice
can accumulate on the brake pads,
linings, discs and drums. Cautiously
apply brakes for a test. Brakes will dry,
ice
coatings will be cleaned off after a
few cautious brake applications.
• Driving for an extended period of
time
on salt covered roads
without
using
your
brakes can also affect brak
ing
efficiency. The accumulated salt
coating
must be cleaned off the brake
discs
and brake pads be
a
few cautious brake applications.
• Do not "ride the brakes" by resting
your
foot
on the pedal
when
not in
tending to brake.
This
may cause the brakes to overheat, premature wear
and increased stopping distance. • Before descending
a
steep grade, re
duce speed and shift transmission into
a
lower
gear or
lower
driving position to control speed. Do not
ride
the
brakes or hold the pedal
down
too long, or too
often.
This
could cause the brakes to get hot
and
diminish
braking efficiency.
New brake pads or linings • New brake pads and linings do not have
optimum friction properties and must be
"broken in" during the initial 100 to 150
miles
(150 to 200 kilometers) of normal
city driving. You can compensate for this by applying more pressure on the brake
pedal.
This
also applies later
when
new
pads or linings are installed.
Brake
fluid level • If the brake fluid level is too low,
malfunctions or
even
a failure in the brake
system could result.
Therefore,
it is important to check
your
brake fluid level
regularly. See page 108 for more details.
Low brake fluid is indicated by the brake
warning light (see page 43).
www.westfaliaT3.info - a useful website for owners and enthusiasts of VW Westfalia T25 / T3 Campervans
Page 32 of 165
Downloaded from www.Manualslib.com manuals search engine
CONTROLS AND
EQUIPMENT
=ailure
of one
brake
circuit
I the brake pedal travel should suddenly
icrease,
one of the brake circuits may
_ave
failed. Should this happen, you will
m able to bring your vehicle safely to a
s:op,
however, you will have to push hard
er on the brake pedal and it will take a onger distance to stop the vehicle.
Con
tact your Volkswagen dealership for as
sistance.
Brake
wear
~he brakes on our automobiles are still subject to wear depending largely on operating conditions and driving habits. On ve
hicles
which are driven mostly in stop-and-
50 city
traffic
or which are driven hard, the
crake linings should be checked by your
Volkswagen
dealer more often than
specified
in the Maintenance brochure.
Front
spoiler
If you
install
a
front
spoiler on
your
vehi
cle, be
sure
the air
flow
to the
front
brakes
is not
obstructed,
otherwise
the
brake
system
could
overheat.
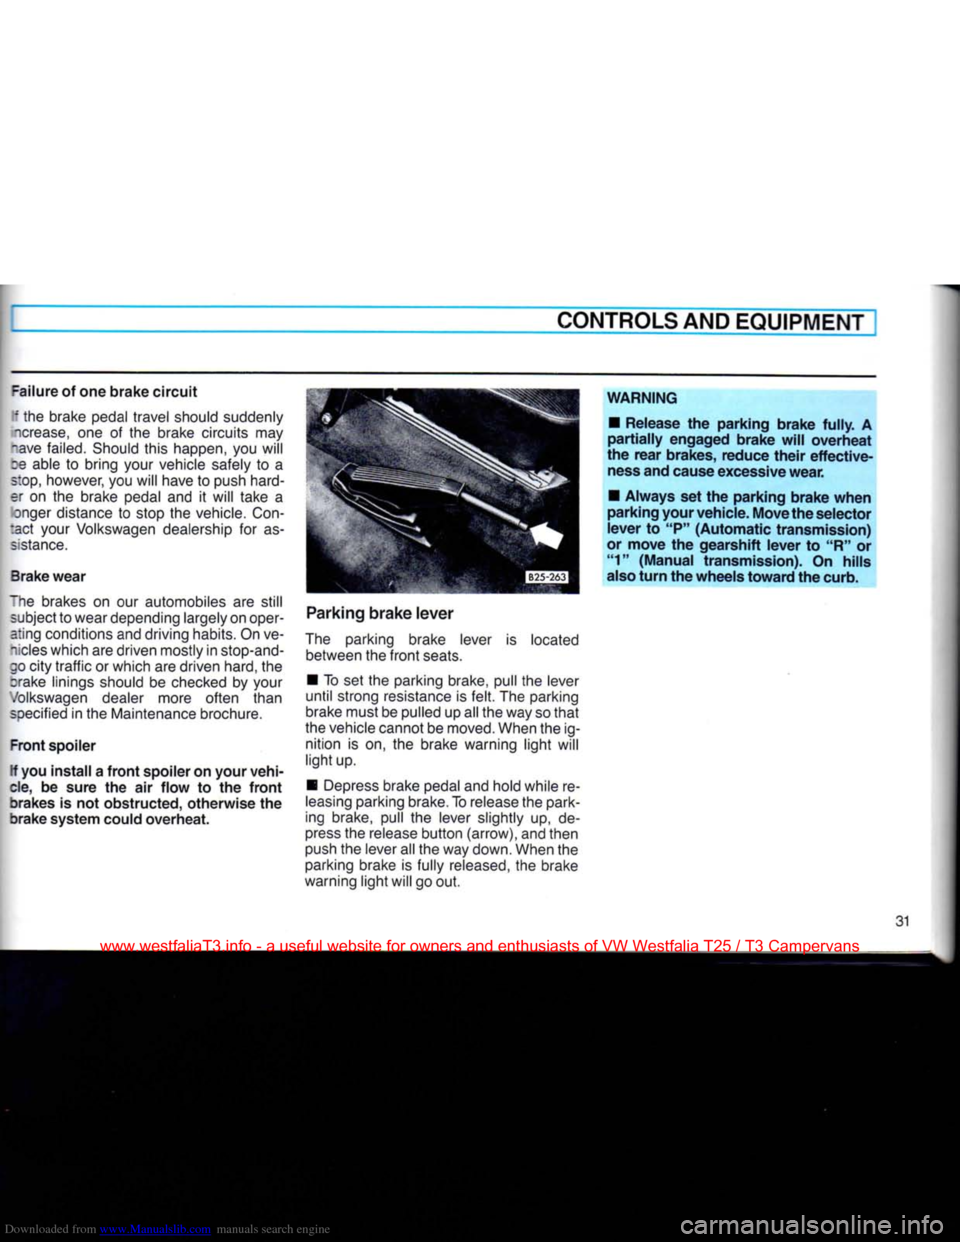
Parking
brake
lever
The parking brake lever is located between the
front
seats.
• To set the parking brake, pull the lever
until
strong resistance is
felt.
The parking
brake must be pulled up all the way so
that
the vehicle cannot be moved. When the ig nition is on, the brake warning
light
will
light
up.
• Depress brake pedal and hold while re
leasing
parking brake. To release the park
ing brake, pull the lever slightly up, de
press
the release
button
(arrow), and then
push the lever all the way down. When the parking brake is fully released, the brake
warning
light
will go out.
WARNING
•
Release
the
parking
brake
fully.
A
partially
engaged
brake
will
overheat
the
rear
brakes,
reduce
their
effective
ness and cause excessive
wear.
•
Always
set the
parking
brake
when
parking
your
vehicle.
Move
the
selector
lever
to "P"
(Automatic
transmission)
or
move
the
gearshift
lever
to "R" or "1"
(Manual
transmission).
On
hills
also
turn
the
wheels
toward
the curb.
31
www.westfaliaT3.info - a useful website for owners and enthusiasts of VW Westfalia T25 / T3 Campervans
Page 34 of 165
Downloaded from www.Manualslib.com manuals search engine
CONTROLS AND
EQUIPMENT
THE
DIFFERENTIAL
LOCK*
(SYNCRO)
When driving around a curve, the outside
.vheels
turn
more than the inside wheels.
A
gear set, part of the transmission, called :he differential, compensates for the differ
ence.
If, however, one wheel gets on a slip pery surface and starts to spin, the
differential will not transmit power to the
ether wheel. The car will be stuck. The
dif
ferential lock will allow power to be trans
mitted
to both wheels to help get the vehi-
:!e
moving again. Because the differential
5
then unable to compensate for corner-
~.g, vehicle handling and maneuverability
.'.ill
be reduced. Therefore the differential zck may only be used under limited condi-
:ons.
WARNING
Locked
differential
cannot
compensate
for
cornering
and
therefore
increases
tire
wear,
reduces
vehicle
maneuvera
bility,
driveability
and can
impair
vehi
cle
handling
performance.
See
detailed
instructions
on
next
page.
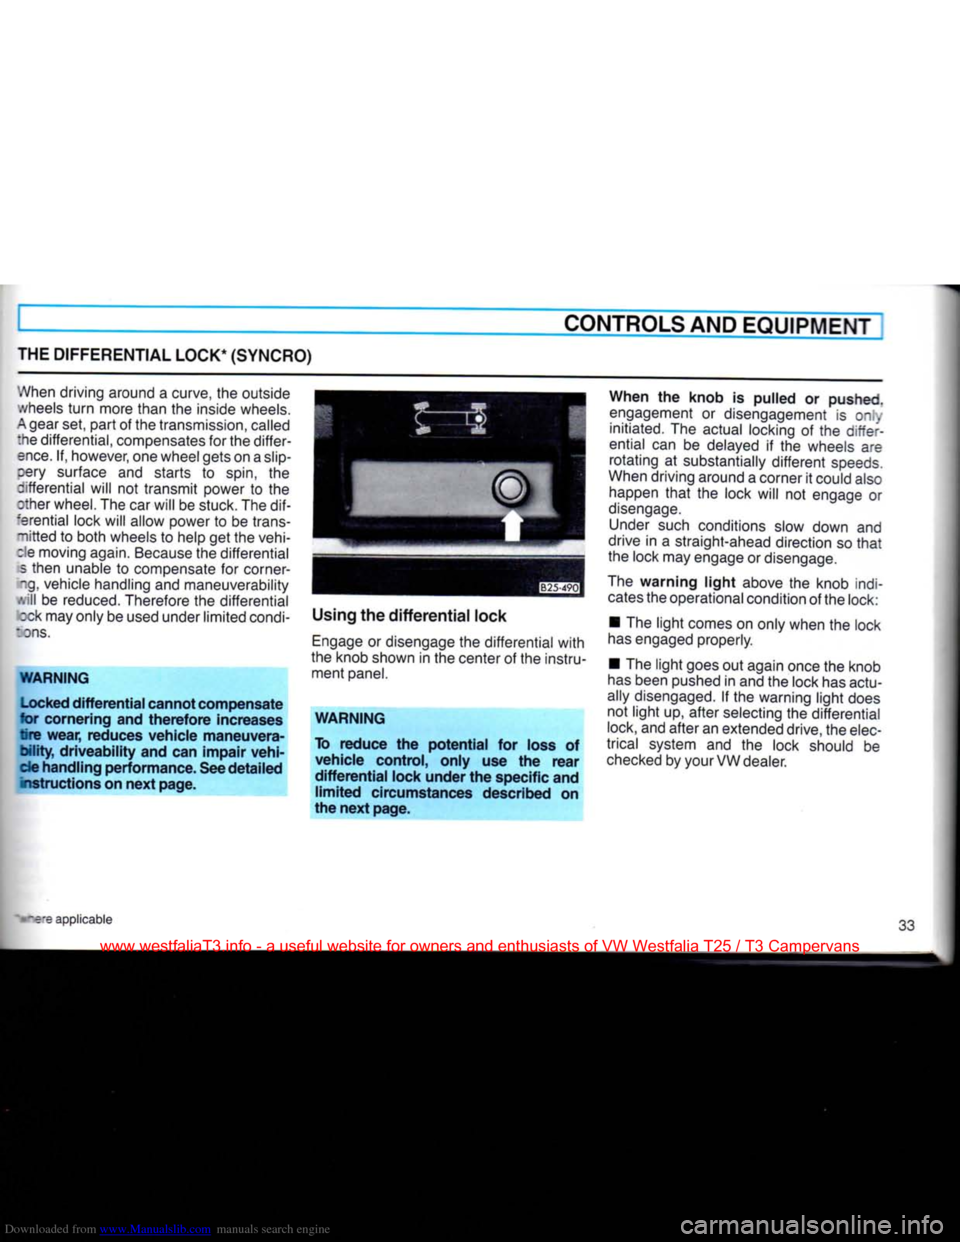
Using the
differential
lock
Engage
or disengage the differential
with
the knob shown in the center of the instru ment panel.
WARNING
To
reduce
the
potential
for loss of
vehicle
control,
only
use the
rear
differential
lock
under
the specific and
limited
circumstances described on
the
next
page.
When
the
knob
is
pulled
or pushed.
engagement or disengagement is ony initiated. The actual locking of the differ
ential can be delayed if the wheels are rotating at substantially different speeds.
When driving around a corner it could also happen
that
the lock will not engage or
disengage.
Under
such conditions slow down and
drive in a straight-ahead direction so
that
the lock may engage or disengage.
The
warning
light
above the knob indi
cates
the operational condition of the lock:
• The
light
comes on only when the lock
has
engaged properly.
• The
light
goes out again once the knob
has
been pushed in and the lock has actu
ally disengaged. If the warning
light
does not
light
up, after selecting the differential
lock, and after an extended drive, the elec
trical system and the lock should be
checked
by your VW dealer.
e applicable
www.westfaliaT3.info - a useful website for owners and enthusiasts of VW Westfalia T25 / T3 Campervans
Page 42 of 165
Downloaded from www.Manualslib.com manuals search engine
CONTROLS AND EQUIPMENT
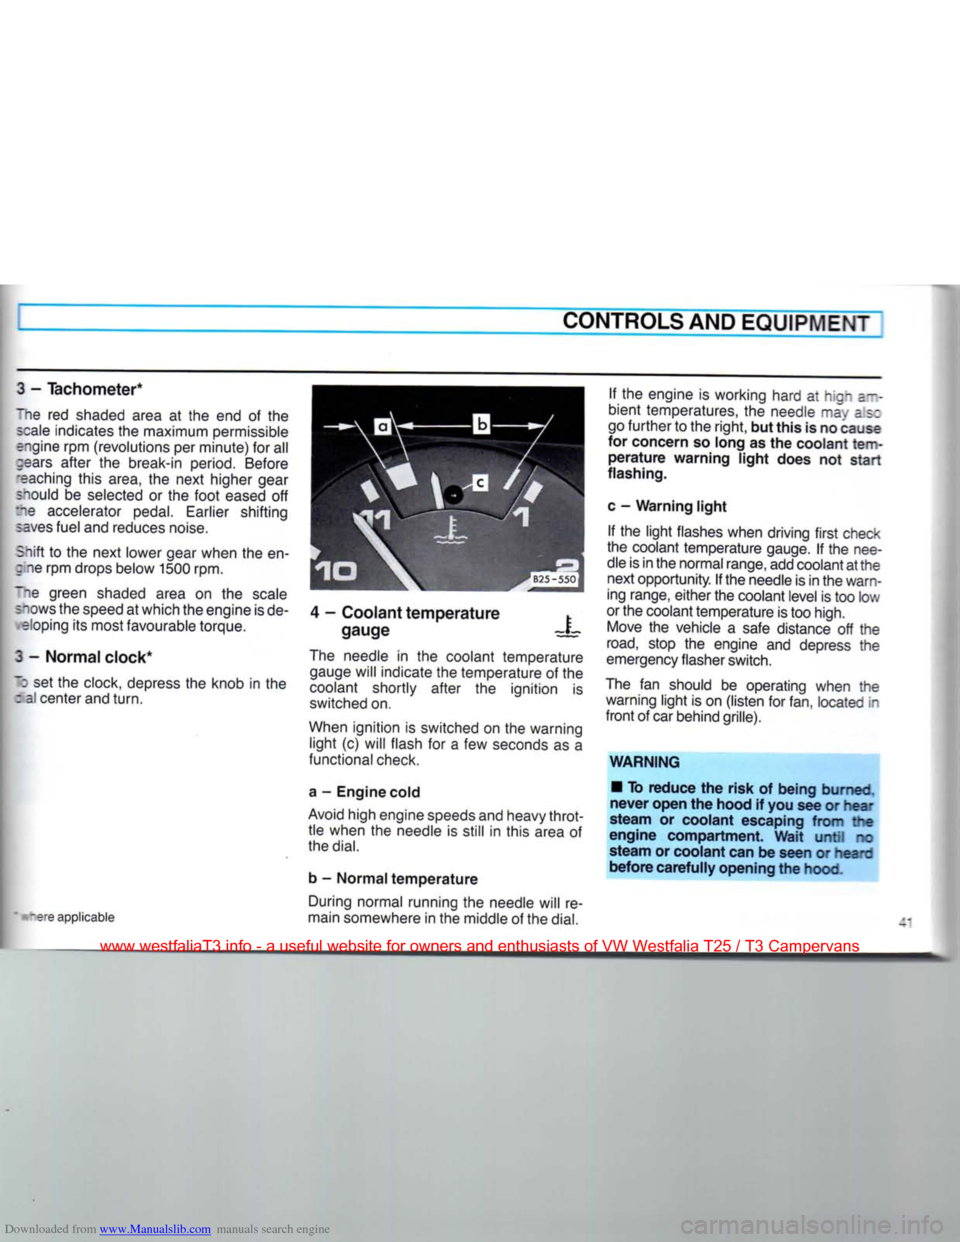
I - Tachometer*
"he red shaded area at the end of the scale indicates the maximum permissible
engine rpm (revolutions per minute) for all gears after the break-in period. Before
'eaching this area, the next higher gear
snould be selected or the foot eased off
the accelerator pedal. Earlier shifting saves fuel and reduces noise.
Sniff to the next lower gear when the en-
; ne rpm drops below 1500 rpm.
~ne green shaded area on the scale snows the speed at which the engine is de-
•
eloping its most favourable torque.
3 - Normal clock*
~J
set the clock, depress the knob in the : al center and
turn.
4 - Coolant temperature
gauge X
tare applicable The needle in the coolant temperature
gauge will indicate the temperature of the
coolant shortly after the ignition is
switched on.
When ignition is switched on the warning light (c) will flash for a few seconds as a
functional check.
a - Engine cold
Avoid high engine speeds and heavy throt tle when the needle is still in this area of
the
dial.
b - Normal temperature During normal running the needle will re
main somewhere in the middle of the
dial.
If the engine is working hard at hign a--
bient temperatures, the needle may as:
go further to the right, but this is no cause
for concern so long as the coolant
tem
perature warning light does not start
flashing.
c - Warning light If the light flashes when driving first check
the coolant temperature gauge. If the nee
dle is in the normal range, add coolant at the next opportunity. If the needle is in the warn
ing range, either the coolant level is too low
or the coolant temperature is too high. Move the vehicle a safe distance off the
road,
stop the engine and depress the
emergency flasher switch.
The fan should be operating when the warning light is on (listen for fan, located in
front of car behind grille).
WARNING • To reduce the risk of being burned,
never open the hood if you see or hear
steam or coolant escaping from the
engine compartment. Wait until no
steam or coolant can be seen or heard
before carefully opening the hood.
www.westfaliaT3.info - a useful website for owners and enthusiasts of VW Westfalia T25 / T3 Campervans
Page 43 of 165
Downloaded from www.Manualslib.com manuals search engine
CONTROLS
AND
EQUIPMENT
WARNING continned •
The
engine compartment
of any
motor vehicle
is a
potentially hazard
ous
area.
Before you check anything in the engine compartment, stop
the
engine and
let it
cool down. Always
exercise extreme caution when work
ing
one the
engine. Heed
all of the
WARNINGS on page
97.
Reduce the risk
of
scalding from
hot
coolant by following these steps.
• If the coolant reservoir cap must be
removed, wait until
the
engine
has
cooled down.
• Protect face, hands
and
arms
by
covering
the cap
with
a
large, thick
rag
to
protect against escaping fluid
and
steam.
• Carefully and slowly
turn
cap
one
turn
to
allow excess pressure
to es
cape before completely removing
cap.
•
To
help avoid being burned,
do not
spill
antifreeze
or
coolant
on the ex
haust system
or hot
engine parts.
Under
some conditions, the ethylene
glycol
in
engine coolant
is
combusti
ble.
If a
visual check shows that coolant level
and V-belt
are
normal,
but the
warning light continues to
flash,
contact
your
near
est dealer
to
have
the
cause located
and
corrected.
For more details see "Cooling system"
on
page 104.
If the
coolant gauge needle nears
the
upper end
of
the scale and the engine ap
pears
to be
overheating,
turn
off the air
conditioner.
Do
not
install accessories
(fog
lights
or
in
sect screens,
for
example)
on top of the
front
bumper.
They
may
restrict engine
cooling.
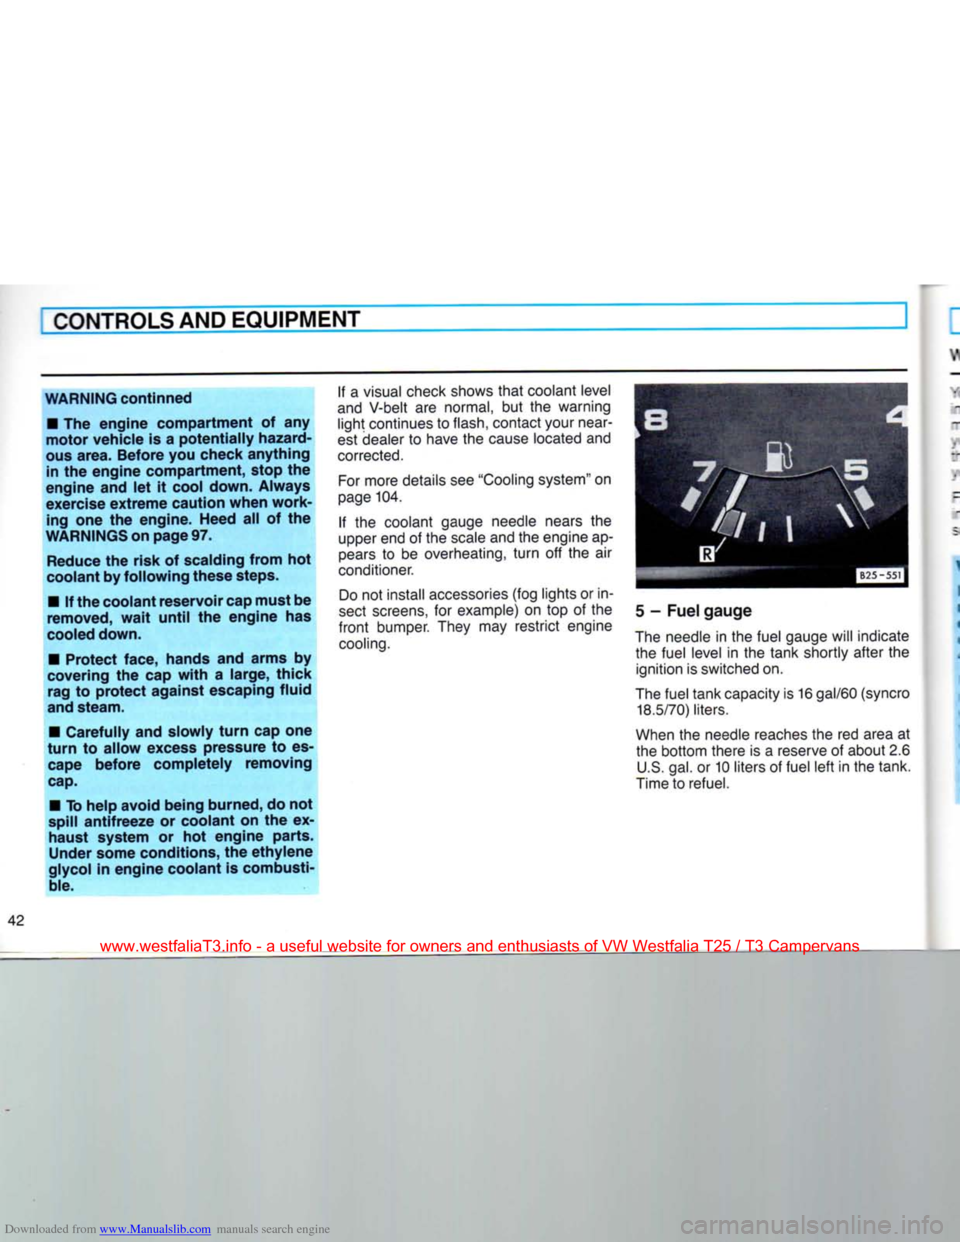
5
-
Fuel gauge
The needle
in
the fuel gauge will indicate the fuel level
in the
tank shortly after
the
ignition is switched on.
The fuel tank capacity is
16
gal/60
(syncro
18.5/70)
liters.
When
the
needle reaches the
red
area
at
the bottom there
is a
reserve
of
about 2.6 U.S. gal.
or
10 liters
of
fuel left in the tank.
Time to refuel.
www.westfaliaT3.info - a useful website for owners and enthusiasts of VW Westfalia T25 / T3 Campervans
Page 44 of 165
Downloaded from www.Manualslib.com manuals search engine
CONTROLS
AND
EQUIPMENT
WARNING
/ INDICATOR
LIGHTS
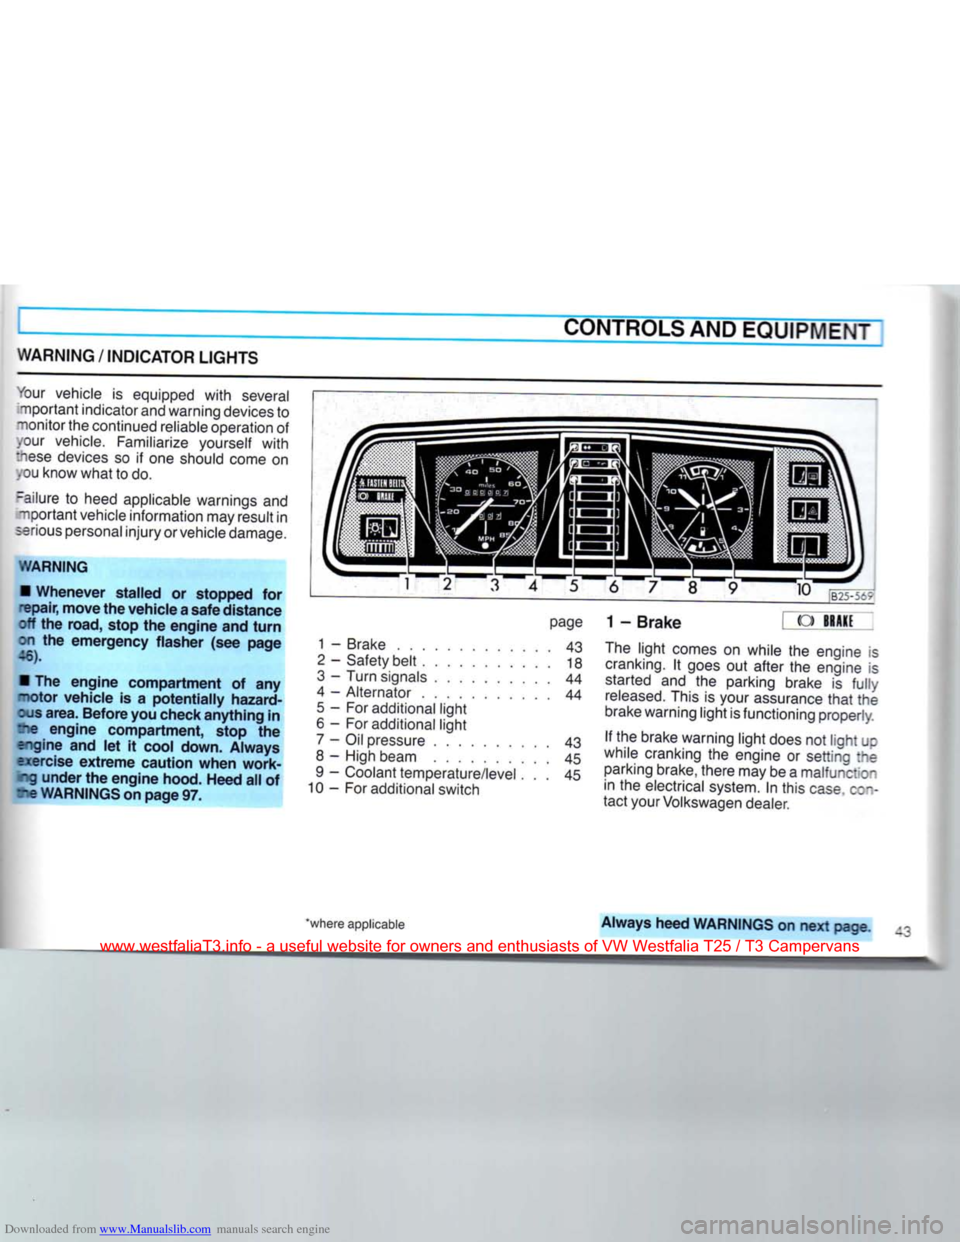
1 2 3 4 5 6 7 8
your vehicle is equipped
with
several
•nportant indicator and warning devices to
~ionitor the continued reliable operation of .our vehicle. Familiarize yourself
with
:hese
devices so if one should come on .ou know what to do.
-allure to heed applicable warnings and "nportant vehicle information may result in
serious
personal injury or vehicle damage.
WARNING
•
Whenever
stalled
or stopped for
epair,
move
the
vehicle
a
safe
distance
off the road, stop the
engine
and
turn
on the
emergency
flasher
(see
page
46).
• The
engine
compartment
of any
-lotor
vehicle
is a
potentially
hazard
ous
area.
Before
you check
anything
in
?ie
engine
compartment,
stop the
engine
and let it cool down.
Always
exercise
extreme
caution
when
work
ing
under
the
engine
hood.
Heed
all of
re
WARNINGS
on
page
97.
page
1 - Brake 43
2
- Safety belt 18
3
- Turn signals 44
4 - Alternator 44
5
- For additional light
6 - For additional light 7 - Oil pressure 43
8 - High beam 45
9 - Coolant temperature/level . . . 45
10 - For additional switch 9 10
B25-5t?
1-Brake
« ->
The
light comes on while the engine is
cranking.
It goes out after the engine is started and the parking brake is
fully
released.
This is your assurance
that
the
brake warning light is functioning properly.
If the brake warning light does not light JC
while cranking the engine or setting :ne parking brake, there may be a malfunction in the electrical system. In this
case
c;~-
tact your Volkswagen dealer.
'where applicable
Always
heed
WARNINGS
on next page
www.westfaliaT3.info - a useful website for owners and enthusiasts of VW Westfalia T25 / T3 Campervans
Page 45 of 165
Downloaded from www.Manualslib.com manuals search engine
I CONTROLSAND EQUIPMENT
WARNING If the brake warning
light
does not go
out
with
the engine running and the parking brake released or lights up
while driving, the fluid level
in
the brake
fluid reservoir may
be
too low.
This might be
due
to
a
leak in one of the two independently functioning brake circuits.
If the brake pedal travel has increased,
one of the brake circuits may have
failed.
Avoid driving the vehicle and have it towed to the nearest Volkswa
gen dealer or qualified workshop for re pair.
If brake pedal travel has not increased
and
braking performance remains un
impaired,
proceed carefully to
your
nearest Volkswagen dealer or qualified
workshop to have the braking system inspected and corrected.
For detailed information see
"Brakes" on
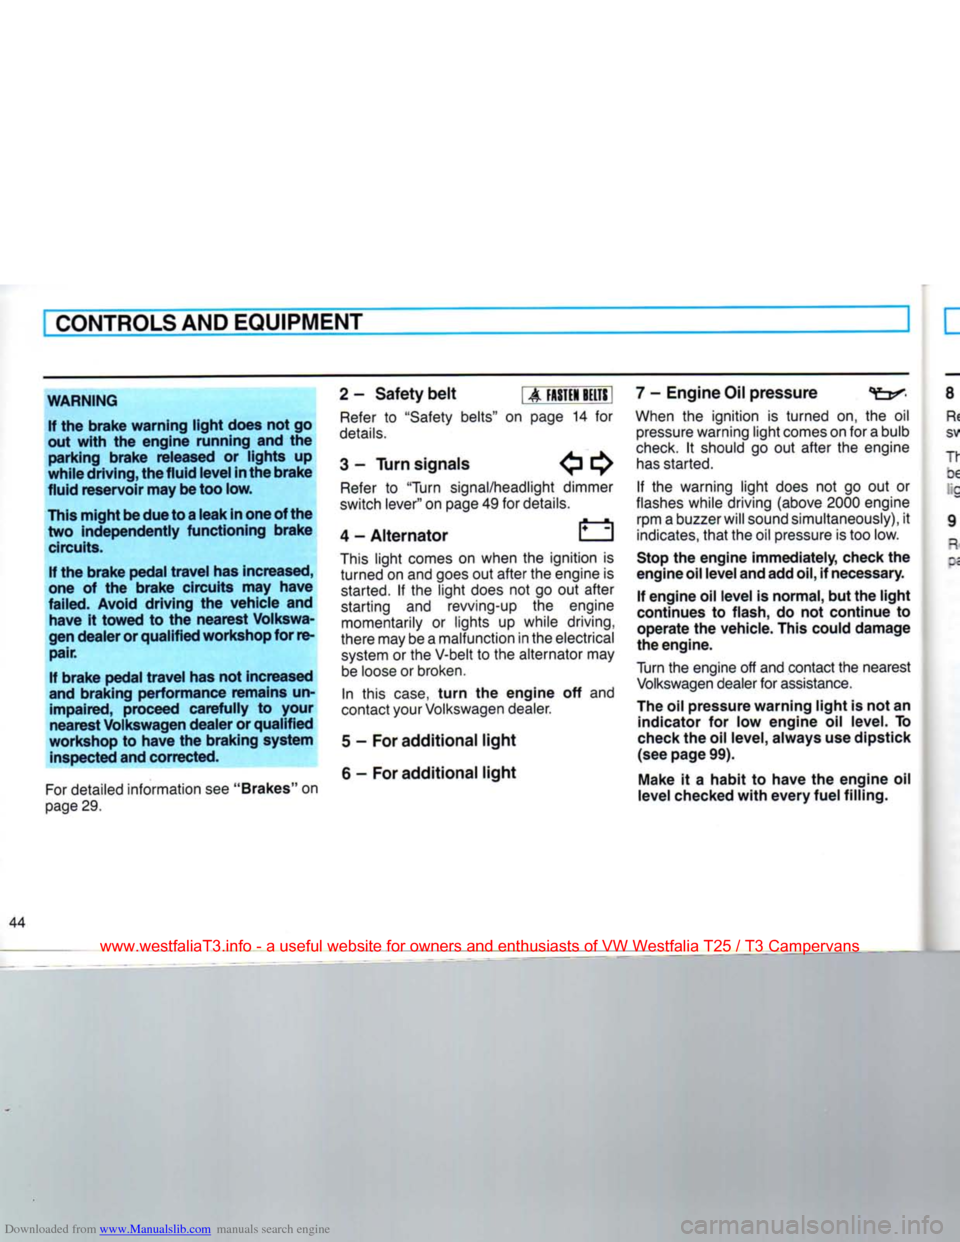
page 29. 2-
Safety belt
|
A
FASTEN
BELTS
Refer
to
"Safety belts"
on
page
14 for
details.
3
-
Turn
signals E^
Refer
to
"Turn
signal/headlight dimmer
switch lever" on page 49 for details.
4
- Alternator
This
light comes
on
when
the
ignition
is
turned on and goes out after the engine
is
started.
If the
light does
not go out
after
starting
and
revving-up
the
engine
momentarily
or
lights
up
while driving,
there may be a malfunction
in
the electrical system
or
the V-belt
to
the alternator may be loose
or
broken.
In
this
case,
turn
the engine off and
contact
your
Volkswagen dealer.
5
- For additional
light
6
- For additional
light
7
- Engine Oil pressure
When
the
ignition
is
turned
on, the oil
pressure warning light comes on for a bulb
check.
It
should
go out
after
the
engine
has
started.
If the
warning light does
not go out or
flashes
while driving
(above
2000
engine rpm a buzzer
will
sound simultaneously),
it
indicates,
that the oil pressure is too low.
Stop the engine immediately, check the
engine
oil
level
and add
oil, if necessary.
If engine oil level is normal, but the
light
continues to flash, do not continue to
operate the vehicle. This could damage
the engine.
Turn
the engine off and contact the nearest Volkswagen dealer for assistance.
The oil pressure warning
light
is not an indicator for low engine oil level. To
check
the oil level, always use dipstick
(see page 99).
Make
it a habit to have the engine oil
level checked
with
every
fuel filling.
www.westfaliaT3.info - a useful website for owners and enthusiasts of VW Westfalia T25 / T3 Campervans