Page 132 of 165

Downloaded from www.Manualslib.com manuals search engine
DO-IT-YOURSELF-SERVICE
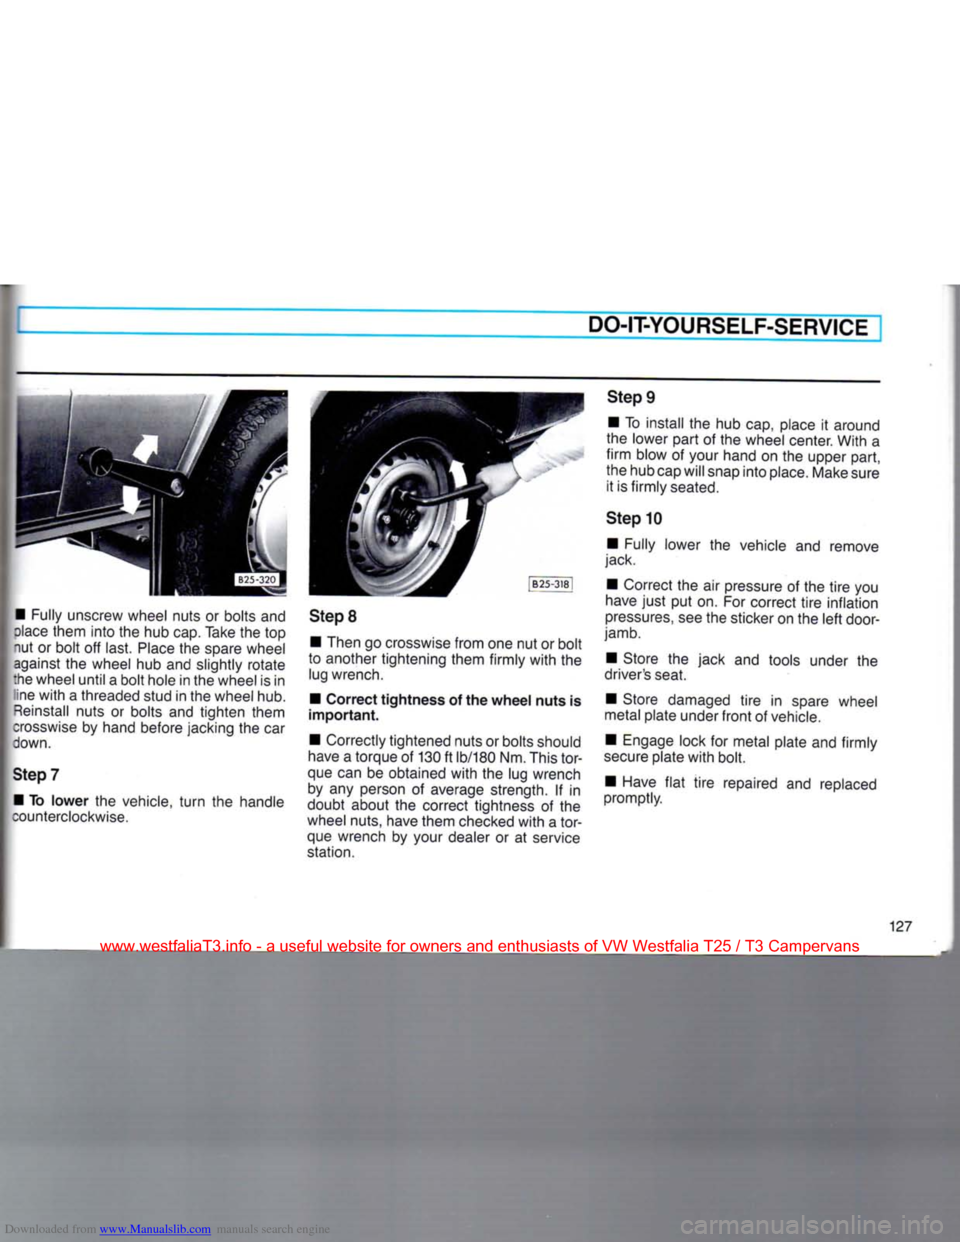
• Fully unscrew wheel nuts or bolts and
dace
them into the hub cap. Take the top
nut or bolt off last.
Place
the spare wheel against the wheel hub and slightly rotate
:he wheel until a bolt hole in the wheel is in ine
with
a threaded stud in the wheel hub.
Reinstall
nuts or bolts and tighten them
crosswise
by hand before jacking the car
down.
Step
7 • To
lower
the vehicle,
turn
the handle
counterclockwise.
Step
8
• Then go crosswise from one nut or bolt
to another tightening them firmly
with
the lug wrench.
• Correct
tightness
of the
wheel
nuts
is
important.
• Correctly tightened nuts or bolts should
have
a torque of 130 ft lb/180 Nm. This
tor
que can be obtained
with
the lug wrench by any person of average strength. If in
doubt about the correct tightness of the
wheel nuts, have them checked
with
a
tor
que wrench by your dealer or at service
station.
Step
9
• To install the hub cap, place it around
the lower part of the wheel center. With a
firm
blow of your hand on the upper part,
the hub cap will snap into place. Make sure it is firmly seated.
Step
10 • Fully lower the vehicle and remove
jack.
• Correct the air pressure of the
tire
you
have
just
put on. For correct
tire
inflation
pressures,
see the sticker on the
left
door-
jamb.
• Store the jack and tools under the
driver's seat.
• Store damaged
tire
in spare wheel
metal plate under
front
of vehicle.
• Engage lock for metal plate and firmly
secure
plate
with
bolt.
• Have
flat
tire
repaired and replaced
promptly.
127
www.westfaliaT3.info - a useful website for owners and enthusiasts of VW Westfalia T25 / T3 Campervans
Page 134 of 165

Downloaded from www.Manualslib.com manuals search engine
DO-IT-YOURSELF-SERVICE
Fuse arrangement No. Component Amp. No. Component Amp.
From left to right: 1
Radiator fan 30 17 Windshield wiperengine 10
2 Brake lights 10
18 Brake warning light,
3 Interior lights, illuminated heated driver's seat,
Make-up mirror, clock,
ciga
cruise control system 10
rette lighter, radio 15 19 Turn signals 10
4 Emergency flasher system 15 20 Number plate light,
5 Vacant headlight washer
10
6 Vacant 21 Low beam left
10
7 Tail and side light left 10
22 Low beam right 10
8 Tail and side light right
10
9 High beam right 10
10 High beam left
10 Additional fuses
11 Windshield wipers and washer
15 (in separate holders)
12 Cruise control system
Air conditioner, power above the fuse box:
windows, auxiliary heater, Instrument lightning
10
electric outside mirrors, Overheating fuse for auxiliary heater
10
auxiliary heat exchanger, Main fuse for auxiliary heater
20
rear window wiper 20 Central locking 20
13 Fresh air fan
20 Automatic fuse for window lifter
20
14 Rear window heating, heated
rear view mirror, light for Color codes
15
16 lighting switch
Back-up lights
Double tone horn 20
10
15 10 Amp. fuses - red
15 Amp. fuses - blue
15
16 lighting switch
Back-up lights
Double tone horn 20
10
15 20 Amp. fuses - yellow
30 Amp. fuses - green
The number on the face of the fuse is the amperage rating.
www.westfaliaT3.info - a useful website for owners and enthusiasts of VW Westfalia T25 / T3 Campervans
Page 136 of 165

Downloaded from www.Manualslib.com manuals search engine
DO-IT-YOURSELF-SERVICEI
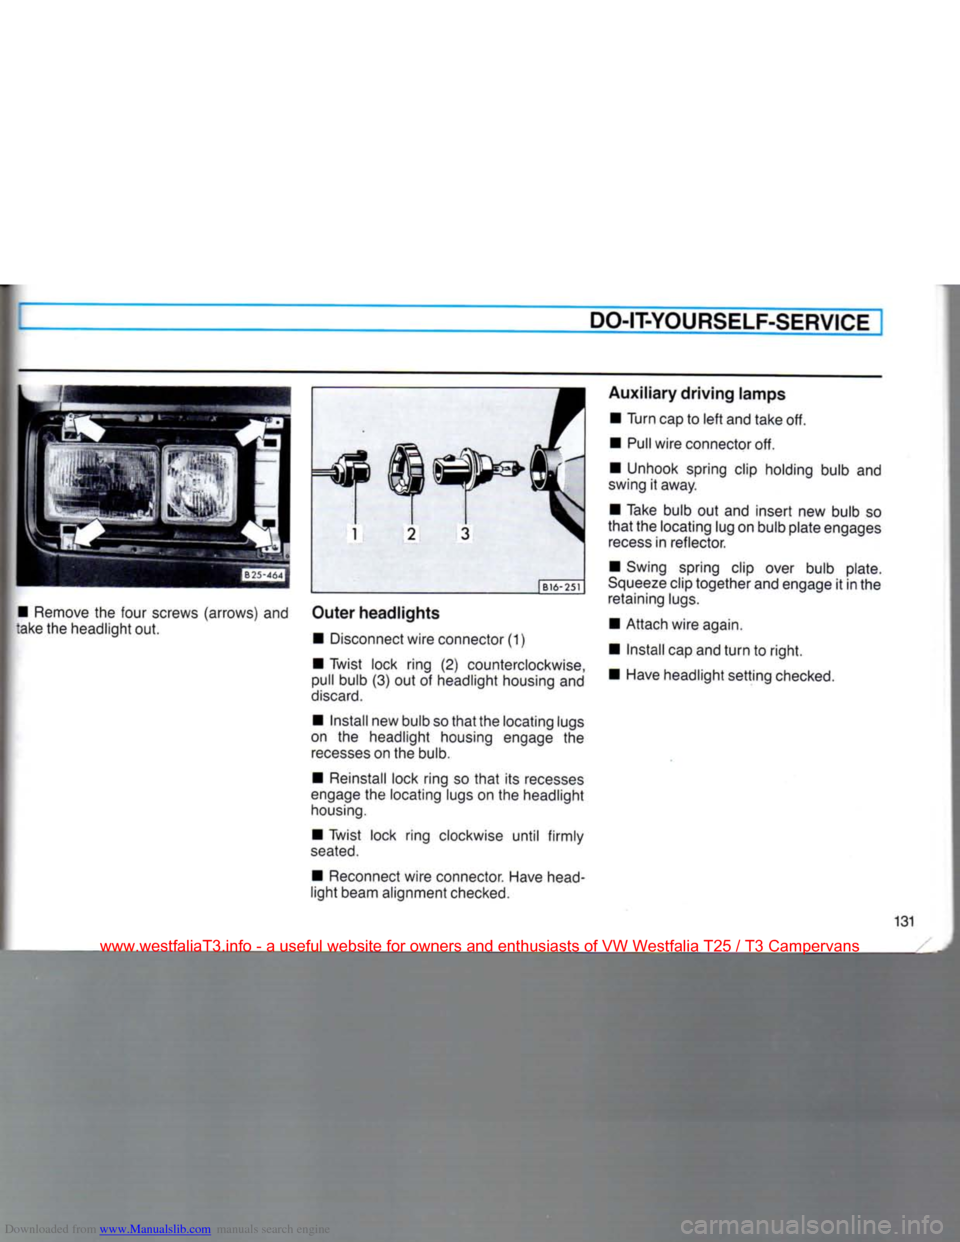
• Remove the four screws (arrows) and
take the headlight out. | B16-251
Outer
headlights
• Disconnect wire connector (1)
• Twist lock ring (2) counterclockwise,
pull bulb (3) out ot headlight housing and
discard.
• Install new bulb so
that
the locating lugs
on the headlight housing engage the
recesses
on the bulb.
• Reinstall lock ring so
that
its recesses
engage
the locating lugs on the headlight
housing.
• Twist lock ring clockwise until firmly
seated.
• Reconnect wire connector. Have head
light beam alignment checked.
Auxiliary
driving
lamps
• Turn cap to
left
and take off.
• Pull wire connector off.
• Unhook spring clip holding bulb and
swing it away.
• Take bulb out and insert new bulb so
that
the locating lug on bulb plate engages
recess
in reflector.
• Swing spring clip over bulb plate.
Squeeze
clip together and engage it in the retaining lugs.
• Attach wire again.
• Install cap and
turn
to
right.
• Have headlight setting checked.
131
www.westfaliaT3.info - a useful website for owners and enthusiasts of VW Westfalia T25 / T3 Campervans
Page 139 of 165
Downloaded from www.Manualslib.com manuals search engine
I DO-IT-YOURSELF-SERVICE
HEADLIGHT ADJUSTMENT
The proper headlight adjustment is very important for
traffic
safety. The headlight
adjustment should therefore only be done
with
a special appliance.
Adjust the headlight using the Phillips screwdriver from the vehicle tools. The illustration show the adjustment on
the
right
headlights. On the
left
headlights the adjustment are symmetrically oppo
site.
A
- lateral adjustment
B
- hight adjustment
To
reduce the beam range,
turn
the screwdriver clockwise.
134
www.westfaliaT3.info - a useful website for owners and enthusiasts of VW Westfalia T25 / T3 Campervans
Page 162 of 165

Downloaded from www.Manualslib.com manuals search engine
ALPHABETICAL
INDEX
page
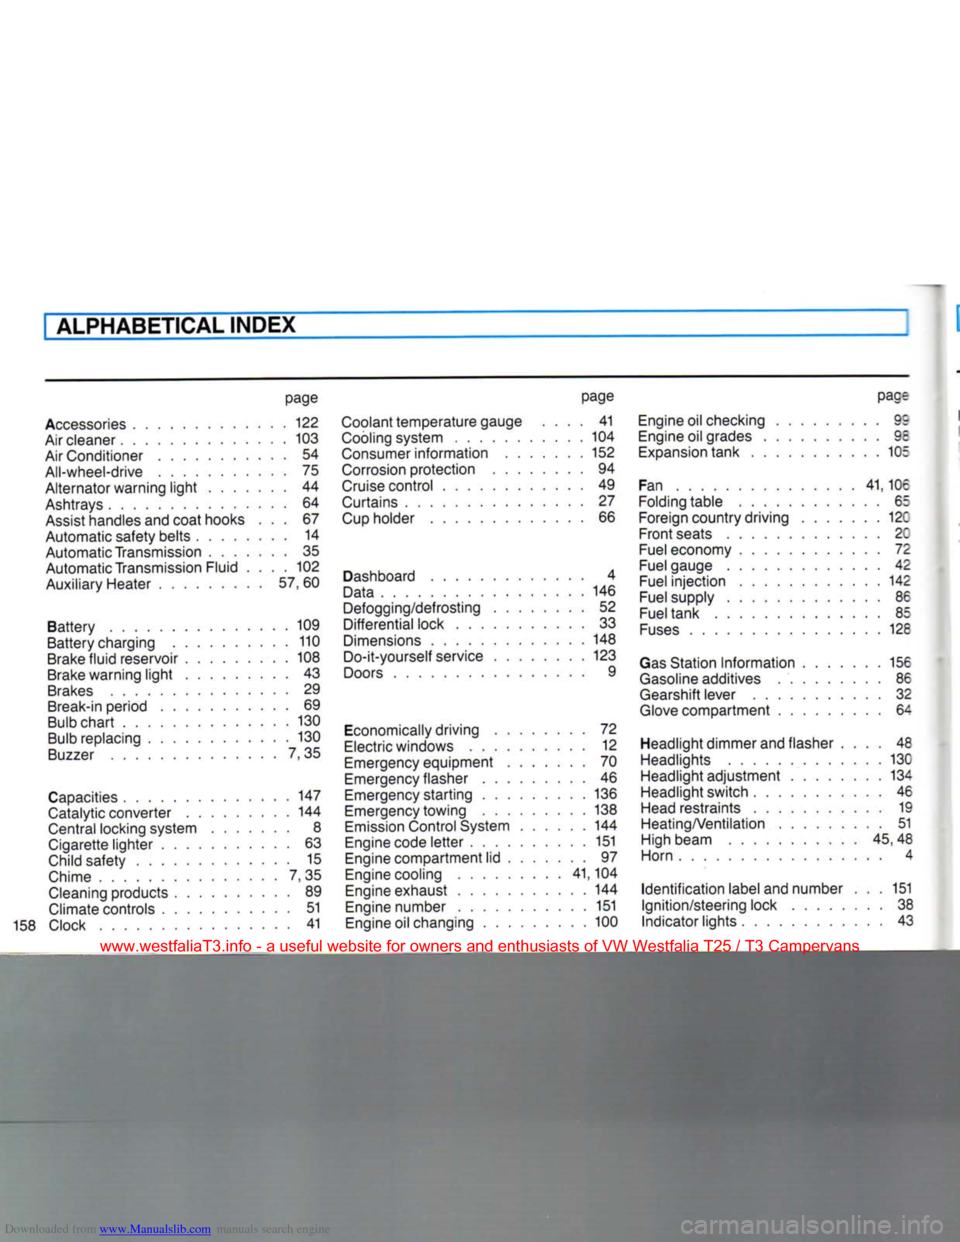
Accessories
122
Air
cleaner 103
Air
Conditioner 54 All-wheel-drive 75
Alternator warning
light
44
Ashtrays
64
Assist
handles and coat hooks ... 67
Automatic safety belts 14
Automatic Transmission 35
Automatic Transmission Fluid .... 102 Auxiliary Heater 57, 60
Battery 109
Battery charging 110
Brake
fluid reservoir 108
Brake
warning
light
43
Brakes
29
Break-in
period 69
Bulb
chart 130
Bulb
replacing 130
Buzzer
7,35
Capacities
147
Catalytic
converter 144
Central
locking system 8
Cigarette lighter 63
Child
safety 15
Chime
7,35
Cleaning
products 89
Climate
controls 51
Clock
41 page
Coolant
temperature gauge .... 41
Cooling
system 104
Consumer
information 152
Corrosion
protection 94
Cruise
control 49
Curtains
27
Cup
holder 66
Dashboard
4
Data
146
Defogging/defrosting 52 Differential lock 33
Dimensions
148
Do-it-yourself service 123
Doors
9
Economically
driving 72
Electric
windows 12
Emergency
equipment 70
Emergency
flasher 46
Emergency
starting 136
Emergency
towing 138
Emission
Control System 144
Engine
code letter 151
Engine
compartment lid 97
Engine
cooling 41,104
Engine
exhaust 144
Engine
number 151
Engine
oil changing 100
pace
Engine
oil checking 9?
Engine
oil grades 9E
Expansion
tank 105
Fan
41, 10c
Folding
table 65
Foreign
country driving 120 Front seats 20
Fuel
economy 72
Fuel
gauge 42
Fuel
injection 142
Fuel
supply 86
Fuel
tank 85
Fuses
12E
Gas
Station
Information
156
Gasoline
additives 86
Gearshift lever 32
Glove
compartment 64
Headlight dimmer and flasher .... 48 Headlights 13C
Headlight adjustment 134
Headlight switch 46
Head
restraints 19 HeatingA/entilation 51
High beam 45,48
Horn 4
Identification label and number ... 151
Ignition/steering lock 38
Indicator lights 43
www.westfaliaT3.info - a useful website for owners and enthusiasts of VW Westfalia T25 / T3 Campervans