Page 7 of 34
DlSASSEMBLY-IFS5W71C
1 Remove control housing, check ball and
plunger.
W SMT982
2 Remove rear extension by lightly tapping it.
60
SMT983
3. Remove front cover, gasket, countershaft front
bearing shim, and main drive bearing snap ring
SMTOll
4 Separate transmission case from adapter plate
TM753
5. Set up Tool on adapter plate
TM754
6 Remove check ball plugs, check springs, and
7 Drive out retaining pins Then drive out fork
check balls.
rods and remove interlock balls
MT-7
Page 18 of 34
ASSEMBLY -FS5 W71C
1 Install shift rods, interlock balls and check
balls.
SMT992
SMT989
SMT990
U SMT991
2 Apply sealant to mating surface of transmission
case
3 Slide gear assembly onto adapter plate by
lightly tapping with a soft hammer.
SMT013
MT-18
Page 25 of 34

SSPEED TRANSMISSION [Model: BW T-5 (FS5R90A)I
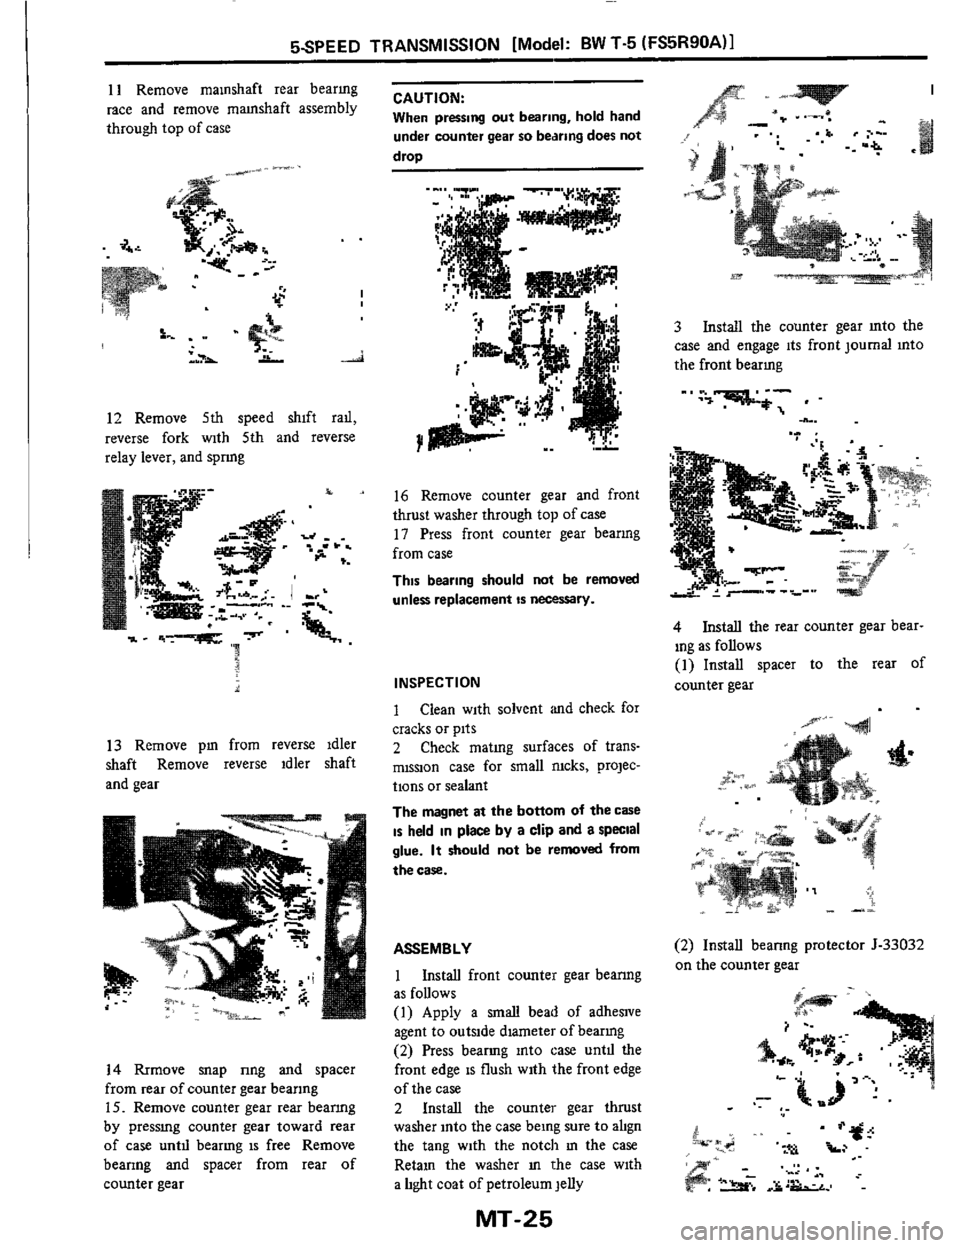
11 Remove mamshaft rear bearmg
race and remove mamshaft assembly
through top of case
I
12 Remove 5th speed shift rad,
reverse fork with 5th and reverse
relay lever, and spnng
13 Remove pm from reverse idler
shaft Remove reverse idler shaft
and gear
14 Rrmove snap nng and spacer
from rear of counter gear beanng
15. Remove counter gear rear beanng
by pressmg counter gear toward rear
of case untd bearmg is free Remove
bearing and spacer from rear of
counter gear
CAUTION:
When pressing out bearing, hold hand
under counter gear
so bearing does not
drop
16 Remove counter gear and front
thrust washer through top of case
11 Press front counter gear beanng
from case
This bearing should not be removed
unless replacement
is necessary.
INSPECTION
1 Clean with solvent and check for
cracks or pits
2 Check mating surfaces of trans-
mission case for small nicks, projec-
tions or sealant
The magnet at the bottom of the caSe
is held in place by a clip and a special
glue.
It should not be removed from
the case.
ASSEMBLY
1 Install front counter gear beanng
as follows
(1) Apply a
small bead of adheslve
agent to outside dlameter of bearmg
(2) Press bearmg into case untd the
front edge
is flush with the front edge
of the case
2 Install the counter gear thrust
washer into the case being sure
to abgn
the tang with the notch
m the case
Retam the washer
m the case with
a light coat of petroleum jelly
MT-25
3 Install the counter gear mto the
case and engage its front journal mto
the front bearmg
-' .".-:;-;' . -
.._. .." .
4 Install the rear counter gear bear-
ing as follows
(1) Install spacer to the rear of
counter gear
(2) Install beanng protector 5-33032
on the counter gear