1984 CHEVROLET CAVALIER brakes
[x] Cancel search: brakesPage 19 of 105
Downloaded from www.Manualslib.com manuals search engine Now and then, check that all trailer hitch bolts and nuts are tight. Also see the
Maintenance
Schedule folder, and thelndax in this manual , for important facts
on
belts , cooling system care and brake ~tment.
Break-In Schedule
See the new vehicle break-in information in this manual. Also, we recommend
you drive your new vehicle for 500 miles (800 kilometers) before trailer towing.
At the end of this 500 mile (800 kilometer) break-in period, avoid speeds over
50 mph (80 km/h) and full throttle starts during the first 500 miles (800 kilometers) of trailer towing .
CAUTION:
BRAKES-To help avoid personal injury due to poor braking action :
•
Trailer brakes of adequate size are required on trailers more than 450
kilograms (1,000 pounds) loaded weight.
• If you use trailer brakes with this vehicle, follow the instailation and balance instructions of the trailer brake manufacturer.
• Do not tap into the vehicle's brake system iUhe trailer brake system uses
more than 0.3 cubic centimeter (0.02 cubic inches) 01 fluid from the
vehicle 's
mast.". cyllnd<1r .. , In this case, the vehicle's brake fluid capacity will not be enough to operate both thevehicte and trailer brakes under all kinds
of use.
• All brake fluid parts must be able to stand 20 650 kPa (3,000 psi) . The
brake fluid tap must be made at the upper rear master cylinder port.
Copper tubing is subject to fatigue failure and must not be used.
HITCHES-To help avoid personal injury due to sway caused by such things as
crosswinds, large trucks passing or road roughness , or due to separation of
the trailer :
• A properly installed and adjusted (1) frame mounted, weight-dstribut ing hitch and (2) sway control witheoough capacity are required for trailers
more than 900 kilograms (2,000 pounds) loaded weight.
• Keep the trailer tongue load at 10 percent of the loaded trailer weight for
dead-weight hitches and 12 percent for weight-distributing hitches. Tongue
loads can be adjusted by proper distribution of the load in the trailer. This
can
be checked by weighing separately the loaded trailer and then the
tongue .
• Do not use axle-mounted Mches. They can damage the axle housing , wheel bearings , wheels or tires.
• Do not allow steel hitch parts to be in direct contact with aluminum bumper
parts, if so equipped. When steel and aluminum are in contact, a galvanic
reaction (a form of corrosion) can occur which will progressively lessen the
strength of the contacting metals to the point
of failure. An organic
compound or paint should
be used as a barrier on the contacting surfaces
and on the attaching fasteners.
• When you remove a trailer hitch, be sure to seal any mounting holes in the body. This will help prevent entry 01 exhaust fumes,
"Starting and Operating ," Section 2 ollhis manual.)
2-3
Page 20 of 105
Downloaded from www.Manualslib.com manuals search engine NonCE: Use only trailer hitches which permit normal operation of the Energy
Absorbing Bumper system, If so equipped. For example, a rigid fore and aft connection between the bumper and any other part of-the vehicle may increase damage in the event of a collision.
TRAILER TOWING TIPS
Getting Started
Before entering traffic with a trailer that has electric brakes, start the vehicle and trailer moving and apply the trailer brakes by hand to be sure the trailer
brakes are working and the trailer electrical system is connected.
Engine Cooling
If your engine overheats, follow the steps under "Engine Cooling System
Overheating" in "In Case of Emergency," Section 3 of this manual.
Long Uphill Grades
When going up long grades, you can reduce the chance 01 engine overheating
by turning off the air conditioner, if so equipped.
Down Steep Or Long Grades
Before going down a steep or long grade, reduce speed and shift the transaxle
into a lower gear to help control your vehicle's speed. Try not to hold the brake pedal down too long or too often. This could cause the brakes to overheat and
reduce brake effectiveness.
Transaxle
See the method for checking the transaxle fluid level in "Service and
Maintenance,"
Section 5 of this manual.
Parkin!!
You should not park vehicles with trailers on a grade (hill). However, if you
must park on a grade, these steps must be followed:
1. Apply the regular brakes.
2. Have someone place wheel chocks under the trailer wheels.
3. When the wheel chocks are in place, release the regular brakes until the
chocks absorb the load.
4. Apply the parking brake.
5. Shift the transaxle to "P"(Park),
If the vehicle is parked on a grade, don't shift the transaxle to "P"(Park) until the trailer wheels are chocked and the parking brake is set. If you do, the
weight of the
vehicle and trailer may put so much force on the parking pawl in
the transaxle that it may be hard to shift out of "P"(Park).
When starting, after being parked
on a grade:
1. Apply the regular brakes and hold.
2. Start the engine in "P"(Park).
3. Shift into gear and release the parking brake.
4. Release the regular brakes and drive until the chocks are free.
5. Apply the regular brakes and have someone remove the chocks.
2·4
Page 27 of 105
Downloaded from www.Manualslib.com manuals search engine 4. Apply the regular brakes and shift into the proper gear. Release the
parking brake and drive oft.
IF ENGINE FAILS TO START AFTER NORMAL STARTING
PROCEDURE
1. If you tried the Cold or Warm Engine starting procedure and the engine still
does not start, push down the accelerator pedal to the floor and hold it
there while cranking the engine. This should clear the engine
~ II is flooded.
2. If the engine has been flooded with too much fuel, it may start to run but
not have enough power to keep running .
In that case, continue cranking
with the
accelerator pedal all the way to the floor until the engine clears itseW of excess gasoline and runs smoothly . (But, do not crank more than
15 seconds at a time or you could damage the starter .)
GaSOline Engine Block Heater
The optional gasoline engine block heater is designed to warm the block area
for improved cold weather starting.
II can also help reduce fuel consumption
when a cold engine is warming up.
To use
the block heater:
1 . Open the
hood. '~".
2. Unwrap the electrical cord which is stowed In the engine compartment.
(After using the block heater, be SUre to properly restow the cord , to help
keep it away from moving engine parts.)
3. Plug the cord into any three-prong, 11 O-voll outlet (normal household
current).
NOTICE: • the cord i, too ahort, use a ~avy·duty, three-prong extension corel Do not use an extension cord such .. you would uae for • t.np because the cord rnIIY
--Outside temperature, oil viscosity, etc. will affect how tong the block~ heater should remain plugged .in . Contact your authorized dealer for advice 'jot the
conditions in your area.
TRANSAXLE
DESCENDING A GRADE
CAunON: To reduce the risk of personaJ injUry. before going down 8 .steep or long Wade reduce speed and shift the transaxte -into second or low gear to help control your speed. (00 this with EITHER an automatic or manual transax)e.) Do not hold the brake ~I down too Iorig or too otten white going down • steep or long grade. This COUld ceu" the brakes to get hot and not work as well. As • result, the vehicle will not slow down at the usual r.t.~ Failure to u.ke these steps could r8l,,1t in. Iou of vehicle control.
DRIVING ON. SUPPERY SURFACES
While driving on a slippery surface avoid sudden acceleration, or engine
braking actions (due to shifting to a lower gear), which could cause the wheels
to skid . Skid correction is called for at these times.
2-11
Page 30 of 105
Downloaded from www.Manualslib.com manuals search engine moving, such as when stuck in deep sand or when the vehicle is against a
fixed barrier.)
• Holding vehicle on an upgrade with the accelerator pedal. (Use the regular brakes to hold vehicle on an uphill grade.)
MANUAL TRANSAXLE
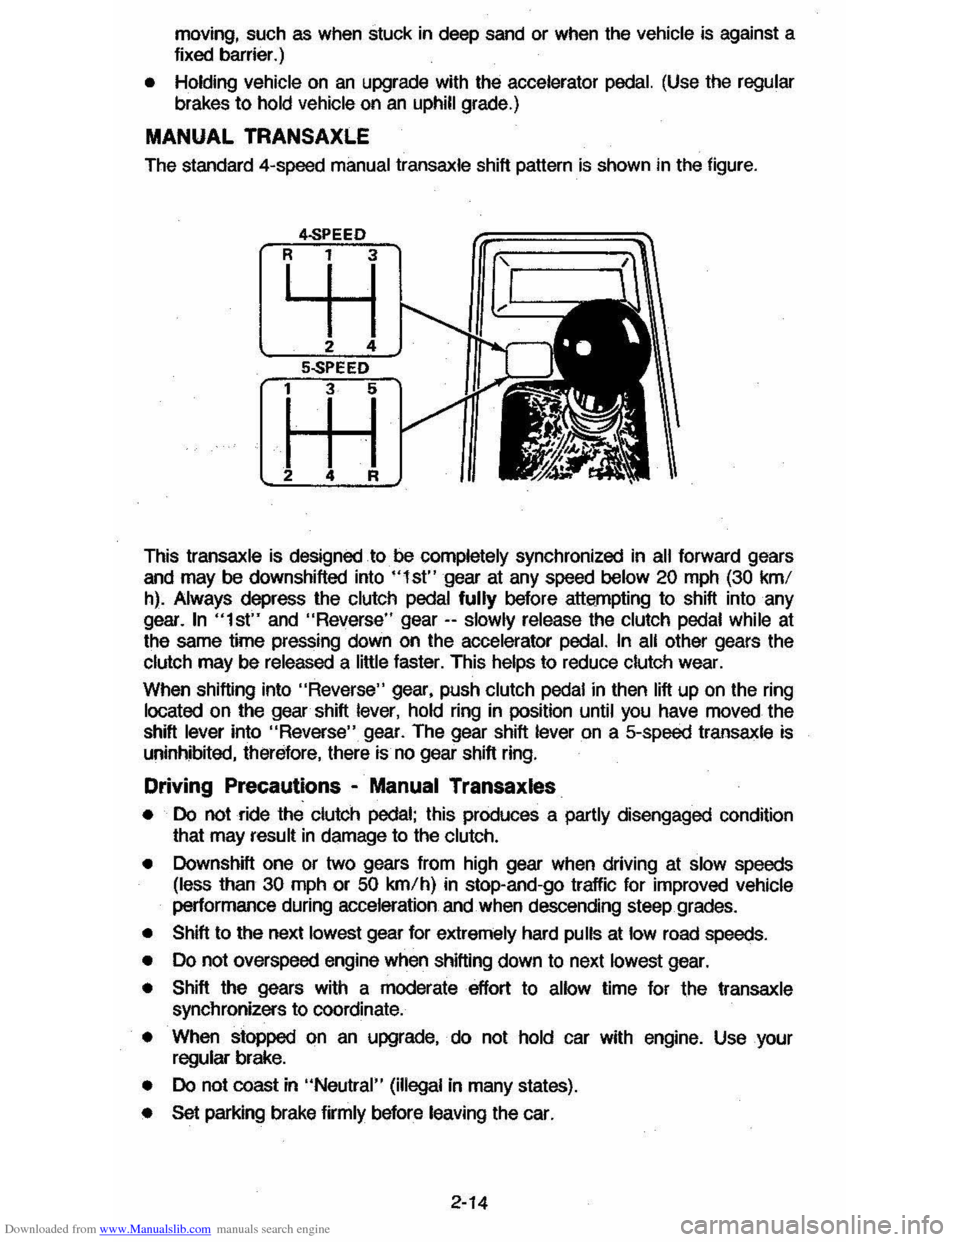
The standard 4-speed manual transaxle shift pattern is shown in the figure.
This
transaxle is designed to be completely synchronized in all forward gears
and may be downshifted into "I st" gear at any speed below 20 mph (30 kmf
h). Always depress the clutch pedal fully before attempting to shift into any
gear.
In "1st" and "Reverse" gear -- slowly release the clutch pedal while at
the same time pressing down on the accelerator pedal. In all other gears the
clutch may be released a little faster. This helps to reduce clutch wear.
When shifting into
"Reverse" gear, push clutch pedal in then lift up on the ring located on the gear shift lever, hold ring in position until you have moved the
shift
lever into "Reverse" gear. The gear shift lever on a 5-speed transaxle is
uninhibited, therefore, there is no gear shift ring.
Driving Precautions -Manual Transaxles
• Do not ride the clutch pedal; this produces a partly disengaged condition
that may result in damage to the clutch.
•
Downshift one or two gears from high gear when driving at slow speeds (less than 30 mph or 50 kmfh) in stop-and-go traffic for improved vehicle
performance during acceleration and when descending steep grades.
• Shift to the next lowest gear for extremely hard pulls at low road speeds.
• Do not overspeed engine when shifting down to next lowest gear.
• Shift the gears with a moderate effort to allow time for the transaxle synchronizers to coordinate.
• When stopped on an upgrade, do not hold car with engine. Use your regular brake.
• Do not coast in "Neutral" (illegal in many states).
• Set parking brake firmly before leaving the car.
2-14
Page 32 of 105
Downloaded from www.Manualslib.com manuals search engine CRUISE CONTROL WITH RESUME/ACCEL FEATURE
Cruise Control is an optional speed control system. The system allows the vehicle· to keep a constant forward speed during most normal driving without
keeping your foot on the accelerator pedal, thus increasing driver comfort on
long trips. The system
can hold a speed of about 30 mph (50 km/h) or higher
within the limits of your engine.
The
system is also designed to resume a pre-set cruising speed after:
• Braking. clutching with manual transaxle vehicles, without using the
accelerator pedal.
•
Accelerating from a given set speed to a higher control speed.
The system also allows the driver to "Tap-up" and increase speed or "Tap
down" to decrease vehicle speed in increments of about 1 mph (1.6 km/h)
when needed. This feature is useful when traffic conditions warrant a small
adjustment in speed. The controls are part of the turn signal lever. The
"Cruise" switch must be moved to "On" before the system will work. The "Set/Coast" button is in the end of the turn signal lever.
To Engage at Cruising Speed
Accelerate to the desired speed, push in the "Sel/Coast" button all the way
and release it (or use the "Resume/ Accel" (R/ A) switch during first
engagement only). Take your foot off the accelerator pedal and the set speed
will be maintained up Qr down hill. The Cruise Control is designed to disengage
when you apply the brakes and also with the clutch on manual transaxle
vehicles.
It will also disengage by moving the "Resume/ Accel" (R/ A) switch to
off or by turning the ignition off. (To disengage the system without coming to a
complete
stop, push the brake pedal or clutch lightly; use just enough force to
disengage the system, witi)out stopping the vehicle:)
To Change Cruising Speed
To reset the Cruise Control to a faster speed, accelerate to the speed you wish. Push in the "Set/Coast" button all the way, (for less than a second) then release it.
Or, use the "Resume/ Aceel" switch to accelerate and reset to the speed you
wish. The "Resume/ Accel" (R/ A) switch must be held (over a second) in
order to engage the accel mode. Speed may also be increased by tapping the
"Resume/
Accel" switch for less than a second while cruising. The set speed
will
be increased by about 1 mph (1.6 km/h) for every tap. "Tap-ups" are
limited to 10 mph (16 km/h) above vehicle speed.
To reset to a
slower speed, push in the "Set/Coast" button all the way and hold it there. Wait until the vehicle slows to the desired speed, then release the
button.
Speed may also be decreased by tapping the "Sel/Coast" button for less than a second while cruising and the memory speed will be decreased
about 1
mph (1.6 km/h) for every tap, "Tap-downs" are limited to a minimum
cruising speed of 23 mph (37 km/h).
To "Resume" a Pre-Set Speed
After braking or stopping the vehicle without turning off the ignition, you can "resume" to your last set cruising speed by accelerating to 30 mph (50 km/h)
or more
and sliding the cruise switch momentarily to "Resume/ Accel"; when
you release the "Resume/ Accel" switch, your vehicle will accelerate to the
cruising speed set before braking or stopping.
2-16
Page 34 of 105
Downloaded from www.Manualslib.com manuals search engine When_ going up or down hills. it ~ ~ tor the vehk:1e to toM 011 to gain apHCI (.,.rticu"Y when towing I trailer), even though the Cruise Control is enpgecL • this happens while going up hin, merely depress the accelerator pedal to maintain the speed desired. If going down a hili steep enough to cau .. thl vehie'" to gain speed, depress the brake pedal •• which will both dl .. ngage the Cruise Control and help .lOw the vehicle. In addition, when going down a steep or lang grade . the transaxle shoUld be shifted into I lower gear to help control vehicte speed •• see "Descending A Grade " in "Starting and Operating," Section 2.
HORN
The horn on your vehicle is actuated by firmly pressing on the ped in the
center of the steering
wheel.
HAZARD WARNING FLASHER
The hazard warning flasher is covered in "In Case of Emergency," Section 3.
FLOOR CONTROLS
BRAKING SYSTEM
The regular braking system is designed for braking performance under a wide
range of driving cond~ions even when the vehicle is loaded to ~ lull rated
vehicle toad capacity .
CAUTION: Driving through water deep enough to wet brake components may cau .. the brakea nat to work .. welL -M a reaul, the vehIde wi. not aIow down .. the usu.I _, ond M may pull 10 "'" right Of ..... _ 0"'-""'11 to "'" _ tor _ .-.os,
-'1 "'" ...... lightly 10 check __ .... "-'"
Brake Warning lJg/rt
The brake system warning light is covered in the '.' lnstrumentPanel" section.
Vacuum Power Brakes
• the engine stops, do not pump the brakes. The system is designed to stop the vehicle with reserve power assist n the brake pedal is held dOwn. This
reserve is
greatly reduced each time you apply and release the brakes. II,
when you turn the atMring wheel during braking, the vehic:1e does not turn, don't push as hard on the brake pedal •.
Without power assist the vehicle can still be stopped by pushing much harder
on the brake
pedal. however. the stopping distance may be longer.
Brakes (Except ,Parking Brake)
H the brake pedaJ goes down farther than normal, ~ may be due to a lack of
adjustment of any rear drum
brakes. To find. out if this is the case. drive
backward and forward a few times. applying the brakes firmly when going in
each direction.
See your dealer n pedal height dOes not retum to normal, or there is a rapid
increase in pedal travel whether or not your vehicle has rear drum brakes. This
could be a sign of brake trOUble.
NOTICE: "FtidInsI the brake" by resting yow i0oi on thl brau pedal when you do not Intend 'to brake CIIf1 overhMI: the brIkM and ...... out the brake InInga and p..ts faster. , ThI. mIIy alSo dllNlge the brakes Mtd will wasta fuel.
2-18
Page 38 of 105
Downloaded from www.Manualslib.com manuals search engine Have the system repaired n the "CHECK ENGINE" light does not come on during engine starting. If the light comes on, either intermittently or
continuously while driving, service to the Computer Command Control system
is required. AHhough in most cases the vehicle is drivable, and does not
require towing, see your authorized
dealer as soon as possible for service of
the system.
Continued driving without having the Computer
Command Control system serviced could cause damage to the emission control system. It could also affect fuel economy and drivability.
See also "Computer Command Control system" in Section 5 of this manual.
Brake System Warning Light
The regular braking system is a dual system designed so that one part will
provide some braking if there is a
loss of hydraulic pressure in the other part of
the system. The system has a
"BRAKE" warning light located in the
instrument panel. The "BRAKE" light is designed to come on briefly during
engine starting so you can check that the bulb is okay. To serve as a reminder,
the
light should stay on when the parking brake is not fully released and the
ignition is
on. Have the system repaired if the light does not come on when it should. This warning light does not do away with the need for brake inspection
and maintenaflce. The brakelluid level must be checked regularly. See your
Maintenance Schedule folder for other brake checks.
I! the light remains on aller engine start up or comes on during operation of the vehicle, it may mean that there is something wrong with part of the brake
system.
What
to do:
1. Check to see that the parking brake has been released. I! it has been:
2. Pull off the road and stop carefully. Remember that:
• Stopping distances may be longer.
•
You may have to push harder on the pedal.
•
The pedal may go down farther than normal.
3. Tryout the brakes by starting and stopping on the road shoulder--then:
• I! you judge it to be safe, drive cautiously at a safe speed to the
nearest dealer for repair. Or,
• Have vehicle towed to the nearest dealer for repair.
Continued driving without getting necessary repairs
could be dangerous.
Tachometer
The optional tachometer indicates the speed of the engine in revolutions per
minute. The indicated number, times
100, gives the engine speed. Operating
the engine with the tachometer reading in the color-coded high-speed area
could lead to serious engine damage.
Voltmeter
When the engine is operating, the voltmeter indicates the electrical system
voltage. During minimum electrical load, the pointer will read to the right of the
center.
As the electrical load is increased, or in stop-and-go driving, the pointer
will rotate to the Ieli. A meter reading continuously in the left or right zone
indicates
an electrical system failure. Cause of the failure should be determined and corrected.
2-22
Page 66 of 105
Downloaded from www.Manualslib.com manuals search engine TOWING
Proper equipment must be used to prevent damage to vehicles during any
towing . State (provincial in
Canada) and local laws which apply to vehicles in .'
tow must be foltowed. Gel detailed towing instructions from your dealer.
Your vehicle, if equipped with
an automatic transaxle, may be towed on alt four
wheels at speeds less than
35 mph (55 km/h) for distances up to 50 miles (80
kilometers). These speed and distance restrictions do not apply if your vehicle
has a manual transaxle . The driveline and steering must be normalty operable.
For such towing, the steering must
be unlocked, transaxle in neutral and the
parking brake released.
Connect to main structural parts of the vehicle. Do NOT attach to bumpers or brackets. Remember also that power assist for
brakes
and steering wilt not be available when the engine is off.
n the vehicle is to be towed by a wrecker , use only equipment designed for this
purpose, following
the instructions of the wrecker manufacturer . Towing on the rear wheels is preferred because of the front-wheel drive. However, if
necessary, your vehicle may be towed backwards on the front drive wheels at speeds up to 35 mph (55 km/h) for distances of 50 miles (80 kilometers) if it is
equipped with
an automatic transaxle. These speed and distance restrictions do not apply ij your vehicle has a manual transaxle. Severe damage to the
transaxle may result
II speeder distance ~m~s are exceeded.
A safety chain system must
be used. for alt towing .
FREEING VEHICLE FROM SAND, MUD, SNOW OR ICE
n your vehicle gets stuck in sand, mUd, snow or ice, shift the transaxle from a
forward range to reverse in a repeat pattern.
(On manual transaxle models, shift the Ifansaxle from First or Second to Reverse .) Apply a tight pressure to
the accelerator pedal
while the transaxle is in gear. Remove your foot from the
accelerator while shifting.
Do not race the engine. For best traction, avoid
spinning the wheels. Incorrect rocking of your' vehicle while it is stuck may
resuh in damage to vehicle components.
CAUTION: Do ............ -.. _ IN. 35 ""'" ,55 Om/h). _ In)ufy .... .-nave (including tire, vehicle body parte. and/or tr.., .. xle failure) mIIy mutt from exCQ:live wheel spinning.
If the vehicle remains stuck after several rocking attempts, seek other
assistance. Also
see the Notice under "Automatic Transaxles" in "Starting and
Operating", Section 2 01 this manual .
Extended Vehicle Storage
If you plan to store your vehicle over an extended period of time, certain steps
should
be taken to give it maximum protection. It is recommended that you
write the Consumer Relations Department , Chevrolet Motor Division, Warren,
Michigan 48090,
(in Canada, write to General Motors of canada Um~ed,
Customer Services Departmeht, Oshawa, Ontario L 1 J5Z6) for detailed
instructions on how to prepare your vehicle for storage .
3-8