1980 CHEVROLET CITATION maintenance
[x] Cancel search: maintenancePage 21 of 95
Downloaded from www.Manualslib.com manuals search engine Tires
If you plan to use your vehicle in countries where speeds over 75 mph (120 kmlh) are allowed. see Item 3 on page 5-12.
IMPORTANT FACTS YOU SHOULD KNOW ABOUT FUEL
ECONOMY AND HOW TO IMPROVE IT
How you drive . where you drive and when you drive an affect how many
mileslkilometers you can get from a gallon/liter of fuel. The careful attention you give your vehicle as far as maintenance and repairs 'are concerned 'will also help fuel economy. .
Fuel Selection
Use only unle8;ded gasoline meeting the octane ratings given under "Fuel Requirements" in "Starting and Operating," Section 2 of this manual. Unleaded
gasoline must be used for the, emission control system to operate properly. Its use will also reduce spark plug fouling , exhaust system corrosio n and engine oil
deterioration . Using leaded gasoline can damage the emission control system and could result in IO$S of emission warranty coverage.
"Jackrabbit" Starts
You can save fuel (and prolong engine and tire life) by avoiding fast starts away
from lights and stop Signs. . '
Stop-And·Start Driving
Frequent stops and starts while driving cut down on your miJesper gaUon
(kilometers per liter). Plan even your short shopping trips to take advantage of
through streets to avoid traffic lights. Pace your driving like the expert drivers
to avoid unneeded stops _and braking.
Sudden Stops
Sudden stops can also waste fuel; instead of moving the vehicle , the energy of fuel
is wasted as, heal in braking. Ene'rg'y in the form of fuel is also needed to accelerate
back to driving speed~
Excessive Idling
An idling engine uses fuel, too. If you're faced with more than a minute wait, and
you're not i,n traffic, it may be better to tum, off the engine and start again later.
Lubricants
A well~lubricated vehicle means less friction between moving parts. See the
Maintenan ce Schedule folder for
the_ proper lubrication intervals.
Air Cleane.r
Your vehicle receives its power from a mixture of gasoline and air. The air enters
the engine through the air cleaner. A-dirty air cleaner element lessens engine
performance and can waste
fuel. So, it's important to -replace the air cleaner
element (filter) at required intervals. (See the Maintenance Schedule -folder.)
2-4
Page 22 of 95
Downloaded from www.Manualslib.com manuals search engine Air Conditioner
If your vehicle has an optional air cOnditioner , use the "Economy;' (" Vent" or
"Heater") position s whenever possible, The air conditioner compr essor is not on in these positions and the reduced engine load can improve fuel eco nomy.
Engine Maintenance
An engine that is properly maintained wjJl provide better fuel economy than .one
thai is not . One misfirin g spa rk plu g will cut fuel economy quite a bit , and will
make a difference in the amount of pollution _emitted fro m your vehicle .
Excess Weight
Fuel economy is related to the work the engine must do. The heavier the load,
the more fuel
it takes to run your vehicle. Keep weight to a minimum by taking o~t any luggage or cargo when it is not needed. .
Tire Inflation
Underinflation not only causes needLess wear of the tires, but can also waste fuel. It's a good idea to check tire pressures often and, for the best fuel econ omy, keep
your tires inflated to the highest
pr~suresshown on the Tire Placard on'the left
front doo r of your car.
Wheel Alignment
Improper toe alignment will cause the tires to roll at an angle, which will result
in faster tire wear.
It takes power to ove rcome this improper alignment which,
in tum, wastes fuel.
STEERING COLUMN CONTROLS
ANTI-THEFT STEERING COLUMN LOCK
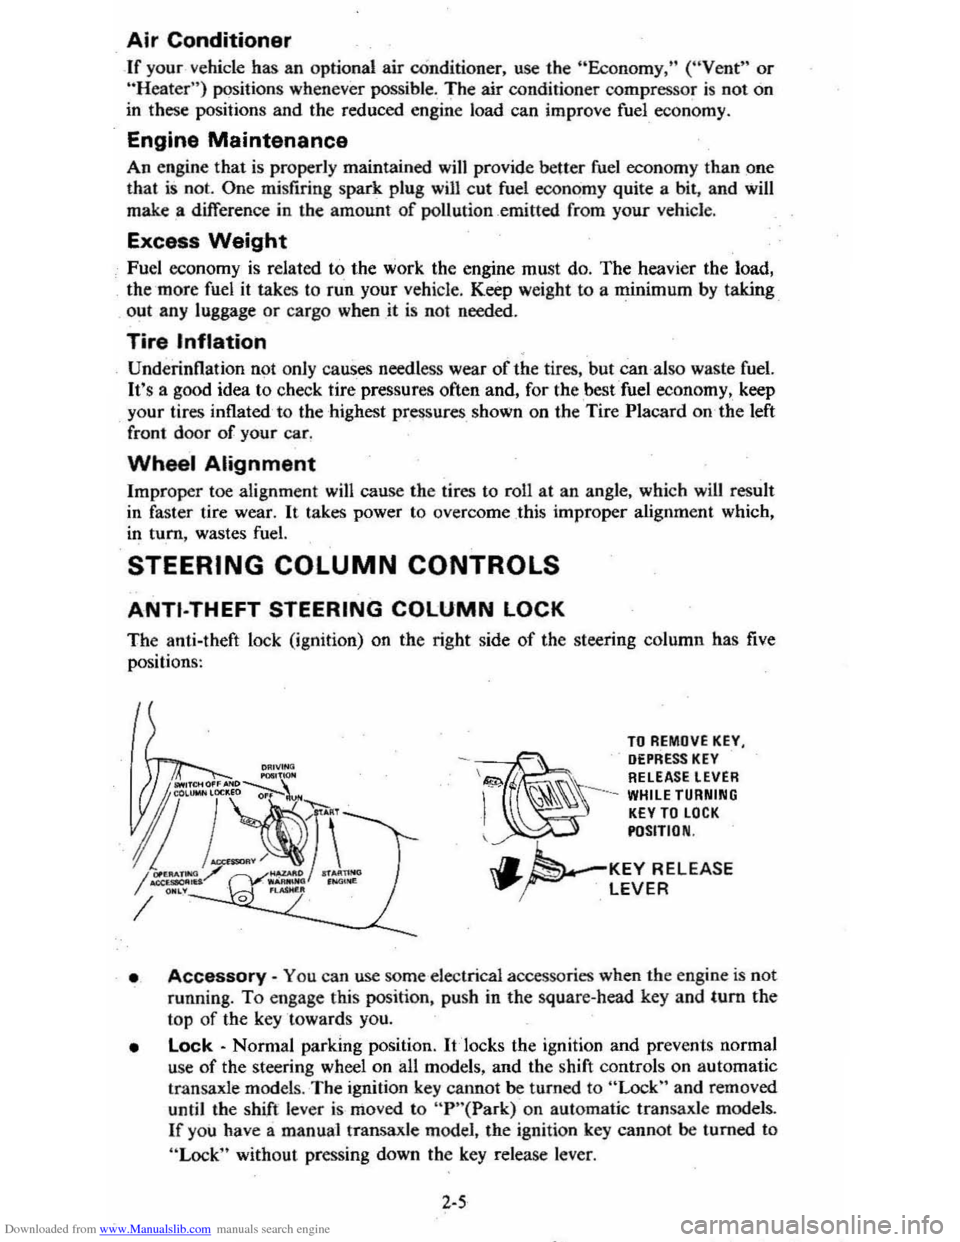
The anti-theft lock (ignition) on the right side of the steering column has five
positi on
s:
TO REMOVE KEY, DEPRESS KEY \&!;;>. RELEASE LEVER
-~ I
~~~ --WHILE TURNING KEY TO LOCK POSITION
.. ~'-KEY RELEASE "..~ LEVER
• Accessory -You ca n use some elec trical a ccessories when the e ngin e is not
running.
To engage this position, push in the square-head key and tum the
top of the key towards you.
• Lock -Norm al parking position. It 'locks the ignition and prev en ts normal
use
of the steering wheel on all models, and the shift controls on automatic
transaxl e model
s. The ignition key canno t be turned to "Lock" and removed
until the shift lever is mo ved to "P "( Park) on automatic transaxle mode1s .
If you have a manual transaxle model, the ignition key cannot be turned to
"Lock" without pressing down the key release leve r.
2-5
Page 32 of 95
Downloaded from www.Manualslib.com manuals search engine • Never drive-the vehicle _with the parking brake set as this -may overheat the
reaf brakes reducing their effectiveness and causing excessive wear or damage,
DISC BRAKE WEAR INDICATORS
Front disc brakes have built-in wear indicators that are designed to make a
high-pitched
squealing or cricket-like warning sound when the brake linings are
worn 10 where -new linings are needed. The sound will come and go, or be heard
all the time
when the wheels are rolling, and when the brake pedal is pu~hed down
firmly . Expensive damage can result
if linings are not replaced when needed.
See also the brake checks listed in the Maintenance Schedule folder.
CLUTCH .PEDAL
On models equiPPed with a manual transaxle, a clutch pedal is used to engage
or disengage the clutch, thereby connecting
or disconnecting the engine from the
transaxle and drive1ine to the front wheels. -When the pedal is fully extended the
clutch
is engaged, driving the transaxle arid the front wheels.
INSTRUMENT PANEL P.ND CONTROLS
INSTRUMENTS
The instruments, gages and indicator lights conveniently grouped in the
instrument cluster are des igned to
tell you at a glance many important things about
_the perfonnance of your vehicle _, _ The following information will enable you to
more quickly -understand and properly it';:rerpretthese instruments.
Speedometer
The speedometer chand ·indicatt:5 vehicle speed in miles per hour and kilometers
per hour.
Odometer
The group of six figures . in the speedometer lower center section indicates the
accumulated mileage.
Fuel Gage
The fuel gagewiH register the_APPROXIMATE fuel level in the tank, when the
ignition
is in the RUN position.
When the gage registers
EMPTY, some fuel is still available as a reserve. When
the gage registers
FULL. some additional" fuel can"still be added to the tank. The
following conditiqns may be considered normal:
• Gas station _pump may shut off before fuel gage indicates FULL. •
•
Amount of gasoline required for fill-up may not exactly correspond to gage.
• Needle may not move away from FULL until some time after fill·up.
• Needle may !Dove during turns. stops and-accelerations.
When the ignition switch
is turned to the OFF position, the needle will not
necessarily
retiJrn · all the way to the EMPTY mark.
2-15
Page 35 of 95
Downloaded from www.Manualslib.com manuals search engine • This warning light docs no t do away with the need f or ~rake il),s.-pectio n and
maintenanc e. The brake fluid level must be checked regularly . See yo ur
Maint enance Schedule folder for
other brake checks.
If th e light comes on and stays o n when the ig nition key is on, after the brak e
pedal ha s been firmly pushed do wn, it may mean that there is somethin g wrong
wit'h one part of the brake system.
Wh at 10 do:
I. C heck to see that the pa rkin g brake has been released. If it has been ...
2. Pull off the road and sto p ca refully. And rememb er that:
• Stopping di stan ces may be longer .
• You may ha ve to pu sh hard er on the ped al.
• The pedal may go down farther {han no rm al.
3. Tryout the brake s by sta rrin g and stopping on the ro ad shoulder--then :
• If you judge it to be safe, drive cautiously at a safe speed to the neat est
dealer for repair , or
• Have vehicl e to w ed to dealer for repair .
Co ntinu ed dri ving with o
ut getting necessary re p a ir s co uld be dangerou s.
"EMISSIONS" INDICATOR
On so me cars, the word "EMISSIONS" is des ig ned to appear in a window in the spe ed om eter faceat certain int~rvals. This is a reminder that maintenan ce se rv ice
mu st
be performed on your ca r. One of two type s' o f se rvice is required :
• On cars equipped with the C-4 System, the oxygen sensor must be replaced with · a new sensor, or
• On
ca rs without the C -4 System, the cataly st in the catalyti c converter must
b e c han ged.
In either case, see yo ur Chl!~rolet dealer fo r se rvice when the "EMISSIONS "
indicat or appears. .
F or more information , see
"C-4 (Computer Contr olled Catalytic Conv erte r)
Syste m " and "Catalyti c Co nverter," both in "Service and Maintenance," Section
5 of thi s manual.
"CHECK ENGINE" LIGHT
If yo ur car has the C-4 System, a "CHECK ENGINE" light on the instrum ent
panel is des ig ned t o come on
during engine starting to le t y ou know th e bulb is
w orkin g. (The light will sla y o n a short time after th e e ngine s tarts .) If th e light
c o m es on whil e
drivin g, se rv ic e to the emi ssion contr ol sy stem may be re quired . Sc:e your Chevrolet deal er as soo n as: possible fo r an in spec tion of the sy ste m .
COlltinu ed driving without having [he C-4System serviced could eventually cause
d am age to the emission control system. It could also affect fuel economy and
driv ability.
See also '; C-4 (Comput er Co ntrolled Catalytic Converter) System" in ;'Ser vic e a nd
Mainte n ance, " Section 5 o f this manual.
Tachometer
The opti onal Tachomet ers indi cat e the speed of th e e ngin e in revoluti ons pe r minute. The indicated number, tim es ](x>o .. gives the engine s peed. Operatil.lg th e
engine w ith the tachom ete r r eading in the color- coded high ~peed area could lead to s~rious engine damage. The re are two tachom .e ter s us ed in the car depending on the e ngine option install ed in your car.
2-18
Page 51 of 95
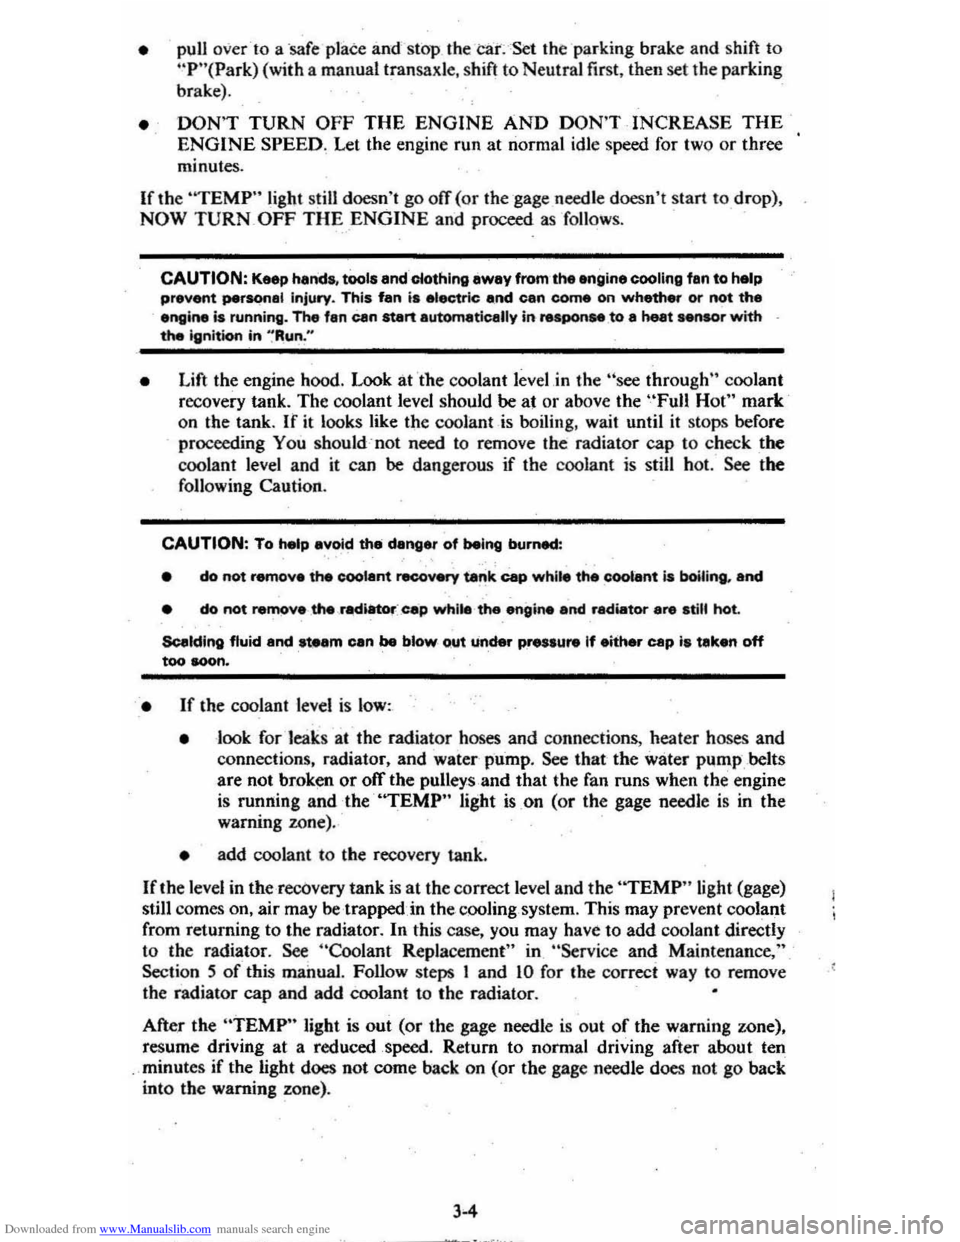
Downloaded from www.Manualslib.com manuals search engine • pull over-to a 'safe p'late and stop (he car:-=Set the parking brake and shift to "P"(Park) (with a manual transaxle. shift to Neutral first, then set the parking
brake).
• DON'T TURN OFF THE ENGINE AND DON'T INCREASE THE ENGINE SPEED~ Let the engin e run at normal idle speed for two or three
minutes.
If the
''TEMP'' light still doesn't go off (or the gage needle doesn't start to drop) , NOW TURN OFF THE ENGINE and proceed as follows.
CAUTION: Keep henda, tools end clothing awey from'the engine COOling fen to help prevent personal Injury. This fen ia electric end can come on whether or not the eR8ine is runnirl'jJ. The fan Cen etert eutomatically in reapon .. to a heet ~, wrth the ignitkNl in ~Run."
• Lift the engine hood. Look at the coolant level.in the "see through " coolant
recovery tank. The coolant level should be at or above the "Fun Hot" mark
o n the tank.
If it looks like the coolant is boiling, wait until it stops before
proceeding You should :not need to remove the radiator cap to check the
coolant level and it can be dangerous if the coolant is still hot. See the
following Caution.
CAUTION: To help avoid the dange, of being burned:
• cia not remove the coolent recov.ry tank cap while the coolant is boiling.. and
• cia not remove the .rad~:_c.p white the engine end radiator are atill hot.
Scelding fluid and ateam can be blow, Qut under presau,.. If either cap ia taken off too soon.
• If the coolant level is low:
• look for leak s at the radiator hoses and connectio ns, heater hoses and
connections. radiator, and water pump.
See that the water pump belts
are not
brok~ or otT the pulleys and that the fan runs when the engine is running and theUTEMP" light ison (or the gage needle is in the
warning zone).
• add coolant to the recovery tank.
If the level in the recovery tank is at the correct level and the "TEMP" light (gage) still comes on, air may be-trappedin the, cooling system . This may prevent coolant
from returning to the radiator.
In this case. you may have to add coolant directly
to th e radiator.
See "Coolant Replacement" in "Service and Maintenance," Section 5 of this manual. Follow steps I and 10 for the correct way to remove
the radiator cap and add coolant to the radiator.
After the "TEMP" light is out (or the gage needle is out of the warning zone).
resume driving
at a reduced speed. Return to normal driving after about ten
minutes if the light does not come back on (or the gage needle does not go back
into the warning
~one).
J.4
Page 53 of 95
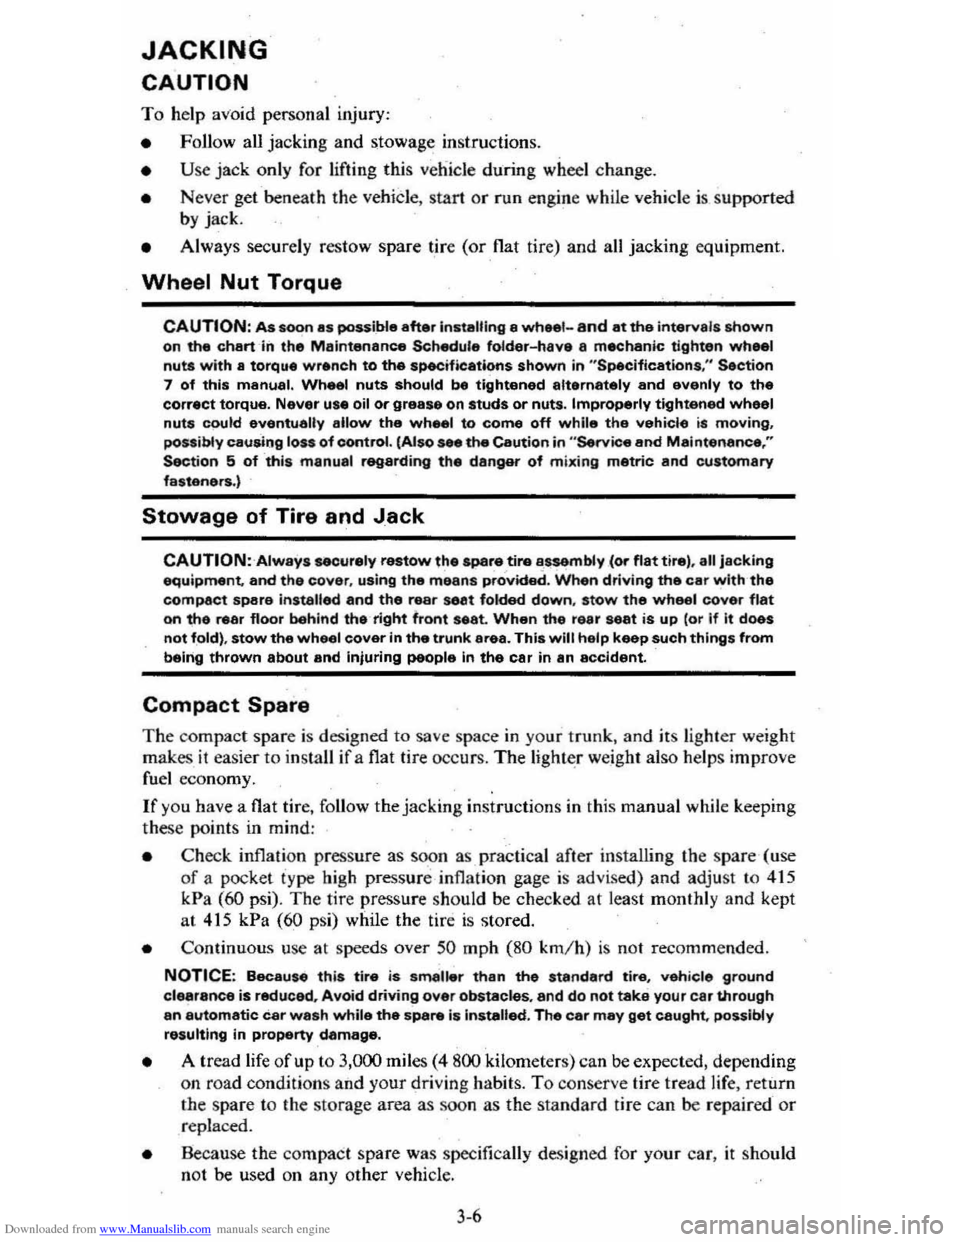
Downloaded from www.Manualslib.com manuals search engine JACKING
CAUTION
To help avoid personal injury:
• Follow all jackin g and stowag e instructions.
• Use jack only fo r liftin g this venicle du -rin g wheel c h a ng e.
• Nev er ge t ben eath th e vehiCle, start or run en g in e while vehicle is supported b y jac k.
• Always securely res tow spare tire (o r flat tire ) an d all jackin g equipment.
Wheel Nut Torque
CAUTION: As soon as possible after Installing 8 wheel-and at the intervals shown on the chart-in the Maintenance Schedule foldet-han 8 m.chanic tighten whe&l nuta with II torque wrench to the specifications shown in "SpeCifications ," Section 7 of this manual. Wheel nuts should be tightened alternately and evenly to the correct torque. Never us. oil or grease on studs or nuts. Improperly tightened wheel nuts could eventually allow the wheel to come off while the vehicle is moving, possibty causing loss of control.IAlso see the Caution in "Service and Maintenance," Seetion 5 of this manual regarding the danger of mixing metric and customary fasteners.)
Stowage of Tire and Jack
CAUTION:·AlwaYs MOurely restow the spare tire assembty (or flat tire). all jacking equipment. and the cover, using the means provided. When driving the car with the compact spare installed and the reer seat folded down, stow the wheel cover flat on the rear floor behind the-right front seat. When the rear seat is up (or If It does not fold), stow the wheel cover in the trunk area. This will help keep such things from being thrown about and injuring peopla In the car in an accident.
Compact Spare
The compa ct sp are is des ig ned to save space in yo ur trunk, and its lighler weig ht
m ak es
it easi er to in stall if a flat tire occurs. The light~r weig ht als o helps improve fuel eco no my.
If you have a flat tire, follow the jack ing in struction s in this manual while keeping
t h ese point s in min d:
• Chec k inflati on press ure as soo n as practical after in sta llin g the s pa re ( use of a pocke t type: high pressure inflatio n gage is adv ised) and adjust to 415
k Pa (60 psi). The tire pressur e sh o uld be checked at least monthl y and kept at 415 kPa (60 ps i) while the tire is s tored.
• Co ntinuou s use at spe eds over 50 mph (80 km/h) is not re c omme nded .
NOTICE: Because this tire is amaUer than the standar d tire, vehicle ground clearance is reduced, Avoid driving over obstacles, and do not take your car U,rough an automatic car wash whila the spare is installed. The car may get caught possibly resulting in property damage.
• A trea d life of up to 3,000 mil es (4 800 kilomet ers) ca n b e expe cted, depe nding
on roa d condi tions and you r
driv ing habits . T o co nserve tire t read life. return the spar e to the sto rage area as soo n as the sta nd ard tir e ca n be repa ir ed -or
r
epl ac ed .
• Beca use the co mpac t spare was spec ifica lly designe d for your car, it s hould
no t be used on any other vehicle.
3-6
Page 59 of 95
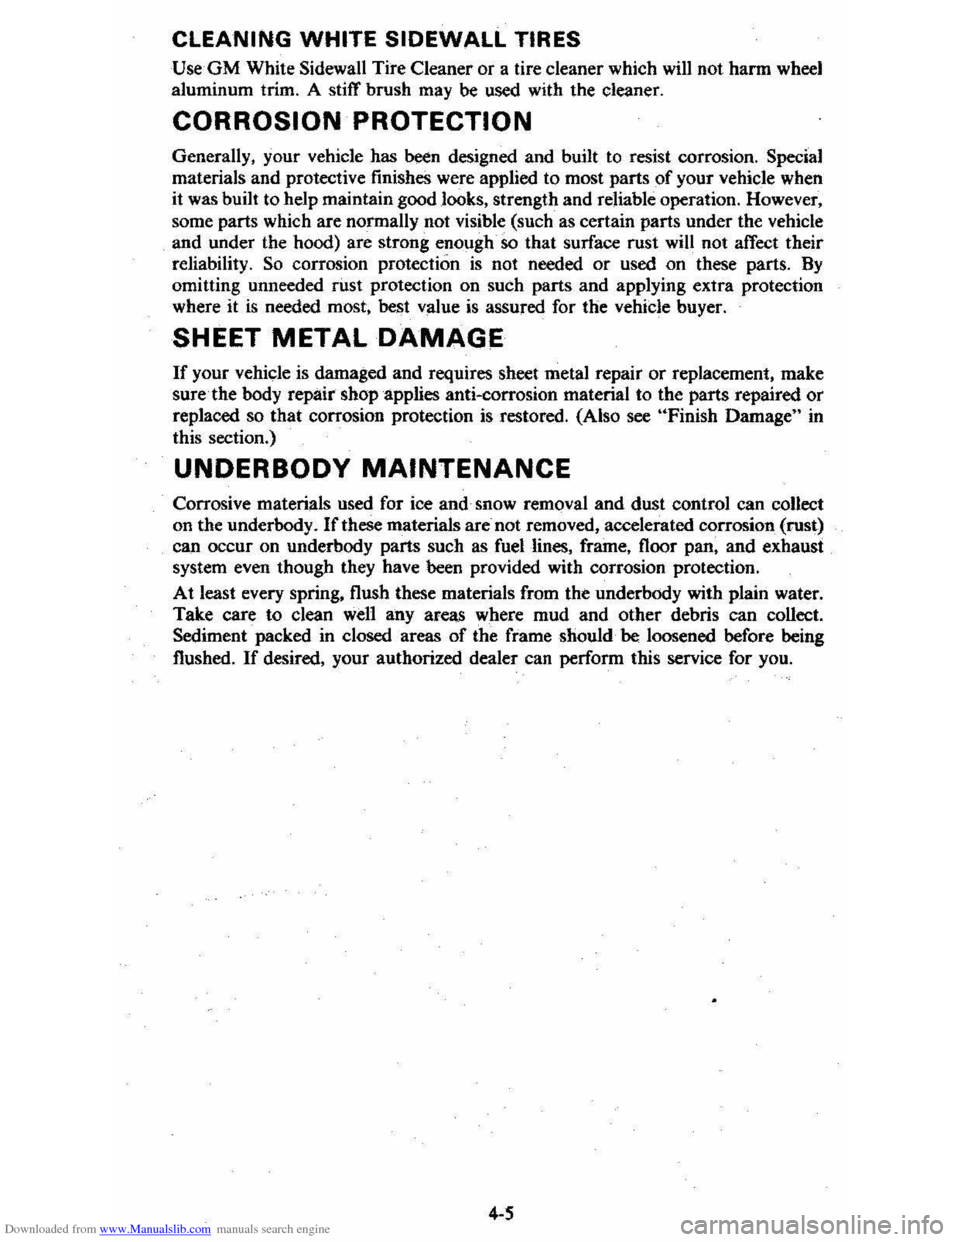
Downloaded from www.Manualslib.com manuals search engine CLEANING WHITE SIDEWALL TIRES
UseGM White Sidewall Tire Cleaner or a tire cleaner which will not harm wheel
aluminum trim. A stitT brush may
be used with the cleaner.
CORROSION PROTECTION
Generally, your vehicle has been designed and built to resist corrosion. Special
materials and protective finishes were applied to most parts of your vehicle when it was built to belp maintain good looks, strength and reliable operation. However,
some parts which are normally not visible (such as certain parts
under the vehicle and under the hood) are strong enough so that surface rust will not affect their
reliability.
So corrosion protection is not needed or used on these parts. By
omitting unneeded fust protection on such parts and applying extra protection where it is needed most, best value is assured for the vehicle buyer.
SHEET METAL DAMAGE
If your vehicle is damaged and requires sheet metal repair or replacement. make
sure·
the body repair shop applies anti-corrosion material to the parts repaired or replaced so that corrosion protection is restored. (Also see "Finish Damage" in
this section.)
UNDERBODY MAINTENANCE
Corrosive materials used for ice and· snow removal and dust control can collect
on the underbody. If these materials are-not removed. accelerated corrosion (rust)
can
occur on underbody parts such as fuel lines. frame, floor pan. and exhaust
system even though they have been provided with corrosion protection.
At least every spring. flush these materials from the underbooy with plain water.
Take care to clean well any areas where mud and other debris can collect.
Sediment packed in closed areas
of the frame should . be loosened before being
flushed.
If desired. your authorized dealer can perform this service for you.
4-5
Page 60 of 95
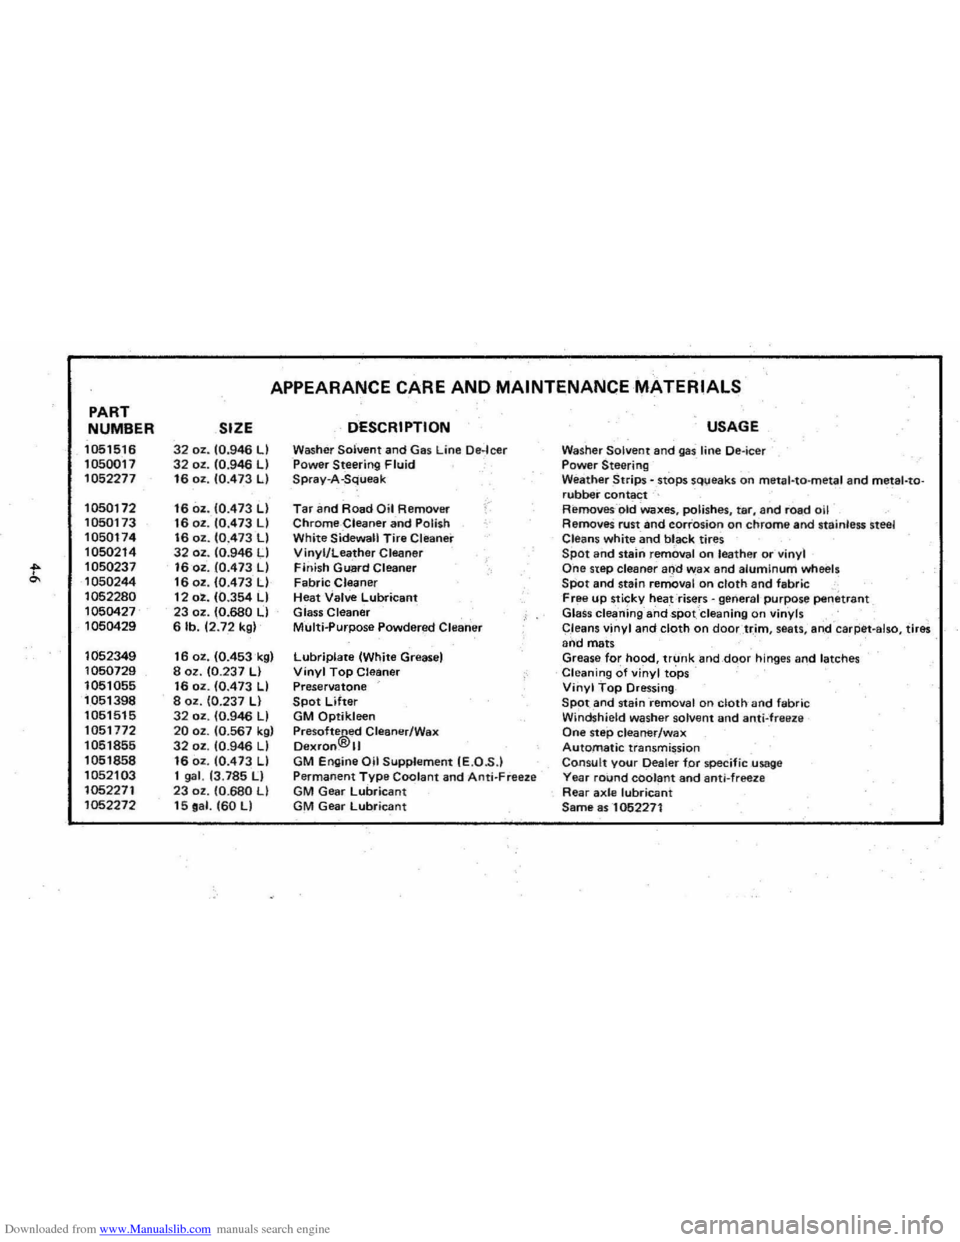
Downloaded from www.Manualslib.com manuals search engine PART
NUMBER
1051516
1050017
1052277
1050172 1050173
1050174
1050214
t 1050237
1050244
1052280
1050427 1050429
1052349
1050729
1051055 1051398 1051515
1051772 1051855
1051858
1052103
1052271 1052272
APPEARANCE CARE AND MAINTENANCE MATERIALS
SIZE DESCRIPTION
32 oz. 10.946 LI Washer Solvent and Gas Line De·leer 32 oz. 10.946 LI Power Steering Fluid 16 oz. 10.473 LI Spray-A-Squeak
16 oz. 10.473 LI Tar an d Road Oil Removirr /"
16 oz . 10.473 LI Chrome-Cleaner and Polish 16 oz. 10.473 LI White Sidewall Tire Cleaner 32 oz. 10:946 LI Vinyl/Leather Cleaner 16 oz . 10.473 LI Finish Guard Cleaner 16 oz. 10.473 LI Fabric Cleaner 12 oz. 10.354 LI Heat Valve Lubricant 23 oz. (0.680 LI Glass Cleaner 6 lb. 12.72 kgl Multi..purpose Powdered Clearier
16 oz. 10.453k91 Lubriplate (White Greasel 8 oz. 10.237 LI Vinyl Top Cleaner 16 oz. 10.473 LI Preservatone 8 oz. 10.237 LI Spot Lifter 32 oz. 10.946 LI GM Qptikleen 20 oz. 10.567 kgl Pre softe®ed Cleaner/Wax 32 oz. 10.946 LI Dexfon. II 16 oz. 10.473 LI GM Engine Oil Supplement IE.O .S .) 1 gal. 13.785 II Permanent Type Coolant and Anti- Freeze 23 oz . 10.680 LI GM Gear lubricant 15 oa l. 160 LI GM Gear Lubricant
USAGE
Washer Solvent and gas line Oe-ieer Power Steering Weather Strips - .stops sq\;leaks on meta l-ta-metal and metal-torubber contact Removes- -old Waxes, polishes, tar, and road oil RemoveS rust and corrosion on chrome and stainless steel
Cleans white and bl _ack tires Spot and stalrl removal o n leather or vinyl One step cleaner and wax and alumInum wh eels SPot and stain removal on cloth and fabric , Free up sticky heat risers -general 'purpose penetrant Glass cleaning ahdspot Cleaning on vinyls
C,leans vinyl and cloth on doortr,im , seats , ari,d -caq:iet -also, tires and mats Grease for hood, trunk and,dQor hinges and latches Cleaning of vinyl tops Vinyl Top Dressing SPOt and staini-emoval on cloth and fabric Windshield washer solvent and anti-freeze One step cleaner/wax Automatic transmission Consult your Dealer for specific usage Yea r round coolant and anti-freez e Rear axle lubricant Same as -1052271