1976 CHEVROLET VEGA automatic transmission
[x] Cancel search: automatic transmissionPage 46 of 87
Downloaded from www.Manualslib.com manuals search engine In Case of Emergency
Four Way Hazard
Warning
Flasher
• Use the warning flasher to warn
other drivers any time your
ve
hicle becomes a traffic hazard,
day or night.
• A void stopping on the roadway
if possible.
• Turn on the hazard warning
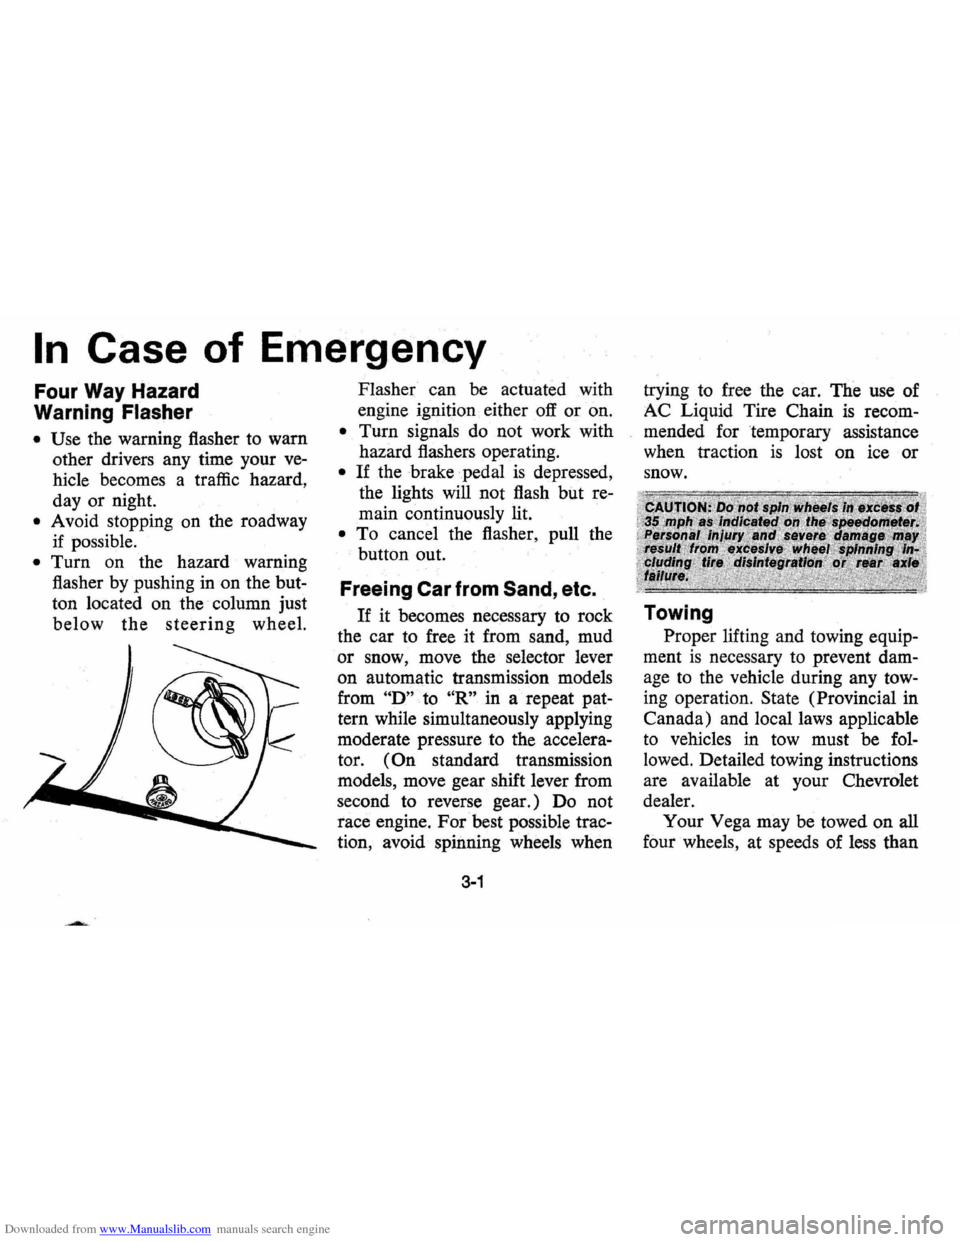
flasher by pushing
in on the but
ton located on the column just
below the steering wheel. Flasher
can
be actuated with
engine ignition either
off or on.
• Turn signals do not work with
hazard flashers operating.
• If the brake pedal is depressed,
the lights will not flash but
re
main continuously lit.
• To cancel the flasher, pull the
button out.
Freeing Car from Sand, etc.
If it becomes necessary to rock
the car to free it from sand, mud
or snow, move the selector lever
on automatic transmission models
from
"D" to "R" in a repeat pat
tern while simultaneously applying
moderate pressure
to the accelera
tor.
(On standard transmission
models, move gear shift lever from
second to reverse gear.) Do not
race engine. For best possible trac
tion, avoid· spinning wheels when
3-1
trying to free the car. The use of
AC Liquid Tire Chain
is recom
mended for temporary assistance
when traction
is lost on ice or
snow.
Towing
Proper lifting and towing equip
ment
is necessary to prevent dam
age to the vehicle during any tow
ing operation. State (Provincial in
Canada) and local laws applicable
to vehicles in tow must be
fol
lowed. Detailed towing instructions
are available at your Chevrolet
dealer. Your Vega may be towed on
all
four wheels, at speeds of less · than
Page 48 of 87
Downloaded from www.Manualslib.com manuals search engine or flame arrestor type filler/
vent caps.
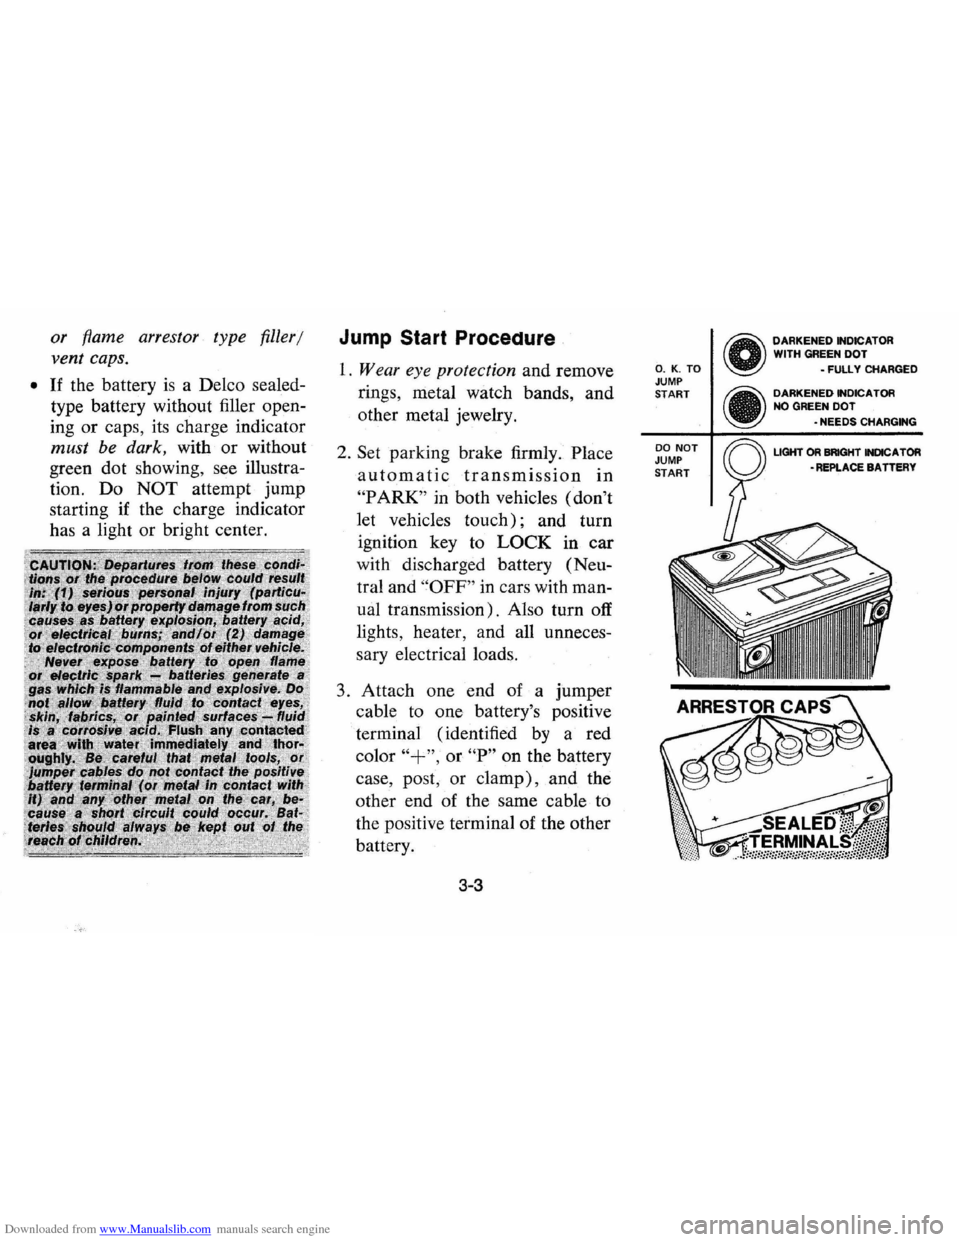
• If the battery is a Delco sealed
type battery without filler open
ing
or caps, its charge indicator
must be dark, with or without
green dot showing, see illustra
tion. Do
NOT attempt jump
starting if the charge indicator
has a light or bright center.
Jump Start Procedure
1. Wear eye protection and remove
rings, metal
watch bands, and
other metal jewelry.
2. Set parking brake firmly. Place
automatic transmission in
"P ARK" in both vehicles (don't
let vehicles
touch); and turn
ignition key to
LOCK in car
with discharged battery (Neu
tral and
"OFF" in cars with man
ual transmission). Also turn off
lights, heater, and all unneces
sary electrical loads.
3. Attach one end of a jumper
cable to one battery's positive
terminal (identified
by a· red
color
"+", or "P" on the battery
case , post , or
clamp), and the
other end of the same cable to
the positive terminal of the other
battery.
3-3
O. K . TO JUMP START
DO NOT JUMP START
o DARKENED INDICATOR
WITH GREEN DOT - FULLY CHARGED
• DARKENED INDICATOR
NO GREEN DOT
-NEEDS CHARGING
LIGHT
OR BRIGHT INDICA TOR -REPLACE BA TTERY
Page 49 of 87
Downloaded from www.Manualslib.com manuals search engine 4. Attach the remammg jumper Engine Coolant
cable FIRST to the negative ter
minal (black color,
"-" or "N")
of the OTHER vehicle's battery,
(regardless of which vehicle has
the discharged
battery) and
THEN to the negative terminal
of the battery in THIS
car-thus
taking advantage of the flame
arrestor feature on the battery in
THIS car, should a spark occur.
5. Start engine in the vehicle that is
providing the jump start (if it
was not running). Let run a few
minutes, then start the engine in Jacking Instructions
the car that has the discharged
battery.
6. Reverse the above sequence
EXACTL Y when removing the
jumper cables, taking care to re
move the cable from
[he negative
terminal of the battery in THIS
car
as the FIRST step.
3-4
Preparation
• Park on level surface and set
parking brake firmly.
• Set automatic transmission in
park (manual transmission in
reverse).
• Activate hazard warning flasher.
Instructions
1. After removing spare wheel
and tire, jack, jack base, and
jack handle (wheel nut
wrench), proceed with chang
ing the wheel
as follows:
2. Remove hub cap or wheel
cover with flat end of wheel
nut wrench and loosen, but do
not remove nuts, by turning
counterclockwise.
3. With column assembly seated
in base and lever in
"UP" posi
tion, insert jack hook in bum
per slot.
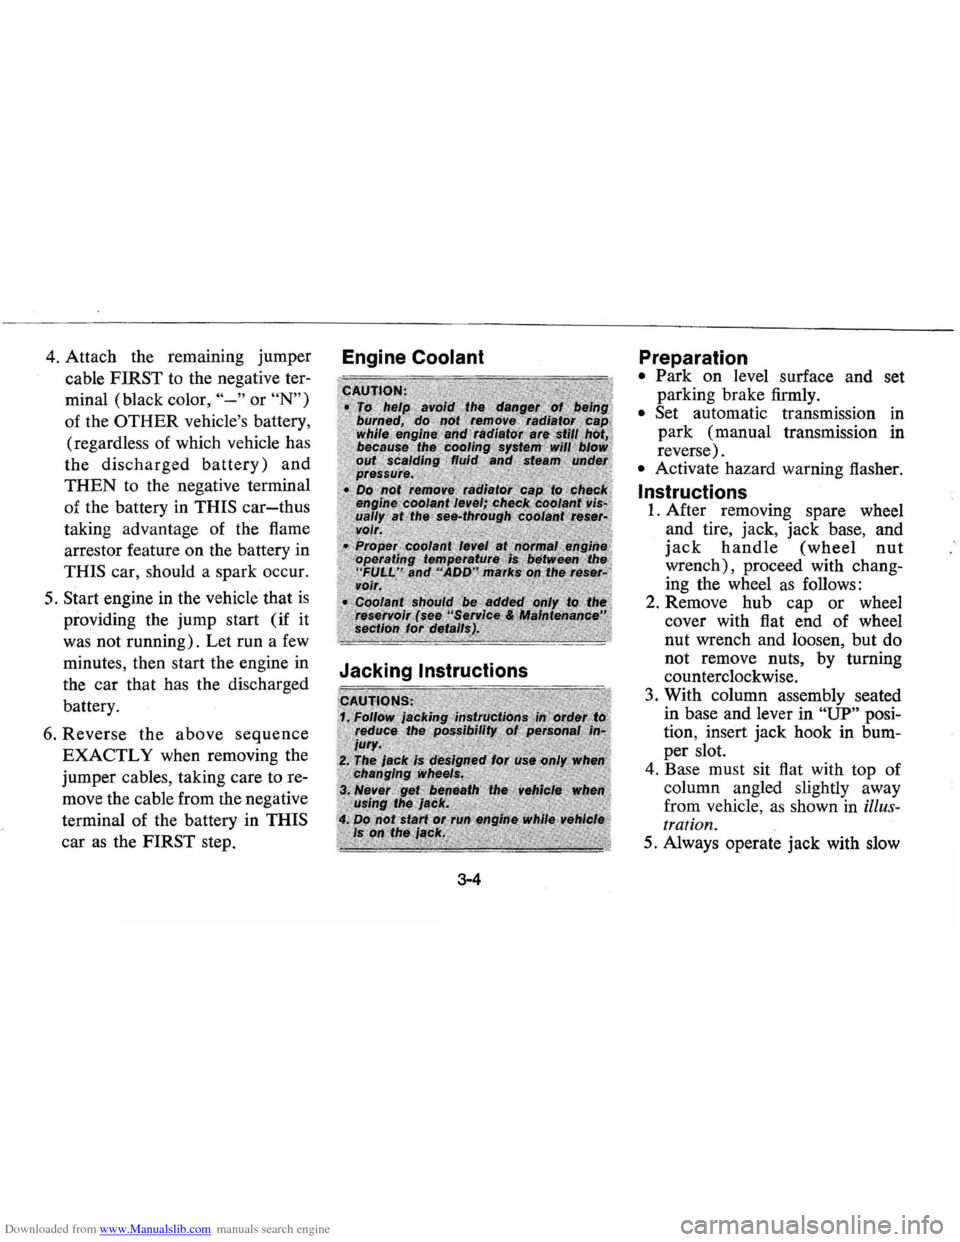
4. Base must sit flat with top of
column angled slightly away
from vehicle,
as shown in illus
tration.
5. Always operate jack with slow
Page 58 of 87
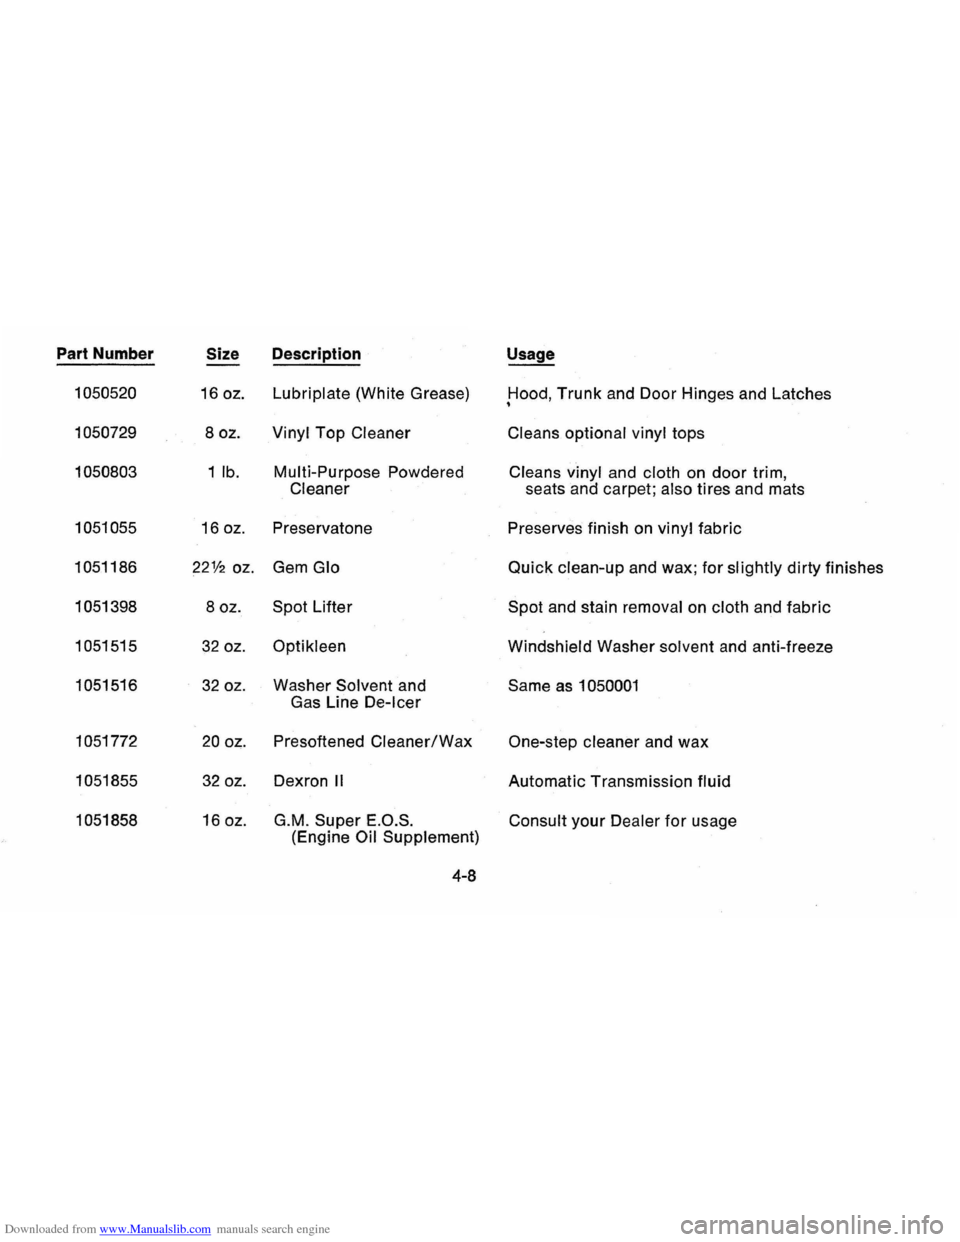
Downloaded from www.Manualslib.com manuals search engine Part Number Size Description Usage
1050520
16 oz. Lubriplate (White Grease) Hood, Trunk and Door Hinges and Latches •
1050729 8 oz. Vinyl Top Cleaner Cleans optional vinyl tops
1050803 1
lb. Multi-Purpose
Powdered
Cleans vinyl and cloth on door trim, Cleaner seats and carpet; also tires and mats
1051055 16 oz.
Preservatone Preserves finish on vinyl fabric
1051186
22112 oz. Gem Glo Quick clean-up and wax; for slightly dirty finishes
1051398 8 oz. Spot Lifter
Spot and stain
removal on cloth and fabric
1051515
32 oz. Optikleen Windshield Washer solvent and anti-freeze
1051516
32 oz. Washer Solvent and
Same as 1050001 Gas Line De-Icer
1051772 20 oz. Presoftened Cleaner/Wax One-step cleaner and wax
1051855
32 oz. Dexron II Automatic Transmission fluid
1051858 16 oz. G.M. Super E.O.S.
(Engine Oil Supplement) Consult your Dealer for usage
4-8
Page 63 of 87
Downloaded from www.Manualslib.com manuals search engine TRANSMISSION ITEMS
Automatic Traiismission
Fluid Level
Recommendations
Use automatic transmission
fluids identified with the mark
DEXRON®-II available from your
Chevrolet dealer or local service
station.
Check the fluid level at each en
gine oil change period.
Automatic transmissions are fre
quently overfilled because the fluid
level
is checked when the fluid is
cold and the dipsick indicates fluid
should
be added. However, the low
reading may be normal since the
fluid level will rise
as the fluid tem
perature increases. A level change
of over
% inch will occur as fluid
temperature rises from
60° F. to
180° F. (16° C. to 82° C.)
Overfilling can cause foaming
and loss of fluid through the vent.
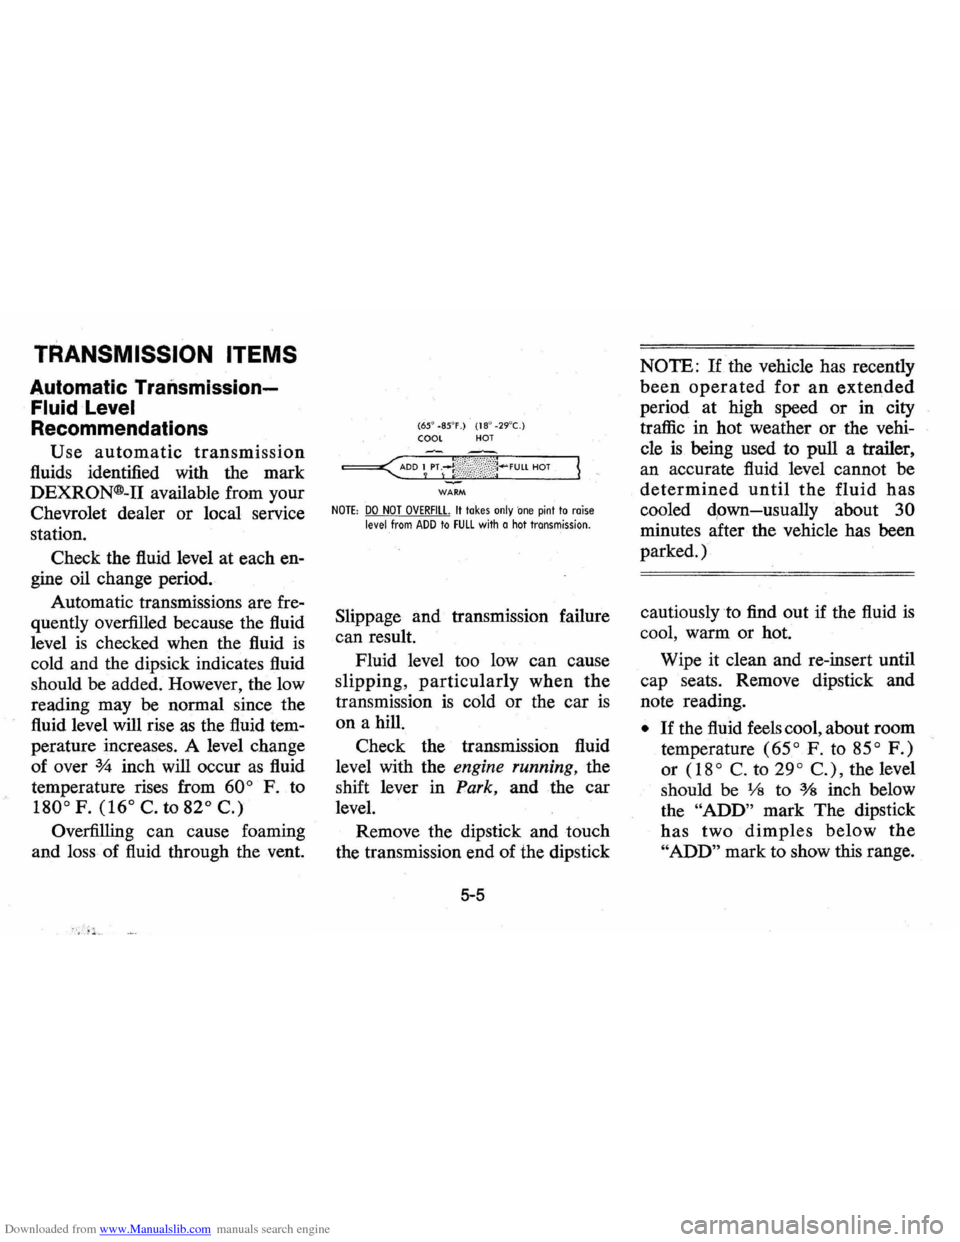
(65' -85'F .) (18 ' -29'C.) COOl HOT
WARM
NOTE: DO NOT OVERFill. It takes only 'one pint to raise level from ADD to FUll with a hot transmission.
Slippage and transmission failure
can result.
Fluid level too low can cause
slipping,
particularly when the
transmission is cold or the car is
on a hill.
Check the transmission fluid
level with the
engine running, the
shift lever in
Park, and the car
level.
Remove the dipstick and touch
the transmission end of the dipstick
NOTE: If the vehicle has recently
been operated for an extended
period at high speed or in city
traffic in hot weather
or the vehi
cle
is being used to pull a trailer,
an accurate fluid level cannot be
determined until the fluid has
cooled dpwn-usually about 30
minutes after the vehicle has been
parked.)
cautiously to find out if the fluid
is
cool, warm or hot.
Wipe it clean and re-insert until
cap seats. Remove dipstick and
note reading.
• If the fluid feels cool, about room
temperature
(65° F. to 85° F.)
or (18° C. to 29° C.), the level
should be
Vs to % inch below
the
"ADD" mark The dipstick
has two dimples below the
"ADD" mark to show this range.
Page 64 of 87
Downloaded from www.Manualslib.com manuals search engine • If it feels warm, the level should
be close to the
"ADD" mark
( either slightly above
or beloW).
• If it feels hot (cannot be held
comfortably) the level should
be
between the "ADD" and
"FULL" marks.
NOTE: DO NOT OVERFILL. It
takes only one pint to raise level
from
ADD to FULL with a hot
transmission.
Automatic Transmission
Drain
Intervals
The transmission operating tem
perature resulting from the type of
driving conditions under which
your vehicle
is used is the main
consideration in establishing the
proper frequency of transmission
fluid changes.
If you do not use your vehicle
under severe conditions, change the
fluid and filter every
60,000 miles.
Refer to section 6,
"Specifications",
for required fluid quantities.
If the vehicle is usually driven
under one
or more of the follow
ing conditions-considered severe
transmission
service-change the
transmission fluid and filter every
15,000 miles.
• In heavy city traffic.
• Where the outside temperature
regularly reaches
90° F. (32°
C.) for extended periods.
• In very hilly or mountainous
areas.
• Frequent trailer pUlling.
• Commercial uses, such as taxi,
police
car or delivery service.
Manual Transmissions
Lubricant
Level
Every 6 months or 7,500 miles,
whichever occurs first, check lubri
cant level and add lubricant, if nec
essary, to
fill to . level of filler plug
hole.
5-6
• 3-Speed and 4-Speed-Use SAE
80W or SAE 80W-90 GL-5
Gear Lubricant. (For those
vehicles normally operated in
Canada, use
SAE 80W GL5
Gear Lubricant. )
Transmission Shift Linkage
(Manual and Automatic)
Every 7,500 miles or 6 months
lubricate shift linkage and
on
manual transmission floor controls
lever contacting faces with water
resistant
EP chassis lubricant which
meets
GM specification 6031 M.
Clutch Cross -Shaft -Every
30,000 miles or sooner if necessary
-Remove the plug, install a lubri
cation fitting and lubricate with
water resistant
EP Chassis Lubri
cant which meets GM Specification
6031M.
Page 68 of 87
Downloaded from www.Manualslib.com manuals search engine Front Suspension
Every 6 months or 7,500 miles
Lubricate fittings with water
re
sistant EP Chassis Lubricant which
meets GM Specification
6031M.
NOTE:
Ball joints should not be
lubricated unless their temperature
is +10°F (-12°C), or higher.
During cold weather, they should
be allowed to warm up as necessary
before being lubricated.
Steering Linkage
Every 6 months or 7,500 miles,
lubricate fittings with water resist
ant
EP Chassis Lubricant which
meets GM Specification
6031M.
Power Steering System
Check the fluid level in the pump
reservoir at each oil change period.
Add GM Power Steering Fluid
(or Automatic Transmission Fluid
DEXRON®-II) as necessary to bring
level into proper range
on
filler cap indicator depending upon
fluid temperature.
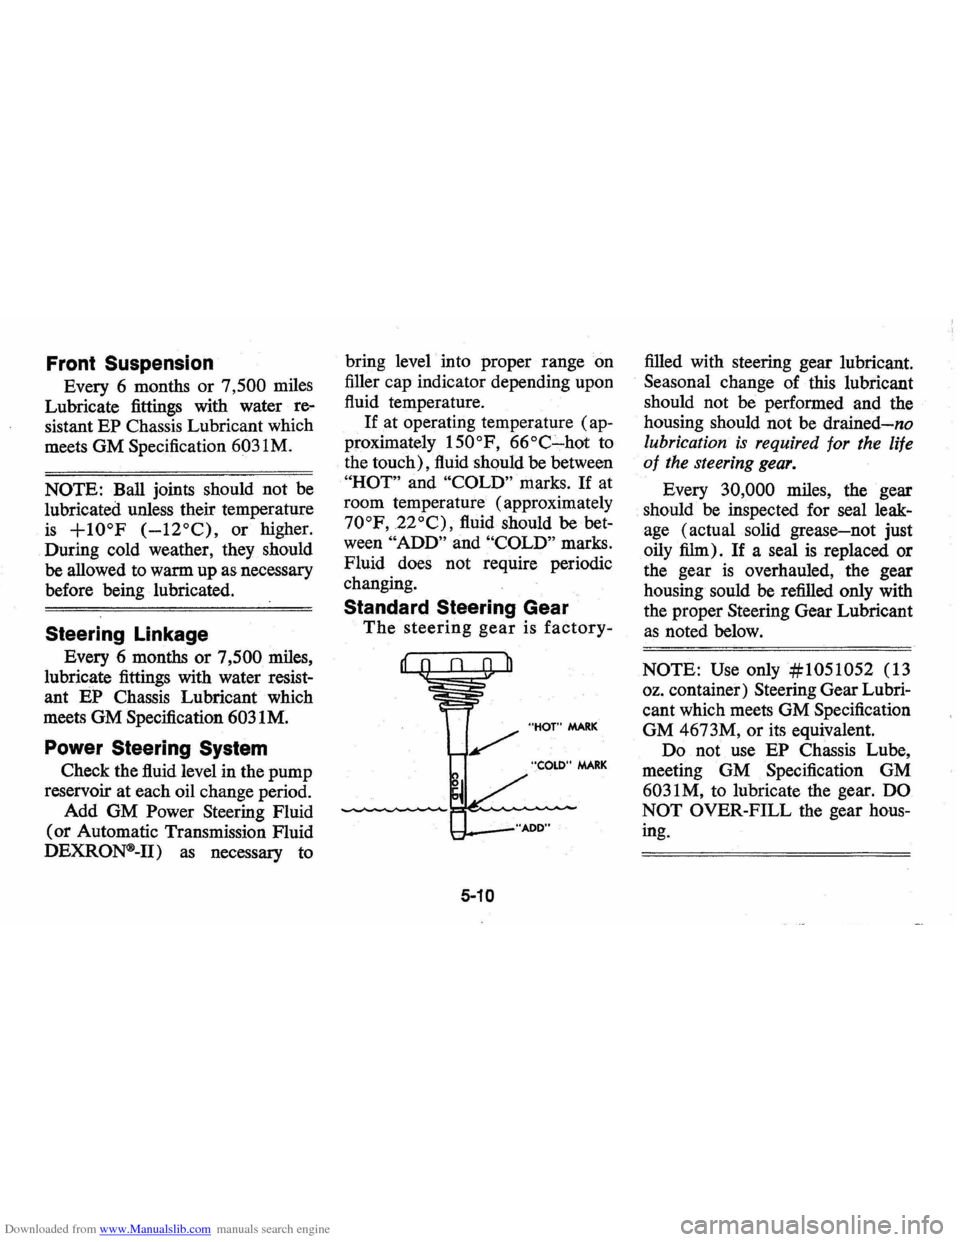
If at operating temperature (ap
proximately 150°F, 66°C-hot to
the touch), fluid should be between
"HOT" and "COLD" marks. If at
room temperature (approximately
70°F, 22°C), fluid should be bet
ween "ADD" and "COLD" marks.
Fluid does not require periodic
changing.
Standard Steering Gear
The steering gear is factory-
l-t.. __ "AOO"
5-10
filled with steering gear lubricant.
Seasonal change of this lubricant
should not be performed and the
housing should not be
drained-no
lubrication is required for the life
of the steering gear.
Every 30,000 miles, the gear
should be inspected for seal leak
age (actual solid grease-not just
oily film).
If a seal is replaced or
the gear
is overhauled, the gear
housing sould be refilled only with
the proper Steering Gear Lubricant
as noted below.
NOTE: Use only #1051052 (13
oz. container) Steering Gear
Lubri
cant which meets GM Specification
GM 4673M, or its equivalent.
Do not use
EP Chassis Lube,
meeting GM Specification GM
6031M, to lubricate the gear. DO
NOT
OVER-FILL the gear hous
ing.