1976 CHEVROLET MONTE CARLO ECU
[x] Cancel search: ECUPage 4 of 102

Downloaded from www.Manualslib.com manuals search engine ,;
Door Locks
Front and rear side doors can be
locked from:the inside by. depress ,
ing the passenger guard door lock
lllttons located on tbe upper door
.Mne!. All doors can be locked from
. the outside by first depressing the
door lock button and
closing the
door.
"'.
The ' front doors can also ·be
locked by using the key,
A\I.'
models have as a standard
safety,feature overriding door locks.
Whert the doors are locked. the
door latch mechanism is inopera
tive,
preventing inadvertent open
ing of the door by movement of the
inside handle .
' REMINDER: Avoid hanging
ob
jects on the right hand coat hook
in
such a way that you block the
driver's ' vision
to the right rear
quarter.
R~MINDER: " Always lock the
doors when driving , for greater
se
curity in the event of an accident ,'
to help keep children from
open
ing door, and for greater security
against entry by unwelcome persons
while momentarily stopped.
Seats
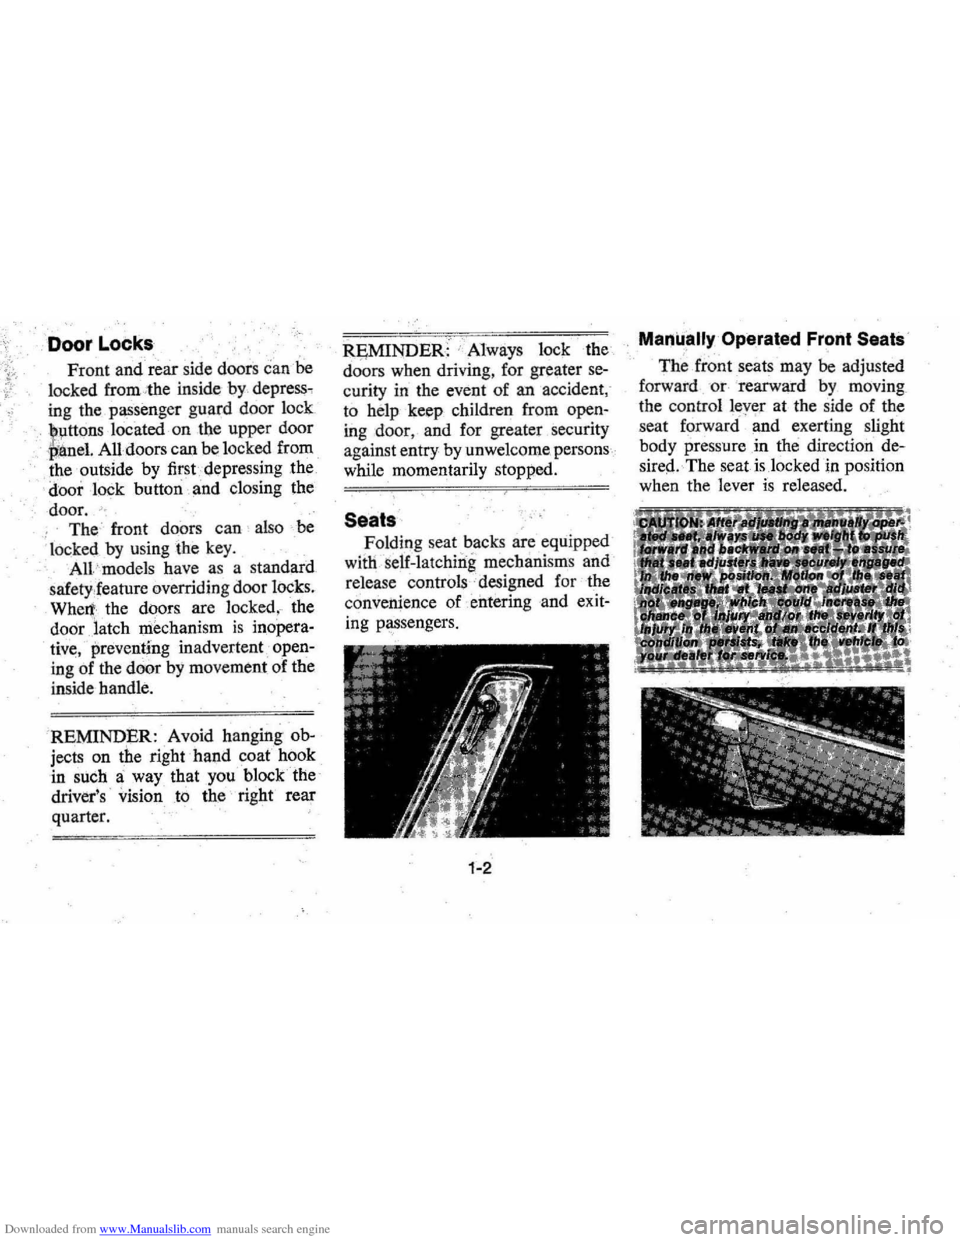
Folding seat backs are equipped
witli
s elf -latch ing mechani sms and
release
controls · designed for the
convenience of entering
·and exit
ing passengers.
1-2
Manually Operated Front Seats , ,
The front seats may be adjusted
forward
or · rearward by moving
the control lever
at the side of the
seat
forward ' and ex erting slight
body pressure in the direction
de
sireq.
·· The seat is locked in position
when the lever
is released.
Page 6 of 102

Downloaded from www.Manualslib.com manuals search engine Occupant Restraint Belts
Lap and sholjlder belts provide
added security and cgmfort for you
and your passengers. Proper
use
and care of these belts will assure
continuance of this security.
Front
Seat Lap-Shoulder
Belt Combination
• Adjust front seat to satisfaction
of driver and sit erect and well
back in seat.
• In a single motion, pull the lap
shoulder belt webbing across lap
far enough to permit inserting
. metal latch plate end of belt into
the buckle, until a snap
is heard.
If webbing is not pulled out far
enough
to reach buckle, let lap
belt rewind into its retractor to
release lock mechanism,
so belt
can be pulled out
to the proper
length.
• Position "lap" portion of belt
across lap
as LOW ON HIPS as
possible. To reduce the risk of
sliding under belt during an
ac
cident, adjust to a SNUG FIT by
pulling belt firmly across lap in
direction of lap belt retractor
so
it can take up slack. The belt re
tractors are designed to automat
ically take up excess webbing.
1-4
Page 8 of 102

Downloaded from www.Manualslib.com manuals search engine Beit Restraint Bu~zer/Light
Reminder
• When .the ignition key is turp.ed
to On or Start, a ,reminder light
is desigl1ed to come on for four
to eight seconds,
to remind occu
pants to fasten their belt re'
straints.
• If the driver hils not buckled
his belt restraint prior to turning
th~key to On or Start, a buzzer
is . ,designed to sound for four to
, dei~t seco'Yds to remind h.i!I!' to
9 so. ".
If ,the belt restraint system or
reminder system
dOes not work as
described,
see your Chevrolet
dealer for information and
assis
tance.
Lap Belts (For Rear Seat and
Center ·,Fr,on1 Seal
Passengers)
• Seating positions next to side
windows (except station wagon third
seats)
' have retractors
'which ar!) designed to automat
ically take.up¢xcess webbing.
, TIrese beltS should be positioned,
secured
ahd released as described
above undei
"Lap-Shoulder Belt
Combination." (Retractors are
, available as an option on station
wa.gon third seats. ) ,
•
Lap belts at center seating posi
tions
( and third seats) also
should be positioned, secured
and
releaseda.s described above, '
arjd adjusted'fo a SNUG FIT by
pulling on the end of the belt ex
teiiaing froin the adjustable latch
plai~. '
• To .;lengthen.Jap
belt at center
seating
positions (and station
wagonthitd seats) place adjust
able ,latch 'plate
at right angles to
the belt webbing and pull on
latch plate; belt
should then slide
easily thro)lgh the adjus\ment
featute.
r'~
Optional Sho~lder ~elts
(Rear Seat, Outboard)
• Whenptoperlil>vorn with a lap
belt,a shoulde~;belt can provide
l\dditiona.! protej;tion by prevent
ing or minimizing impact with
the car interior;
by restraining
forward rnotion of the upper
torso in a ,collision. This
is par~ ,
ticularlytrue in 'the case of a
frontalforce impact.
Page 11 of 102

Downloaded from www.Manualslib.com manuals search engine net should be securely restrained
with the regular vehicle belt re
straints.
An alternate method is
to position the bassinet so that it
. rests against the back of the front
seat, again crossways in the
vehicle.
2. Children able
to ,sit up by them
selves should be. placed
on a seat
and restrained with a belt
re'
straint. When children ride in the
front seat, both lap and
shoulder belt should be worn.
If
the shoulder belt causes neck or
face irritati on due to the child's
size, this may be reduced in some
cases by positioning the child
further inboard.
If serious dis
c.omfort continues, the . child
sh.ould be lap belted in the rear
seat. Never allow a child to stand
.or kneel on any seat .
•
3. General ' M.otors recommends
that childr~n be restrained pr.op
erly when riding. However, if
unusual
c.onditi.ons pr.ohibit use
.of restraints and require' that a
child must stand, he
sh.ould stand
.on the floor directly behind the
front seat. This will help mini
mize the possibility
.of injury
from frontal
f.orce impacts in the
event .of an accident.
,
•
Page 63 of 102

Downloaded from www.Manualslib.com manuals search engine Gas Cap-The fuel tank filler cap
has a
"Screw-on ratcheting type"
feature for proper gas tank sealing.
To remove:
• Rotate ~ap counterclockwise to
clear
the inside of the filler neck.
This will allow any residual
pres
sure t!J escape.
• To iQstall, reverse this procedure
and . tighten cap securely until a
"ratcheting", . clicking sound is
heard indicating proper cap to
filler neck sealing.
NOTE: If this cap requires a re
placement , only a cap with these
same features should
be used. Fail
ure to use the correct cap can result
in a serious malfunction of the
sys
tem. Correct replacement caps may
be obtained from your authorized
Chevrolet dealer.
ENGINE ITEMS
Engine Oil and Filter
Recommendations
• Use only SE engine oil.
• Change oil each 6 months or
7,500 miles, whichever occurs
first ,
except under the following
conditions:
•
-driving in dusty conditions
-trailer pulling '
-extensive idling
-short-trip operation at freez-
ing
ternperatures( engine not
thoroughly warmed-up).
'Under these conditions, change oil
each 3 month s
or 3,000 miles,
whichever occurs first.
• Operation in dust stOmlS may
require an immediate oil change.
• Replace the oil filter at the first
oil change, and every second oil
change thereafter. AC oil filters
5-2
provide excellent engine pro
tection.
See your Chevrolet dealer for ad
vice on the frequency of' oil and
filter changes under unusual driving
conditions.
The above recommendations
ap
ply to the first change as well as
subsequent oil changes. The oil
change interval for your Chevrolet
engine
is based on the use of SE
oils and quality oil filters. Oil
change intervals longer than those
listed
above will seriously reduce
engine life and may affect
Chevro
let obligation undetthe provisions
of the New Vehicle Warranty.
NOTE: Non-detergent and other
low quality oils are
sgecifically not
recommended .
Only the use of SE
engine oils and proper oil and filter
change intervals assure you of
con
tinued proper lubrication of your
Chevrolet engine.