Page 65 of 85
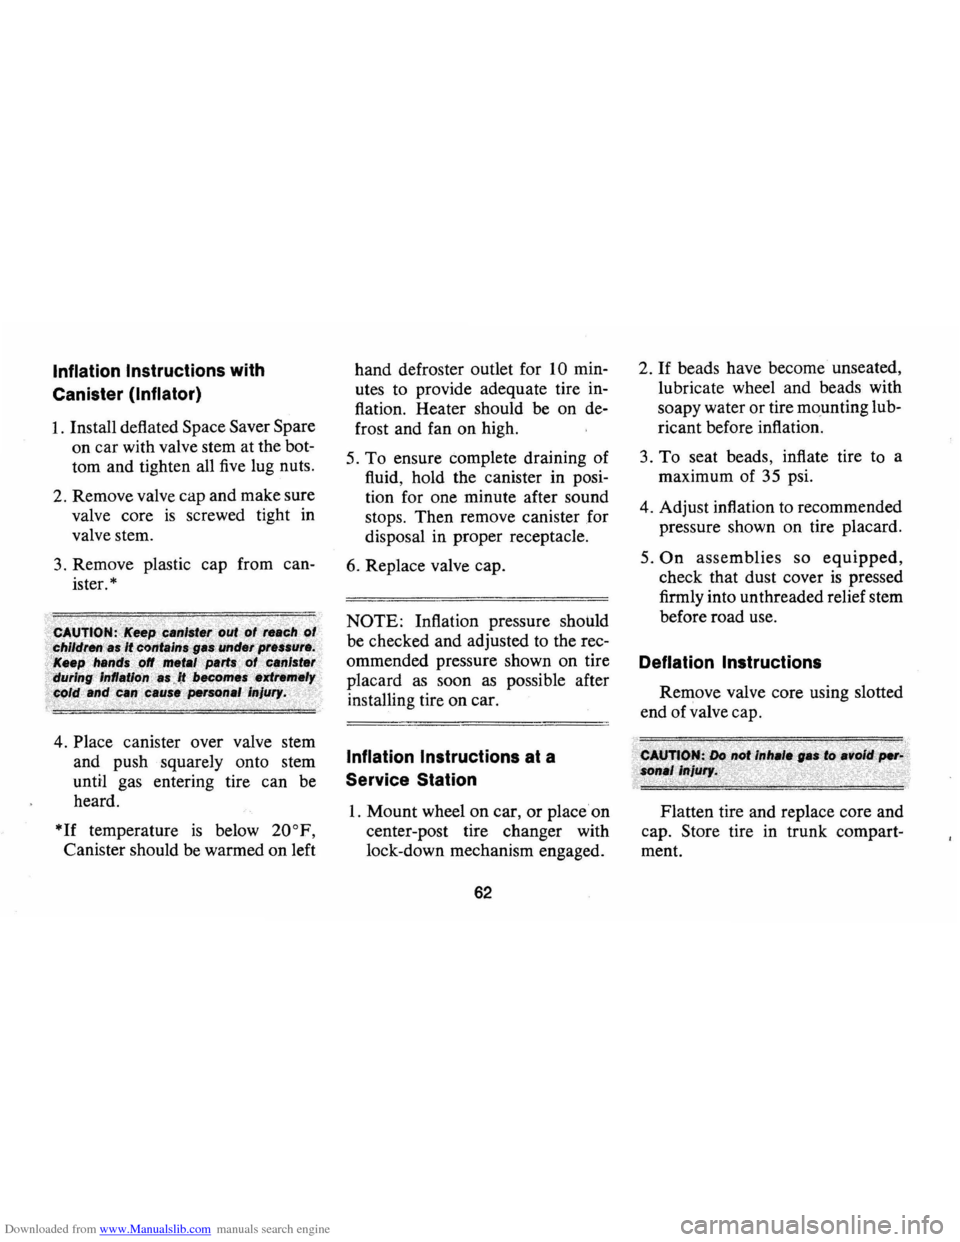
Downloaded from www.Manualslib.com manuals search engine Inflation Instructions with
Canister
(Inflator)
1. Install deflated Space Saver Spare
on car with valve stem at the bot
tom and tighten all
five lug nuts.
2. Remove valve cap and make sure
valve core
is screwed tight in
valve stem.
3. Remove plastic cap from can
ister.
*
4. Place canister over valve stem
and push squarely onto stem
until gas entering tire can be
heard.
*If temperature is below 20°F,
Canister should be warmed on left hand
defroster outlet for
10 min
utes to provide adequate tire in
flation. Heater should be on de
frost and fan on high.
S. To ensure complete draining of
fluid, hold the canister in posi
tion for one minute after sound
stops. Then remove canister for
disposal in proper receptacle.
6. Replace valve cap.
NOTE: Inflation pressure should
be checked and adjusted to the rec
ommended pressure shown on tire
placard
as soon as possible after
installing tire on car.
Inflation Instructions at a
Service Station
1. Mount wheel on car, or place on
center-post tire changer with
lock-down mechanism engaged.
62
2. If beads have become unseated,
lubricate wheel and beads with
soapy water
or tire mO,unting lub
ricant before inflation .
3.
To seat beads, inflate tire to a
maximum of 35 psi.
4. Adjust inflation to recommended
pressure shown on tire placard.
5.
On assemblies so equipped,
check that dust cover is pressed
firmly into un threaded relief stem
before road use.
Deflation Instructions
Remove valve core using slotted
end of valve cap.
Flatten tire and replace core and
cap. Store tire in trunk compart
ment.
Page 66 of 85
Downloaded from www.Manualslib.com manuals search engine Tire Replacement
Mounting of the Space Saver
Spare Tire by other than authorized
tire dealers
is not recommended.
Improper mounting can cause
vio
lent bursting of the tire away from
the wheel which can result in serious
personal injury.
Underbody Maintenance
The effects of salt and other
corrosive materials used for ice
and snow removal and dust
con
trol can result in accelerated rust
ing and deterioration of under
body components such
as brake
and fuel lines, frame, underbody
floor pan, exhaust system, brac
kets , parking brake cables. These
corrosive effects, however, can be
reduced by periodic flushing of the underbody
with plain water. In
geographic areas having a heavy
concentration of such corrosive
materials,
it is recommended that
the complete underbody be
in
spected and flushed at least once
each year, preferably after a
win
ter's exposure. Particular attention
should be given to cleaning out
underbody members where dirt
and other foreign materials may
have collected.
If desired, your Chevrolet deal
er can perform this service for
you.
In addition, he can provide
recommendations on undercoat
ing materials which will help
pro
tect your vehicle from corrosion.
Battery Care (Energizer)
Check fluid level monthly. If the
fluid level
is low, add only color-
63
less, odorless drinking water or dis
tilled water to bring level to split
ring in filler opening.
Page 67 of 85
Downloaded from www.Manualslib.com manuals search engine Important Facts You Should
Know About Gasoline
Mileage and How to
Improve It
How you drive, where you drive,
and when you drive
all have an
effect on how many miles you can
get from a gallon of gasoline. The
careful attention you give your car
as far as maintenance and repairs
are concerned will also contribute
importantly to fuel economy.
Fuel Selection
Your vehicle is designed to op
erate on unleaded or low-lead fuels
>of at least 91 Research Octane.
These fuels minimize spark plug
fouling and emission system
de
terioration. Your engine does not
require premium fuel. Therefore,
its use would be an unnecessary
additional expense.
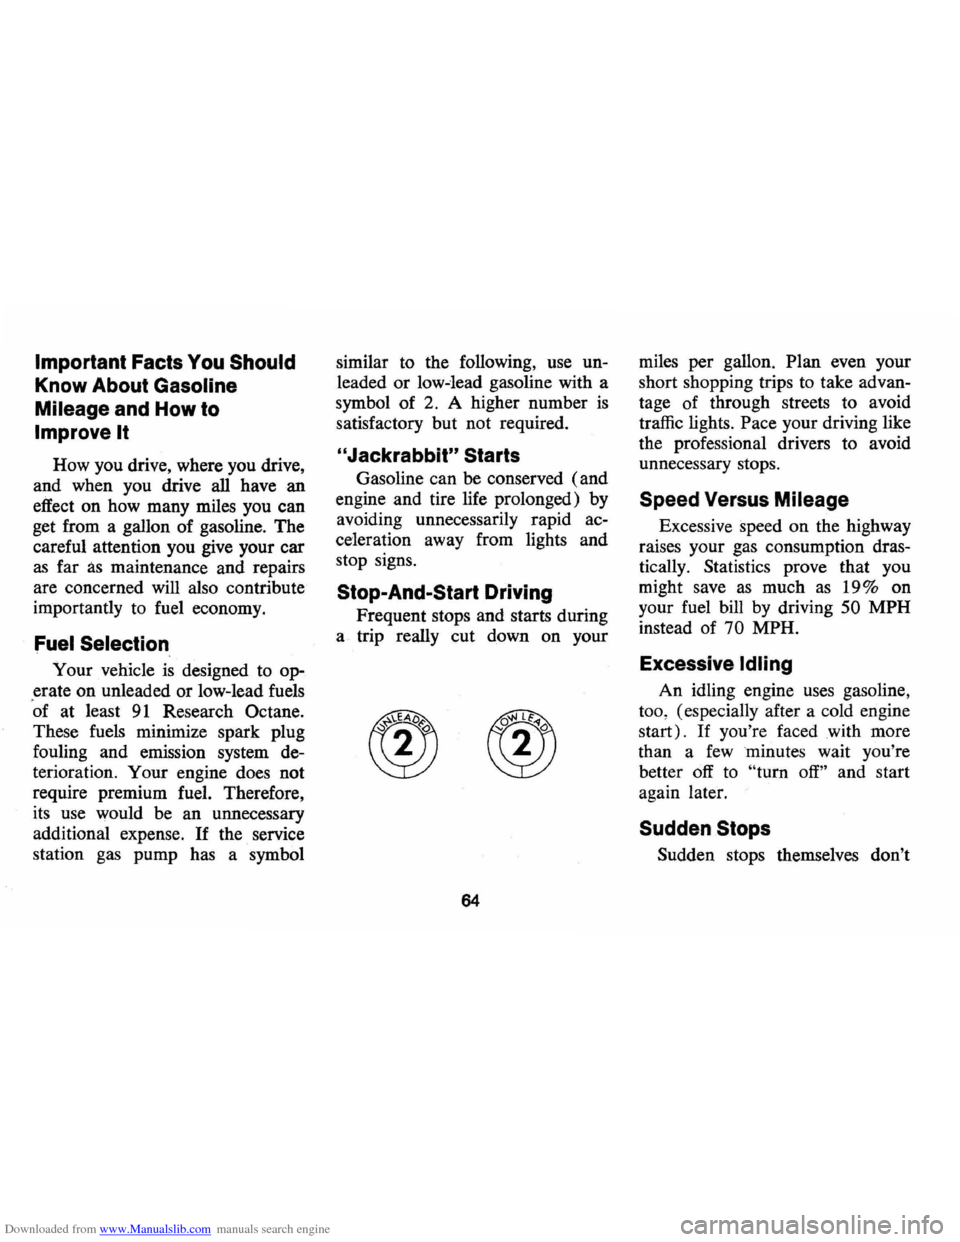
If the service
station gas pump has a symbol similar
to the following, use
un
leaded or low-lead gasoline with a
symbol of 2. A higher number
is
satisfactory but not required.
"Jackrabbit" Starts
Gasoline can be conserved (and
engine and tire life prolonged) by
avoiding unnecessarily rapid
ac
celeration away from lights and
stop signs.
Stop-And-Start Driving
Frequent stops and starts during
a. trip really cut down on your
64
miles per gallon. Plan even your
short shopping trips to take
advan
tage of through streets to avoid
traffic lights.
Pace your driving like
the professional drivers to avoid
unnecessary stops.
Speed Versus Mileage
Excessive speed on the highway
raises your gas consumption
dras
tically. Statistics prove that you
might save
as much as 19% on
your fuel bill by driving
50 MPH
instead of 70 MPH.
Excessive Idling
An idling engine uses gasoline,
too, (especially after a cold engine
start).
If you're faced with more
than a
few minutes wait you're
better
off to "turn off" and start
again later.
Sudden Stops
Sudden stops themselves don't
Page 68 of 85
Downloaded from www.Manualslib.com manuals search engine waste gasoline, but energy is wasted
as heat in braking. Energy in the
form of gasoline
is also needed to
accelerate back to driving speed.
Lubricants
A properly lubricated vehicle
means less friction between moving
parts. Consult this manual and the
maintenance schedule for the
proper lubricants to use and the
lubrication intervals.
Automatic Choke
Your automatic choke should be
checked periodically
as it regulates
the gasoline/air mixture used in
starting and warming the engine.
Properly Tuned Engine
Overall tuning (a check on tim
ing, distributor points, spark plugs,
emission control· devices , etc.) can
improve your car's gas mileage.
You just can't expect an
"out-of
tune"
engine to give you good gas
mileage and cleaner air.
Excess Weight
Fuel economy is related to the
work the engine
must do. The
heavier the load, the more power
it takes. Keep excess weight to a
minimum by removing . any per
sonal effects or luggage from the
65
car or trunk when they are not
needed.
Tire Inflation
Under inflation not only causes
needless wear of the tires, but can
also waste gasoline. It's a good
idea to check tire pressures regu
larly.
Wheel Alignment
"Toe in" or "toe out" has the
effect of dragging your front tires
sideways and causes premature tire
wear.
It takes power to carry this
extra load and that takes gas from
your tank.
Page 69 of 85
Downloaded from www.Manualslib.com manuals search engine MINOR TROUBLE SHOOTING GUIDE
FUEL SYSTEM AND ENGINE ELECTRICAL SYSTEM COOLING SYSTEM
IMPORTANT: For maximum performance and economy, keep your GM car I I I I all GM. Specify General Motors parts identified by one of these trademarks. liM Q ~
66
Page 70 of 85
Downloaded from www.Manualslib.com manuals search engine The chart on the previous page, and the information on the pages which follow, contains information designed to aid the average driver to discover, and possibly correct, conditions resulting in minor
mechanical difficulties in his car. The chart, designed to point out
possible solutions to several of the most common automotive malfunctions and point out a logical checking sequence, will lead step by step to the most likely causes and corrective procedures. If, after making the checks and adjustments suggested, the source of the trouble has not been found and corrected, it is strongly recom
mended that an Authorized Chevrolet Dealer insp~ct the vehicle and make whatever repairs or adjustments are necessary.
;iA~>~I/~,~.#Y'T~~hiri~~:e~It.;ne;CC2i'~6p'4~cl~.;.'Ii~;~;,;(i '~i.. . .....•.. l'for",;tlgC;(lnY;tlspec';o~;1J1 ainfenCJn.c:~ ..
FUEL SYSTEM AND ENGINE
If the ignition switch will cause the engine to "turn over" or "crank" but the car will not start, check Steps A through 0 below. NOTE : If continual "flooding" of the carburetor is evidenced by a carburetor wet with
fuel or black exhaust smoke,
perform the operation sug
gested in paragraph D only .
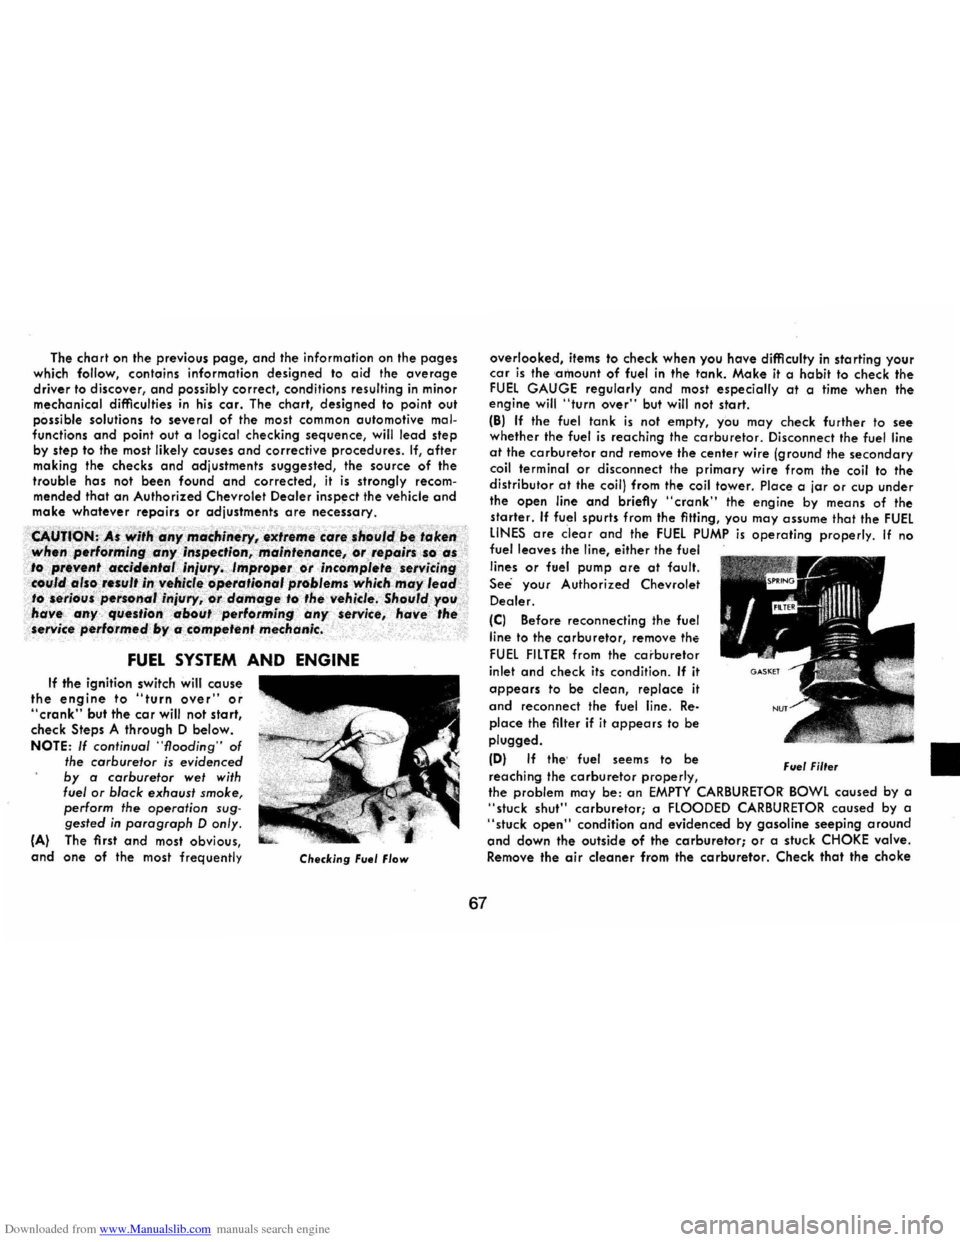
(A) The first and most obvious, and one of the most frequently Checking Fuel Flow
67
overlooked, items to check when you have difficulty in starting your car is the 'amount of fuel in the tank. Make it a habit to check the FUEL GAUGE regularly and most especially at a time when the engine will "turn over" but will not start.
(B) If the fuel tank is not empty, you may check further to see whether the fuel is reaching the carburetor. Disconnect the fuel line at the carburetor and remove the center wire (ground the secondary coil terminal or disconnect the primary wire from the coil to the
distributor at the coil) from the coil tower. Place a jar or cup under the open line and briefly "crank" the engine by means of the starter. If fuel spurts from the fitting, you may assume that the FUEL LINES are clear and the FUEL PUMP is operating properly. If no fuel leaves the line, either the fuel
lines or fuel pump are at fault ,
See your Authorized Chevrolet
Dealer.
(C) Before reconnecting the fuel
line
to the carburetor, remove the
FUEL FILTER from the carbu retor
inlet and check its condition . If it
appears to be clean, replace it
and reconnect the fuel line. Re
place the filter if it appears to be plugged.
(0) If the' fuel seems to be
reaching the carburetor properly, Fuel Filter
the problem may be: an EMPTY CARBURETOR BOWL caused by a "stuck shut" carburetor; a FLOODED CARBURETOR caused by a "stuck open" condition and evidenced by gasoline seeping around and down the outside of the carburetor; or a stuck CHOKE valve. Remove the air cleaner from the carburetor. Check that the choke
•
Page 71 of 85
Downloaded from www.Manualslib.com manuals search engine valve moves freely and is not stuck . (Don 't mistake normal spring
tension for a stuck valve.) Top the side of the carburetor sharply several times with a light tool such as a screwdriver handle or pliers. Replace the air cleaner and attempt to start the engine in the normal manner. IE) If the cor will start but stalls when hot or has a rough idle,
you can suspect a faulty IDLE ADJUSTMENT, a malfunctioning AUTOMATIC CHOKE or on extremely dirty and blocked AIR CLEANER ELEMENT. Replace paper element air cleaner if necessary. Idle' adjustment or automatic choke service (other than that outlined in paragraph 0 above) should be performed by your Chevrolet Dealer. If the above Fuel System checks and the checks suggested under the Electrical System following do not correct the malfunction, it is recommended that you return to your Authorized Chevrolet Dealer for further checks, adjustments or repairs.
ELECTRICAL SYSTEM • If, when the ignition key is turned to "Start", the engine will not
turn over, you have good reason to suspect electrical trouble. NOTE: Never remove Delcotron bat lead without first disconnecting
baHery ground cable.
, (F) When there is no response at all to attempts to start the car, check the obvious-your AUTOMATIC TRANSMISSION SELECTOR LEVER must be in Neutral or Park position (manucil transmission
must have clutch depressed all the way to floor) before the engine can be started. Turning the IGNITION SWITCH rapidly back and forth several times will sometimes correct a poor internal switch contact. (G) The BATTERY may be discharged. If so, lights will be dim and the horn will have a poor tone if it will blow at all. Usually a garage recharge will be necessary to return the bottery to operation. Occasionally, however, a long drive will recharge the battery.
68
NOTE: If the battery is determined to be dead, and for no apparent reason, have your Authorized Chevrolet Dealer check the
baHery, the GENERATOR and the VOLTAGE REGULATOR.
GENERATOR trouble should already have been indicated by the generator indicator light on the instrument panel.
POOR BATTERY CONNECTIONS may be suspected if the car has operated properly a short time before and now not even the horn will operate. Check both ends of both battery cables. If the connections are corroded, a cor may sometimes be restored to operation by removing all cable ends, scraping all contacting surfaces clean with a pen knife, and reassembling. If the cables are broken, they must be replaced. The power supply should now be restored unless the battery is dead.
(H) If, however, the lights and horn work properly but the starter will still not turn over, check the STARTER connections. A "dick" from the starter solenoid indicates that the wiring to the starter is properly installed. If the wiring seems to be clean and tightly installed, the trouble is probably in the starter itself and should be referred to your Authorized Chevrolet Dealer.
When the engine will "turn over" but will not start, the following
items may be checked along with the Fuel Systems Checks listed
previously.
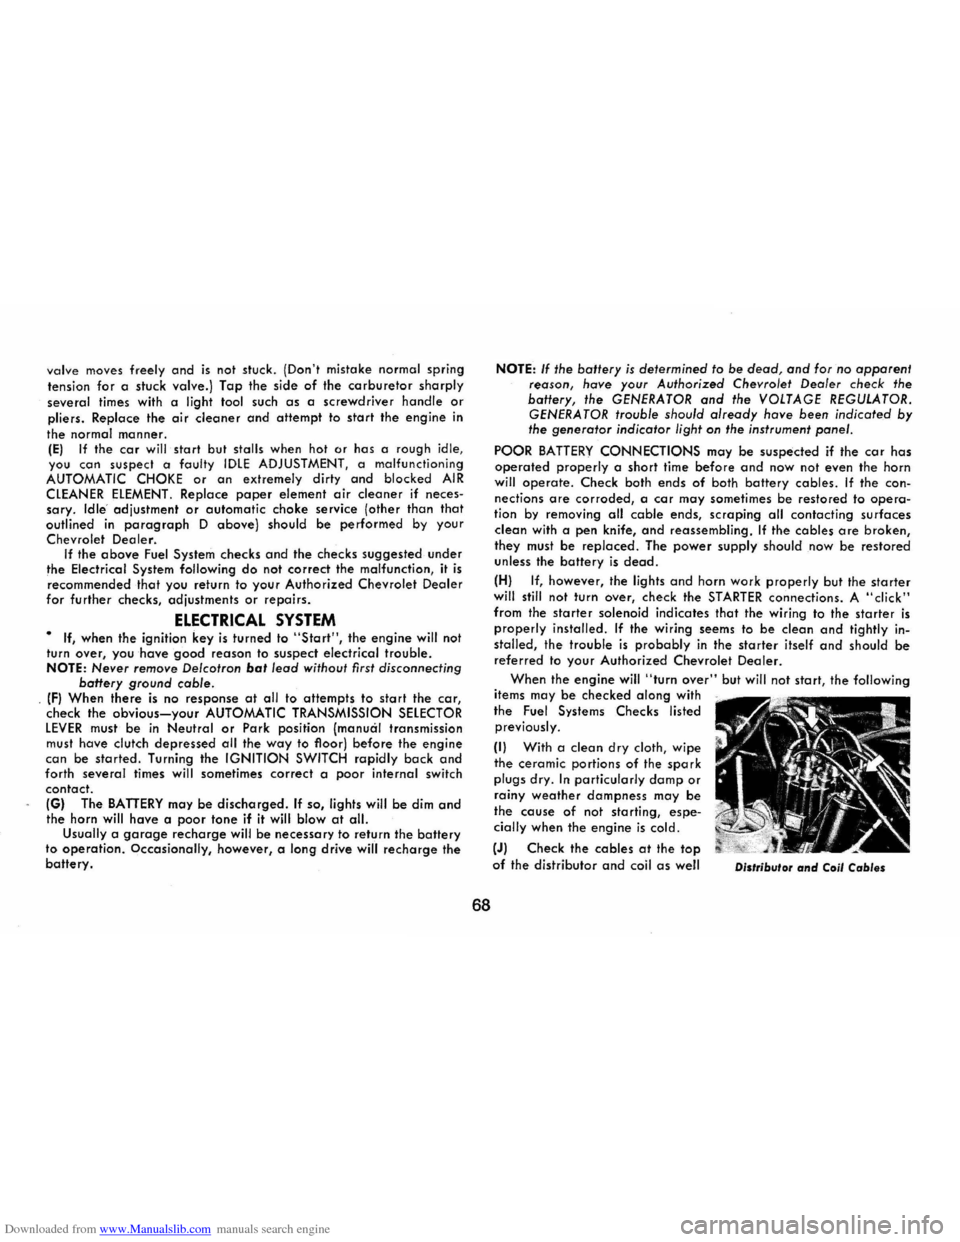
(I) With a clean dry cloth, wipe the ceramic portions of the spark plugs dry. In particularly damp or rainy weather dampness may be the cause of not starting, especially when the engine is cold.
(J) Check the cables at the top of the distributor and coil as well Distributor and Coil Cables
Page 72 of 85
Downloaded from www.Manualslib.com manuals search engine as each spark plug cable for
tightness.
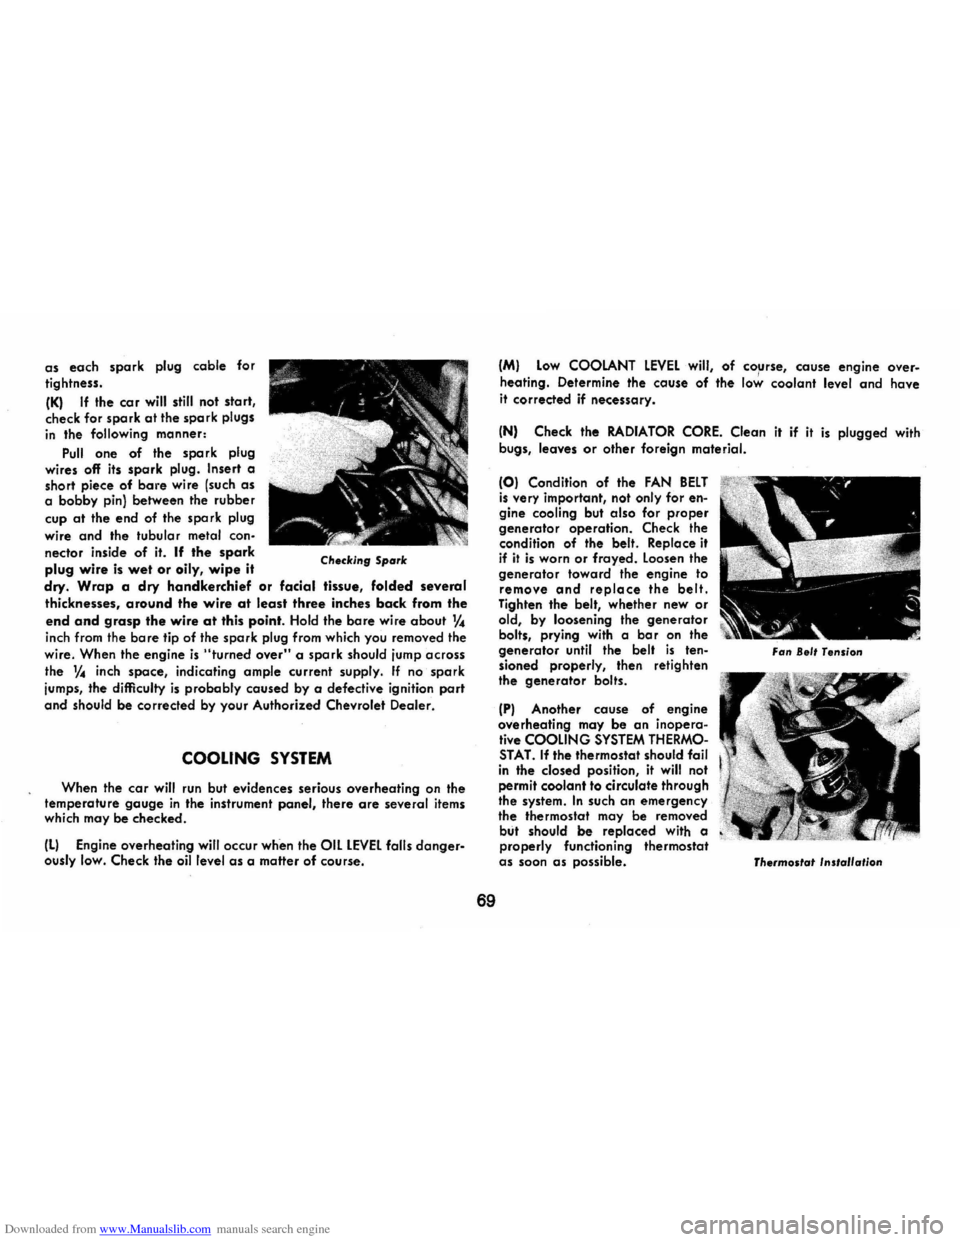
(K) If the co r will still not sta rt, check for spark at the spark plugs in the following manner:
Pull one of the spark plug
wires off its spark plug. Insert a
short piece of bare wire (such as a bobby pin) between the rubber
cup
at the end of the spark plug
wire
and the tubular metal connector inside of it. If the spark
plug wire is wet or oily, wipe it Checking Spark
dry. Wrap a dry handkerchief or facial tissue, folded several
thicknesses, around the wire at least three inches back from the
end and grasp the wire at this point. Hold the bare wire about 1f ..
inch from the bare tip of the spark plug from which you removed the
wire. When the engine is "turned over" a spark should jump across
the
~ inch space, indicating ample current supply. If no spark
jumps, the difficulty
is probably caused by a defective ignition part
and should be corrected by your Authorized Chevrolet Dealer.
COOLING SYSTEM
When the car will run but evidences serious overheating on the
temperature gauge in the instrument panel, there are several items
which may be checked.
(L) Engine overheating will occur whim the OIL LEVEL falls dangerously low. Check the oil level as a matter of course.
69
(M) Low COOLANT LEVEL will, of co~rse, cause engine over
heating. Determine the cause of the low coolant level and have
it corrected if necessary.
(N) Check the RADIATOR CORE. Clean it if it is plugged with
bugs, leaves or other foreign material.
(0) Condition of the FAN BELT is very impartant, not only for engine cooling but also for proper generator operation. Check the
condition of the belt. Replace it if it is worn or frayed. Loosen the generator toward the engine to remove and replace the belt. Tighten the belt, whether new or old, by loosening the generator bolts, prying with a bar on the generator until the belt is tensioned properly, then retighten
the generator bolts.
(P) Another cause of engine
overheating may be an inopera
tive COOLING SYSTEM THERMOSTAT. If the thermostat should fail in the closed position, it will not
permit coolant to circulate through
the system. In such on emergency
the thermostat may be removed but should be replaced with a
properly functioning thermostat
as soon as possible.
Fan 8e/f Tension
ThermoS/of Insfallafion