1974 CHEVROLET CAMARO low oil pressure
[x] Cancel search: low oil pressurePage 14 of 85
Downloaded from www.Manualslib.com manuals search engine erly when riding. However, if
unusual conditions prohibit use
of restraints
and require that a
Trailer Hauling
Since passenger cars are designed
and intended to be used primarily
as passenger conveyances, towing
a trailer will affect handling,
dura
bility and economy. Maximum
safety and satisfaction depends
upon proper use of correct
equip
ment and avoiding overloads and
other abusive operation.
The maximum loaded trailer
weight which you
can pull with your
Camaro depends on what special
equipment has been installed on
your car. Chevrolet does not
rec
ommend towing any trailer unless
the
car is properly equipped. Infor
mation on trailer hauling capabili
ties, special equipment required,
and optional equipment offered by child
must stand,
he should
stand
on the floor directly be
hind the front seat. This will
Chevrolet
is available from your
Chevrolet Dealer
or by writing:
Chevrolet
Motor Division, Detroit,
Michigan
48202 (or in Canada
by writing to General Motors of
Canada Limited, Owner Relations
Department,
Oshawa, Ontario).
To assist in attaining good han
dling of the car-trailer combina
tion, it is important that the trailer
tongue load be maintained
at ap
proximately 10% of the loaded
trailer weight. Tongue loads
can be
adjusted by proper distribution of
the load in the trailer,
and can be
checked by weighing separately the
loaded trailer and then the tongue.
When towing trailers, tires should
be inflated to the highest
infla
tion pressures shown on the placard
affixed to the left front door. The
11
help minimize the possibility of
injury from frontal impacts in
the event of an accident.
allowable passenger
and cargo
load, also shown
on the same plac
ard, is reduced by an amount equal
to the trailer tongue load on the
trailer hitch.
Maintenance
More frequent vehicle mainte
nance is required when using your
car to pull a trailer. Change the:
• Automatic transmission fluid
each
12,000 miles,
• Rear axle fluid each 12,000
miles,
• Engine oil each 60 days or 3,000
miles, whichever occurs first,
• Positive crankcase ventilation
valve each 12 months
or 12,000
miles, whichever occurs first.
• See index for important informa
tion on belts, cooling system care
and automatic brake adjustment.
Page 27 of 85
Downloaded from www.Manualslib.com manuals search engine Instruments
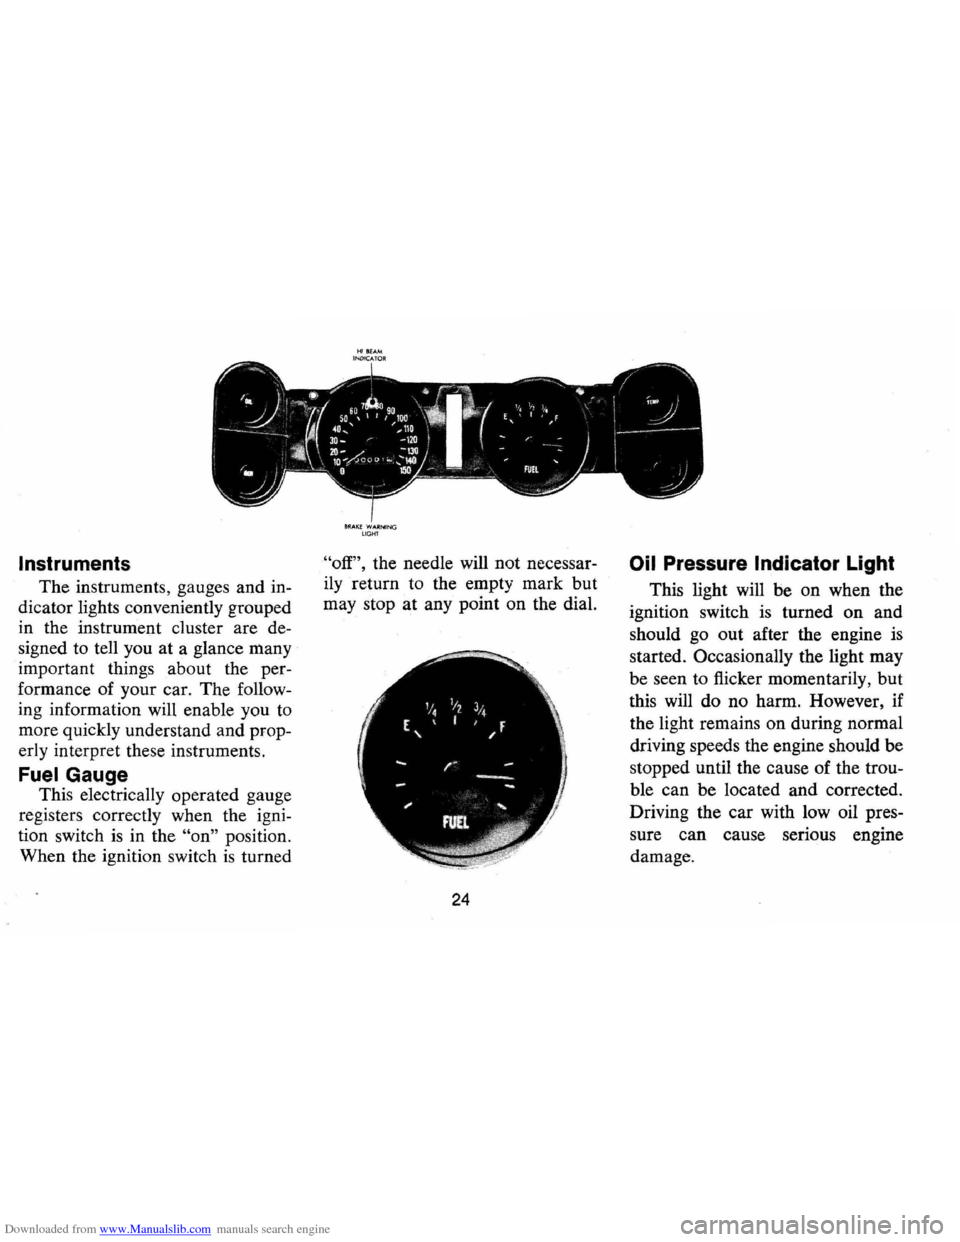
The instruments, gauges and in
dicator lights conveniently grouped
in the instrument cluster are de
signed to tell you
at a glance many
important things about the per
formance of your car. The follow
ing information will enable you to
more quickly understand and prop
erly interpret these instruments.
FuelGauge
This electrically operated gauge
registers correctly when the igni
tion switch
is in the "on" position.
When the ignition switch
is turned
8RAI(E WARNIN G LIGHT
"off", the needle will not necessar
ily return to the empty mark but
may stop at any point on the dial.
24
Oil Pressure Indicator Light
This light will be on when the
ignition switch
is turned on and
should go out after the engine
is
started. Occasionally the light may
be seen to flicker momentarily, but
this will do no harm. However , if
the light remains on during normal
driving speeds the engine should be
stopped until the cause of the trou
ble can be located and corrected .
Driving the car with low oil pres
sure can cause serious engine
damage.
Page 30 of 85
Downloaded from www.Manualslib.com manuals search engine Optional Instruments and Gauges
Tachometer and Oil Pressure Indicator Light
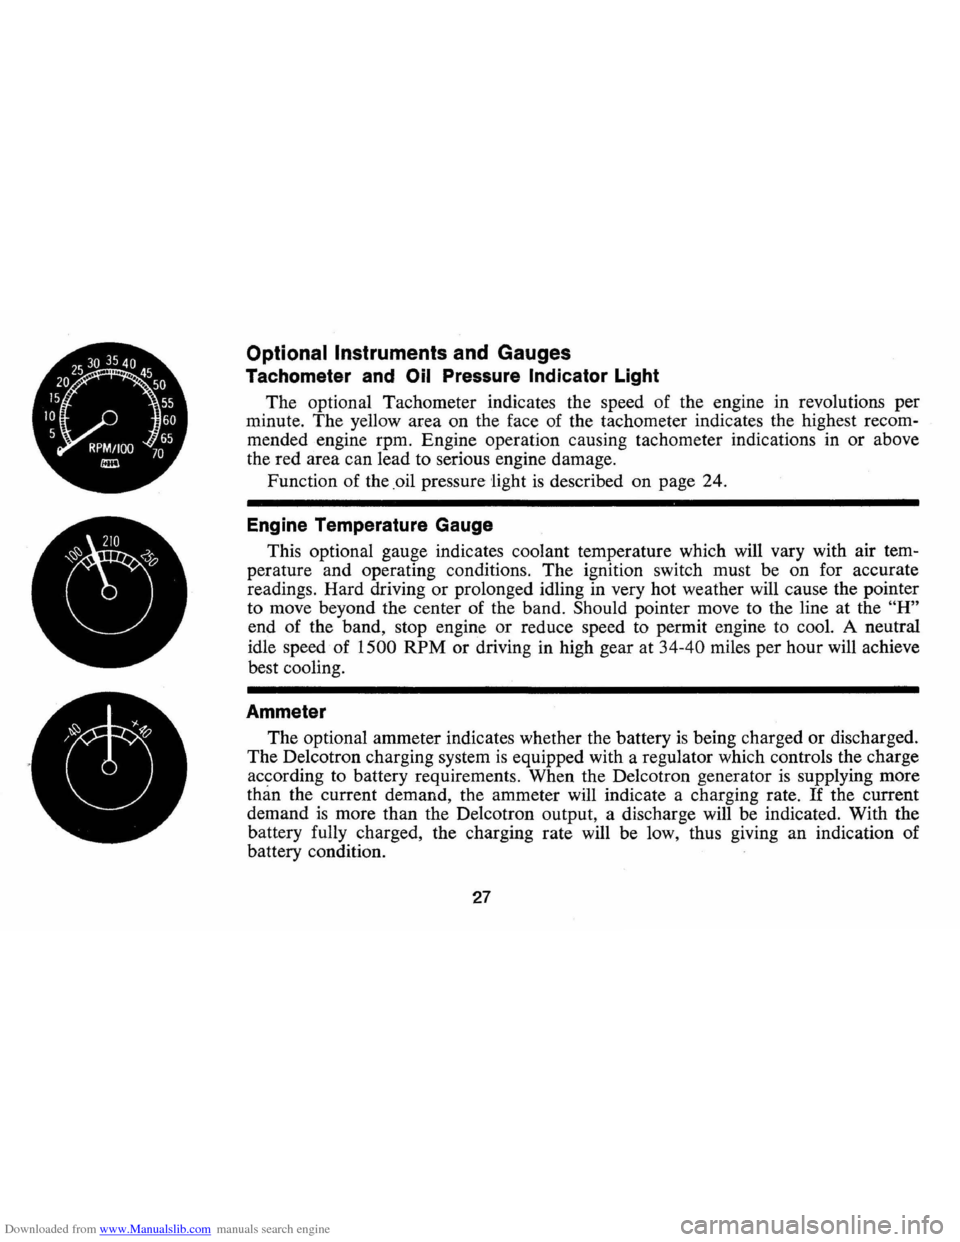
The optional Tachometer indicates the speed of the engine in revolutions per
minute. The yellow area on the face of the tachometer indicates the highest recom
mended engine rpm. Engine operation causing tachometer indications in or above
the red area can lead to serious engine damage.
Function of the .oil pressure
'light is described on page 24.
Engine Temperature Gauge
This optional gauge indicates coolant temperature which will vary with air tem
perature and operating conditions. The ignition switch must be on for accurate
readings. Hard driving
or prolonged idling in very hot weather will cause the pointer
to move beyond the center of the band.
Should pointer move to the line at the "H"
end of the band, stop engine or reduce speed to permit engine to cool. A neutral
idle speed of
1500 RPM or driving in high gear at 34-40 miles per hour will achieve
best cooling.
Ammeter
The optional ammeter indicates whether the battery is being charged or discharged.
The De1cotron charging system
is equipped with a regulator which controls the charge
according to battery requirements. When the De1cotron generator
is supplying more
than the current demand, the ammeter will indicate a charging rate. If the current
demand
is more than the De1cotron output, a discharge will be indicated. With the
battery fully charged, the charging rate will be low, thus giving an indication of
battery condition.
27
Page 46 of 85
Downloaded from www.Manualslib.com manuals search engine stains should be removed as soon
as possible. Some types of stains
or soilage such
as lipsticks, some
inks, certain types of grease etc.,
are extremely difficult and, in some
cases, impossible to completely re
move. When cleaning this type
of'
stain or soi'lage, care must be taken
not to enlarge the soiled area.
It is
sometimes more desirable to have
a small stain than an enlarged stain
as a result of careless cleaning.
G.M. Fabric Cleaner (Solvent
Type)
is excellent for spot cleaning
stains containing grease, oil or fats
from fabric type trim. Excess stain
should be gently scraped off trim
material with a clean
DULL knife
or scraper.
USE VERY LITTLE
CLEANER, light pressure, and
clean cloths (preferably cheese
cloth). Cleaning action should be
, from outside of stain FEATHER
ING towards center of stain and
constantly changing to a clean sec- tion
of cloth. When stain
is cleaned
from fabric, immediately dry area
with an air hose, heat dryer or
heat lamp to help prevent a clean
ing ring (use caution with heat
dryer or heat lamp to prevent dam
age to fabric material).
If a ring
forms,
immediately repeat the
cleaning operation over a slightly
larger area with special emphasis
on
FEATHERING towards center
of area.
If ring still persists, mark
off adjacent trim sections and clean
entire affected trim panel section
with G.M. Multi Purpose Pow
dered Cleaner as previously de
scribed under
"cleaning general
soilage
or water spots with foam
type
cleaner."
Removal of Specific Stains
Grease or Oil Stains -In
cludes grease, oil, butter, marga
rine,
shoe· polish, coffee with
cream, chewing gum, cosmetic
43
creams, vegetable oils, wax crayon,
tar and asphalts. Carefully scrape
off excess stain; then use Fabric
Cleaner (Solvent Type)
as pre
viously described.
Shoe polish, wax
crayons, tar and asphalts will stain
if allowed to remain on trim; they
should be removed
as soon as pos
sible-use caution
as cleaner will
dissolve them and may cause them
to bleed.
Non-Greasy Stains-Includes
catsup, coffee (black), egg, fruit,
fruit juice, milk, soft drinks,
wine,
vomit and blood. Carefully scrape
off excess stain; then sponge stain
with cool water.
If stain remains
use
Multi-Purpose Powdered
Cleaner (Foam Type) as previ
ously described.
If odor persists
after cleaning vomitus or urine,
treat area with a water-baking soda
solution
(1 teaspoon baking soda
to 1 cup of tepid water)-finally, if
necessary, clean lightly with fabric
Page 50 of 85
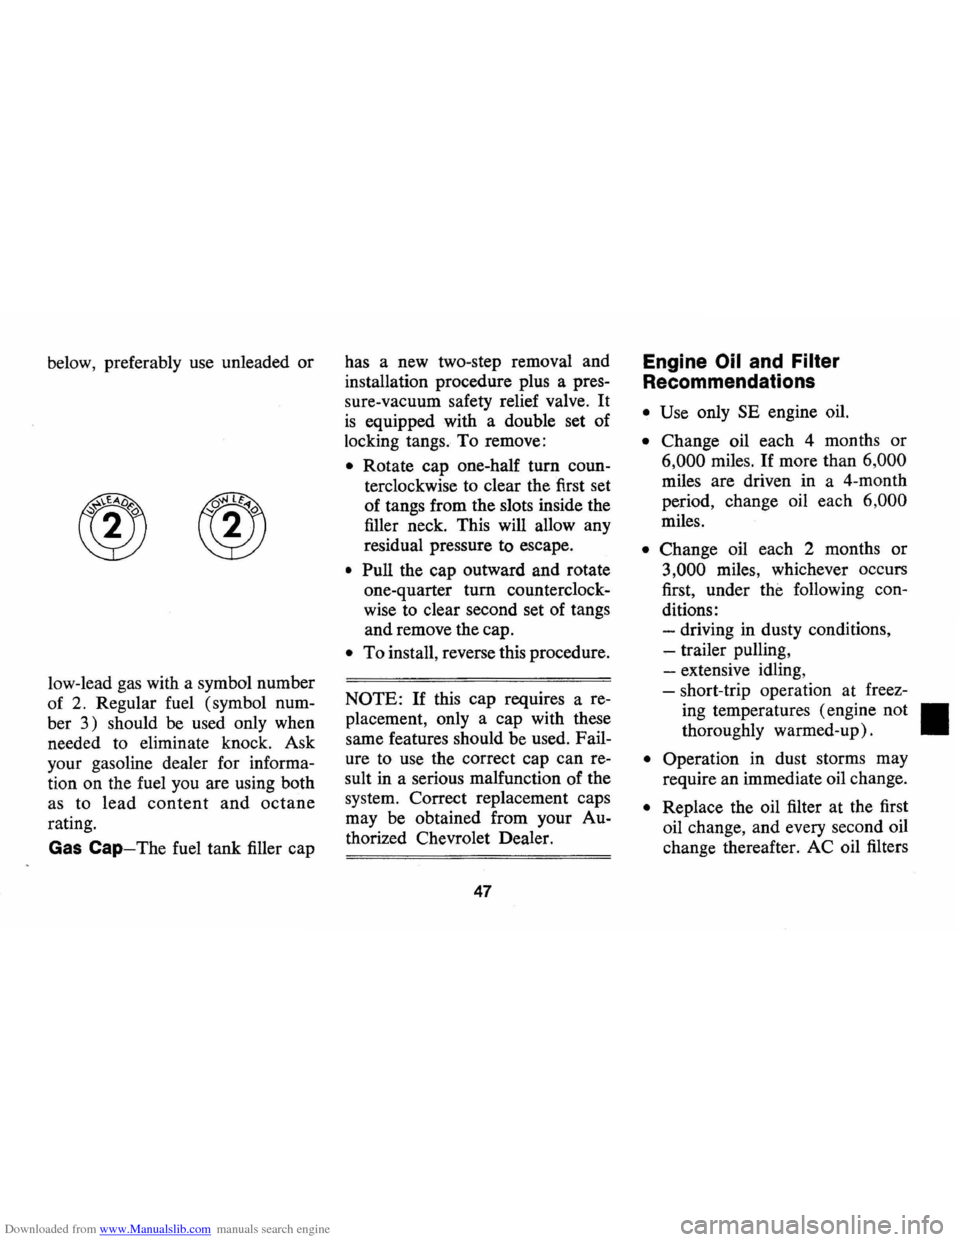
Downloaded from www.Manualslib.com manuals search engine below, preferably use unleaded or
low-lead gas with a symbol number
of
2. Regular fuel (symbol num
ber
3) should be used only when
needed to eliminate knock. Ask
your gasoline dealer for informa
tion on the fuel you are using both
as to
lead content and octane
rating.
Gas Cap-The fuel tank filler cap has
a new two-step removal and
installation procedure plus a pres
sure-vacuum safety relief valve. It
is equipped with a double set of
locking tangs. To remove:
• Rotate cap one-half turn coun
terclockwise to clear the first set
of tangs from the slots inside the
filler neck. This will allow any
residual pressure to escape.
• Pull the cap outward and rotate
one-quarter turn counterclock
wise to clear second set of tangs
and remove the cap.
• To install, reverse this procedure.
NOTE: If this cap requires a re
placement, only a cap with these
same features should be used. Fail
ure to use the correct cap can re
sult in a serious malfunction of the
system. Correct replacement caps
may be obtained from your Au
thorized Chevrolet Dealer.
47
Engine Oil and Filter
Recommendations
• Use only SE engine oil.
• Change oil each 4 months or
6,000 miles. If more than 6,000
miles are driven in a 4-month
period, change oil each
6,000
miles.
• Change oil each 2 months or
3,000 miles, whichever occurs
first, under the following con
ditions: - driving in dusty conditions,
-trailer pulling,
- extensive idling,
- short-trip operation at freez-
ing temperatures (engine not
II
thoroughly warmed-up).
• Operation in dust storms may
require an immediate oil change.
• Replace the oil filter at the first
oil change, and every second oil
change thereafter. AC oil filters
Page 52 of 85
Downloaded from www.Manualslib.com manuals search engine Checking Oil Level
The engine oil should be main
tained at proper level. The best
time to check it
is before operating
the engine or
as the last step in a
fuel stop. This will allow the oil ac
cumulation in the engine to drain
back in the crankcase.
To check
the level, remove the oil guage rod
(dip stick), wipe it clean and rein
sert
it firmly for an accurate read
ing. The oil gauge rod
is marked
"FULL" and "ADD." The oil level
should be maintained in the safety
margin, neither going above the
"FULL" line nor below the "ADD"
line. Reseat the gauge firmly after
taking the reading.
Supplemental Engine Oil
Additives
The regular use of supplemental
additives
is specifically not recom
mended and will increase operat
ing costs. However, supplemental additives
are available that can
effectively and economically solve
certain specific problems without
causing other difficulties.
For ex
ample, if higher detergency
is re
quired to reduce varnish and
sludge deposits resulting from
some unusual operational diffi
culty, a thoroughly tested and ap
proved additive -
"Super Engine
Oil Supplement" -is available at
your Chevrolet dealer.
In the event
of an operational problem, consult
your dealer for advice before
us
ing supplemental additives.
Drive Belts
Every 6,000 miles or 4 months
inspect drive belts for wear , fray
ing, cracking , and tension. Belts
which are in poor condition should
be replaced immediately.
Check tension by applying mod
erate thumb pressure midway be
tween pulleys.
If the center-to-
49
center distance between pulleys is
13 to 16 inches, the belt should
deflect
1;2 inch . If the center-to
center distance
is 7 to 10 inches,
the belt should deflect
1;4 inch.
Loose belts should be retensioned
to give the correct deflection.
It is recommended that belts be
replaced every 24 months or
24,000
miles , whichever occurs first.
Air Cleaner
CAUTIOH:Donot remo.vElfhe f1ngl,,~ al,. cleaner unlesstempo,ary removall$.nec~ essarrdur;ng repair ormaintenal1ce ot the vehicle; When t"ealrC/f1aneri$/~emoved backtlringcan cause tire in the engine
compartment. .',' . '
Flame Arrester -Every 12,000
miles-Clean the arrester (located
in the base of the air cleaner) with
kerosene or a suitable solvent. Dry
with compressed air.
Rear Axle
Standard -Every 4 months or
6,000 miles, whichever occurs
Page 57 of 85
Downloaded from www.Manualslib.com manuals search engine tory with a high-quality, inhibited,
year-around coolant that meets the
standards of General Motors
Spe
cification 1899-M. This coolant
solution provides freezing protec
tion to
-20oP (-35°P in Can
ada), and it has been formulated to
be used for two full calendar years
or
24,000 miles, whichever first
occurs, of normal operation with
out replacement, provided the
proper concentration of coolant is
maintained.
Cooling System Care
The radiator cap should not be
removed to check coolant level.
Check the coolant level visually in
the 'see thru' coolant recovery tank
at least
as frequently as engine oil
changes. Level should be at the
"full cold" mark on the recovery
tank when the system
is cold. At
normal operating temperature the
coolant should be at the
"full hot"
mark on the recovery tank. Add sufficient
coolant to the recovery
tank.
Use a 50/50 mixture of high
quality ethylene glycol antifreeze
and water for coolant additions.
If
regular additions are required, see
your dealer for a cooling system
check.
NOTE: If recommended quality
antifreeze
is used, supplemental in
hibitors or additives claiming to
provide increased capability are
not necessary. They may be detri
mental to the efficient operation of
the system, and represent an un
necessary operating expense.
Every year, the cooling system
should be serviced
as follows:
1. Wash
radiator cap and filler
neck with clean water.
2. Check coolant for proper level
and freeze protection.
3. Pressure test system and radia-
54
tor cap for proper pressure hold
ing capacity (15 psi) .
If re
placement of cap
is required, use
the special AC cap designed for
coolant recovery systems, speci
fied for your model.
4. Tighten hose clamps and inspect
all hoses. Replace hoses when
ever swollen, checked or other
wise deteriorated.
5. Clean frontal area of radiator
core and air conditioning con
denser.
Replace hoses every 24 months
or 24,000 miles or earlier if
checked, swollen or otherwise de
teriorated. Every two years
or 24,-
000 miles, whichever first occurs,
the cooling system should be
flushed and refilled using the fol
lowing recommended procedure:
1. Remove radiator cap when
engine is cool by:
• Slowly rotating cap counter-
Page 58 of 85

Downloaded from www.Manualslib.com manuals search engine clockwise to detent (do not
press down while rotating).
• Wait until any residual pres
sure (indicated by a hissing
sound)
is relieved.
• After all hissing ceases, press
down on cap while continuing
to rotate counterclockwise.
CAUTION: To ,a~()/d' thedange, .• olbfling "l)~ned;tlo n(Jtl'entoveradiator «aP while
, engipe and radiator are ,stlll hot because $ca/ding ' flU./d·antlsteam' will be blown .
(1utunder pressure.
2. If necessary, run engine, with
radiator cap removed, until nor
mal operating temperature
is
reached and upper radiator hose
is hot (indicates thermostat
is
open).
3. Stop engine and open radiator
drain valve to drain coolant. (To
speed this operation, the drain
plugs in the block can also be
removed.) 4.
Close valve (install block drain
plugs, if removed) and add suf
ficient water to
fill system .
5. Run engine, drain and refill the
system, as described in steps
1,
2, 3, and 4, a sufficient number
of times until the drained liquid
is nearly colorless.
6. Allow system to drain com
pletely and then close radiator
drain valve tightly. (Install
block drain plugs, if removed.)
7. Remove recovery cap leaving
hoses in place. Remove coolant
recovery tank and empty of
fluid. Flush tank with clean
water , drain and reinstall.
8. Add sufficient ethylene glycol
coolant , meeting GM specifica
tion 1899-M, to provide the re
quired freezing and corrosion
protection-at least a 44 percent
solution
(-20°F). Fill radiator
to the base of the radiator filler
55
neck and add sufficient coolant
to the recovery tank to raise level
to the
"FULL HOT" mark. Re
install recovery tank cap.
9. Run engine , with radiator cap
removed, until normal operat
ing
temperature is reached.
(Radiator upper hose becomes
hot.)
10. With engine idling, add cool
ant until level reaches bottom
of filler neck and install radia
tor cap making certain arrows
line up with overflow tube.
It is the owner's responsibility
to keep the freeze protection at a
level commensurate with the tem
peratures which may occur in the
area of vehicle operation .
• Maintain cooling system freeze
protection at
-20 °F or below
to ensure protection against cor
rosion and loss of coolant from
boiling even though freezing