1974 CHEVROLET CAMARO run flat
[x] Cancel search: run flatPage 42 of 85
Downloaded from www.Manualslib.com manuals search engine tive terminal (black color, "-" Engine Coolant
or "N") of the battery in the other
vehicle, and
THEN the other
end of the same cable to the nega
tive terminal of your battery in
this car. Take care that clamps
from one cable do not inadver
tently touch the clamps on the
other cable. Do not lean over the
battery when making this con
nection.
5. Start the engine in the vehicle
that
is providing the jump start
(if it
was not running). Let run
a
few minutes, then start the en-
gine in the car with the dis-
Jacking Instructions
charged battery.
6. Reverse the above sequence ex
actly when removing the jumper
cables. Reinstall vent caps and
dispose in a safe manner of any
cloths used to cover vent wells,
as
the cloths may have corrosive
acid on them.
39
Preparation
• Park on level surface and set
parking brake firmly.
• Set automatic transmission in
park. (Manual transmission in
reverse).
• Activate hazard warning flasher.
Instructions
1. After removing spare wheel
and tire, jack, jack
base,and
jack handle (wheel nut wrench),
proceed with changing the
wheel
as follows:
2. Remove hub cap
or wheel
cover with flat end of wheel
nut wrench and loosen, but do
not remove nuts, by turning
counterclockwise.
3. With column assembly seated
in base and lever in
"UP" posi
tion,
insert jack hook in
bumper slot.
Page 60 of 85
Downloaded from www.Manualslib.com manuals search engine The factory installed tires on
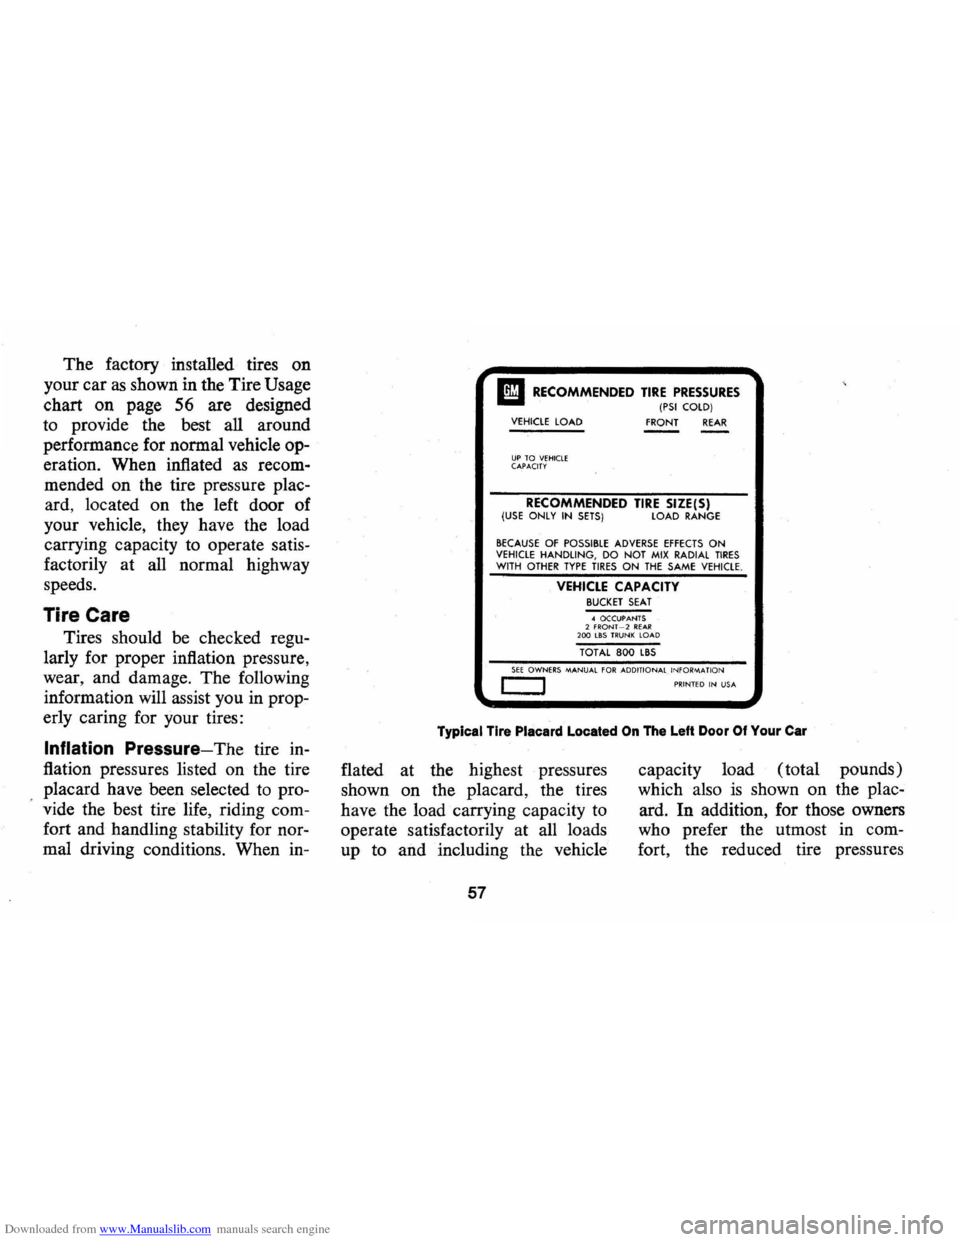
your car as shown in the Tire Usage
chart
on page 56 are designed
to provide the best all around
performance for normal vehicle op
eration. When inflated as recom
mended on the tire pressure plac
ard, located
on the left door of
your vehicle, they have the load
carrying capacity to operate satis
factorily at all normal highway
speeds.
Tire Care
Tires should be checked regu
larly for proper inflation pressure,
wear, and damage. The following
information will assist you in prop
erly caring for your tires:
Inflation Pressure-The tire in
flation pressures listed on the tire
placard have been selected to pro
vide the best tire life, riding com
fort and handling stability for nor
mal driving conditions. When in-
I! RECOMMENDED TIRE PRESSURES (PSI COlD) VEHICLE LOAD
FRONT REAR
UP TO VEHiClE CAPACITY
RECOMMENDED TIRE SIZE(S) (USE ONLY IN SETS) LOAD RANGE
BECAUSE OF POSSIBLE ADVERSE EFFECTS ON VEHICLE HANDLING, DO NOT MIX RADIAL TIRES WITH OTHER TYPE TIRES ON THE SAME VEHICLE.
VEHICLE CAPACITY BUCKET SEAT .. OCCUPANTS 2 fRONf -2 Rf.A.R 200 LBS TRUNK LOAD
TOT AL 800 L8S
SEE OWNERS MANUAL FOR ADDITIONAL INFORM-A nON c:::::J PRINTED IN USA
Typical Tire Placard Located On The Left Door Of Your Car
flated at the highest pressures
shown
on the placard, the tires
have the load carrying capacity to
operate satisfactorily at all loads
up to and including the vehicle
57
capacity load (total pounds)
which also
is shown on the plac
ard.
In addition, for those owners
who prefer the utmost in com
fort, the reduced tire pressures
Page 65 of 85
Downloaded from www.Manualslib.com manuals search engine Inflation Instructions with
Canister
(Inflator)
1. Install deflated Space Saver Spare
on car with valve stem at the bot
tom and tighten all
five lug nuts.
2. Remove valve cap and make sure
valve core
is screwed tight in
valve stem.
3. Remove plastic cap from can
ister.
*
4. Place canister over valve stem
and push squarely onto stem
until gas entering tire can be
heard.
*If temperature is below 20°F,
Canister should be warmed on left hand
defroster outlet for
10 min
utes to provide adequate tire in
flation. Heater should be on de
frost and fan on high.
S. To ensure complete draining of
fluid, hold the canister in posi
tion for one minute after sound
stops. Then remove canister for
disposal in proper receptacle.
6. Replace valve cap.
NOTE: Inflation pressure should
be checked and adjusted to the rec
ommended pressure shown on tire
placard
as soon as possible after
installing tire on car.
Inflation Instructions at a
Service Station
1. Mount wheel on car, or place on
center-post tire changer with
lock-down mechanism engaged.
62
2. If beads have become unseated,
lubricate wheel and beads with
soapy water
or tire mO,unting lub
ricant before inflation .
3.
To seat beads, inflate tire to a
maximum of 35 psi.
4. Adjust inflation to recommended
pressure shown on tire placard.
5.
On assemblies so equipped,
check that dust cover is pressed
firmly into un threaded relief stem
before road use.
Deflation Instructions
Remove valve core using slotted
end of valve cap.
Flatten tire and replace core and
cap. Store tire in trunk compart
ment.
Page 68 of 85
Downloaded from www.Manualslib.com manuals search engine waste gasoline, but energy is wasted
as heat in braking. Energy in the
form of gasoline
is also needed to
accelerate back to driving speed.
Lubricants
A properly lubricated vehicle
means less friction between moving
parts. Consult this manual and the
maintenance schedule for the
proper lubricants to use and the
lubrication intervals.
Automatic Choke
Your automatic choke should be
checked periodically
as it regulates
the gasoline/air mixture used in
starting and warming the engine.
Properly Tuned Engine
Overall tuning (a check on tim
ing, distributor points, spark plugs,
emission control· devices , etc.) can
improve your car's gas mileage.
You just can't expect an
"out-of
tune"
engine to give you good gas
mileage and cleaner air.
Excess Weight
Fuel economy is related to the
work the engine
must do. The
heavier the load, the more power
it takes. Keep excess weight to a
minimum by removing . any per
sonal effects or luggage from the
65
car or trunk when they are not
needed.
Tire Inflation
Under inflation not only causes
needless wear of the tires, but can
also waste gasoline. It's a good
idea to check tire pressures regu
larly.
Wheel Alignment
"Toe in" or "toe out" has the
effect of dragging your front tires
sideways and causes premature tire
wear.
It takes power to carry this
extra load and that takes gas from
your tank.
Page 85 of 85
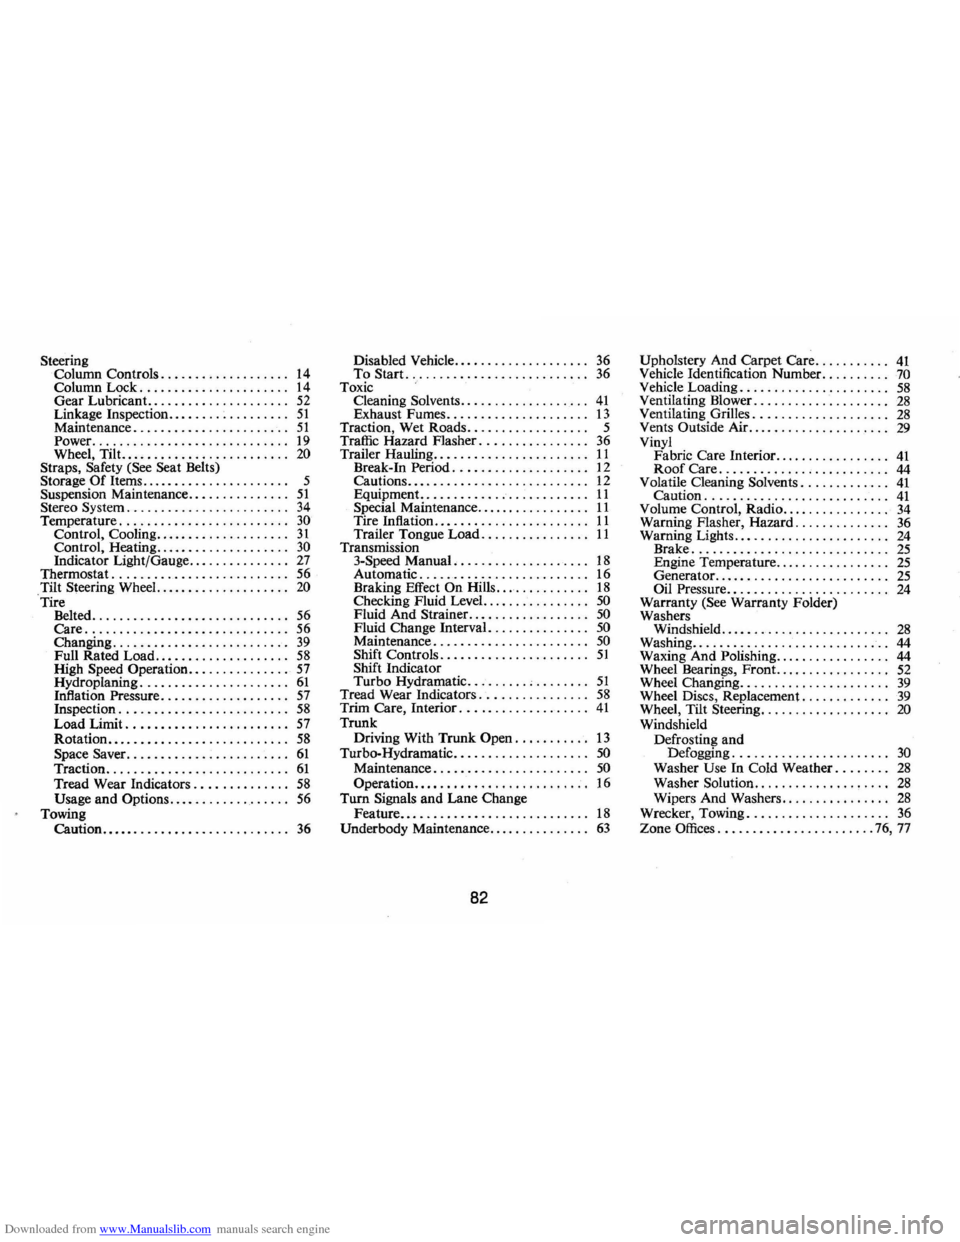
Downloaded from www.Manualslib.com manuals search engine Steering Disabled Vehicle .................... 36 Upholstery And Carpet Care ........ ... 41 Column Controls ................... 14 To Start. .......................... 36 Vehicle Identification Number .... ...... 70 Column Lock ...................... 14 Toxic Vehicle Loading ...................... 58 Gear Lubricant. .................... 52 Cleaning Solvents ......... .. ........ 41 Ventilating Blower ................. ... 28 Linkage Inspection .................. 51 Exhaust Fumes ............. ........ 13 Ventilating Grilles .................... 28 Maintenance ....................... 51 Traction, Wet Roads .................. 5 Vents Outside Air .................. '" 29
Power ... ............... ........... 19 Traffic Hazard Flasher. ............... 36 Vinyl Wheel, Tilt. ........................ 20 Trailer Hauling ....................... 11 Fabric Care Interior ................. 41 Straps, Safety (See Seat Belts) Break-In Period .................... 12 Roof Care ......................... 44 Storage Of Items ............ .......... 5 Cautions ........................... 12 Volatile Cleaning Solvents ............. 41 Suspen sion Maintenance ............... 51 Equipment ......... ................. 11 Caution ........................... 41 Stereo System ........................ 34 Special Maintenance ................. 11 Volume Control, Radio ......... ... .... 34 Temperature ................. ........ 30 Tire Inflation ....................... 11 Warning Flasher, Hazard .............. 36 Control , Cooling .................... 31 Trailer Tongue Load .... .......... .. 11 Warning Lights ....................... 24 Control , Heating .................... 30 Transmission
Brake ....................... ...... 25 Indicator Light/Gauge ... ............ 27 3-Speed Manual .................... 18 Engine Temperature ............... .. 25 Thermostat ...... .. .................. 56 Automatic ....................... .. 16 Generator .......................... 25 Tilt Steering Wheel.. .................. 20 Braking Effect On Hills .............. 18 Oil Pressure ........................ 24 Tire Checking
Fluid Level. ............... 50 Warranty (See Warranty Folder)
Belted ......... .................. .. 56 Fluid And Strainer ................ .. 50 Washers
Care ........... .................. . 56 Fluid Change Interval. .............. 50 Windshield ............. ......... ... 28 Changing .. .............. .......... 39 Maintenance .............. ....... .. 50 Washing .......... ................... 44 Full Rated Load .................... 58 Shift Controls ...................... 51 Waxing And Polishing ................. 44 High Speed Operation ............... 57 Shift Indicato r
Wheel Bearings, Front. ................ 52 Hydroplaning ...................... 61 Turbo Hydramatic ......... ; ........ 51 Wheel Changing ...................... 39 Infla tion Pressure . . . . . . . . . . . . . . . . . . . 57 Tread Wear Indicators ................ 58 Wheel Discs, Replacement ............. 39 Inspection ....... .................. 58 Trim Care, Interior ................... 41 Wheel, Tilt Steering ................... 20 Load Limit ........................ 57 Trunk
Windshield
Rotation ........ ................... 58 Driving With Trunk Open ........... 13 Defrosting and Space Saver .. .......... : . .......... 61 Turbo-Hydramatic .............. ...... 50 Defogging ................. ...... 30 Traction ............. .............. 61 Maintenance .... .... ...... ......... 50 Washer Use In Cold Weather ........ 28 Tread Wear Indicators .............. 58 Operation .......................... 16 Washer Solution .................... 28 Usage and Options .................. 56 Turn Signals and
Lane Change Wipers And Washers ................ 28 Towing Feature ..................
.......... 18 Wrecker , Towing ....... .............. 36 Caution .................. .... ...... 36 Underbody Maintenance ......... ...... 63 Zone Offices ................. ...... 76, 77
82