1973 CHEVROLET CAMARO engine overheat
[x] Cancel search: engine overheatPage 21 of 84
Downloaded from www.Manualslib.com manuals search engine ing wheel. The lever is moved up
ward to signal a right turn and
downward
to signal a left turn.
Lamps on the front and rear of the
car transmit this signal to other
motorists and pedestrians. The
ig
nition switch must be in the "ON"
position in order for the turn sig
nals to be operational. This feature
prevents battery drain
if the lever
is left in an "ON" position when
your car
is not in use.
In a normal turning situation
such
as turning a corner, the turn
signal
is cancelled automatically
after the turn
is completed. How
ever, in some driving maneuvers
such as changing lanes
on an ex
pressway, the steering wheel
is not
turned back sufficiently after com
pleting the turn to automatically
cancel the turn signal. For con
venience in such maneuvers, the
driver can flash the
tum signals by moving
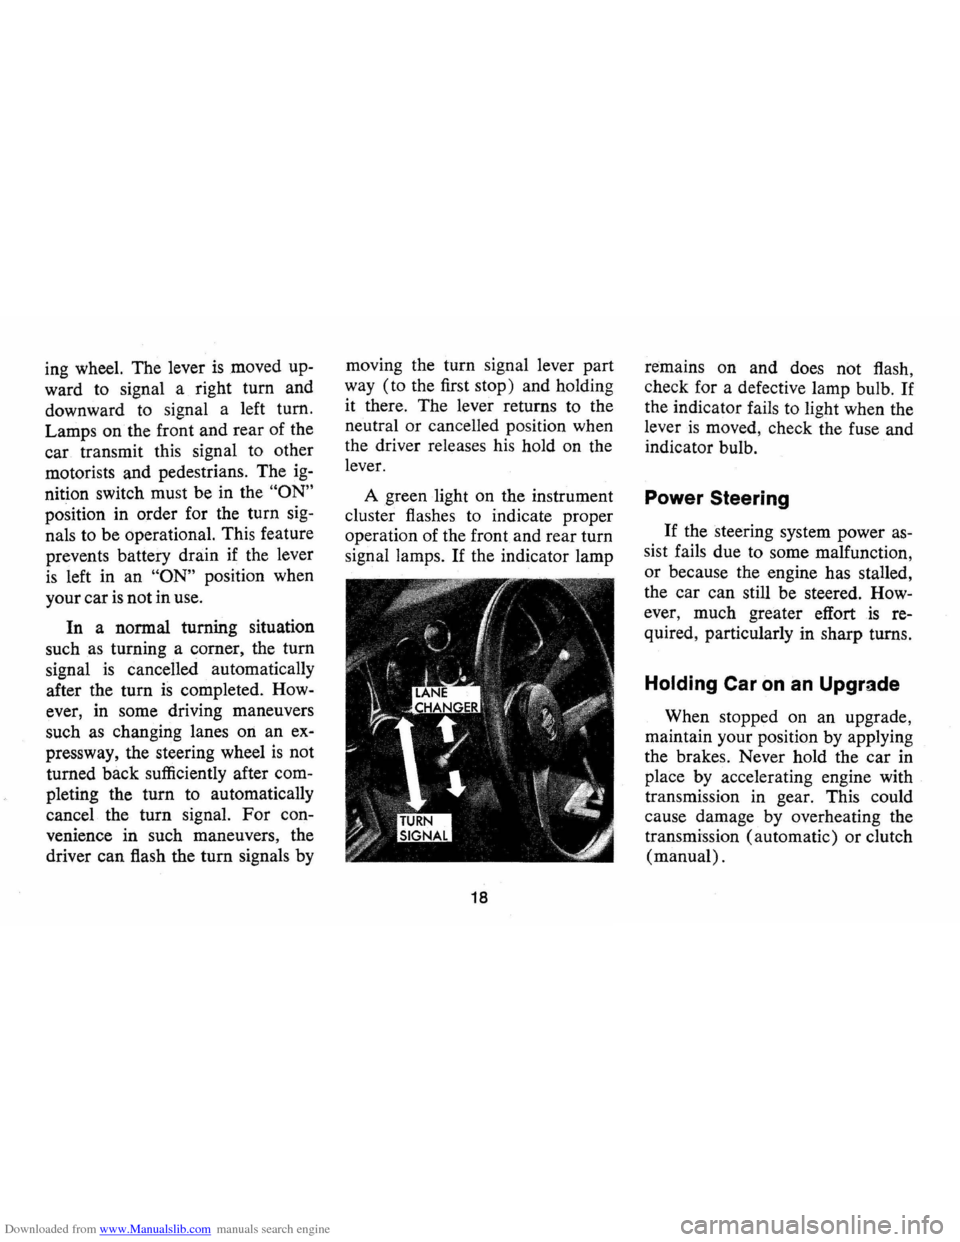
the turn signal lever part
way (to the first stop) and holding
it there. The lever returns to the
neutral
or cancelled position when
the driver releases his hold on the
lever.
A green light on the instrument
cluster flashes to indicate proper
operation of the front and rear turn
signal lamps.
If the indicator lamp
18
remains on and does not flash,
check for a defective lamp bulb.
If
the indicator fails to light when the
lever
is moved, check the fuse and
indicator bulb.
Power Steering
If the steering system power as
sist fails due to some malfunction,
or because the engine has stalled,
the car can still be steered.
How
ever, much greater effort is re
quired, particularly in sharp turns.
Holding Car on an Upgrade
When stopped on an upgrade,
maintain your position by applying
the brakes. Never hold the car in
place
by accelerating engine with
transmission in gear. This could
cause damage by overheating the
transmission (automatic) or clutch
(manual).
Page 22 of 84
Downloaded from www.Manualslib.com manuals search engine Parking Your Car
Always engage the parking brake
and place the automatic transmis
sion selector lever in
"Park" posi
tion when leaving your
car unat
tended. Also with automatic trans
missions, never park for prolonged
periods with engine idling and
transmission in gear, especially if
your car
is equipped with air con
ditioning. This practice
is detri
mental to the transmission, due to
overheating.
Horn
The horn on your Camaro is
actuated by firmly pressing on the
horn button in the center of the
steering wheel.
Tilt Steering Wheel
The optional tilt steering wheel
can be tilted up above normal posi
tion to provide additional room for
entrance and exit as well as selected
driving positions below normal
height. This permits individual
se
lection of the most natural position
for all driving conditions.
On long
trips the steering wheel position can
be changed to minimize tension and
fatigue.
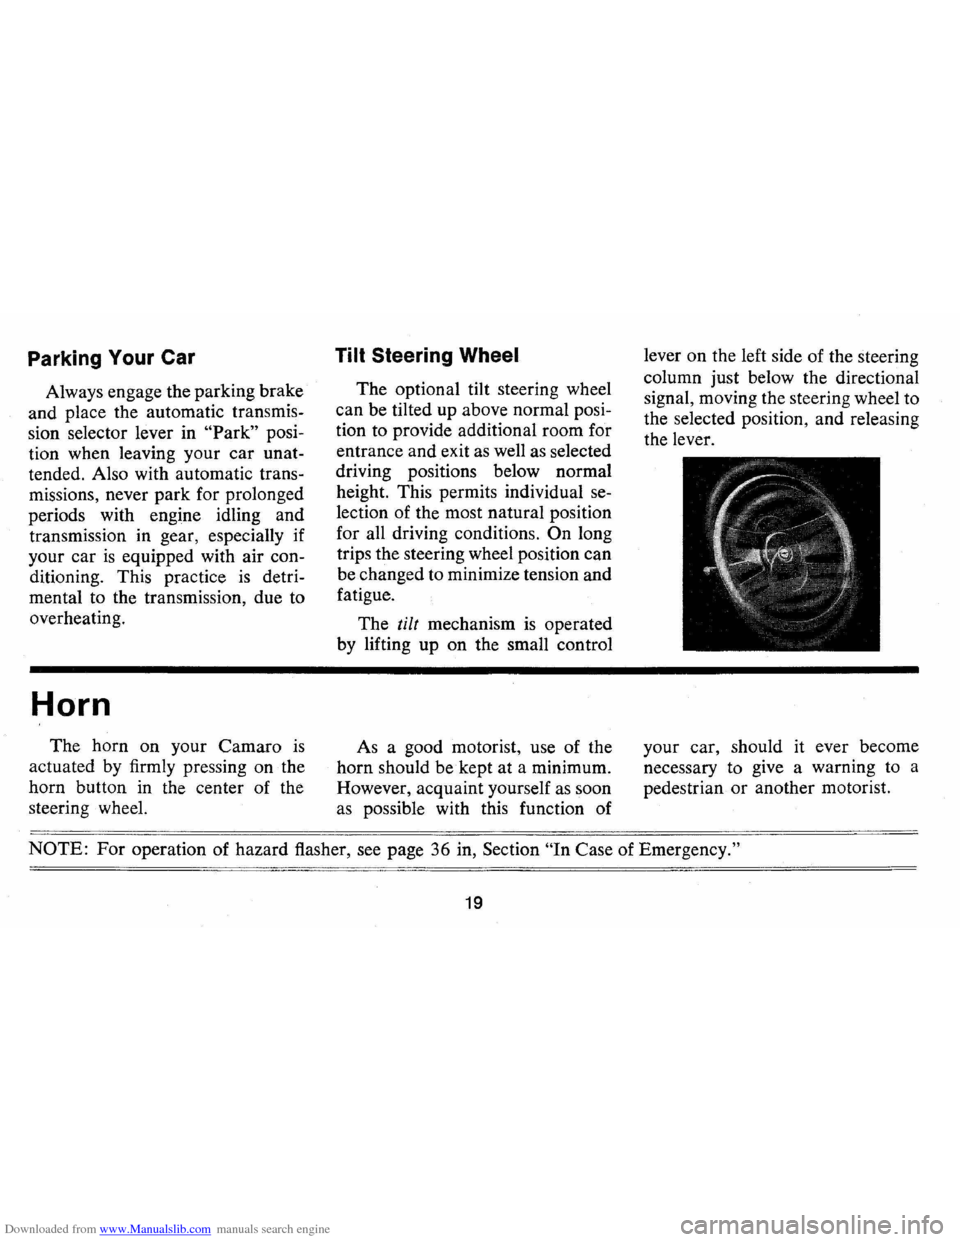
The
tilt mechanism is operated
by lifting up on the small control
As a good motorist, use of the
horn should be kept at a minimum.
However, acquaint yourself as soon
as possible with this function of lever
on the left side of the steering
column just below the directional
signal, moving the steering wheel to
the selected position, and releasing
the lever.
your car, should it ever become
necessary to give a warning to a
pedestrian or another motorist.
NOTE: For operation of hazard flasher, see page 36 in, Section "In Case of Emergency."
19
Page 23 of 84
Downloaded from www.Manualslib.com manuals search engine FLOOR CONTROLS
Braking System
The service brake system is de
signed for braking performance
under a wide range of driving con
ditions even when the vehicle
is
loaded to its full rated vehicle load.
Power Brakes
On cars with power brakes if
power assist to the brakes
is inter
rupted due to a stalled engine
or
some malfunction, two or more
brake applications can be made
using reserve power.
• If the brake pedal is held down.
the system
is designed to bring
the
car to a full stop on reserve
power. However, the reserve
power
is partially depleted each
time the brake pedal
is applied
and released.
• When reserve power is exhausted,
vehicle
can still be stopped by ap
plying greater force to the pedal.
Parking Brake
• To set parking brake, fully de
press foot pedal
at far left side.
• For maximum holding power.
depress regular brake pedal with
the other foot at the same time.
• To release parking brake, pull
"BRAKE RELEASE" lever on
lower left instrument panel.
• As a reminder, the brake system
warning light
is designed to glow
whenever the parking brake con
trol ·
is not fully released , and the
ignition
is on.
• Never drive car with parking
20
brake set as this may overheat or
otherwise damage rear brakes.
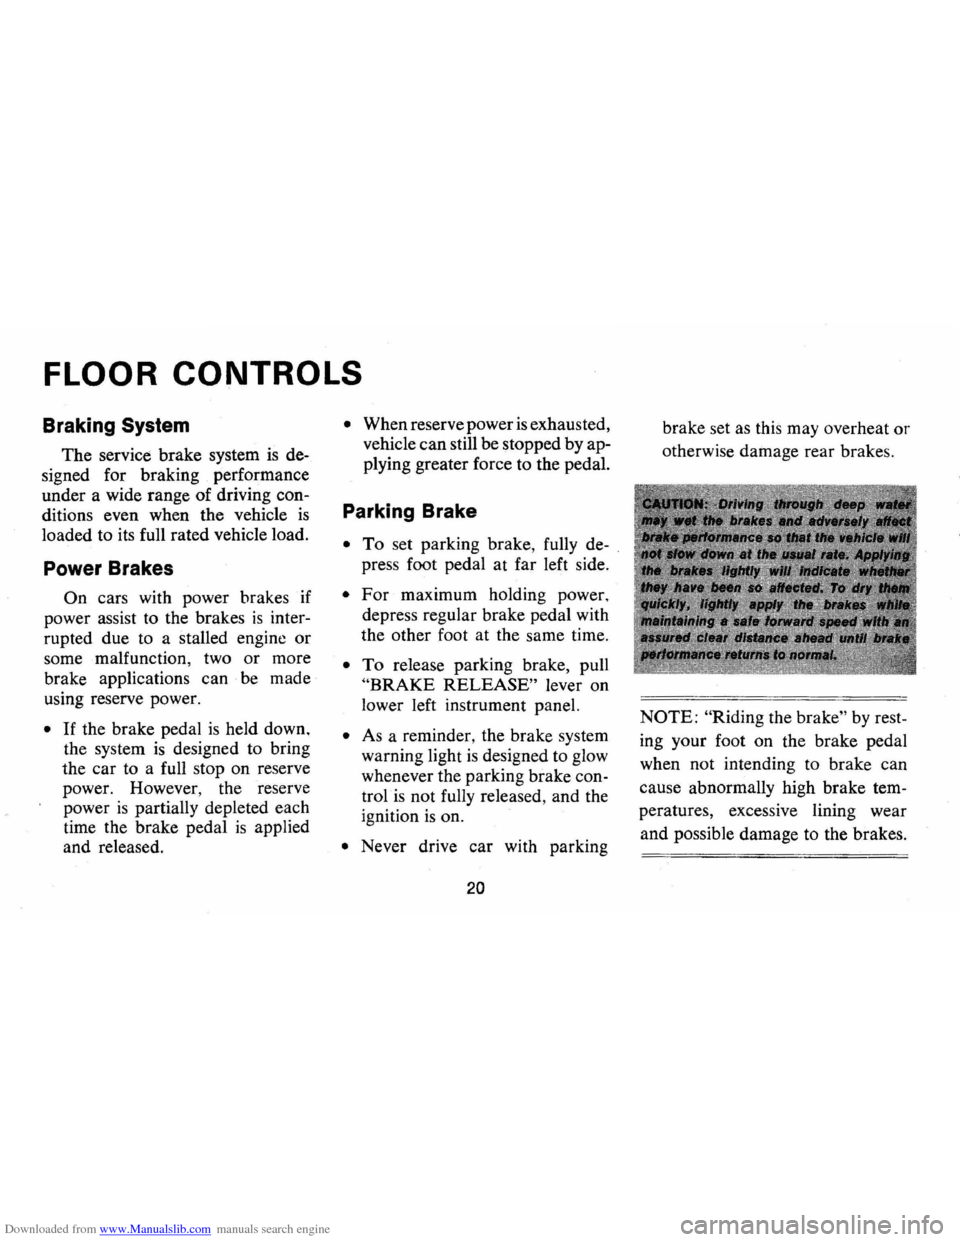
NOTE: "Riding the brake" by rest
ing your foot on the brake pedal
when not intending to brake can
cause abnormally high brake tem
peratures, excessive lining wear
and possible damage to the brakes.
Page 27 of 84
Downloaded from www.Manualslib.com manuals search engine Generator Indicator Light
The red light will go on when
the ignition key
is in the "on" posi
tion, but before the engine
is
started. After the engine starts, the
light should go out and remain out.
If the light remains on when engine
is running, have your Authorized
Chevrolet Dealer locate and correct
the trouble as soon
as possible.
Engine Temperature
Indicator Light
This indicator light is provided
in the instrument cluster to quickly
warn of an overheated engine. With
,the ignition switch in the START
position, the red
TEMP indicator
will light to let you know that it
is
operating properly.
When the engine
is started, the
red light will go out immediately.
It will light up at no other time
unless for some reason the engine reaches
a dangerously high oper
ating temperature.
If the red light
should come on, the engine must be
stopped until the cause of the over
heating
is corrected. Glance at in
strument cluster frequently
as you
drive to see if this light
is on.
Brake System Warning
Light
The service brake system is de
signed
so that half of the brake sys
tem will provide some braking ac
tion in the event of a hydraulic leak
in the other half of the system.
If
the warning light located at lower
left of instrument cluster (speed
ometer face), glows continuously
when the ignition
is on and after
the brakes have been firmly applied
it may indicate that there
is a mal
function in one half of the brake
hydraulic system.
On cars equipped
with front drum brakes, the light
24
will go out when foot is removed
from brake pedal.
• As a check on bulb condition
the light should glow with the
parking brake applied and the
ignition on. (Light
is also a re
minder to release parking brake.)
• Have system repaired if light
does not come
on during check.
• This warning light is. not a' sub
stitute for the visual check of
brake fluid level required
as part
of normal maintenance.
If the light glows red:
• The parking brake control is not
fully released or,
• The service brake system is par
tially inoperative.
What to do:
1. Check that the parking brake is
released. If it is ...
2. Pull off the road and stop, care
fully-remembering that:
Page 56 of 84
Downloaded from www.Manualslib.com manuals search engine type cooling system is used on all
1973 Camaro air conditioned and
heavy duty cooling systems. It has
been filled at the factory with a
high-quality, inhibited, year-around
coolant that meets the standards
of General Motors Specification
1899-M. This coolant solution pro
vides freezing protection to
-20 0 F
(-32°F in Canada), and it has
been formulated to be used for
two full calendar years
or 24,000
miles, whichever first occurs, of
normal operation without draining,
provided the proper concentration
of coolant
is maintained.
• For Recovery Systems Only
Check the coolant level visually
at the see-through coolant reser
voir at each oil change interval
while the engine
is at normal
operating temperature. Do not
remove radiator cap except for
draining and refilling the system.
Coolant level should be at the
"Full Hot" mark on the reservoir.
If system is checked cold, the
coolant level should be at the
"Full Cold" mark on the reser
voir.
• For Other Than Recovery Sys
tems-Check the coolant level
only at oil change intervals, un
less there
is evidence of leaking
or overheating. Do not remove
radiator cap when solution
is
hot and under pressure. Coolant
level should be a maximum of
three inches below the level of
the filler neck when the engine
is cold.
• All Systems-Add a 50/50 mix
ture of high-quality ethylene
glycol antifreeze and water if
coolant additions are necessary.
Do not overfill.
NOTE: If recommended quality
antifreeze
is used, supplemental
inhibitors or additives claiming to
53
provide increased cooling capabil
ity are not necessary. They may be
detrimental to the efficient opera
tion of the system, and represent
an unnecessary operating expense.
Every year, the cooling system
should be serviced
as follows:
1. Wash radiator cap and filler
neck with clean water.
2. Check coolant for proper level
and freeze protection.
3. Pressure test system and radia
tor cap for proper pressure hold
ing capacity (15 psi).
If re
placement
of cap is required,
use the proper AC cap specified
for your car model.
4. Tighten hose clamps and inspect
all hoses. Replace hoses when
ever checked, swollen
or other
wise deteriorated.
5. Clean frontal area of radiator
core and air conditioning con
denser.
Page 58 of 84
Downloaded from www.Manualslib.com manuals search engine It is the owner's responsibility
to keep the freeze protection at a
level commensurate with the tem
peratures which may occur
in the
area of vehicle operation.
• Maintain cooling system freeze
protection at
_200 F or below
to ensure protection against cor
rosion and loss of coolant from
boiling, even though freezing
temperatures are not expected.
• Add ethylene glycol base cool
ant that meets GM Specification
1899-M when coolant additions
are required because of coolant
loss or to provide additional
protection against freezing at
temperatures lower than
_200
F (_320 F in Canada).
NOTE: Alcohol or methanol base
coolants
or plain water are not
recommended for your Camaro at
any time.
Radiator Pressure Cap
The radiator cap, a 15 lb. pres
sure type, must be installed tightly,
otherwise coolant may be lost and
damage to engine may result from
overheating. Radiator pressure
caps should be checked periodi
cally for proper operation.
If re
placement
is required specify AC.
Thermostat
The cooling system is protected
and controlled by a thennostat
in
stalled in the engine coolant outlet
to maintain a satisfactory operat
ing temperature of the engine. This
thermostat
is designed forcontinu
ous use through both winter and summer
and need not be changed
seasonally . When replacement
is
necessary, Delco parts are recom~
mended.
Tires
The factory installed tires on
your car
as shown in the Tire
Usage chart below are designed to
provide the best all around per
formance for normal vehicle oper
ation. When inflated
as recom
mended on the tire pressure plac
ard, located
on the left door of
your vehicle, they have the load
carrying capacity to operate satis
factorily at all normal highway
speeds.
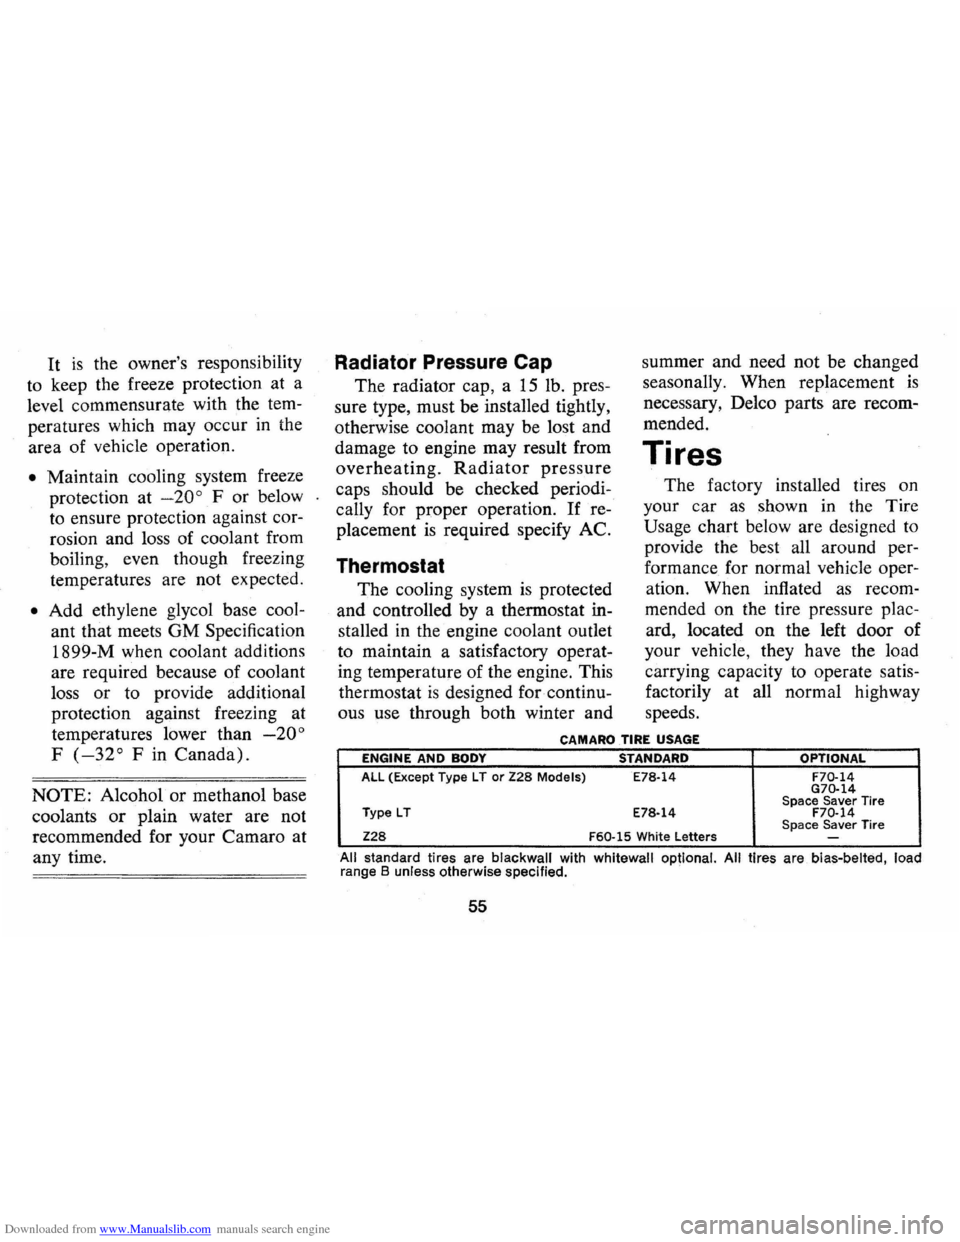
CAMARO TIRE USAGE
ENGINE AND BODY STANDARD OPTIONAL
All (Except Type l T or Z28 Models) E78·14 F70·14 G70·14
Type lT Space Saver Tire E78·14 F70·14
Z28 F60·15 White letters Space Saver Tire -
All standard tires are blackwall with whitewall optional. All tires are bias-belted, load
range B unless otherwise specified. .
55
Page 68 of 84
Downloaded from www.Manualslib.com manuals search engine a bobby pin) between the rubber
cup at the end of the spark plug
wire and the tubular metal con
nector inside of it. If the spark
plug wire is wet or oily, wipe it
dry. Wrap a dry handkerchief or facial tissue, folded several thick.
nesses, around the wire at least three inches back from the end
and grasp the wire at this point.
Hold the bare wire about 1f4 inch
from the
bare tip of the spark
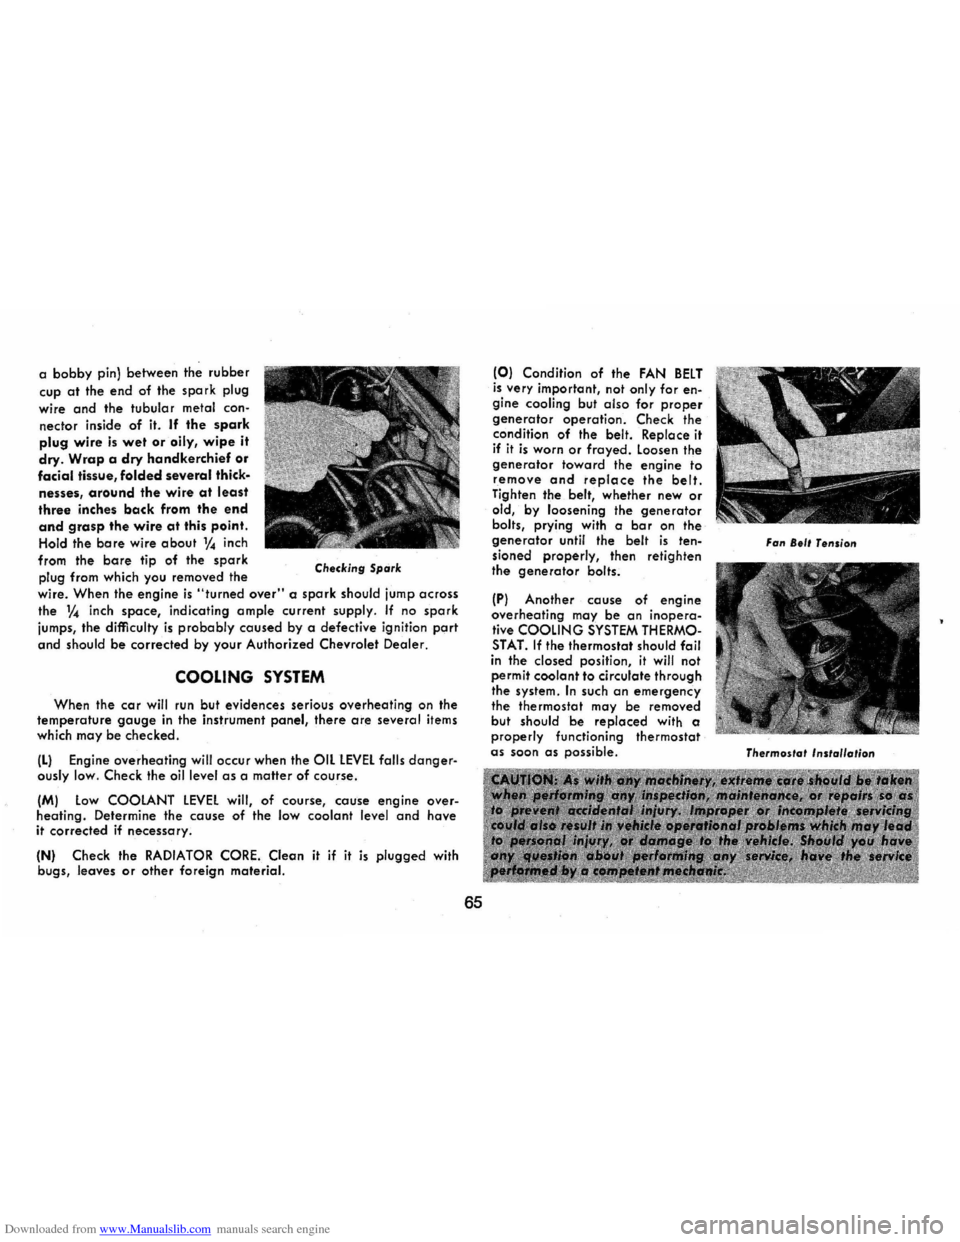
plug from which you removed the Checking Spark
wire. When the engine is "turned over" a spark should jump across
the V" inch space, indicating ample current supply. If no spark
jumps, the difficulty is probably caused by a defective ignition port
and should be corrected by your Authorized Chevrolet Dealer.
COOLING SYSTEM
When the cor will run but evidences serious overheating on the temperature gauge in the instrument panel, there are several items
which may be checked .
(L) Engine overheating will occur when the OIL lEVEL falls dangerously low. Check the oil level as a matter of course.
(M) Low COOLANT LEVEL will , of course, couse engine overheating. Determine . the cause of the low coolant level and have
it corrected if necessary.
(N) Check the RADIATOR CORE. Clean it if it is plugged with
bugs, leaves or other foreign material.
65
(0) Condition of the FAN BELT is very important, not only for engine cooling but also for proper generator operation. Check the
condition of the belt. Replace it if it is worn or frayed. Loosen the generator toward the engine to remove and replace the belt. Tighten the belt, whether new or old, by loosening the generator bolts, prying with a bar on the generator until the belt is tensioned properly, then retighten
the generator bolts.
(PI Another couse of engine ove rheating may be on inopera
tive COOLING SYSTEM THERMOSTAT. If the thermostat should foil in the closed position, it will not
perm it coolant to circulate through
the system . In such on emergency the thermostat may be removed
but should be replaced with a properly functioning thermostat as soon as possible.
Fan 8.11 Tension
Thermoslal Inslollo/ion
Page 77 of 84
Downloaded from www.Manualslib.com manuals search engine INDEX
Accessory Drive Belts. . . . . . . . . . . . . . . .. 48 Accessory Position, Steering
Column Lock. .. . . . . .. . . .. . .. .. .... 13 Acrylic Lacquer. . . . . . . . . . . . . . . . . . . . .. 43 Adjusters, Automatic Brake ............ 21 Air Circulation . . . . . . . . . . . . . . . . . .. . ... 28 Air Cleaner. . . . . . . . . . . . . . . . . . . . . . . . .. 48 Air Conditioning
Maintenance. . . . . . . . . . . . . . . . . . . . . .. 52 Air Inlets, Ventilating System .......... 28 Ammeter ............................ 26 Antenna ................ ............. 33 Anti-freeze (See Cooling System). . . . . . .. 53 Anti-Spin Differential. . . . . . . . . . . . . . . .. 35 Anti-Theft Key Buzzer System .......... 13 Anti-Theft Steering Column Lock ....... 13 Appearance Care ..................... 41 Ash Trays. . . . . . . . . . . . . . . . . . . . . . . . . .. 22 Automatic Brake Adjusters. . . . . . . . . . .. 21 Automatic Transmissions
Fluid Check ........................ 49 Fluid Recommendations ............. 49 Maintenance. . . . . . . . . . . . . . . . . . . . . .. 49 Operation .......................... 15 Starter Safety Switch. . . . . . .. . . . . . ... 14 Axle Rear
Fluid Level. . . . . . . . . . . . . . . . . . . . . . .. 48 Maintenance. . . . . . . . . . . . . . . . . . . . . .. 48 Ball Joints ........................... 50 Battery
Emergency Starting. . . . . . . . . . . . . . . .. 37 Fluid Level. . . . . . . . . . . . . . . . . . . . . . .. 61 Gas Caution ....................... 37 Specifications. . . . . . . . . . . . . . . . . . . . . .. 66 Bearings,
Front Wheel.
................ 51 Before Driving Your Camaro . . . . . . . . . . 3
Belted Tires .......................... 55 Belts
Engine Drive. . . . . . . . . . . . . . . . . . . . . .. 48 Lap ................................ 5 Shoulder............ . .............. 7 Body Identification Number ............ 66 Brakes
D.riying Through Deep Water. . . . . . .. 20 Lmmgs ............................ 21 Maintenance ....................... 51 Master Cylinder Level. .............. 51 Parking Brake ...................... 20 Pedal Travel. . . . . . . . . . . . . . . . . . . . . .. 21 Power. .............. .............. 20 Self-Adjusting. . . . . . . . . . . . . . . . . . .. .. 21 Trailer ............................ 10 Warning Ljght. .. . . . . . . .. . . . . . . . . .. 24 Break-In Period Cars Pulling Trailers. . . . . . . . . . . . . . .. 10 New Car.......................... 2
Bright Metal Cleaning .......... '" .... 44 "Brights" Headlamp Indicator .......... 25 Buckles, Seat Belt.. . . . . . . . . . . . . . . . . . .. 6
Bulbs and Fuses . . . . . . . . . . . . . . . . . . . . .. 69 Bumper Jack
Operation ...... " .................. 40 Stowage ........................... 40 Buzzer Key Reminder.. .. .. .. .. .. . .. .. .. ... 13 Cap, Filler
Engine Oil. .................... 46, IBC
Gasoline .......................... IBC
Radiator. . . . . . . . . . . . . . . . . . . . . . . . . .. 39 Capacities. . . . . . . . . . . . . . . . . . . . . . . . . .. 66
Carbon Monoxide Caution ............. 12 Carpet Care .......................... 41
74
Carrier, Infant Safety.... . . . . . . .. .. . . .. 9
Changing Wheels and Tires. . . . . . . . . . .. 39 Charging System Indicator Light. . . . . . .. 24
Chassis Maintenance . . . . . . . . . . . . . . . . .. 50 Child Restraint
Cars Not Equipped With
Special Child Restraints. . . . . . . . . . 9
Child Safety Seat. . . . . . . . . . . . . . . . . . .
9 Infant Safety Carrier. . . . . . . . . . . . . . .. 9 Chrome Protection .................... 44
Cigarette Lighter. . . . . . . . . . . . . . . . . . . .. 27 Circuit Breakers, Headlamps. . . . . . . . . .. 69 Cleaning
Carpet Care. . . . . . . . . . . . . . . . . . . . . . .. 41 Exterior Finish and Trim. . . . . . . . . . .. 43 Fabric and Interior Trim ............ 42
Solvents Recommended .............. 41 Spot Removal. . . . . . . . . . . . . . . . . . . . .. 42 Vinyl Top ... , . . . . . . . . . . . . . . . . . . . .. 44
Clock ............................... 27 Clutch Maintenance. . . . . . . . . . . . . . . . . . . . . .. 49 Pedal Adjustment ................... 21 Coat Hooks........ ...... ........ .... 4
Cold Weather Starting ................. 14 Compartment
Glove ............................. 3
Luggage. .......... ................ 3
Complaint Procedure .................. 70 Conditioner, Air ...................... 30 Controlled Differential. . . . . . . . . . . . . . .. 35 Controls ............................. 13 Cooling System
Care ........... ................... 53 Coolant Recommendation. . . . . . . . . .. 53 Overheating Caution. . . . . . . . . . . . . . .. 39 Cowl Air Inlets ....................... 28