1973 CHEVROLET CAMARO spare tire
[x] Cancel search: spare tirePage 6 of 84

Downloaded from www.Manualslib.com manuals search engine BEFORE DRIVING YOUR CAMAR 0
DRIVER CHECKLIST
Before Entering Car
1. See that windows, mirrors and
lights are clean.
2. Visually note inflation condition
of tires.
3. Check that area to rear is clear
if about to back up.
Before Driving Off
1. Lock all doors.
2. Position seat.
3 . Adjust inside and outside mirrors.
4. Fasten seat belts.
5. Check that warning bulbs light
when key
is turned to start
position.
6. Release parking brake (and
see
that brake warning light turns
off) .
7. Be sure you understand your car
and how to operate it safely.
Keys
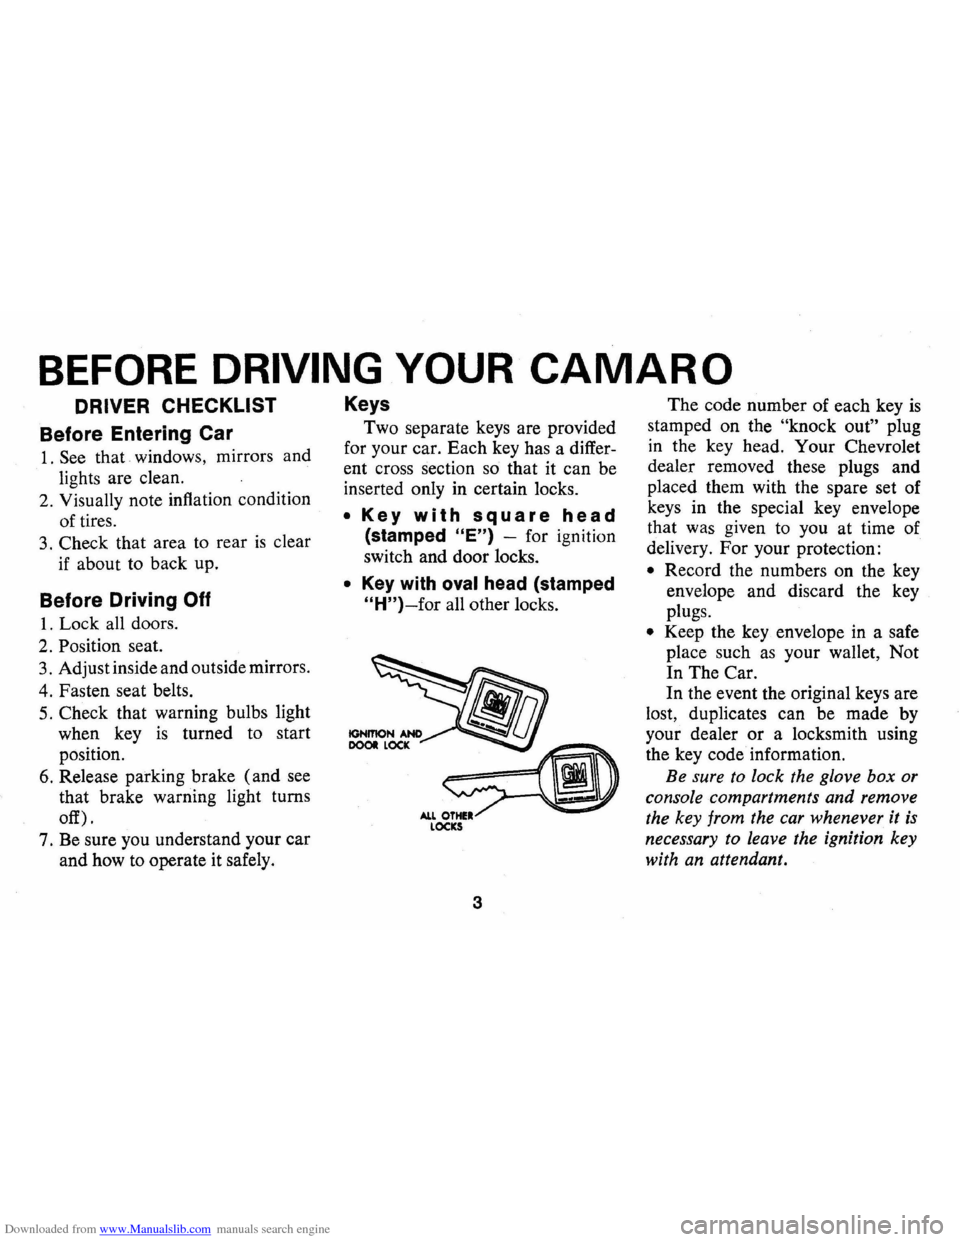
Two separate keys are provided
for your car. Each key has a differ
ent cross section
so that it can be
inserted only in certain locks.
• Key with square head
(stamped "E") -for ignition
switch and door locks.
• Key with oval head (stamped
"H")-for all other locks.
3
The code number of each key is
stamped on the "knock out" plug
in the key head. Your Chevrolet
dealer removed these plugs and
placed them with the spare set of
keys in the special key envelope
that was given to you at time of
delivery. For your protection:
• Record the numbers on the key
envelope and discard the key
plugs.
• Keep the key envelope in a safe
place such
as your wallet, Not
In The Car.
In the event the original keys are
lost, duplicates can be made by
your dealer
or a locksmith using
the key code information.
Be sure
to lock the glove box or
console compartments and remove
the key from the car whenever it
is
necessary to leave the ignition key
with an attendant.
Page 43 of 84

Downloaded from www.Manualslib.com manuals search engine • Activate hazard warning flasher.
• Block both the front and back
of the wheel diagonally opposite
the jack position.
Remove
hubcap or wheel cover
with flat end of wheel
nut wrench
and loosen wheel nuts slightly.
Set
lever on jack to UP position.
Properly position load rest which
engages bumper by moving base of
NOTE: Base of jack column
should be slightly angled in toward
car since it will straighteri
as car is
raised.
jack slightly under car and engage
tang of
bracket in bumper notch,
then bring jack base back toward
upright position. Check that
l~ad
rest is positioned before operatmg
jack.
40
Jack Operation
After jack is positioned as noted
above use
wheel nut wrench as . ,
jack handle and raise car until tire
clears ground. Remove wheel nuts
and wheel, install spare and tighten
wheel nuts. Move jack lever to
DOWN and install hub cap or
wheel cover.
Page 63 of 84

Downloaded from www.Manualslib.com manuals search engine When driving on wet or slushy
roads, it
is possible for a wedge of
water to build up between the tire
and road surface. This phenom
enon, known
as hydroplaning.
may cause partial
or complete loss
of traction, which adversely affects
vehicle control and stopping abil
ity.
To reduce the possiblity of
traction loss, the following precau
tions should be observed:
1. Slow down during rainstorms or
when roads are slushy.
2. Slow down if road has standing
water
or puddles.
3. Replace tires when tread wear
indicators are visible .
4. Keep tires properly inflated.
For temporary assistance when
traction
is lost on ice or snow. the
use of AC Liquid Tire Chain is
recommended.
Inflation Instructions for
Space Saver Spare Tire
I. Install deflated space saver
spare
on car with valve stem at
the bottom and tighten all
five
lug nuts.
2. Remove valve qp and make
sure valve core is screwed tight
in valve stem.
3. Remove plastic cap from
in
flator.
4 . Place inflator over valve
stern
and push onto stem until sound
of gas entering tire can
be
heard .
5 . Keep pressure against valve and
hold can upright against wheel
to ensure complete draining of
fluid.
60
6 . Hold the inflator in position one
minute. After sound stops. then
remove inflator for disposal
in
proper receptacle.
7 . Replace valve cap.
NOTE: It is recommended that
the inflation pressure be checked
and adjusted to 28 psi
(Space
Saver Spare
only), as soon as pos
sible after installing tire on car.
To stow , deflate tire by remov
ing tire valve stem core with tool
on end of valve cap. Flatten tire
and replace core and cap. Do not
inhale gas.
Store tire in trunk com
partment. The
Space Saver Spare tire has
an approximate tread life of
2,000
miles; therefore, its continued use
other than for emergency purposes
is not recommended. The Space
Saver Spare
has the same warranty
as all original equipment tires.
Page 80 of 84

Downloaded from www.Manualslib.com manuals search engine Recommendations. . . . . . . . . . . . . . . . .. 46 Transmissions. . . . . . . . . . . . . . . . . . . . .. 49 Viscosity ., .......... ............... 47 Operation in Foreign Countries ......... II Other Controls and Features. . . . . . . . . .. 35 Outside
Air Vents .......................... 28 Overheated Engine
Indicator Light. ............. : . . . . .. 24 What To Do ....................... 24 Overseas Operation. . . . . . . . . . . . . . . . . .. 11 Owner Assistance ..................... 70 Paint Care ........ ............... ....... 43 Touch Up ......... ................ 43 Parking Brake ............................. 20 Brake Check . . . .. . . . . . . . . . . . . . . .. .. 20 Lights ........... .................. 69 "Park" (P) Transmission Position ... .. 16 Precautions. . . . . . . . . . . . . . . . . . . . . . .. 20 Polishing And Waxing ................. 43 Positive Traction Differential. . . . . . . . . .. 35 Power Brakes ........ .................... 20 Steering . . . . . . . . . . . . . . . . . . . . . . . . . .. 18 Pressure, Tire Inflation . . . . . . . . . . . . . . .. 56 Pushing To Start. . . . . . . . . . . . . . . . . . . .. 36 Radiator
Coolant ........................... 55 Coolant Level Inspection. . . . . . . . . . .. 53 Overheating.. . . .. . . . .. . . . . . . . . . .... 39 Pressure Cap. . . . . . . . . . . . . . . . . . . . . .. 55 Radio
AM/FM ......... .. .. .............. 33 Antenna ..................•.. ...... 33 Tape System. . . . . . . . . . . . . . . . . . . . . .. 34 Raising Car With Jack. . . . . . . . . . . . . . .. 40
Rear
Axle .............................. 48 Speaker ................... ...... .. 34 Window Defogger. . . . . . . . . . . . . . . . . . 30 Registration, Vehicle Engine Number. . . . . . . . . . . . . . . . . . . . 66 Vehicle Identification Number ........ 66 Release, Hood ....................... IBC
Replacement Tires. . . . . . . . . . . . . . . . . . .. 58 Replacement Wheels. . . . . . . . . . . . . . . . .. 59 Restarting. . . . . . . . . . . . . . . . . . . . . .. . . .. 14 Restraints
Child ........... . ........ .......... 9
Lap Belts .... ...................... 5
Methods Of Restraining Children. .. . . 9 Shoulder Belts . . . . . . . . . . . . . . . . . . . . . . 7
Retractors, Lap Belt. . . . . . . . . . . . . . . . . . 5
"Reverse " (R) Transmission Range ..... 16 Roof Care, Vinyl . . . . . . . . . . . . . . . . . . . .. 44 Rotation, Tire.. . . . . . . . . . . . . . . . . . . . . .. 57 Safet y Belts (Seat Belts).. . . . . . . . . . . . . . . . . . . 5
Carrier, Infant.... . . . . . . . . . . . . . . . . . . 9
Seat , Child ....................... " 9
Schedule .
Break-In... .. . ... ..
... ...... . .. .. .. 2
Maintenance. . . . . . . . . . . . . . . . . . .. . .. 45 Seat Adjustment, Manual. . . . . . . . . . . . . . . . 5
Back Latch, Folding Front. . . . . . . . . .. 4
Child
Safety.. .. . . .. . . . . . . . . . . . . . . .. 9 Seat Belts
Buzzer Light Reminder. ... .. .. .. .... 6
Child Restraint. . . . . . . . . . . . . . . . . . . .. 9
Inspection and Care. . . . . . . . . . . . . . . . . 8
Lap
............... ................ 5
Retractors. . . . . . . . . . . . . . . . . . . . . . . .. 5 Shoulder........................... 7
77
Self-Adjusting Brakes. . . . . . . . . . . . . . . .. 21 Service and Maintenance. . . . . . . . . . . ... 45 Shift Linkage Maintenance . . . . . . . . . . . . . .. 50 Operation (See Transmission) .. : . . . .. 15 Shoulder Belts Adjustment . . . .. . . . . . . . . 7 Side Marker Lights. . • . . . . . . . . . . . . . . .. 69 Signals, Turn ......................... 17 Solvents , Recommended Cleaning ....... 41 Sound Systems (See Radio) Space Saver Tire ........ .. ; ......... .. 60 Spare Tire
Jacking Instructions. . . . . . . . . . . . . . . .. 40 Spark Knock (See Fuel
Recommendations)
Speaker, Rear. . . . . . . . . . . . . . . . . . . . . . .. 34 Specifications Body.:: .. ......................... 66 CapacIties. . . . . . . . . . . . . . . . . . . . . . . .. 66 Dimensions . . . . . . . . . . . . . . . . . . . . . . . . 66 Engine ................ ........ .... 66 Filters ............................. 46 Fuses .......................... ; .. 69 General ....... .................... 66 Light Bulbs. . . . . . . . . . . . . . . . . . . . . . . . 69 Lubricants . . . . . . . .. .. . . . . . . . .. . .. .. 46
Speedometer. . . . . . . . . . . . . . . . . . . . . . . . . 22 Spot Cleaning ........................ 41 Stainless Steel Protection. . . . . . . . . . . . .. 43 Stains, Removal of ........ ............ 41 Starter Interlock. . . . . . . . . . .. . . . . . . . . . . . . .. 13 Safety Switch.. .. . . . .. . . . . .. . . . . .... 14 Starting
Automatic Transmission Cars. . . . . . .. 13 Emergency ......................... 37 Manual Transmission Cars ........... 14
Page 84 of 84

Downloaded from www.Manualslib.com manuals search engine Refer to "Service and Maintenance"
Section for Further
Details. GAS STATION INFORMATION
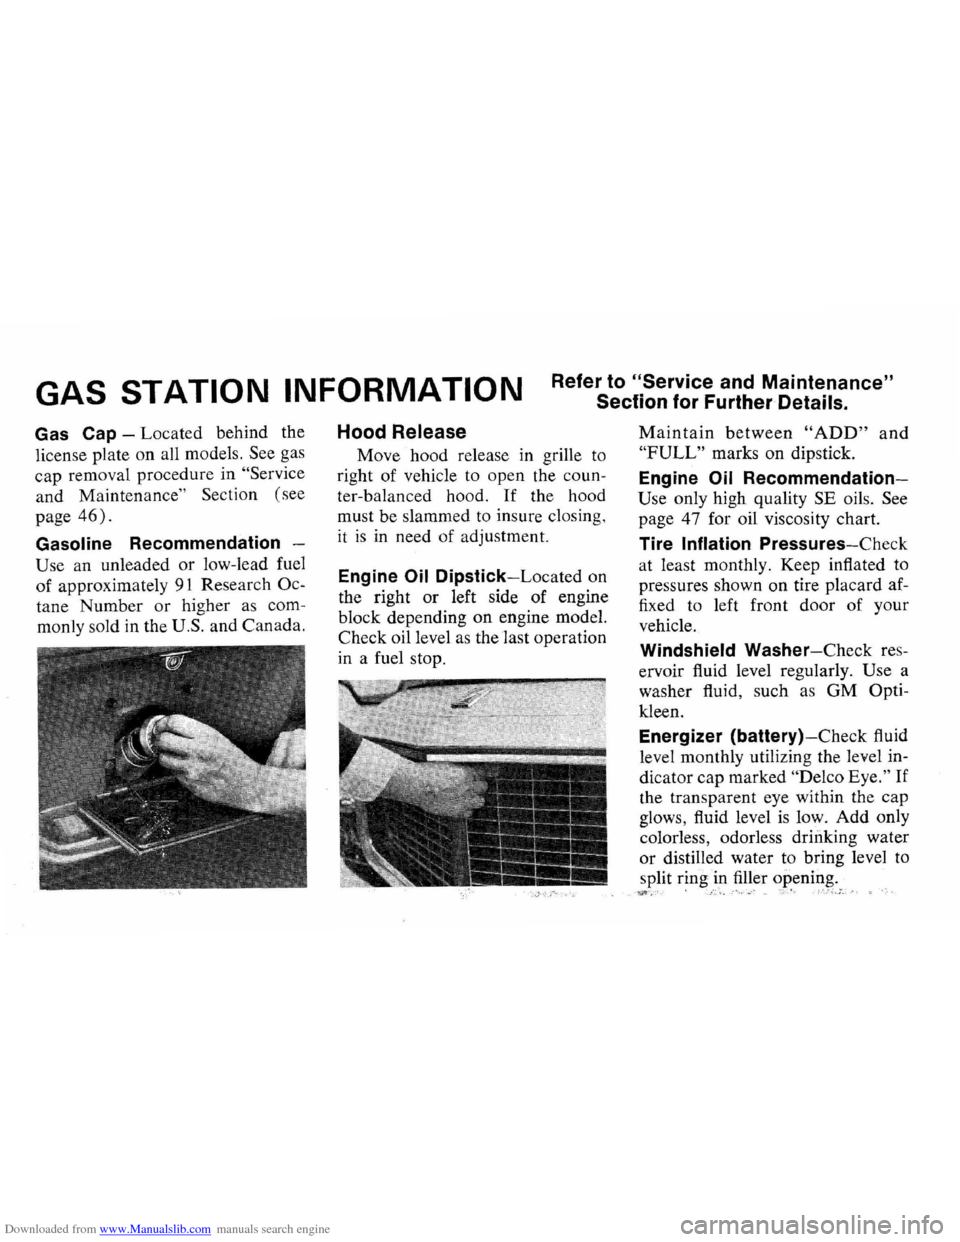
Gas Cap -Located behind the
license plate on all models.
See gas
cap removal procedure in
"Service
and Maintenance " Section (see
page
46).
Gasoline Recommendation -
Use an unleaded or low-lead fuel
of approximately
91 Research Oc
tane Number or higher as com
monly sold in the
U.S. and Canada.
Hood Release
Move hood release in grille to
right of vehicle to open the coun
ter-balanced hood.
If the hood
must be slammed to insure closing,
it
is in need of adjustment.
Engine Oil Dipstick-Located on
the right
or left side of engine
block depending on engine model.
Check oil level
as the last operation
in a fuel stop.
Maintain between "ADD" and
"FULL" marks on dipstick.
Engine Oil Recommendation
Use only high quality SE oils. See
page 47 for oil viscosity chart.
Tire Inflation Pressures-Check
at least monthly. Keep inflated to
pressures shown on tire placard af
fixed to left front door of your
vehicle.
Windshield Washer-Check res
ervoir fluid level regularly.
Use a
washer fluid, such
as GM Opti
kleen.
Energizer (batterY)-Check fluid
level monthly utilizing the level in
dicator cap marked
"Delco Eye." If
the transparent eye within the cap
glows, fluid level
is low. Add only
colorless, odorless drinking water
or distilled water to bring level to
split ring in filler opening.
?1!C'~:" , './;.', _ _ o··,.,·- .. -~. '"):,'~ i<~~~ .. ;·_:"" .: ..