1971 CHEVROLET CAMARO parking brake
[x] Cancel search: parking brakePage 40 of 88

Downloaded from www.Manualslib.com manuals search engine lights, turn signals, backup lamps, and hazard
warning flashers. Have someone observe operation
of each light while you activate the controls.
• Starter Safety Switch (Automatic Transmis
sion Cars)
CAUTION: Before making the following check, be sure to have a clear distance ahead and behind the car, set the parking brake and firmly apply the foot brake. Do not depress accelerator pedal. Be prepared to turn ott ignition switch immediately if engine should start.
Check starter safety switch by placing the transmis
sion in each of the driving gears while attempting to
start the engine. The starter should operate only in the
Park ("P") or Neutral ("N") positions.
• Starter Interlock (Manual Transmission Cars)
-To check a manual transmission equipped car,
depress the clutch halfway, place the transmission
in neutral, and attempt to start.
The starter should
operate only when clutch
is fully depressed.
• Transmission Shift Indicator-Check to be sure
shift indicator accurately indicates the shift posi
tion selected.
• Horn-Blow the horn occasionally to be sure that
it works.
37
• Seat Back LatcheS-Check to see that seat bac k
latches are holding by pulling forward on the seat
back top.
• Rearview Mirrors and Sun Visors-Check that
friction joints are properly adjusted so mirrors and
sun visors stay in the selected position.
• Door LatcheS-Check for positive closing, la tch
ing and locking.
• Hood Latches-Check to make sure hood closes
firmly . Check also for broken , d amaged or missing
parts which might prevent secure latching.
• Fluid LeakS-Check for fuel, water, oil or other
fluid leaks by observing the ground beneath the
vehicle after it has been parked for a while . (Water
dripping from air conditioning system after use
is
normal). If gasoline fumes are noticed at any time,
the cause should be determined
and corrected with
out delay because of the possibility of fire.
• Exhaust System-See engine exhaust gas caution
at beginning of starting and operating section of
this manual for suggested driver observations and
checks.
Page 41 of 88

Downloaded from www.Manualslib.com manuals search engine I n Case of Emergency
Four Way Hazard
Warning
Flasher
• Use the warning flasher to warn
other drivers any time your
ve
hicle becomes a traffic hazard,
day or night.
• Avoid stopping on the roadway
if possible.
• Turn on the hazard warning
flasher, with engine ignition off
or on, by pushing in on the but
ton located just below the steer
ing wheel.
• If the brake pedal is depressed,
the lights will not flash
but will
glow continuously instead.
• To cancel the flasher, pull the
button outward.
"Rocking" Car
If it becomes necessary to rock
the car to free it from sand, mud or
snow, move the selector lever
from
"D" to "R" in a repeat pattern
while simultaneously applying
moderate pressure to the accelera
tor. Do not race engine. A void
spinning wheels when trying to free
car.
Towing
Proper lifting or towing equip
ment
is necessary to prevent dam
age to the vehicle during any tow
ing operation. Detailed towing in
formation is available at your
dealer and has been provided to
tow truck operators responsible for
movement of disabled or locked
ve
hicles. State and local laws appli
cable to vehicles in tow must also
be followed.
Your Camaro may be towed on
all four wheels, at speeds of less
than 35 MPH, for distances up to
38
50 miles, provided driveIine, axle
and transmission are otherwise nor
mally operable.
For such towing,
parking brake must be released,
and transmission must be in neu
tral (ignition lock turned to
OFF
position). Attachments must be to
main structural members of the car,
not to bumpers or bracketing,
Safety chains or cables should be
used. Remember that power steer
ing assist will not be available when
engine
is inoperative.
Emergency Starting
• Never tow the car to start
because the surge forward when
the engine starts could cause a
collision with the tow vehicle.
• Engines in vehicles with auto
matic transmissions cannot be
started by pushing the car.
Page 42 of 88

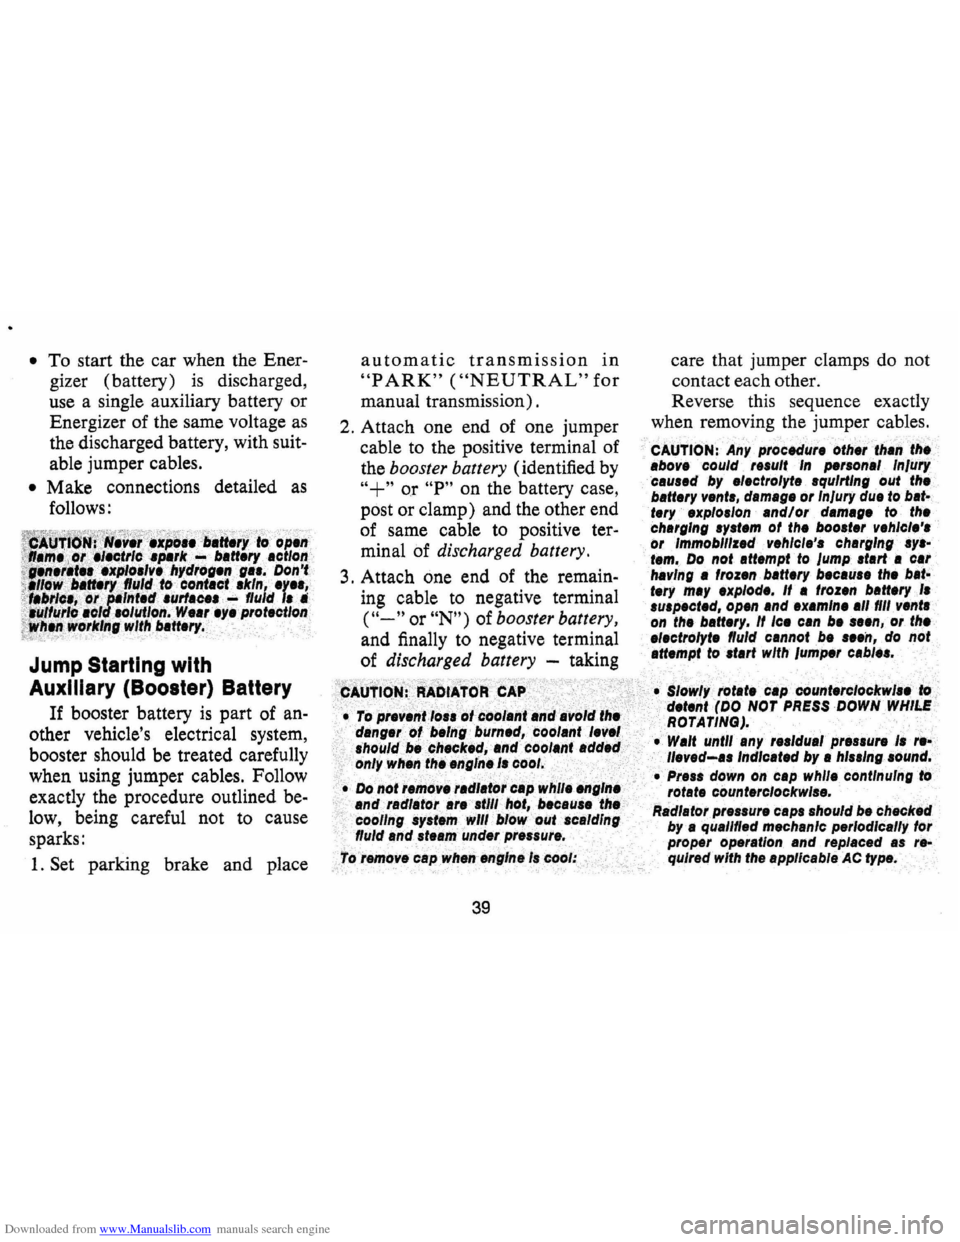
Downloaded from www.Manualslib.com manuals search engine • To. start the car when the Ener
gizer (battery)
is discharged,
use a single auxiliary battery
Qr
Energizer Qf the same vQltage as
the discharged battery, with suit
able jumper cables.
• Make cQnnectiQns detailed as
fQllQws:
Jump Starting with
Auxiliary (Booster) Battery
If booster battery is part Qf an
Qther vehicle's electrical system,
bQQster shQuld be treated carefully
when using jumper cables.
FQllQW
exactly the prQcedure Qutlined be
IQw, being careful nQt to. cause
sparks:
1. Set parking brake and place
autQmatic transmissiQn in
"PARK" ("NEUTRAL" fQr
manual transmissiQn).
2. Attach
Qne end of Qne jumper
cable
to. the PQsitive terminal Qf
the booster battery (identified by
"+" or "P" Qn the battery case,
PQst Qr clamp) and the Qther end
Qf same cable to. PQsitive ter
minal
Qf discharged battery.
3. Attach ene end ef the remain
ing cable
to. negative terminal
("-" er "N") ef booster battery,
and finally to. negative terminal
ef discharged battery -taking
i;cAufICsN}R.4btAl0W,CAP '!":;',';"S"!<"" .
···.···.T~·p,.v~ttt.,0 •• ot~~()l.nf.·#rii·j~6Itl t"~
'd.nger of being '. bu'n.d,~oo/.ntl.v.' .houldb.'ch.cked,.ndcoo/.nt .dd.4. only wh.n the .nglne/. cool.
'.Donot r.IJJov.radl.tbic.p whlj."'gln~ .ndradl.to,are.tlll hot, b.c.u ••. the
. cooling sVst.", will blow 'out .c.,dlng , fluid .nd st"m und.r pr.ssur ••
,
tol.mov. b"pWh.riengln./s
39
care that jumper clamps do. nQt
CQntact each ether,
Reverse this sequence exactly
when remeving the jumper cables.
CAUTION: Any proc~ur.~th.rt".n the'
.bove could r •• ult In person.' In/ury c.us.d by electrolyte .qulrtlng out .th. b.tt.ryvent., d.m.g. or In/ury due to b.tt.ry .xplo./on .ndlor d.m.g. to the charging sy.t.m of the boost., v.hlc/,'; or Immoblllz.d . v.hlcl.'. chargIng 'Y'tem. Do not .ttempt to lump .tart a c.r havIng • frozen battery b.cau •• the bit
t.ry mlY .xplod.. It • froz.n b.ttery I. su.pect.d, op.n .nd .x.mln •• 11 fill v.nt. , on the b.ttery. If Ie. c.n b •.. en, or the .,.ctrolyt. fluid c.nnotb •••• n, do not
att.mpt to .tart with /um".r c.bl ...
.'. $Iow~y ,otat • . c.p . count.rC/ockwl'~ .iQ ; d.terit(DO NOT PRESS DOWN WHILE
ROTATING).
•. Walt unt/f.ny ,e.ldu.' pressure I.re' lI.v.d-•• Indlc.t.d by • hissIng .ound.
• p,.ss down on c.p whll. continuing to rot.te counterclockwise.
Radl.tor pre.,ure cap. should b. check.d by • quallfl.d m.chanlc p.rlodlcally for proper op.ratlon and replaced .s r .. qulr.d with the .pplicabl.AC typ •.
Page 61 of 88

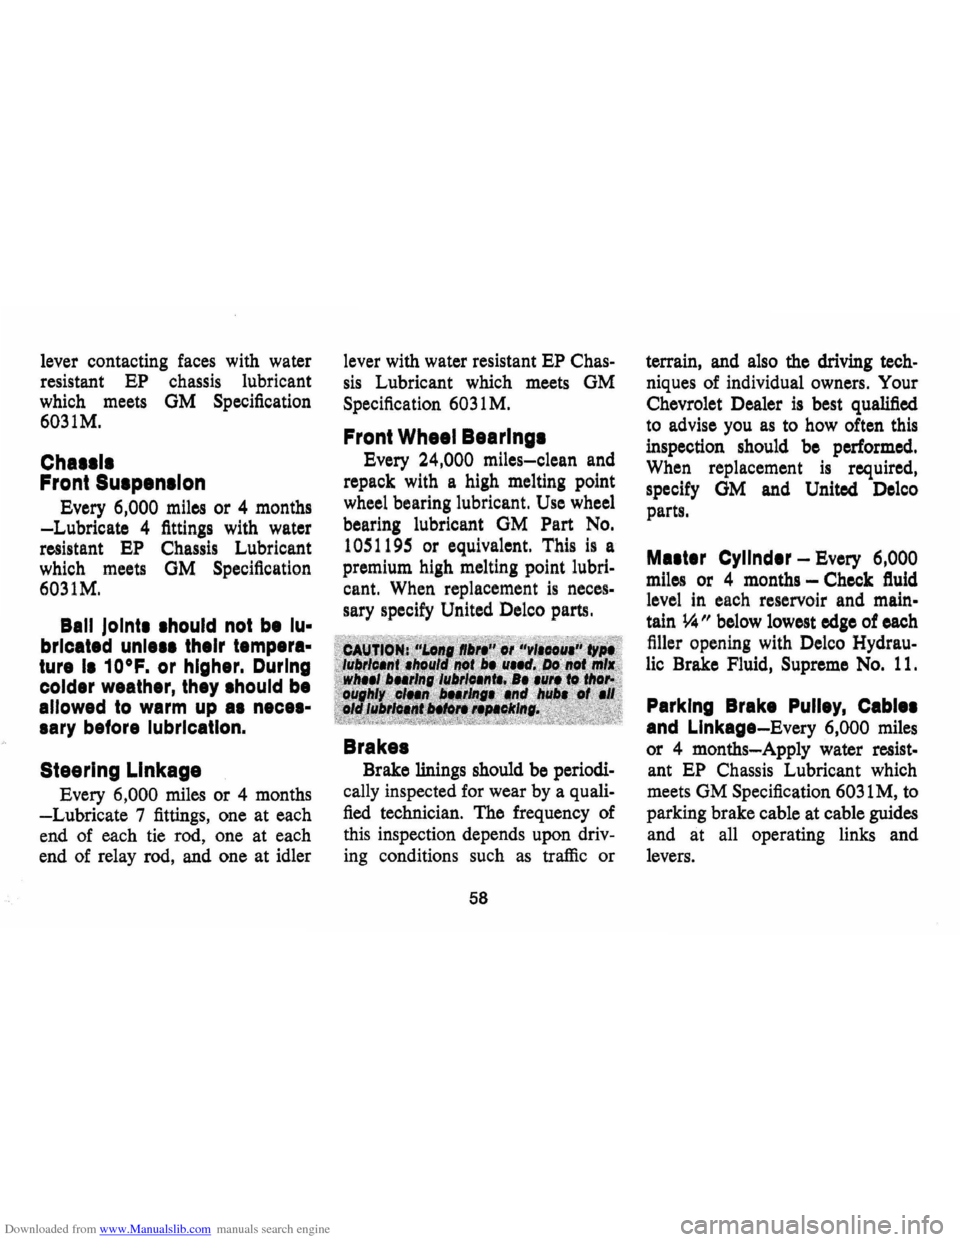
Downloaded from www.Manualslib.com manuals search engine lever contacting faces with water
resistant
EP chassis lubricant
which meets
GM Specification
6031M.
Chalill
Front SUlpenllon
Every 6,000 miles or 4 months
-Lubricate 4 fittings with water
resistant
EP Chassis Lubricant
which meets
GM Specification
6031M.
Ball Joint •• hould not b. lu
bricated un Ie •• their temp.ra
ture I. 10°F. or higher. During
colder weather, they .hould be
allowed to warm up a. nece.
lary before lubrication.
Steering Linkage
Every 6,000 miles or 4 months
-Lubricate 7 fittings, one at each
end of each tie rod, one at each
end of relay rod, and one at idler lever
with water resistant
EP Chas
sis Lubricant which meets GM
Specification 6031 M.
Front Wheel Bearlngl
Every 24,000 miles-clean and
repack with a high melting point
wheel bearing lubricant.
Use wheel
bearing lubricant
GM Part No.
1051195 or equivalent. This is a
premium high melting point
lubri
cant. When replacement is neces
sary specify United Delco parts.
Brakes
Brake linings should be periodi
cally inspected for wear by a quali
fied technician. The frequency of
this inspection depends upon
driv
ing conditions such as traffic or
58
terrain, and also the driving tech
niques of individual owners. Your
Chevrolet Dealer
is best qualified
to advise you as to how often this
inspection should be performed.
When replacement
is required,
specify
OM and United Delco
parts.
Ma.t.r Cyllnd.r - Every 6,000
miles
or 4 months -Check ftuid
level in each reservoir and main
tain ~" below lowest edge of each
filler opening with Delco
Hydrau
lic Brake Fluid, Supreme No. 11.
Parking Brake Pulley, Cabl ••
and Linkage-Every 6,000 miles
or 4 months-Apply water resist
ant EP Chassis Lubricant which
meets GM Specification
6031 M, to
parking brake cable at cable guides
and at all operating links and
levers .
Page 69 of 88

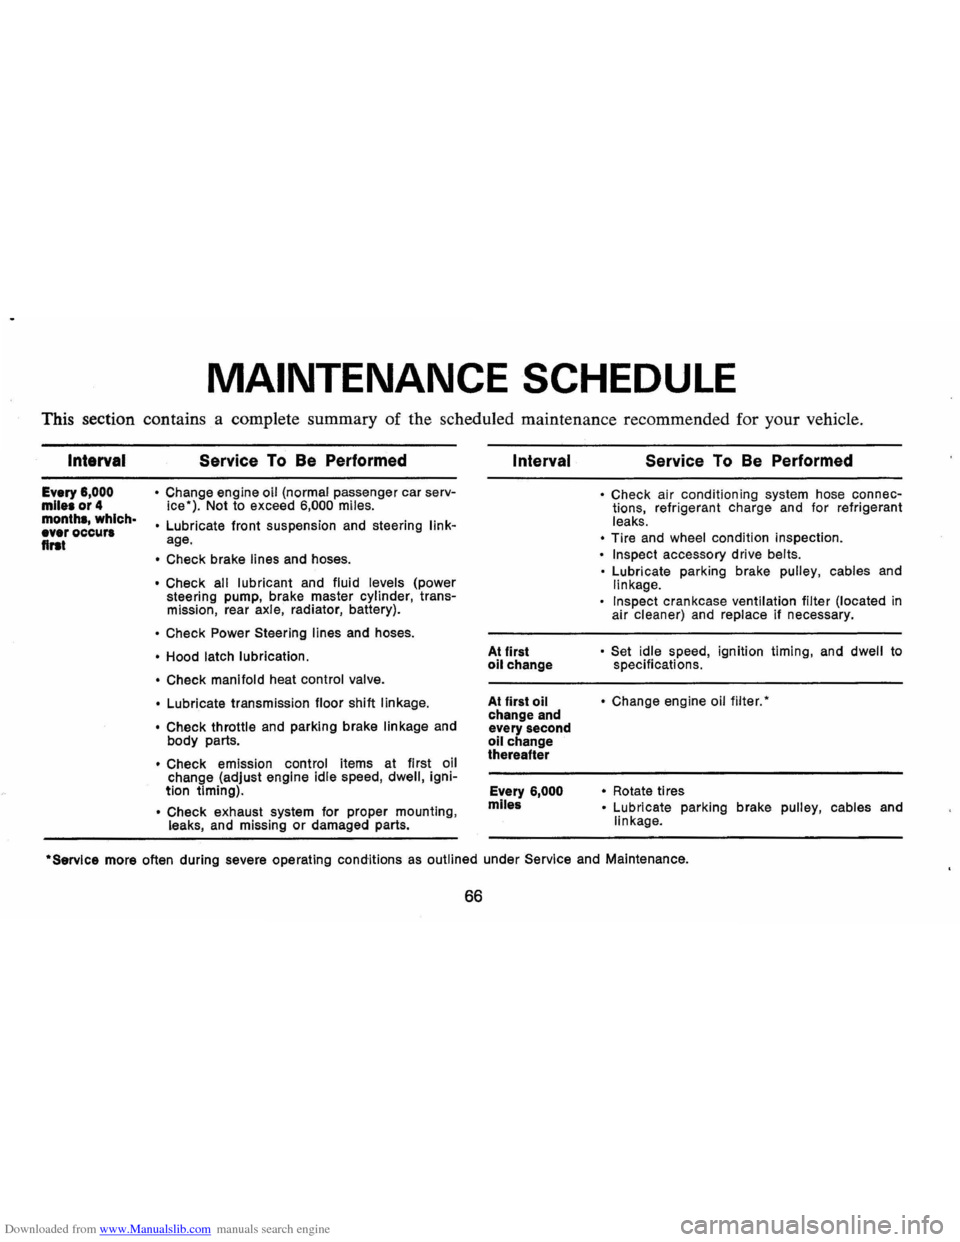
Downloaded from www.Manualslib.com manuals search engine MAINTENANCE SCHEDULE
This section contains a complete summary of the scheduled maintenance recommended for your vehicle.
Intarval
Every 6,000 mile. or 4 month., which· ever occur. flrat
Service To Be Performed
• Change engine oil (normal passenger car serv
ice"). Not to exceed 6,000 miles.
•
Lubricate front suspension and steering linkage.
• Check brake lines and hoses.
• Check all lubricant and fluid levels (power
steering pump, brake master cylinder, transmission, rear axle, radiator, battery).
• Check Power Steering lines and hoses.
• Hood latch lubrication.
• Check manifold
heat control valve.
•
Lubricate transmission floor shift linkage.
• Check
throttle and parking brake linkage and
body parts.
• Check emission control items at first oil
change (adjust engine idle speed, dwell, ignition timing) .
• Check exhaust system for proper mounting , leaks, and missing or damaged parts.
Interval
At first oil change
At first
oil change and
every second
oil change
thereafter
Every
6,000
mlle&
Service To Be Performed
• Check air conditioning system hose connections, refrigerant charge and for refrigerant
leaks.
• Tire and wheel condition inspection.
• Inspect accessory drive belts.
•
Lubricate parking brake pulley, cables and linkage.
Inspect crankcase ventilation filter (located in
air cleaner) and replace if necessary.
• Set idle speed , ignition timing, and dwell to
specifications.
• Change engine oil filter."
•
Rotate ti res • Lubricate parking brake pulley, cables and
linkage .
·Servlce more often during severe operating conditions as outlined under Service and Maintenance.
66
Page 70 of 88

Downloaded from www.Manualslib.com manuals search engine Interval
First 12,000 miles Every 12
months
or 12,000 miles
Every
24,000 miles
Service To Be Performed
• Rotate distributor cam lubricator. See 24,000 mile recommendation.
• Insp .ect air cleaner element, if satisfactory
rotate 1800 from original position and reinstall. See 24,000 mile recommendation.
• Inspect brake linings and check system for
leaks
• Inspect parking brake and throttle linkage. • Engine tune-up.
Replace carburetor 'Inlet fuel filter element. • Check emission control items. • Inspect AIR drive belt.
Evaporation Control System-Replace filter in
base of canister and inspect canister. • Check headlamp aiming.
• Repack front wheel bearings.
• Replace distributor cam lubricator. • Drain automatic transmission sump and add
fresh fluid (normal passenger car service).' Adjust Powerglide low band at first fluid
change.
• Replace crankcase ventilation filter (located
within air cleaner).
• Replace Turbo Hydra-Matic sump filter.
Interval Service To Be Performed
Every 2 years • Drain radiator coolant, flush and refill system.
Every
24 months· Replace PCV Valve. Inspect all hoses and or 24,(100 miles fittings.
Every
36,000 • Check steering gear for seal leakage (actual
miles solid grease-not just oily film).
• Lubricate clutch cross shaft (sooner if necessary), remove plug and install lube fittIng.
During Winter
• Check operation of air conditioning system.
months
Periodically • Check battery liquid leve/.
• Inspect seat belts, buckles, retractors and
anchors.
• Check all lights for proper operation.
As Required
• Check wheel alignment and balancing.
'Service more often during severe operating conditions as outlined under Service and Maintenance.
67
Page 79 of 88

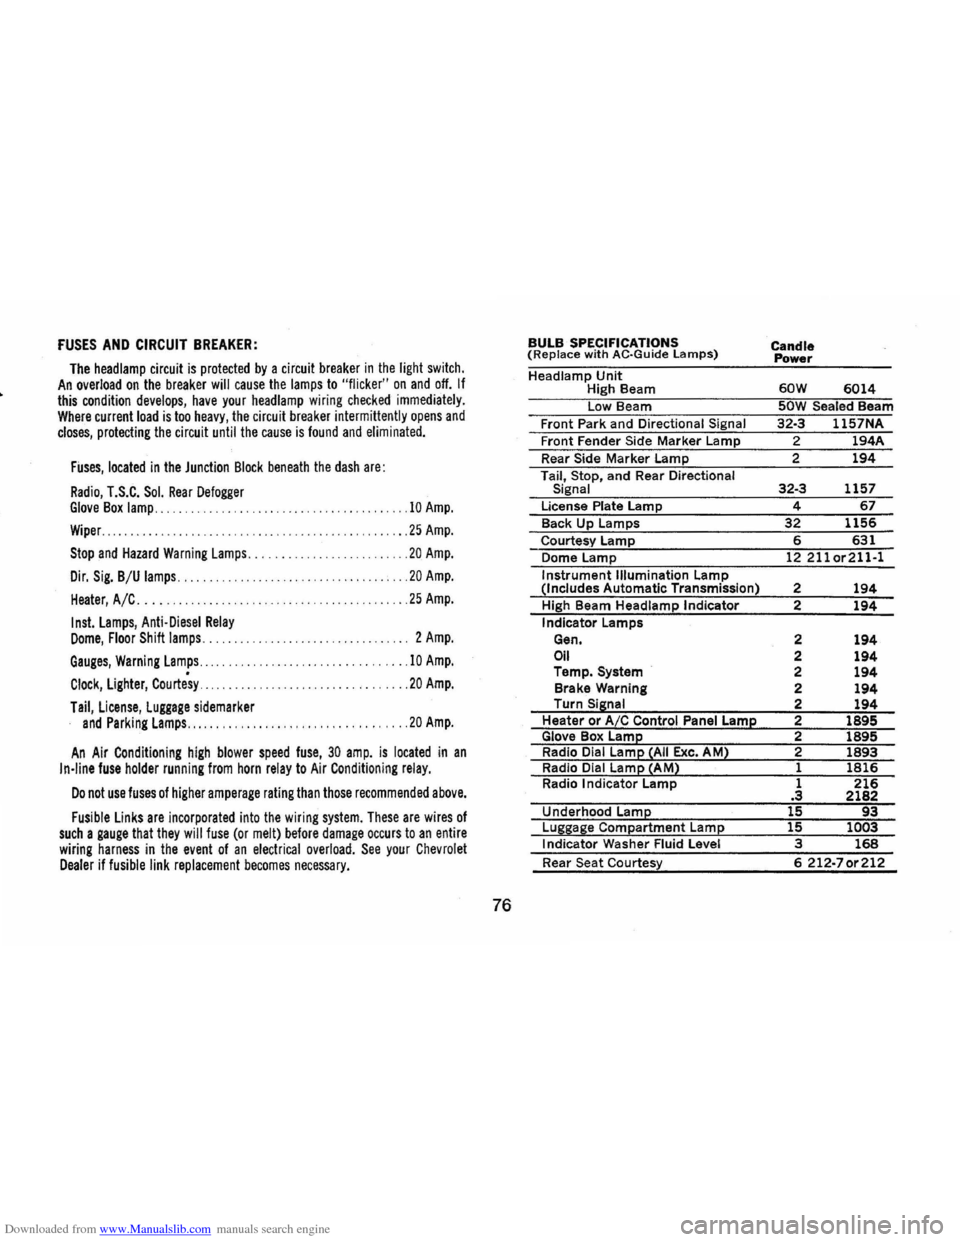
Downloaded from www.Manualslib.com manuals search engine FUSES AND CIRCUIT BREAKER:
The headlamp circuit is protected by a circuit breaker in the light switch. An overload on the breaker will cause the lamps to "flicker" on and off. If this condition develops, have your headlamp wiring checked immediately. Where current load is too heavy, the circuit breaker intermittently opens and closes, protecting the circuit until the cause is found and eliminated.
Fuses, located in the Junction Block beneath the dash are:
Radio, T.S.C. Sol. Rear Defogger Glove Box lamp .... .. ............. 10 Amp.
Wiper .................... . . . ............... 25 Amp.
Stop and Hazard Warning Lamps .. ...... ... .. ... ... ... .. . 20 Amp.
Dir. Sig. B/U lamps .. ......... . .
.. .. .. ....... 20 Amp.
Heater, A /C. . . . . . .. .. .. .. .. .. . .. .. . .. .. . .......... . . 25 Amp.
Inst. Lamps, Anti·Diesel Relay Dome, Floor Shift lamps ............. ..................... 2 Amp.
Gauges, Warning Lamps .... ................... ........... 10 Amp.
Clock, Lighter, Courtesy ......................... .... .. .. 20 Amp.
Tail, License, Luggage sidemarker and Parking Lamps ............... .................... 20 Amp.
An Air Conditioning high blower speed fuse, 30 amp. is located in an In·line fuse holder running from horn relay to Air Conditioning relay.
Do not use fuses of higher amperage rating than those recommended above.
Fusible Links are incorporated into the wiring system. These are wires of such a gauge that they will fuse (or melt) before damage occurs to an entire wiring harness in the event of an electrical overload. See your Chevrolet Dealer if fusible link replacement becomes necessary.
76
BULB SPECIFICATIONS (Replace with AC·Guide lamps)
Headlamp Unit High Beam
Low Beam
Front Park and Directional Signal
Front Fender Side Marker Lamp
Rear Side Marker Lamp
Tail, Stop, and Rear Directional
Signal
License Plate Lamp
Back Up Lamps
Courtesy Lamp
Dome Lamp
Instrument Illumination Lamp (Includes Automatic Transmission)
High Beam Headlamp Indicator
Indicator Lamps
Gen.
Oil Temp. System
Brake Warning
Turn
Sisnal Heater or A/C Control Panel Lame Glove Box Lame Radio Dial Lame ~AII Exc. AM2 Radio Dial Lame ~AM2 Radio Indicator Lamp
Underhood
Lame
Luggase Compartment Lame Indicator Washer Fluid Level
Rear Seat Courtesy Candle
Power
60W 6014 50W Sealed Beam
32·3 1157NA
2 194A
2
194
32·3 1157
4 67
32 1156
6 631 12211or211·1
2 194 2 194
2 194 2 194 2 194 2 194 2 194 2 1895 2 1895 2
1893
1 1816 1 216 .3 2182 15 93 15 1003 3 168
6 212·70r212
Page 86 of 88

Downloaded from www.Manualslib.com manuals search engine INDEX
Air Cleaner. . . . . . . . . . . . . . . . . . . . . . . . .. 55
Air Conditioning. . . . . . . . . . . . . . . . . . . .. 29
Air Pollution Control Systems ...... .... 41
Ammeter ............................ 23
Antenna ............... .............. 29
Appearance Care ..................... 47
Automatic Brake Adjusters ............ 31
Axle, Rear. . . . . . . . . . . . . . . . . . . . . . . . . .. 32
Battery .. .................... ........ 64
Bearings, Front Wheel. . . . . . . . . . . . . . . .. 58
Before Driving your Car.. . . . . . . . . . . . .. 3
Brakes
................... ........... 31 Driving Through Deep Water ........ 31
Maintenance. . . . . . . . . . . . . . . . . . . . . .. 58
Master Cylinder Level. . . . . . . . . . . . . .. 58
Parking Brake ...................... 31
Warning Light. . . . . . . . . . . . . . . . . . . .. 21
Break-In Period Cars Pulling Trailers. . . . . . . . . . . . . . . . 9
New
Car . ......................... 2
Bulbs and Fuses .
..................... 76
Bumper Jack
Operation
......... . ................ 40 Stowage ........................... 40
Carbon Monoxide Caution ......... .... 11
Circuit Breakers, Headlamps. . . . . . .. 74, 76
Cleaning ............................. 47
Clock ..
............................. 24
Clutch ..................... .......... 32
Controls ....... .... ....... ........... 31
Cooling System Care. . . . . . . . . . . . . . . . .. 60
Defogger, Rear Window
............... 26
Defroster , Defogger, Windshield ........ 25
Dimmer Switch, Headlamp . . . . . . . . . . . .. 32
Directional Signals. . . . . . . . . . . . . . . . . . .. 16
Door Locks.. . . .. . . .. . . . . . . . . . . .. .. .. 3
Emergency, In Case
Of ................ 38
Brake Warning Light. . . . . . . . . . . . . . .. 21 Generator Indicator Not
Charging. . . . . . . . . . . . . . . . . . . . . . .. 21 Hazard Warning Flasher ........... .. 38
Jacking To Change Wheels ........... 40
Jump Starting With Auxiliary
Battery .......................... 39
Overheated Radiator. . . . . . . . . . . . . . .. 39
Towing ..................... ..... .. 38
Emission Control Systems .............. 41
Engine
Cooling
........................... 60
Exhaust Gas Caution ................ 11 Flooded, Starting Procedure . . . . . . . . .. 13
Overheating. . . . . . . . . . . . . . . . . . . . . . .. 39
Specifications . . . . . . . . . . . . . . . . . . . . . .. 72
Starting . . . . . . . . . . . . . . . . . . . . . . . . . .. 13
Temperature Gauge. . . . . . . . . . . . . . . .. 23
Engine Oil
Capacity. . . . . . . . . . . . . . . . . . . . . . . . . .. 72
Change Interval. . . . . . . . . . . . . . . . . . .. 53 Dip Stick. . . . . . . . . . . . . . . . . . . . . . . . . . 52
Filter .......... .................... 53
Oil Recommendations ............... 52
Viscosity
.............. ........ . .. .. 54
Exhaust
System .................... ... 37 Filters .................... ........... 75
Flashers
Hazard Warning
.................... 38 Turn Signal. ...................... , 16
Fluid Levels
Battery
............... Inside Back Cover
Brake Master Cylinder . . . . . . . . . . . .
.. 58
Engine Oil. . . . . . . . . . . . . . . . . . . . . . . .. 52
Power Steering. . . . . . . . . . . . . . . . . . . .. 59
Radiator. . . . . . . . . . . . . . . . . . . . . . . . . .. 39
Rear Axle. . . . . . . . . . . . . . . . . . . . . . .
.. 32
Transmission. . . . . . . . . . . . . . . . . . . . . .. 56
Foreign Countries, Operation In
...... .. 65
Fuel Gauge. . . . . . . . . . . . . . . . . . . . . . . . .. 20
Full Rated Load (See Tires)
Fumes ..
........ ..... ............ .. .. 37
Fuses ............................... 76
Gasoline Filler Cap
......... 51, Inside Back Cover
Low-Lead .
........................ 42
Recommendations. . . . . . . . . . . . . . . . ..
42
Generator Indicator Light. ............. 21