1971 CHEVROLET CAMARO transmission
[x] Cancel search: transmissionPage 13 of 88

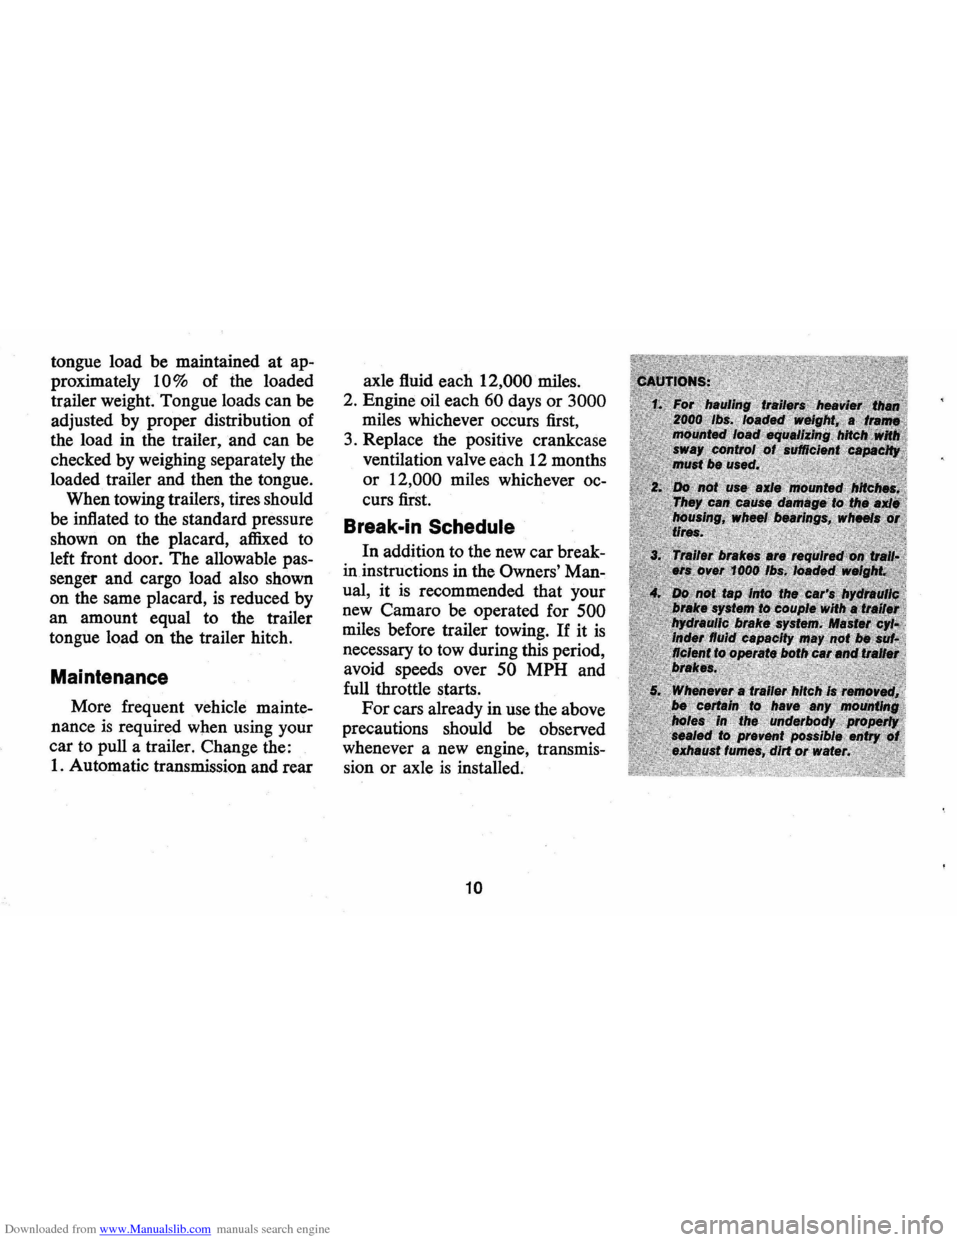
Downloaded from www.Manualslib.com manuals search engine tongue load be maintained at ap
proximately
10% of the loaded
trailer weight. Tongue loads can be
adjusted by proper distribution of
the load in the trailer, and can be
checked by weighing separately the
loaded trailer and then the tongue.
When towing trailers, tires should
be inflated to the standard pressure
shown
on the placard, affixed to
left front door. The allowable pas
senger and cargo load also shown
on the same placard,
is reduced by
an amount equal to the trailer
tongue load on the trailer hitch.
Maintenance
More frequent vehicle mainte
nance
is required when using your
car to pull a trailer. Change the:
1. Automatic transmission and rear axle
fluid each
12,000 miles.
2. Engine oil each
60 days or 3000
miles whichever occurs first,
3. Replace the positive crankcase
ventilation valve each 12 months
or 12,000 miles whichever oc
curs first.
Break .. in Schedule
In addition to the new car break
in instructions in the
Owners' Man
ual,
it is recommended that your
new Camaro be operated for
500
miles before trailer towing. If it is
necessary to tow during this period,
avoid speeds over
50 MPH and
full throttle starts.
For cars already in use the above
precautions should be observed
whenever a new engine, transmis
sion
or axle is installed.
10
Page 15 of 88

Downloaded from www.Manualslib.com manuals search engine STEERING COLUMN CONTROLS
Anti-Theft Steering
Column Lock
The anti-theft lock, located on the
right side of the steering column,
has
five positions:
• Accessory -Permits operation
of electrical accessories when
en
gine is not running. To engage,
push key in and
tum toward you
( counterclockwise) .
• Lock-Normal parking position.
Locks ignition and provides
added theft protection by pre
venting normal operation of
steering wheel and shift controls.
Key cannot be returned to
"lock"
position and removed until trans
mission is placed in "park"
(automatic transmission models)
or in reverse on manual
trans
mission models.
• Off-Permits turning engine off
without locking steering wheel
and shift controls.
12
• Run -Normal operating posi
tion.
• Start -Permits engagement of
starter.
NOTE: The anti-theft steering column lock is not a substitute lor the parking brake.
Always set the parking brake when leaving the car unaHended.
When parking-
• Always let go 01 steering wheel belore turning ignition key to lock position.
• When parking on a hill with wheels
turned toward curb, be sure car has
come to complete stop belore turning
key to lock position.
Turning wheels
after car has stopped "winds up" steering system, which can
result in a "spring back" 01 the steering
wheel when the steering column lock is
released. As a lurther precaution, never
reach through the steering wheel lor any
reason.
'"
When leaving your car unaHended, • Set parking brake. ·
• Place automatic transmission selector
in Park (Reverse tor manual transmission). . • Turn key to LOCK position. • Remove key (the buzzer will remind
you).
• Lock all doors.
Page 16 of 88

Downloaded from www.Manualslib.com manuals search engine Starting Engine
Automatic Transmission
Models
1. Apply the foot brake.
2. Place transmission selector
in "P" or "N" (UP" preferred).
A starter safety switch prevents
starter operation while the trans
mission selector
is in any drive
position.
(If it is necessary to
re-start the engine with the car
moving, place the selector lever
in
"N".)
3. Depress accelerator pedal and
activate starter
as outlined be
low for different conditions.
• Cold Engine -Fully de
press
accelerator pedal and
slowly release.
With foot off
the pedal,
crank the engine
by turning the ignition key
to the Start position-release
when engine starts.
If engine starts, but fails to
run, repeat this procedure.
When engine is running
smoothly, the idle speed may
be reduced by slightly de
pressing the accelerator pedal
and then slowly releasing.
• Warm Engine -Depress ac
celerator
pedal about halfway
and hold while cranking the
engine.
• Extremely Cold Weather
(Below
0° F.) Or After Car
Has Been Standing Idle
Several
Days-
Fully depress and release
accelerator pedal two
or three
times before cranking the
engine.
With foot off the ac
celerator pedal,
crank the
engine by turning the key to
the Start position and release
when engine starts.
13
Manual Transmission Models
1. Apply parking brake and shift
transmission to neutral.
2.
Hold clutch pedal to floor
throughout the starting proce
dure. A starter interlock pre
vents starter operation when
clutch
is not fully depressed.
3.
Operate accelerator pedal and
starter
as outlined in step 3
(under Automatic Transmission
Models).
Engine Flooded
Depress accelerator pedal and
hold to floor while starting until
engine
is cleared of excess fuel
and
is running smoothly. Never
"pump" the accelerator pedal.
Warm-Up
Always let the engine idle for
20 to 30 seconds after starting
and drive at moderate speeds for
several miles, especially during
cold weather.
Page 17 of 88

Downloaded from www.Manualslib.com manuals search engine Driving with the Chevrolet Automatic Transmissions
The Powerglide and the Turbo
Hydra-matic 350 and 400 are com
pletely automatic transmissions.
All replace the standard clutch
and
transmission.
Powerglide, Turbo Hydra
Malic
350 and Turbo Hydra
Matic
400
After starting the engine with the
selector lever in N (Neutral)
or P
(Park) position select the range de- sired
(see tables)
and depress the
accelerator.
All Automatic Transmissions
A gradual start with a steady in
crease in accelerator pressure will
result in best possible fuel economy.
Rapid acceleration for fast starts
will result in greater fuel consump
tion.
Automatic transmission shift
quadrants of all OM cars continue
the uniform sequence of selector positions.
This particularly benefits
multicar families
and those who
occasionally drive other cars.
Shift
indicators are arranged with "Park"
position at one end, followed in se
quence by
"Reverse", "Neutral"
and the forward driving ranges.
All automatic transmission are
POWERGLIDE
P-PARK Use only when car Is stopped.
R-REVERSE
N-NEUTRAL
D-DRIVE
L-LOW
For backing car-from stop.
For standing (Brakes Applied)
For forward driving.
Depress accelerator
to floor for extra acceleration at speeds
(depending on engine, axle and tire combinations) as high as 40 to 60 mph.
For hard pulling through sand, snow or mud, and for climbing or descending steep grades. Do not shift to Labove 40 mph.
14
Page 18 of 88

Downloaded from www.Manualslib.com manuals search engine equipped with a starter safety
switch designed to permit starting
the engine only when the trans
mission
is in the "Park" or "Neu
tral"
position. For additional
engine braking effect,
as sometimes
needed in mountainous driving,
place the transmission in an inter
mediate or low range.
Column Shifl Lever
The heavy line in the illustrations
indicates the movement of the shift
lever
as it is lifted to shift into Re- verse
or Low (Low on the Turbo
Hydra-Matic
350 and 400) and
into or out of Park position.
Floor Console Shift Lever
The floor console shift lever may
be moved freely between Neutral
and Drive and ( on the Turbo
Hydra-Matic
350 and 400) be
tween 1 and 2. Squeeze shift lever
button under handle as you shift
into Reverse or Low
(2 on Turbo
Hydra-Matic 350 and 400).
Squeeze the button under the
Turbo Hydra-Malic 350 and 400
P-PARK
R-REVERSE
Console N-NEUTRAL
3 D-DRIVE
2 L.-LOW.
1 L.-LOW.
Use only when car is stopped.
For backing car-from stop.
For standing (Brakes Applied)
For forward driving. Depress accelerator to floor for extra accelerator below 65 mph; depress accelerator
half-way at speeds below 30 mph.
For driving in heavy traffic or on hilly terrain. Shift into L. or 2 at any vehicle speed.
For
hard pulling through sand, snow or mud, for climbing or descending steep grades_
15
handle fully when shifting into or
out of the Park position. Exercise
care when squeezing button to
prevent unintentional shifts to
Park, Low (or
2) or Reverse.
NOTE: Shift quadrant for all
Automatic Transmissions
is located
on the instrument cluster.
Page 19 of 88

Downloaded from www.Manualslib.com manuals search engine Driving with Manual Transmissions
The 3-speed manual transmis
sion shift positions follow the
stan
dard pattern shown on the illustra
tion. The 4-speed transmission shift
lever, extending from the floor,has
its special shift pattern diagram
lo
cated on the knob or floor plate.
Depress the clutch pedal fully
be
fore attempting to shift to a differ
ent gear, then release the pedal to
move in that gear. Shifting into 2nd
and 3rd gear
as soon as possible
will add appreciably to your fuel
economy.
Both transmissions, being fully
synchronized, may be downshifted
into 1st gear at any speed below
20
m.p.h. Shift into Reverse gear only
after the car has stopped. Always depress
and release the clutch pedal
fully when shifting.
On Four-Speed
transmission the shift linkage may
be adjusted to allow
"short stroke"
shift lever operation. See your
Chevrolet Dealer.
Also, shift into
"Reverse" before
shutting
off engine. This will permit
the ignition key to be turned to the
"Lock" position.
REMINDER: Before descending a
steep or long grade, down a moun
tain or hillside, reduce speed and
shift into a lower gear (for either
automatic or manual transmission
cars).
Use the brakes sparingly to
prevent them from overheating and
thus reducing brake effectiveness.
16
Turn Signals and Lane
Change Feature
The turn signal lever is located
on the left side of the steering
col
umn immediately under the steer
ing wheel. The lever is moved up
ward to signal a right turn and '
downward to signal a left turn.
Lamps on the front and rear of the
car transmit this signal to other
Page 20 of 88

Downloaded from www.Manualslib.com manuals search engine motorists and pedestrians. The ig
nition switch must be in the "ON"
position in order for the turn sig
nals to be operational. This feature
prevents battery drain if the lever
is left in an "ON" position when
your car
is not in use.
In a normal turning situation
such
as turning a corner, the turn
signal is cancelled automatically
after the turn
is completed. How
ever, in some driving maneuvers
such
as changing lanes on an ex
pressway, the steering wheel
is not
turned back sufficiently after com
pleting the turn to automatically
cancel the turn signal. For con
venience in such maneuvers, the
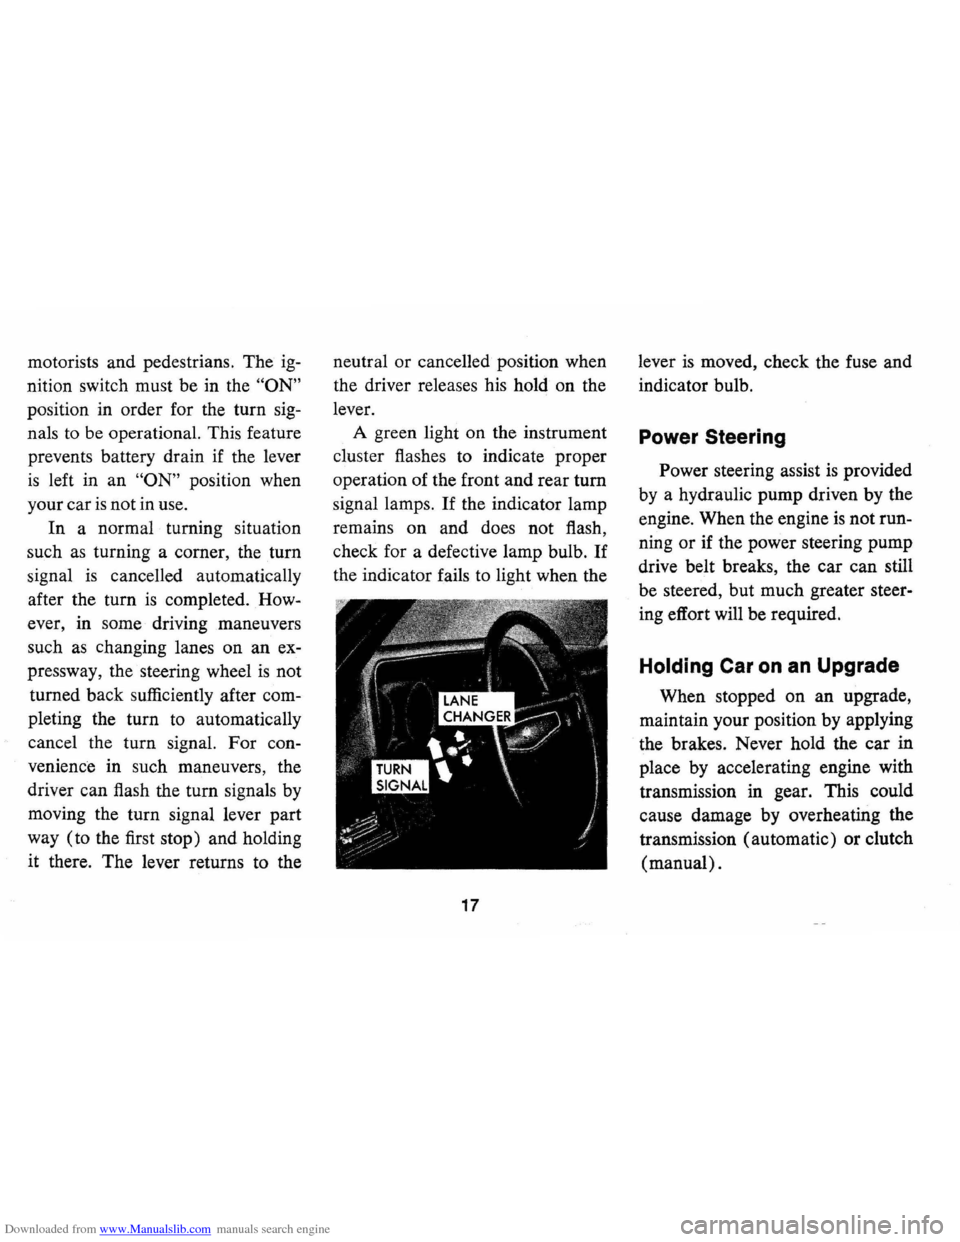
driver can flash the turn signals by
moving the turn signal lever part
way (to the first stop) and holding
it there. The lever returns to the neutral
or cancelled position when
the driver releases his hold on the
lever.
A green light on the instrument
cluster flashes to indicate proper
operation of the front and rear
tum
signal lamps. If the indicator lamp
remains on and does not flash,
check for a defective lamp bulb.
If
the indicator fails to light when the
17
lever is moved, check the fuse and
indicator bulb.
Power Steering
Power steering assist is provided
by a hydraulic pump driven by the
engine. When the engine
is not run
ning
or if the power steering pump
drive belt breaks, the car can still
be steered, but much greater steer
ing effort will be required.
Holding Car on an Upgrade
When stopped on an upgrade,
maintain your position by applying
the brakes. Never hold the car in
place by accelerating engine with
transmission in gear. This could
cause damage by overheating the
transmission (automatic) or clutch
(manual).
Page 21 of 88

Downloaded from www.Manualslib.com manuals search engine Parking Your Car
Always engage the parking brake
.and place the automatic transmis
sion selector lever in
"Park" posi
tion when leaving your car unat
tended. Also with automatic trans
missions, never park for prolonged
periods with engine idling and
transmission in gear, especially if
your car
is equipped with air con
ditioning. This practice
is detri
mental to the transmission, due to
overheating.
Tilt Steering Wheel
The optional tilt steering wheel
can be tilted up above normal posi
tion to provide additional room for
entrance and exit
as well as selected
driving positions below normal
height. This permits individual
se
lection of the most natural position
for all driving conditions.
On long
trips the steering wheel position can
be changed
to minimize tension and
fatigue.
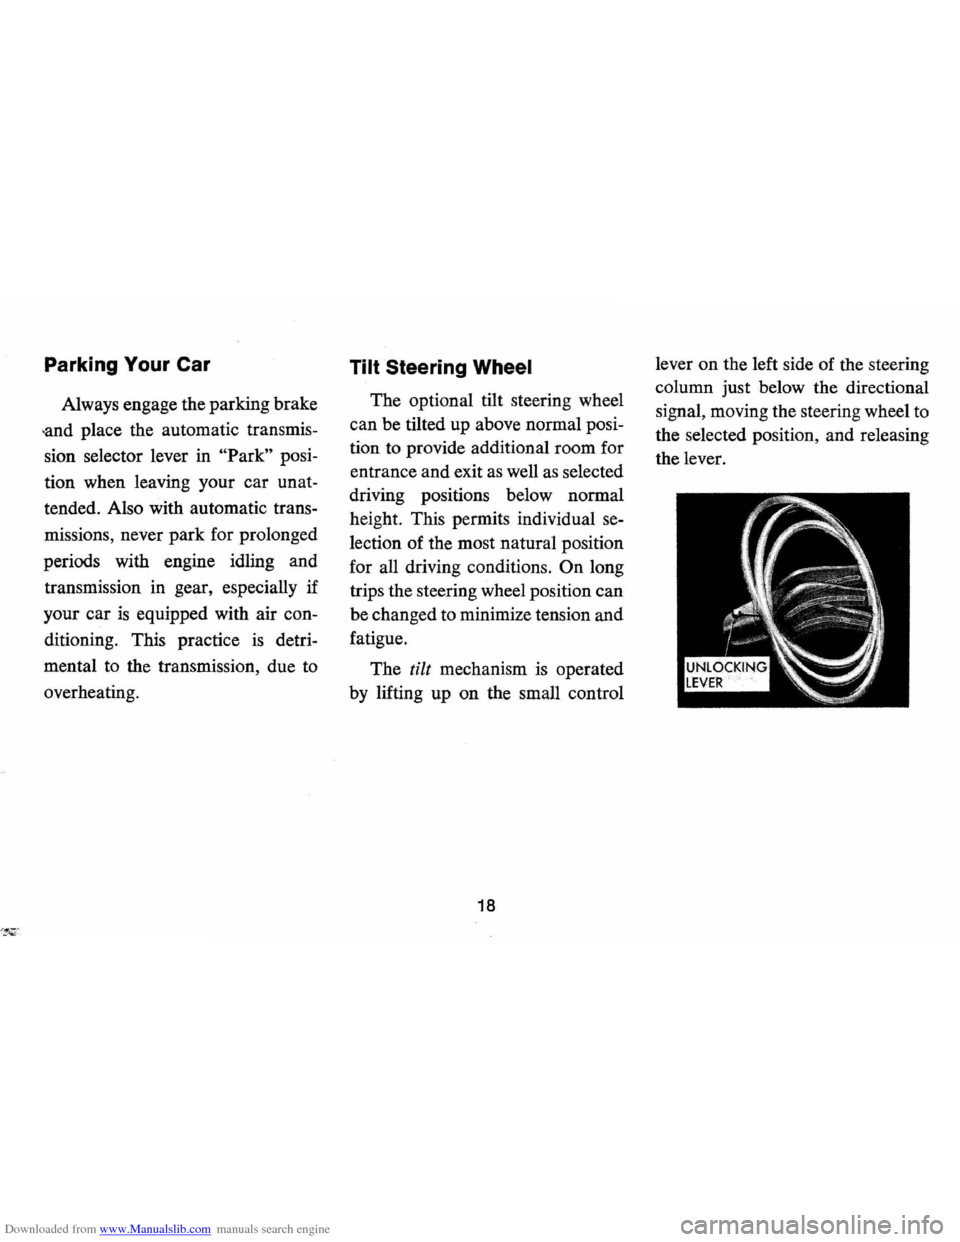
The
tilt mechanism is operated
by lifting up on the small control
18
lever on the left side of the steering
column just below the directional
signal, moving the steering wheel
to
the selected position, and releasing
the lever.