1971 CHEVROLET CAMARO glove box
[x] Cancel search: glove boxPage 6 of 88

Downloaded from www.Manualslib.com manuals search engine BEFORE DRIVING YOUR CAR
Keys
Two separate keys are provided
for your car. Each key has a differ
ent cross section
so that it can be
inserted only in certain locks.
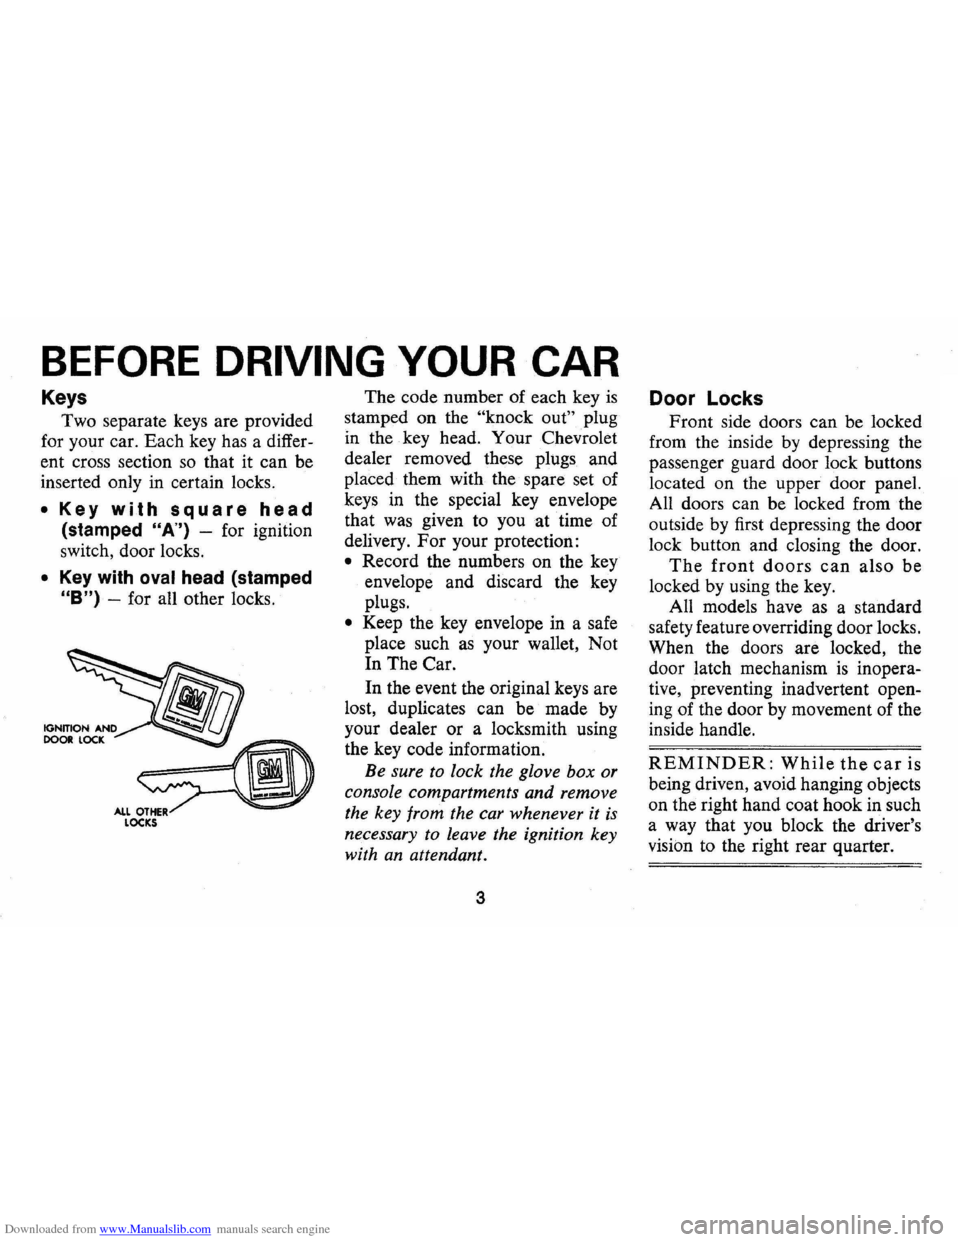
• Key with square head
(stamped "A") -for ignition
switch, door locks.
• Key with oval head (stamped
"B") -for all other locks. The
code number of each key
is
stamped on the "knock out" plug
in the key head. Your Chevrolet
dealer removed these plugs and
placed them with the spare set of
keys in the special key envelope
that was given to you at time of
delivery.
For your protection:
• Record the numbers on the key
envelope and discard the key
plugs.
• Keep the key envelope in a safe
place such
as your wallet, Not
In The Car.
In the event the original keys are
lost, duplicates can be made by
your dealer or a locksmith using
the key code information.
Be sure to lock the glove box or
console compartments and remove
the key from the car whenever it
is
necessary to leave the ignition key
with
an attendant.
3
Door Locks
Front side doors can be locked
from the inside by depressing the
passenger guard door lock buttons
located on the upper door panel.
All doors can be locked from the
outside by first depressing the door
lock button and closing the door.
The front doors can also be
locked by using the key.
All models have
as a standard
safety feature overriding door locks.
When the doors are locked, the
door latch mechanism
is inopera
tive, preventing inadvertent open
ing of the door by movement of the
inside handle.
REMINDER: While the car is
being driven, avoid hanging objects
on the right hand coat hook in such
a way that you block the driver's
vision to the right rear quarter.
Page 32 of 88

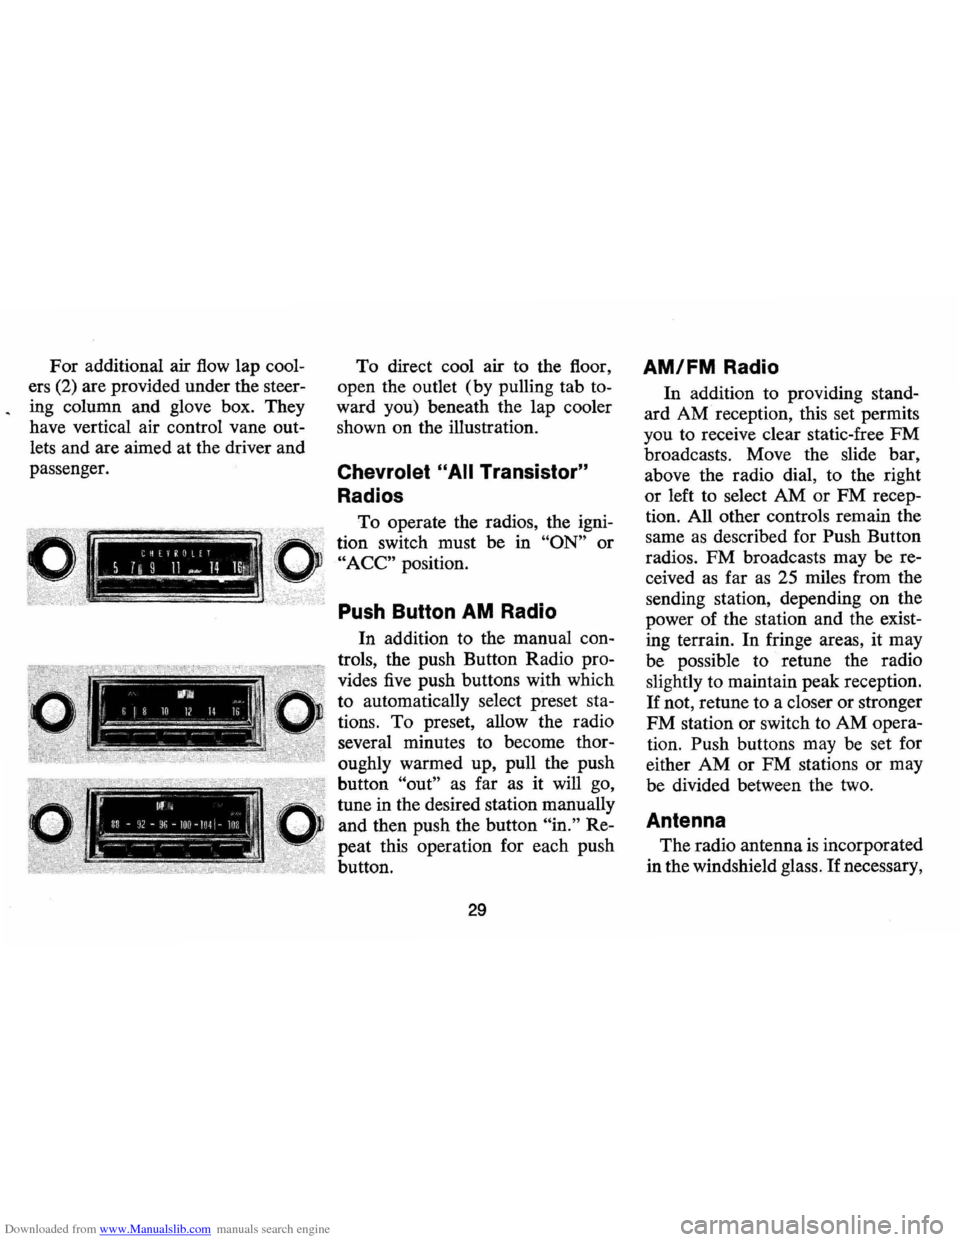
Downloaded from www.Manualslib.com manuals search engine For additional air flow lap cool
ers (2) are provided under the steer-
. ing column and glove box. They
have vertical air control vane
out
lets and are aimed at the driver and
passenger.
To direct cool air to the floor,
open the outlet (by pulling tab
to
ward you) beneath the lap cooler
shown on the illustration.
Chevrolet "All Transistor"
Radios
To operate the radios, the igni
tion switch must be in "ON" or
"ACC" position.
Push Button AM Radio
In addition to the manual con
trols, the push Button Radio pro
vides five push buttons with which
to automatically select preset
sta
tions. To preset, allow the radio
several minutes to become
thor
oughly warmed up, pull the push
button
"out" as far as it will go,
tune in the desired station manually
and then push the button
"in." Re
peat this operation for each push
button.
29
AM/FM Radio
In addition to providing stand
ard AM · reception, this set permits
you to receive clear static-free
PM
broadcasts. Move the slide bar,
above the radio dial, to the right
or left to select AM or FM recep
tion. All other controls remain the
same
as described for Push Button
radios.
PM broadcasts may be re
ceived as far as 25 miles from the
sending station, depending on the
power of the station and the
exist
ing terrain. In fringe areas, it may
be possible to retune the radio
slightly to maintain peak reception.
If not, retune to a closer or stronger
FM station or switch to AM opera
tion. Push buttons may be set for
either AM or
FM stations or may
be divided between the two.
Antenna
The radio antenna is incorporated
in the windshield glass.
If necessary,
Page 37 of 88

Downloaded from www.Manualslib.com manuals search engine Safety Maintenance Schedule" on the inside of the
glove box door
as illustrated.
The schedule lists the various safety checks to be
performed at regularly scheduled intervals,
as well
as some of the other important vehicle maintenance
requirements. You are urged to check
off each item
on the schedule after the operation has been per
formed. Following are further details on the safety
check items:
Checks To Be Made At Oil Change Intervals
(4 months or 6,000 miles, whichever comes
first)
• Brake Lines and Hoses -Check for proper at
tachments, leaks, cracks, chafing, deterioration,
etc. Any questionable parts noted should be re
placed or repaired immediately.
• Fluid Levels-Check level of fluid in brake master
cylinder, power steering pump, radiator, engine,
axle and transmission. Any significant
loss could
mean that a malfunction
is developing in the sys
tem and corrective action should be taken imme
diately.
On cars with disc brakes, a low fluid level
in the front brake master cylinder reservoir could
34
also be an indicator that disc brake pads need
replacing.
• Front and Rear Suspension and Steering Sys
tem-Check for damaged or missing parts, or parts
showing visible signs of excessive wear or lack of
lubrication. Questionable parts should be replaced
by a qualified mechanic without delay.
• Exhaust System -Check complete exhaust sys
tem and nearby body areas and trunk lid for
broken, damaged, missing or mispositioned parts,
open seams, holes, loose connections
or other de
terioration which could permit exhaust fumes to
seep into the trunk or passenger compartment. Any
defects should be corrected immediately. To help
insure continued integrity, exhaust system pipes
rearward of the
muffler must be replaced whenever
a new
muffler is installed.
• Tires and Wheels -Check tires for excessive
wear, nails, cuts or other damage. Make certain
wheels are not bent
~nd wheel nuts are tight. Un
even or abnormal tire wear may indicate the need
for alignment service. Check tire inflation pressure
at least monthly, or more often
if daily visual
inspection indicates the need.
Page 79 of 88

Downloaded from www.Manualslib.com manuals search engine FUSES AND CIRCUIT BREAKER:
The headlamp circuit is protected by a circuit breaker in the light switch. An overload on the breaker will cause the lamps to "flicker" on and off. If this condition develops, have your headlamp wiring checked immediately. Where current load is too heavy, the circuit breaker intermittently opens and closes, protecting the circuit until the cause is found and eliminated.
Fuses, located in the Junction Block beneath the dash are:
Radio, T.S.C. Sol. Rear Defogger Glove Box lamp .... .. ............. 10 Amp.
Wiper .................... . . . ............... 25 Amp.
Stop and Hazard Warning Lamps .. ...... ... .. ... ... ... .. . 20 Amp.
Dir. Sig. B/U lamps .. ......... . .
.. .. .. ....... 20 Amp.
Heater, A /C. . . . . . .. .. .. .. .. .. . .. .. . .. .. . .......... . . 25 Amp.
Inst. Lamps, Anti·Diesel Relay Dome, Floor Shift lamps ............. ..................... 2 Amp.
Gauges, Warning Lamps .... ................... ........... 10 Amp.
Clock, Lighter, Courtesy ......................... .... .. .. 20 Amp.
Tail, License, Luggage sidemarker and Parking Lamps ............... .................... 20 Amp.
An Air Conditioning high blower speed fuse, 30 amp. is located in an In·line fuse holder running from horn relay to Air Conditioning relay.
Do not use fuses of higher amperage rating than those recommended above.
Fusible Links are incorporated into the wiring system. These are wires of such a gauge that they will fuse (or melt) before damage occurs to an entire wiring harness in the event of an electrical overload. See your Chevrolet Dealer if fusible link replacement becomes necessary.
76
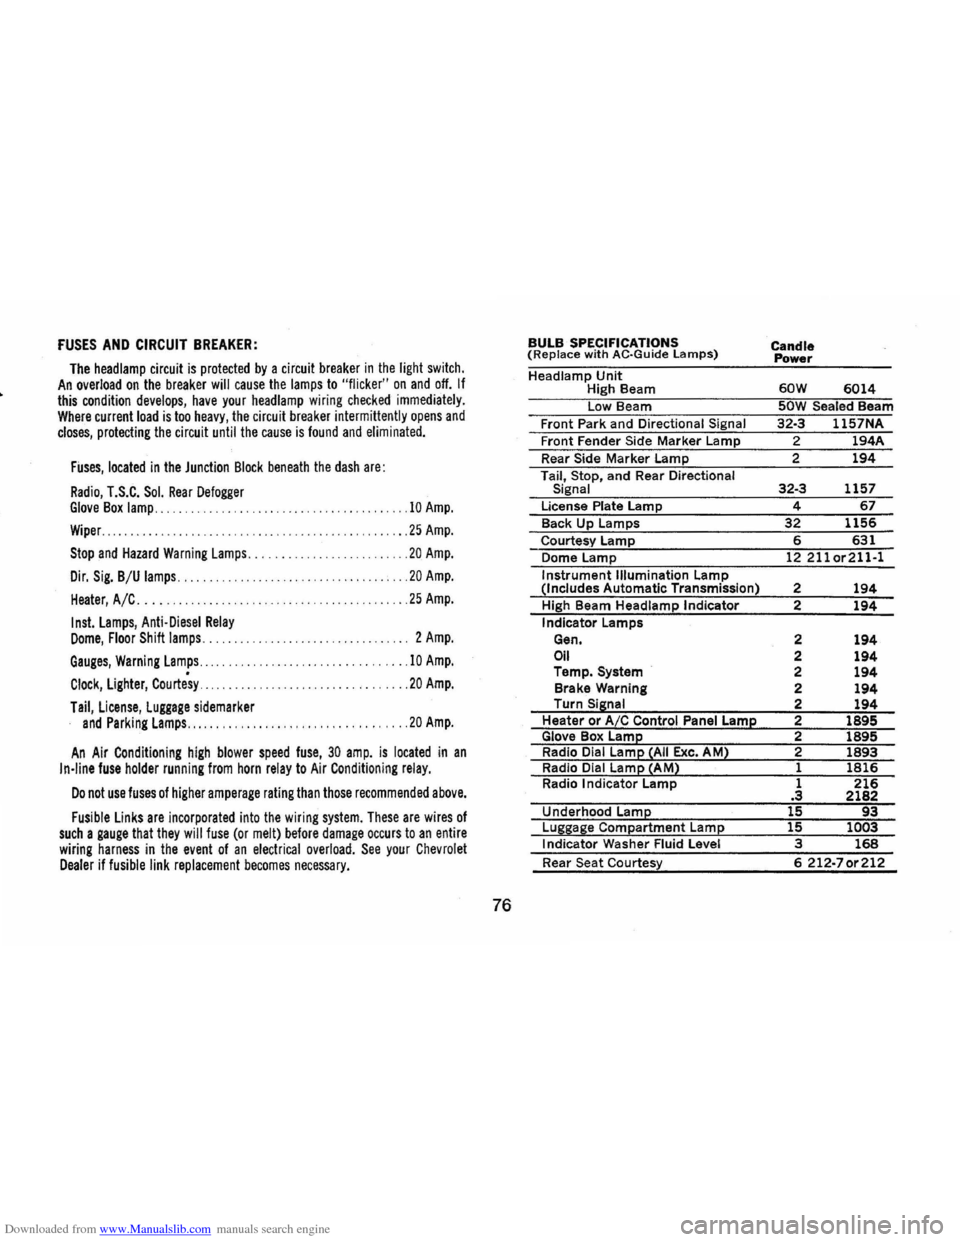
BULB SPECIFICATIONS (Replace with AC·Guide lamps)
Headlamp Unit High Beam
Low Beam
Front Park and Directional Signal
Front Fender Side Marker Lamp
Rear Side Marker Lamp
Tail, Stop, and Rear Directional
Signal
License Plate Lamp
Back Up Lamps
Courtesy Lamp
Dome Lamp
Instrument Illumination Lamp (Includes Automatic Transmission)
High Beam Headlamp Indicator
Indicator Lamps
Gen.
Oil Temp. System
Brake Warning
Turn
Sisnal Heater or A/C Control Panel Lame Glove Box Lame Radio Dial Lame ~AII Exc. AM2 Radio Dial Lame ~AM2 Radio Indicator Lamp
Underhood
Lame
Luggase Compartment Lame Indicator Washer Fluid Level
Rear Seat Courtesy Candle
Power
60W 6014 50W Sealed Beam
32·3 1157NA
2 194A
2
194
32·3 1157
4 67
32 1156
6 631 12211or211·1
2 194 2 194
2 194 2 194 2 194 2 194 2 194 2 1895 2 1895 2
1893
1 1816 1 216 .3 2182 15 93 15 1003 3 168
6 212·70r212