1971 CHEVROLET CAMARO mirror
[x] Cancel search: mirrorPage 7 of 88

Downloaded from www.Manualslib.com manuals search engine REMINDER: Always lock the
doors when driving, for greater
security in the event of an accident
and for security against unauthor
ized entries.
Seats
Folding seat backs are equipped
with self-latching mechanisms and
release controls designed for the
convenience of entering and exiting
passengers.
Back Locks
The release knob is located at the
lower rear of each backrest nearest
the door. Lift the knob upward,
then pull the seatback forward.
Manually Operated
Front
Seats
Push the seat adjuster lever to
the right, located
at the front of
each front seat, to unlock the seat
and allow adjustment to the front
or rear. As the seat slides forward,
it tilts slightly to provide best pos
ture and increased driver ease. Re
lease the lever to lock the seat in
the desired position.
4
CAUTION: Do not adjust a manually oper·< ated driver's seat while the car is movi -the seat could move unexpectedly, c
Ing loss at control.
Inside Rearview Mirrors
• The inside mirror has day/night
control to change reflectivity.
• Switch mirror to night position
to reduce glare from following
headlights.
Page 8 of 88

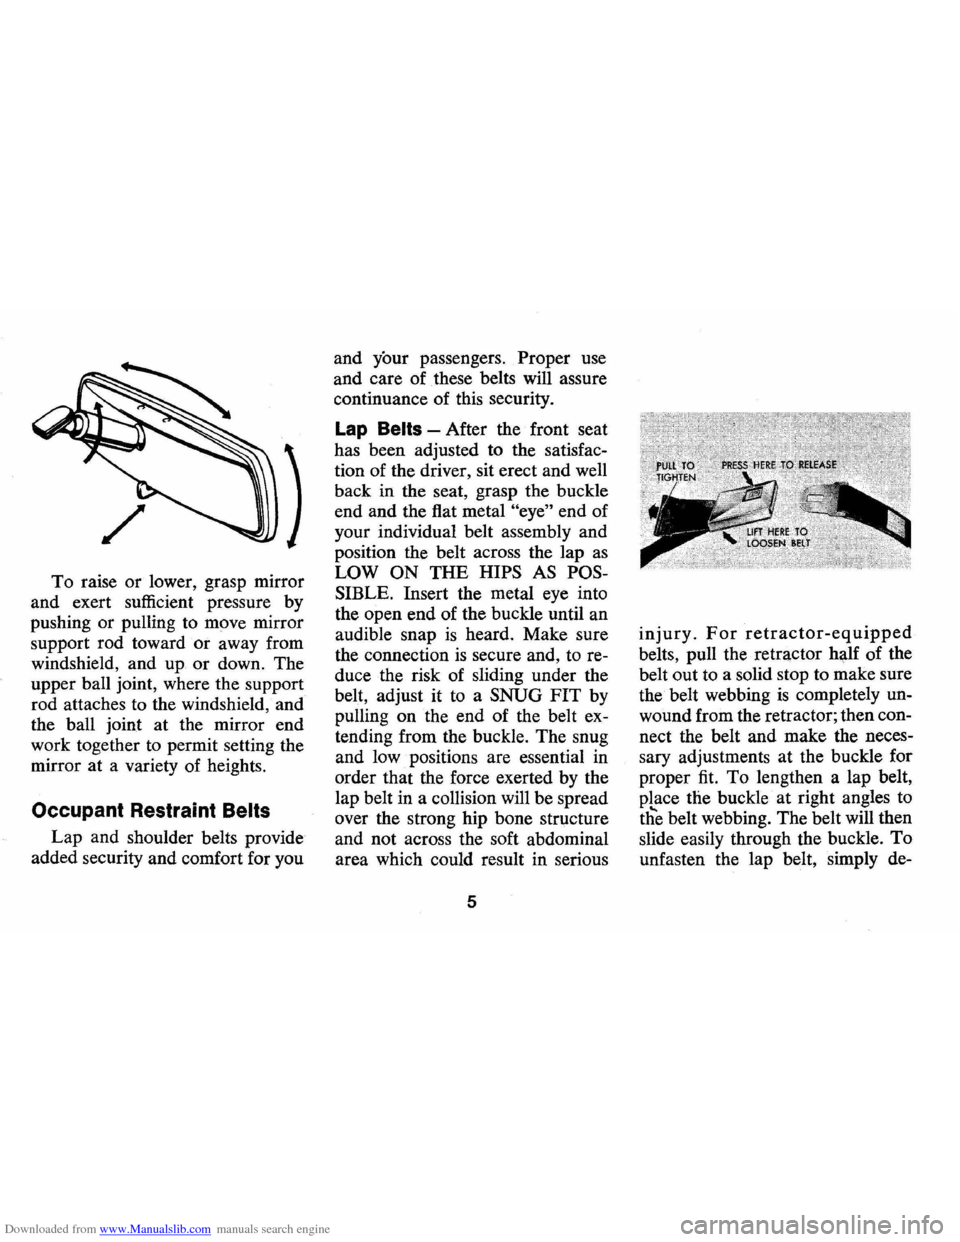
Downloaded from www.Manualslib.com manuals search engine To raise or lower, grasp mirror
and exert sufficient pressure by
pushing or pulling to move mirror
support rod toward
or away from
windshield, and up
or down. The
upper ball joint, where the support
rod attaches to the windshield, and
the ball joint at the mirror end
work together to permit setting the
mirror at a variety of heights.
Occupant Restraint Belts
Lap and shoulder belts provide
added security and comfort for you and
your passengers. Proper use
and care of these belts will assure
continuance of this security.
Lap Belts -After the front seat
has been adjusted to the satisfac
tion of the driver, sit erect and well
back in the seat, grasp the buckle
end and the flat metal
"eye" end of
your individual belt assembly and
position the belt across the lap
as
LOW ON THE HIPS AS POS
SIBLE. Insert the metal eye into
the open end of the buckle until an
audible snap
is heard. Make sure
the connection
is secure and, to re
duce the risk of sliding under the
belt, adjust it to a SNUG
FIT by
pulling on the end of the belt ex
tending from the buckle. The snug
and low positions are essential in
order that the force exerted by the
lap belt in a collision will be spread
over the strong hip bone structure
and not across the soft abdominal
area which could result in serious
5
injury. For retractor-equipped
belts, pull the retractor hl;tlf of the
belt out to a solid stop to make sure
the belt webbing
is completely un
wound from the retractor; then con
nect the belt and make the neces
sary adjustments at the buckle for
proper
fit. To lengthen a lap belt,
pLace the buckle at right angles to
the belt webbing. The belt will then
slide easily through the buckle.
To
unfasten the lap belt, simply de-
Page 28 of 88

Downloaded from www.Manualslib.com manuals search engine end vent outlet can be adjusted to
regulate or shut
off the desired
amount of conditioned air through
these outlets.
Heater
The windshield defrosting and
defogging system assists in provid
ing good visibility through desig
nated areas of the windshield under
most inclement weather conditions.
For immediate operation of the
vehicle, the windshield should be
scraped clear.
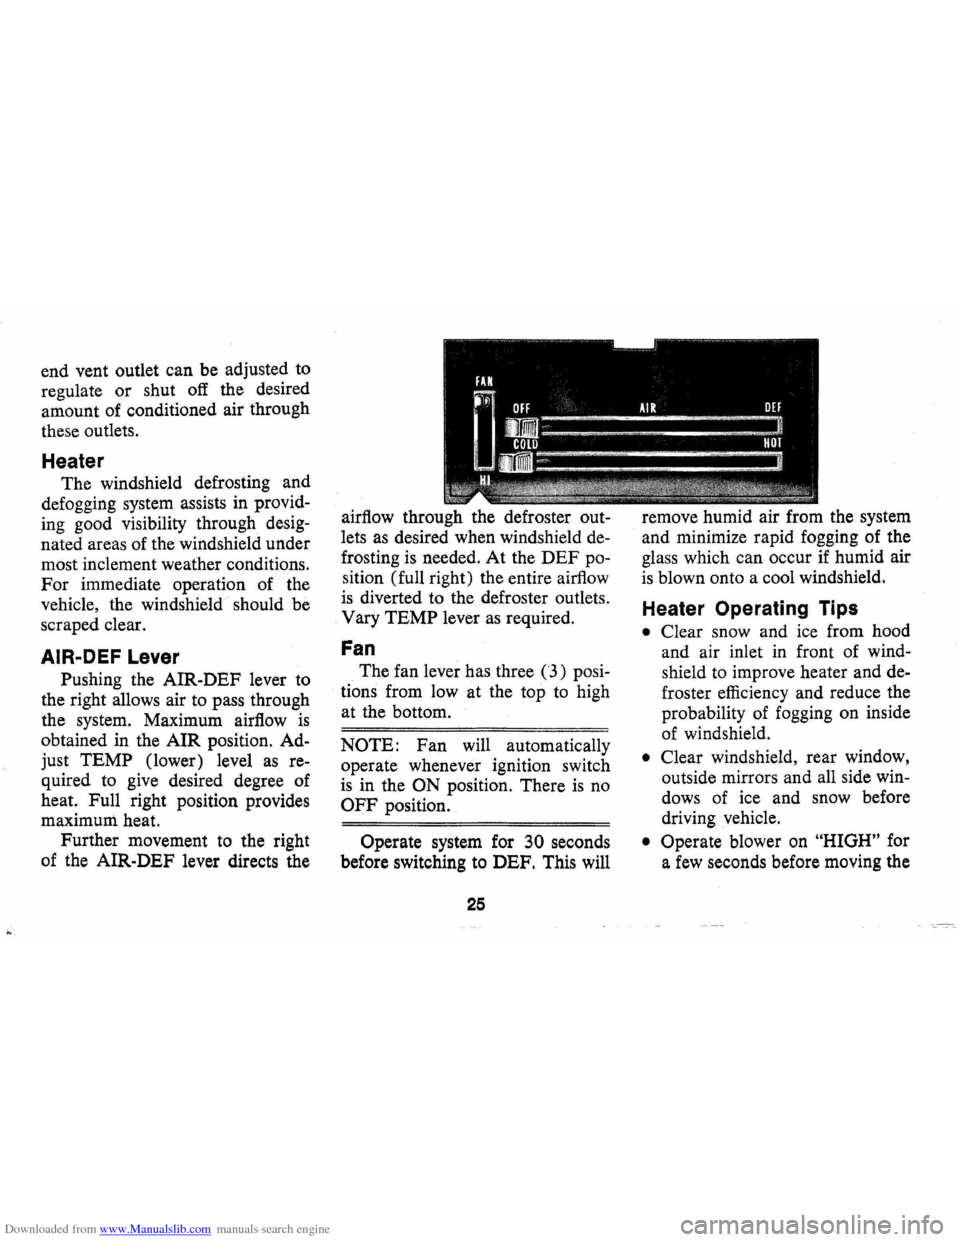
AIR-DEF Lever
Pushing the AIR-DEF lever to
the right allows air to pass through
the system. Maximum airflow
is
obtained in the AIR position. Ad
just TEMP (lower) level
as re
quired to
give desired degree of
heat. Full right position provides
maximum. heat.
Further movement to the right
of the AIR-DEF lever directs the airflow
through the defroster out
lets
as desired when windshield de
frosting is needed. At the DEF po
sition (full right) the entire airflow
is diverted to the defroster outlets.
Vary TEMP lever
as required.
Fan
The fan lever has three (3) posi
tions from low at the top
to high
at the bottom.
NOTE: Fan will automatically
operate whenever ignition switch
is in the ON position. There is no
OFF position.
Operate system for 30 seconds
before switching to DEF. This will
25
remove humid air from the system
and minimize rapid fogging of the
glass which can occur
if humid air
is blown onto a cool windshield.
Heater Operating Tips
• Clear snow and ice from hood
and air inlet in front of wind
shield to improve heater and de
froster efficiency and reduce the
probability of fogging on inside
of windshield.
• Clear windshield, rear window,
outside mirrors and all side
win
dows of ice and snow before
driving vehicle.
• Operate blower on "HIGH" for
a
few seconds before moving the
Page 40 of 88

Downloaded from www.Manualslib.com manuals search engine lights, turn signals, backup lamps, and hazard
warning flashers. Have someone observe operation
of each light while you activate the controls.
• Starter Safety Switch (Automatic Transmis
sion Cars)
CAUTION: Before making the following check, be sure to have a clear distance ahead and behind the car, set the parking brake and firmly apply the foot brake. Do not depress accelerator pedal. Be prepared to turn ott ignition switch immediately if engine should start.
Check starter safety switch by placing the transmis
sion in each of the driving gears while attempting to
start the engine. The starter should operate only in the
Park ("P") or Neutral ("N") positions.
• Starter Interlock (Manual Transmission Cars)
-To check a manual transmission equipped car,
depress the clutch halfway, place the transmission
in neutral, and attempt to start.
The starter should
operate only when clutch
is fully depressed.
• Transmission Shift Indicator-Check to be sure
shift indicator accurately indicates the shift posi
tion selected.
• Horn-Blow the horn occasionally to be sure that
it works.
37
• Seat Back LatcheS-Check to see that seat bac k
latches are holding by pulling forward on the seat
back top.
• Rearview Mirrors and Sun Visors-Check that
friction joints are properly adjusted so mirrors and
sun visors stay in the selected position.
• Door LatcheS-Check for positive closing, la tch
ing and locking.
• Hood Latches-Check to make sure hood closes
firmly . Check also for broken , d amaged or missing
parts which might prevent secure latching.
• Fluid LeakS-Check for fuel, water, oil or other
fluid leaks by observing the ground beneath the
vehicle after it has been parked for a while . (Water
dripping from air conditioning system after use
is
normal). If gasoline fumes are noticed at any time,
the cause should be determined
and corrected with
out delay because of the possibility of fire.
• Exhaust System-See engine exhaust gas caution
at beginning of starting and operating section of
this manual for suggested driver observations and
checks.
Page 52 of 88

Downloaded from www.Manualslib.com manuals search engine Fruit Stains, Coffee, Soft Drinks,
Ice Cream and Milk-Wipe with
cloth soaked in cold water.
If nec
essary clean lightly with fabric
cleaning fluid.
Soap and water is
not recommended as it might set
the stain.
Catsup-Wipe with cloth soaked in
cool water.
If further cleaning is
necessary, use a detergent foam
cleaner.
Grease, Oil, Butter, Margarine
and Crayon -
Scrape off excess
with dull knife.
Use fabric cleaning
fluid.
Exterior Appearance
Your car is finished with General
Motors "Magic-Mirror" acrylic
lacquer. This is a finish of maxi
mum beauty which, in depth of
color, gloss retention and durability
is superior to conventional lacquer
finishes.
Paste or Wax Type Shoe Polish
-Light applications of fabric clean
ing fluid.
Tar -Remove excess with dull
knife, moisten with fabric cleaning
fluid, scrape again, rub lightly with
additional cleaner.
Blood -Wipe with clean cloth
moistened with cold water. Use no
soap.
Urine -Sponge stain with luke
warm soap suds from mild neutral
soap on clean cloth, rinse with cloth
Washing Your Car
The best way to preserve the
finish and maintain original beauty
of appearance
is to keep it clean .
Wash the car in lukewarm
or cold
water. Never use strong soap or
chemical detergents. Cleaning
agents should be quickly flushed
from the surfaces.
49
soaked in cold water, saturate cloth
with one part household ammonia
and 5 parts water, apply for 1 min
ute, rinse with
clean, wet cloth.
Vomitus-Sponge with clean cloth
dipped in clean, cold water. Wash
lightly with lukewarm water and
mild neutral soap.
If odor persists,
treat area with a water-baking soda
solution (1 teaspoon baking soda
to one cup of tepid water). Rub
again with cloth and cold water.
Finally,
if necessary, clean lightly
with fabric cleaning fluid.
Polishing and Waxing
Your Car
Although acrylic paint on your
car
is durable, you may wish to wax
or polish for added protection.
Your Chevrolet Dealer offers many
polishes and waxes now available
which have proven of real value in
maintaining a good paint finish.