1965 CHEVROLET CORVAIR air condition
[x] Cancel search: air conditionPage 10 of 56
Downloaded from www.Manualslib.com manuals search engine TOWING
• Place selector lever in neutral.
• If transmission or axle are malfunctioning, tow with
rear wheels raised.
• When towing any vehicle on its front wheels, the
steering wheel should be secured to maintain a
straight forward position .
• Never tow faster than 50 mph.
ROCKING CAR
When stuck in mud, sand or snow, you may rock
the car by depressing the accelerator slightly and shift
ing the selector lever between Rand D. Avoid excessive
engine speed while performing this operation.
PARKING CAR
It is important that when your Corvair is parked the
parking brake be fully engaged. Do not count on the
transmission to hold the car. Always engage the parking
brake when parked.
POWERGLIDE DRIVING CAUTIONS
• Always engage parking brake when parked.
• Do not accelerate engine in L, 0, or R with
the brakes engaged. This can cause damage
by overheating transmission.
• Do not hold car on an upgrade by accelerat
ing engine. Use brakes.
• Use low position for hard pulls at low
speed, climbing or descending steep grades
and for push starting.
• Always stop car before shifting to reverse.
DRIVING WITH POSITRACTION REAR AXLE
The Positraction rear axle gives you constant driv
ing force on both r~ar wheels; especially helpful in the
winter and during other slippery driving conditions.
In normal use, light throttle application will supply
7
maximum traction. When starting with one rear wheel
on an excessively slippery surface, slight application of
the parking brake may be necessary to gain maximum
traction.
Page 12 of 56
Downloaded from www.Manualslib.com manuals search engine TEMP-PRESS AND GEN-FAN INDICATORS
These indicators provide a check on the operating
condition of the engine and the generator. Both indi
cators should light with the ignition switch ON before
starting the engine and should go out after the engine
is started. The lights should remain out while engine is
operating, except the GEN-FAN indicator may flicker
when
engine is idling.
CAUTION: If either of these indicators light
while car is
being driven, immediately follow the
procedure outlined under "EMERGENCY OPER
ATING INSTRUCTIONS," so car may be driven
to
the nearest service facility.
EMERGENCY OPERATING INSTRUCTIONS
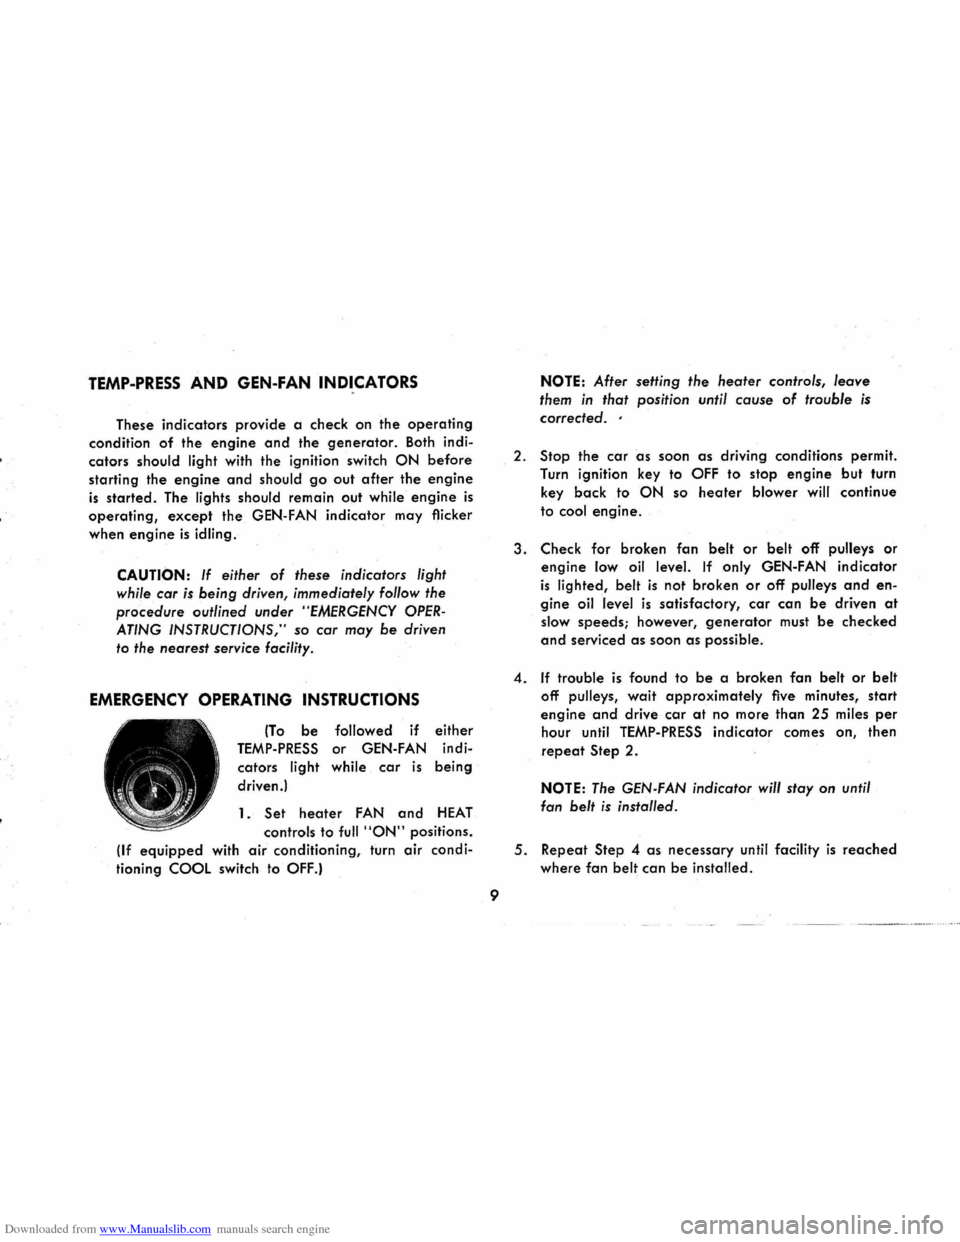
(To be followed if either
TEMP-PRESS or GEN-FAN indi
cators light while car is being
driven.)
1.
Set heater FAN and HEAT
controls to full "ON" positions.
(If
equipped with air conditioning, turn air condi
tioning COOL switch to OFF.)
9
NOTE: After setting the heater controls, leave
them in that position until cause of trouble is
corrected ..
2. Stop the car as soon as driving conditions permit.
Turn ignition key to
OFF to stop engine but turn
key
back to ON so heater blower will continue
to cool engine.
3. Check for broken fan belt or belt off pulleys or
engine low oil level. If only GEN-FAN indicator
is lighted, belt is not broken or off pulleys and en
gine oil level is satisfactory, car can be driven at
slow speeds; however, generator must be checked
and serviced as soon as possible.
4. If trouble is found to be a broken fan belt or belt
off pulleys, wait approximately five minutes, start
engine and drive car at no more than 25 miles per
hour until TEMP-PRESS indicator comes on, then
repeat Step 2.
NOTE: The GEN-FAN indicator will stay on until
fan
belt is installed .
5. Repeat Step 4 as necessary until facility is reached
where fan belt can be installed.
Page 17 of 56
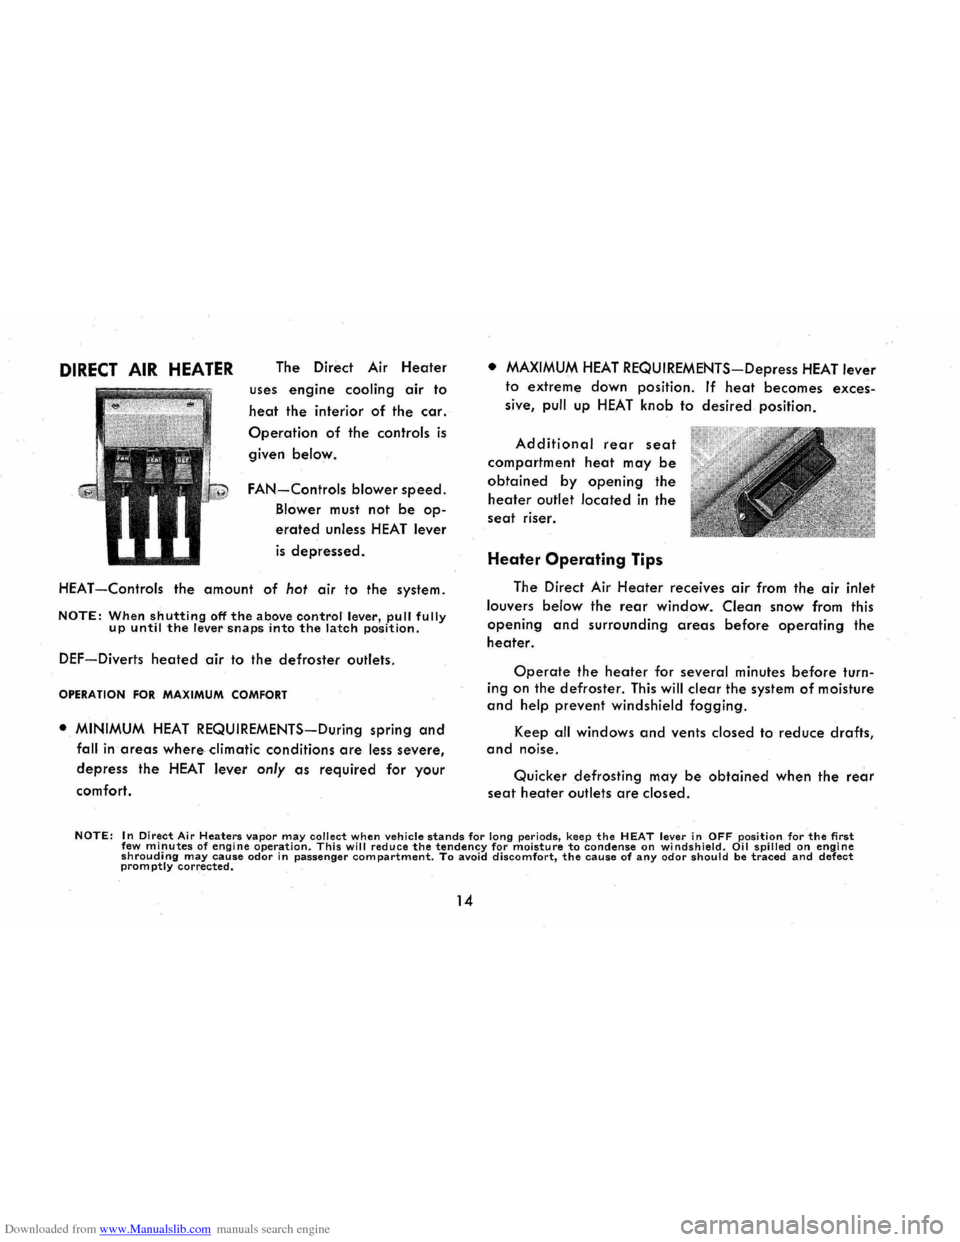
Downloaded from www.Manualslib.com manuals search engine DIRECT AIR HEATER The Direct Air Heater
uses engine cooling air to
heat the interior of the car.
Operation of the controls is
given below.
FAN-Controls blower speed.
Blower must not be op
erated unless HEAT lever
is depressed.
HEAT
-Controls the amount of hot air to the system.
NOTE: When shutting off the above control lever, pull fully up until the lever snaps into the latch position.
DEF-Diverts heated air to the defroster outlets.
OPERATION FOR MAXIMUM COMFORT
• MINIMUM HEAT REQUIREMENTS-During spring and
fall in areas where climatic conditions are less severe,
depress the HEAT
lever only as required for your
comfort.
• MAXIMUM HEAT REQUIREMENTS-Depress HEAT lever
to extreme down position. If heat becomes exces
sive, pull up HEAT
knob to desired position.
Additional rear seat
compartment heat may be
obtained by opening the
heater outlet located in the
seat riser.
Heater Operating Tips
The Direct Air Heater receives air from the air inlet
louvers below the rear window. Clean snow from this
opening and surrounding areas before operating the
heater.
Operate the heater for several minutes before turn
ing on the defroster. This will clear the system of moisture
and help prevent windshield fogging.
Keep all windows and vents closed to reduce drafts, and noise.
Quicker defrosting may be obtained when the rear
seat heater outlets are closed.
NOTE: In Direct Air Heaters vapor may collect when vehicle stands for long periods, keep the HEAT lever in OFF position for the first few minutes of engine operation. This will reduce the tendency for moisture to condense on windshield. Oil spilled on engine shrouding may cause odor in passenger compartment. To avoid discomfort, the cause of any odor should be traced and defect prom ptly corrected.
14
Page 18 of 56
Downloaded from www.Manualslib.com manuals search engine AIR CONDITIONING
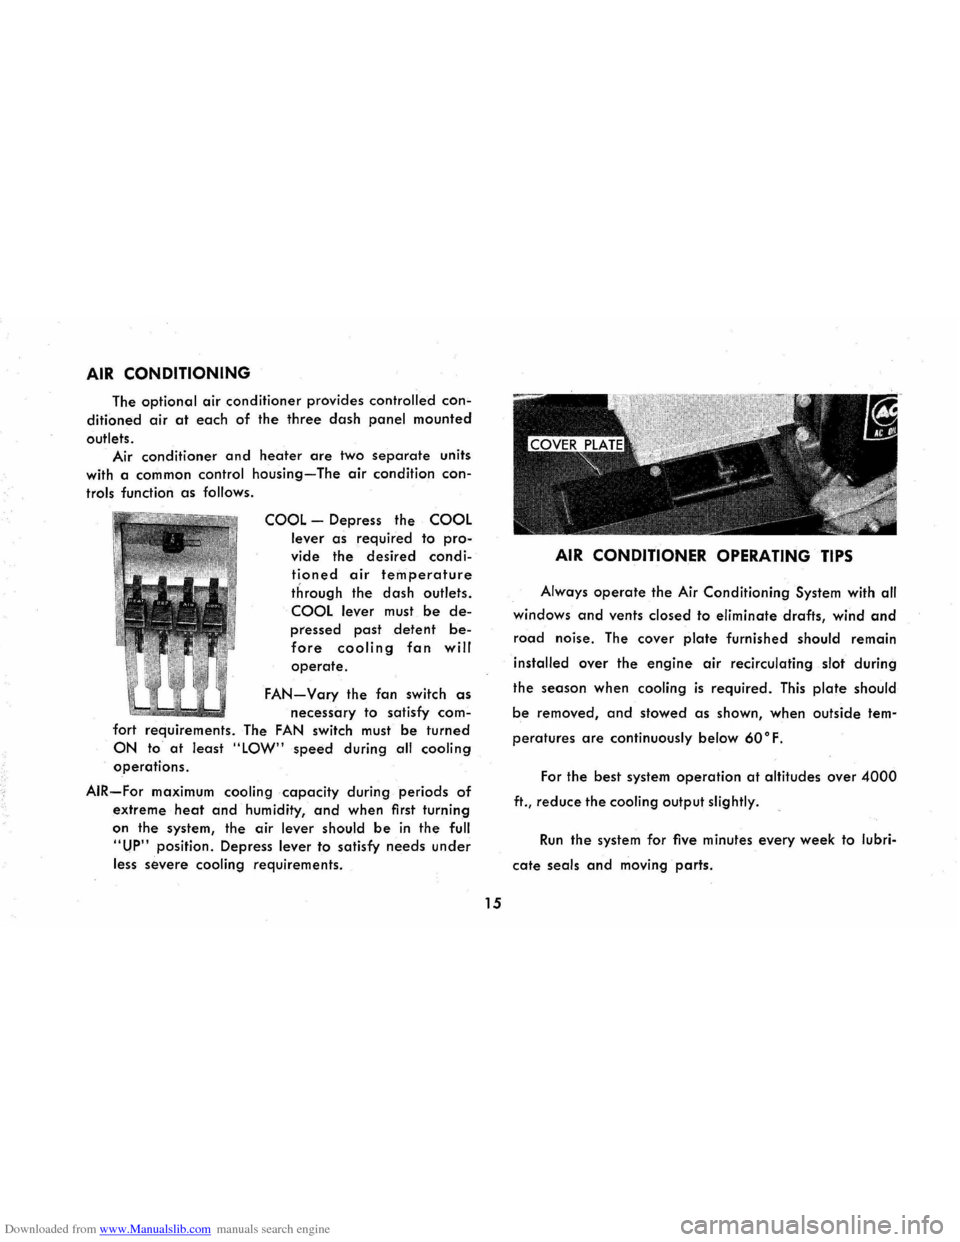
The optional air conditioner provides controlled con
ditioned air at each of the three dash panel mounted
outlets.
Air conditioner and heater are two separate units
with a common control housing-The air condition con
trols function as follows.
COOL -Depress the COOL
lever as required to pro
vide the desired condi
tioned air temperature
through the dash outlets.
COOL lever must be de
pressed past detent be
fore cooling fan will
operate.
FAN-Vary the fan switch as
necessary
to satisfy com
fort requirements. The FAN switch must be turned
ON to at least "LOW" speed during all cooling
operations.
AIR-For maximum cooling capacity during periods of
extreme heat and humidity, and when first turning
on the system, the air lever should be in the full
"UP" position. Depress lever to satisfy needs under
less severe cooling requirements.
15
AIR CONDITIONER OPERATING TIPS
Always operate the Air Conditioning System with all
windows and vents closed to eliminate drafts, wind and
road noise. The cover plate furnished should remain
installed over the engine air recirculating slot during
the season when cooling is required. This plate should
be removed, and stowed as shown, when outside tem
peratures are continuously below 600 F.
For the best system operation at altitudes over 4000
ft., reduce the cooling output slightly.
Run the system for five minutes every week to lubri
cate seals and moving parts.
Page 25 of 56
Downloaded from www.Manualslib.com manuals search engine CORVAIR CORSA
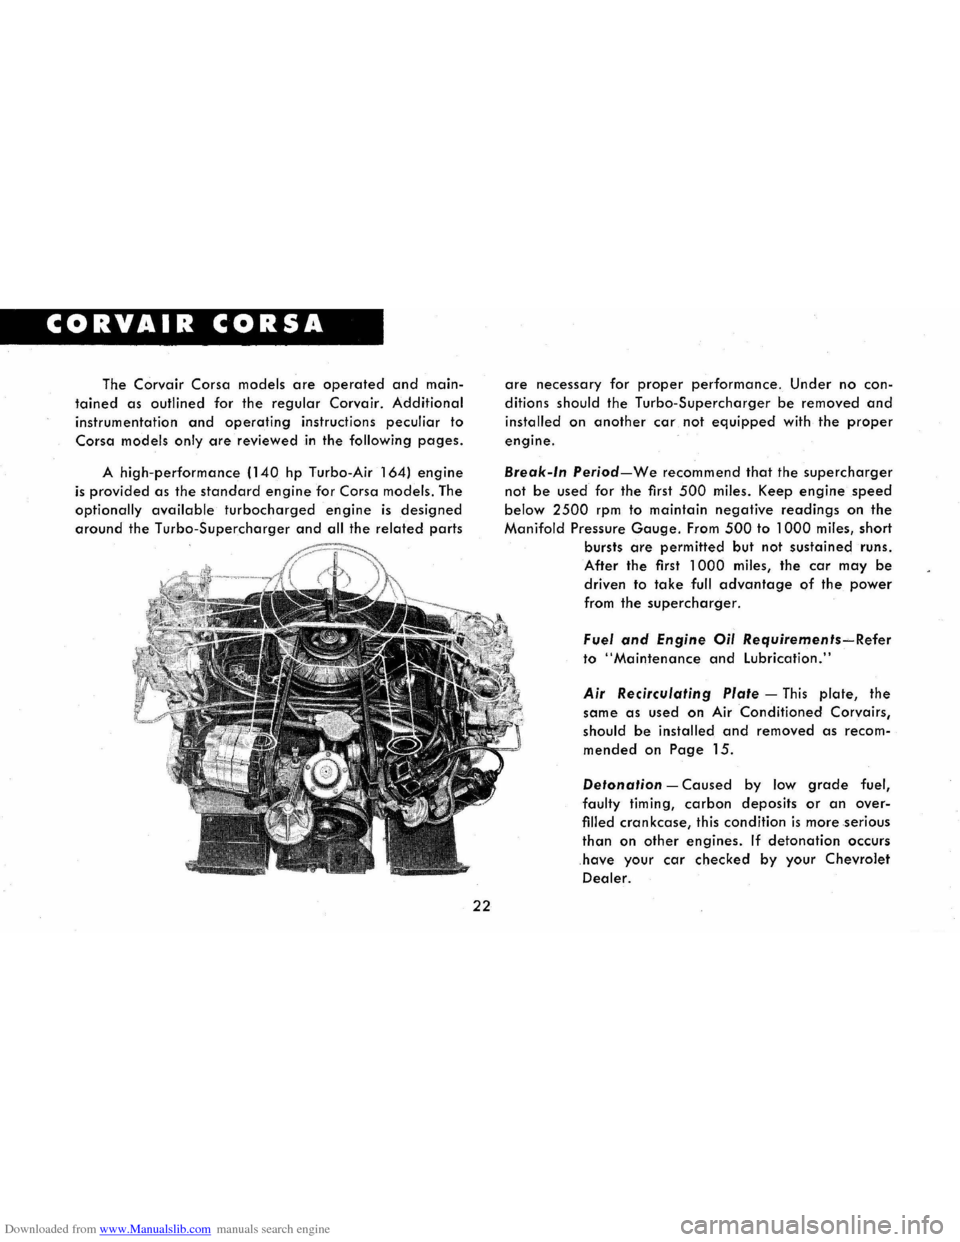
The Corvair Corsa models are operated and main
tained as outlined for the regular Corvair. Additional
instrumentation and operating instructions peculiar to
Corsa models only are reviewed in the following pages.
A high-performance (140 hp Turbo-Air 164) engine
is provided as the standard engine for Corsa models. The
optionally available turbocharged engine is designed
around the Turbo-Supercharger and all the related parts
22
are necessary for proper performance. Under no con
ditions should the Turbo-Supercharger be removed and
installed on another car not equipped with the proper
engine.
Break-In Period-We recommend that the supercharger
not be used for the first 500 miles. Keep engine speed
below 2500 rpm to maintain negative readings on the
Manifold Pressure Gauge. From 500 to 1000 miles, short
bursts
are permitted but not sustained runs.
After the first 1000 miles, the car may be
driven to take full advantage of the power
from the supercharger.
Fuel and Engine Oil Requirements~Refer
to "Maintenance and Lubrication."
Air Recirculating Plate -This plate, the
same as used on
Air Conditioned Corvairs,
should be installed and removed as recom
mended on Page 15.
Detonation -Caused by low grade fuel,
faulty timing, carbon deposits or an over
filled crankcase, this condition is more serious
than on other engines. If detonation occurs
have your car checked by your Chevrolet
Dealer.
Page 26 of 56
Downloaded from www.Manualslib.com manuals search engine YOUR CORVAIR CORSA INSTRUMENT PANEL
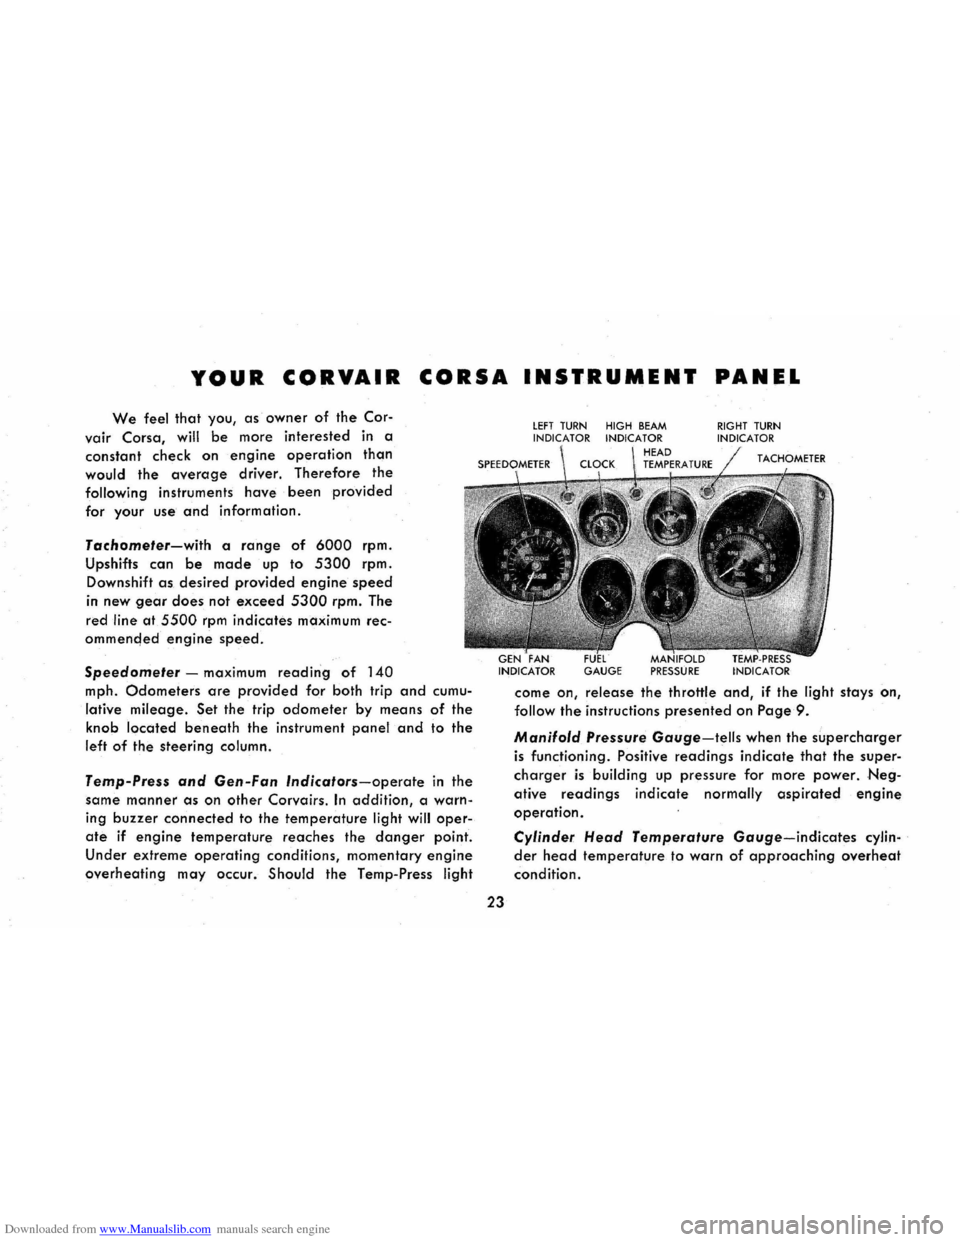
We feel that you, as owner of the Cor-
vair Corsa, will be more interested in a
constant check on
engine operation than
would the average driver. Therefore the
following instruments have been provided
for your use and information.
Tachometer-with a range of 6000 rpm.
Upshifts can
be made up to 5300 rpm.
Downshift as desired provided engine speed
in
new gear does not exceed 5300 rpm. The
red
line at 5500 rpm indicates maximum rec
ommencled
engine speed.
Speedometer -maximum reading of 140
mph. Odometers are provided for both trip and cumu
lative mileage. Set the trip odometer by means of the
knob located beneath the instrument panel and to the
left of the steering column.
Temp-Press and Gen-Fan Indicators-operate in the
same
manner as on other Corvairs. In addition, a warn
ing buzzer connected to the temperature light will oper
ate if engine temperature reaches the danger point.
Under extreme operating conditions, momentary engine
overheating may occur. Should the Temp-Press light
23
lEFT TURN HIGH BEAM INDICATOR INDICATOR
GAUGE PRESSURE
RIGHT TURN INDICATOR
come on, release the throttle and, if the light stays on,
follow the instructions presented on Page 9 .
Manifold Pressure Gauge-tells when the supercharger
is functioning. Positive readings indicate that the super
charger is building up pressure for more power. Neg
ative readings indicate normally aspirated engine
operation.
Cylinder Head Temperature Gauge-indicates cylin
der head temperature to warn of approaching overheat
condition.
Page 27 of 56
Downloaded from www.Manualslib.com manuals search engine CORVAIR GREENBRIER
INSTRUMENTS AND CONTROLS
The Corvair Greenbrier instr~ments and controls are
essentially the same as those of the Covair which are de
scribed in preceding pages of this book. However, due to
body construction, various items differ somewhat in
operation and location. The next few pages cover those
items
peculiar to the Corvair Greenbrier only.
AIR VENTS
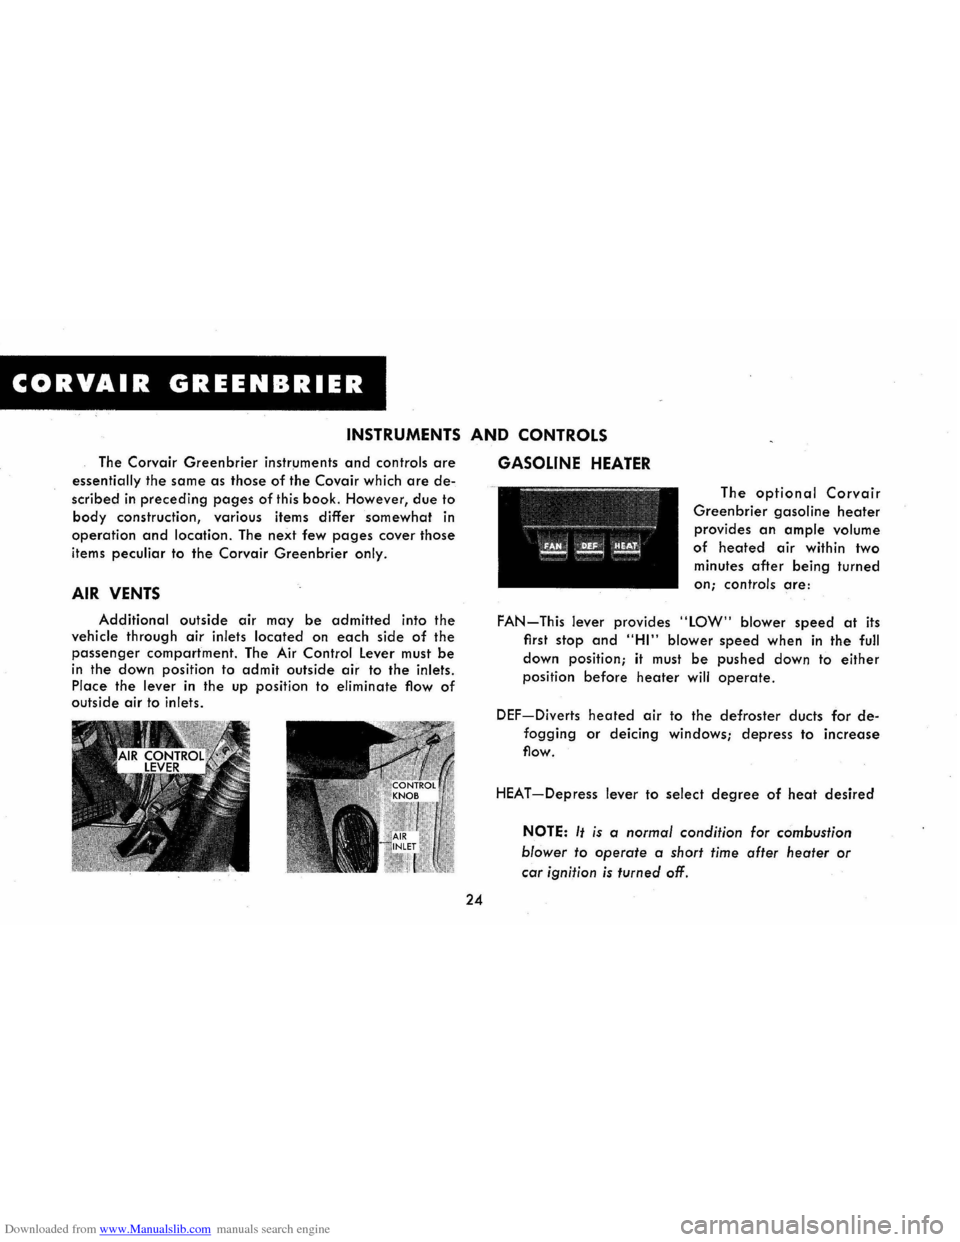
Additional outside air may be admitted into the
vehicle through air inlets located on each side of the
passenger compartment. The Air Control Lever must be
in the down position to admit outside air to the inlets.
Place
the lever in the up position to eliminate flow of outside air to inlets.
24
GASOLINE HEATER
The optional Corvair
Greenbrier gasoline heater
provides an ample volume
of heated air within two
minutes
after being turned
on; controls are:
FAN-This lever provides "LOW" blower speed at its
first
stop and "HI" blower speed when in the full
down position; it must be pushed down to either
position before heater will operate.
DEF-Diverts heated air to the defroster ducts for de
fogging or deicing windows; depress to increase
flow.
HEAT -Depress lever to select degree of heat desired
NOTE: It is a normal condition for combustion
blower to operate
a short time after heater or
car ignition
is turned off.
Page 33 of 56
Downloaded from www.Manualslib.com manuals search engine CLEANING HINTS
EXTERIOR APPEARANCE
Your Corvair is finished with General Motors "Magic
Mirror" acrylic lacquer. This is a finish of maximum beauty
which, in depth of color, gloss retention and durability is
superior to conventional lacquer finishes.
Washing Your Corvair
The best way to preserve the finish is to keep it clean.
Normally only frequent washings are required to maintain
its original beauty. Wash the car in either warm or cold
(never hot) water, not in the direct rays of the sun, and not
while the sheet metal surfaces are hot. Never wipe dirt
from dry painted surfaces because this may scratch the
finish. The use
of strong soaps and chemical detergents
should be avoided and in any event cleaning agents
should be promptly flushed from the surface and not
allowed to dry or they may streak the finish.
Polishing and Waxing Your Corvair
Even though the acrylic paint on your car is more
durable than conventional finishes; under certain condi
tions you may wish to wax or polish your car to provide
maximum protection. Calcium chloride and other salts,
road oil and tar, tree sap, chemicals from factory chim
neys
and other foreign matter may damage any known
automobile finish if allowed to remain in contact with the
30
paint film. Prompt washing may not thoroughly remove
these deposits .
and, particularly in geographical areas
where these exposure conditions are severe, properly
applied polishes and waxes of known quality will pro
vide the best protection. Chevrolet Dealers offer G. M.
Acry-Mel Hand Applied Cleaner and Polish and G. M.
Triple Action Cleaner and Polish; both are excellent for
use on acrylic finishes. Road oil and tar removers must
be warranted safe for use on acrylic finishes. Chevrolet
recommends G. M. Road Oil and Tar Remover.
Protection of. Exterior Bright Metal Parts
All bright metal parts of the car should be regularly
cleaned and protected against the same substances
harmful to the painted surfaces. NormallY, washing with
water is all that is required. Never use chrome polish,
steam or any caustic soap to clean ALUMINUM. Wash
only with luke-warm water, and if necessary, a mild soap.
Rinse well and dry thoroughly. Severe cases may be
cleaned with a cleaning compound specified for acrylic
finishes.
It is recommended that all bright metal parts of your
Corvair, after being thoroughly cleaned, be given a
coating of wax and rubbed to a high polish. This will
serve to keep corrosive agents away from these surfaces,
and should be repeated as often as required.