1964 CHEVROLET CORVETTE ESP
[x] Cancel search: ESPPage 5 of 52
The First
1000 Miles
During your first thousand miles of driving, you can, by
observing a few simple precautions. contribute greatly to a
longer life for your Corvette
and add much to its future per
formance and economy of operation.
It
is recommended that your speed during these first one thousand miles be confined to a maximum of 60 mph. However, do not drive for extended periods at anyone constant
speed, either fast or slow. During this period, avoid full throttle starts and quick, abrupt stops. The first few hundred miles of driving are especially important to proper brake
operation. Gentle braking during this period will allow proper conditioning of the brake
linings and result in longer brake life and better brake performance.
It
is always best to drive at a reasonable speed until the engine has warmed up. Be particularly careful to maintain the proper oil level in the engine. Check the oil level
fre quently and, if it becomes necessary to add oil, follow closely the recommendations as to
quality and viscosity found in this booklet. Use of the proper engine oil is of great impor
tance to insure maximum performance and economy.
Page 10 of 52
Downshifting with
Manual Transmission
If you wish to shift from one gear to the one imme
di ately lower in ratio, avoid dangerous ly overspeed
ing the engine by downshifting as follows:
I.
Watch the Tachometer-If your tach is orange
zoned at 5000 to 5300 rpm, you may downshift to
the next lower gear when it indicates 4000 to 4100
rpm. If your tach is red-zoned at 6300 to 6500 rpm, you may downshift to the next lower gear at 4700 to 4900 rpm.
2. Double-clutching reduces strain on engines and transmissions. The usual method of double
clutching is:
Let up on the throttle, disengage the clutch, shift
into neutral, and engage the clutch. Almost simultaneously, speed up the engine, disengage the
clutch, shift into the next lower gear and reengage the clutch while depressing the throttle.
With practice , this procedure becomes alm ost
second nature.
Driving with Positraction
The positraction rear axle will give you constant
driving force on both rear wheels, especially helpful in the winter and during other slippery driving con
ditions which might stop a conventionally equipped vehicle. During turns , the positraction axle applies
the major driving force to the inside rear wheel thus
improving stability and cornering. Normal light throttle application will supply maximum traction.
When starting with one rear wheel on an excessive ly
slippery surface, slight application of the
parking brake may be necessary momentarily to gai n maxi
mum traction.
Driving with
Metallic Brake Linings
If your Corvette is equipped with optional metallic
brake linings, you will find that somewhat mor e than
normal pedal pressure will be required to stop the car
until you have made several stops to warm up the
linings .
Page 12 of 52
CLUTCH AND STEERING ADJUSTMENTS-Your Chevrolet deal!!! '?I.n make these 'adjustments for YQu: • A linkage adjustment to reduce clutch pedal travel to permit .fast release and more rapid gear shifting; • An adjustment to move the steering wheel forward or rearward; _ A linkage IIdjustment to permit
"faster" steering
response.
TRAILERS and their EFFECT on CAR OPERATION
The Corvette is designed primaril y (or passenge r
co nveyance . H owever , it is well known that many owners do pull trailers and have experi e nced very
sa tisfacLOry serv ice.
When a trailer is attached to a car, the car becomes
not only a l oad-carrying vehicle, but a load-pulling vehicle . The d e m a n ds of this type of operation are
very different from those (or which t h e automobile is pri ma rily designed and may present probl ems, such
as spring and tire loading, braking, coo ling, lighting, and steering. Howeve r, careful driving practices will
better s atisfy the requirements of trailer hauling.
If in the opinion of the manufacturer a part or com ponent of a motor vehicle has been advers ely affected
by misuse of the vehicle with trailer loads, such part or
com
ponent will not be covered by the manufacturers warranty .
The size o f and equipment for trailers, including
su ch ite ms as hitc hes and safe t y ch a ins, brakes, ligllls, pO\ve r- wei ght ratios a n d over-all length, are gen erally
su bject to safet y regulations in all states, and i t is the responsibility o f the u ser to m a ke certain that h e is in full compliance with th e regulations of the states
in which h e plans to opera te with a traile r and of t h e Interstate Commerce Commission, i f applicable,
before doing so . Furthe r , when opera tin g a car with a traile r attached, the drive r must realize tha t the performance, steering characte ri stics , a n d brakin g distance of his ca r h ave been altered , and that h e mlls t exe r c ise greater caution t o safe ly handle his
ca r and trailer.
Page 20 of 52
HOOD
RELEASE •
The brakes usually adjust themselves as necessary. The optional heavy duty metallic brakes adjust on forward stops, others adjust on reverse stops. Should
brake pedal travel become excessive, drive the vehicle
back ward
and forward several times applying the
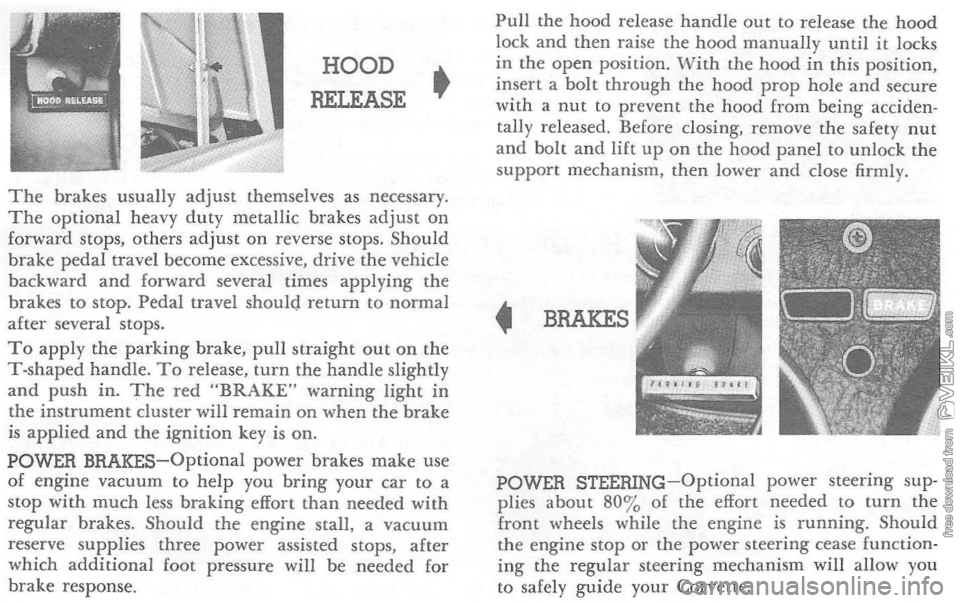
brakes to stop. Pedal travel should return to normal after several stops. To apply the parking brake, pull straight out on the T-shaped handle. To release, turn the handle slightly and push in. The red "BRAKE" warning light in the instrument cluster will remain on when the brake is applied and the ignition key is on. POWER BRAKES-Optional power brakes make use of engine vacuum to help you bring your car to a stop with much less braking effort than needed with regular brakes. Should the engine stall. a vacuum
reserve supplies three power assisted stops, after
which additional foot pressure will be needed for
brake response.
Pull the hood release handle out to release the hood lock and then raise the hood manually until it locks
in the open position . With the hood in this position, insert a bolt through the hood prop hole and secure
with a nut to prevent the hood from being acciden
tally released. Before closing, remove the safety nut
and bolt and lift up on the hood panel to unlock the
support mechanism . then lower and close firmly.
• BRAKES
POWER STEERING-Optional power steering sup
plies about 80 % of the effort needed to turn the front wheels while the engine is running. Should the engine stop or the power steering cease function ing the regular steering mechanism will allow you
to safely guide your Corvette.
Page 28 of 52
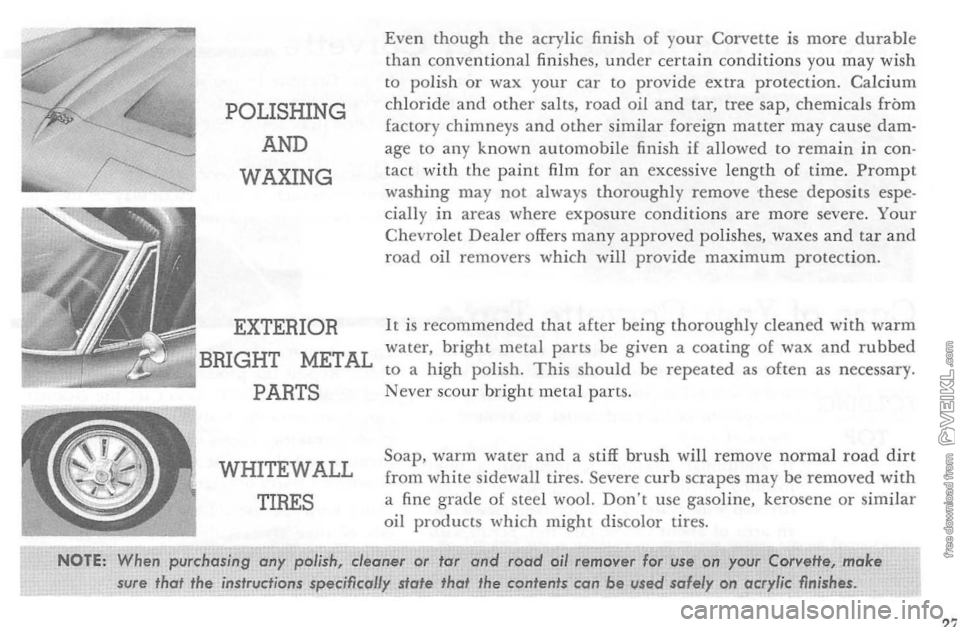
POLISHING AND
WAXING
METAL
WHITEWALL
TIRES
Even though the acry lic finish of your Co rvette is more durable than conventional fini shes. under certain conditions yo u may wish to polish or wax your car to provide extra protection. Calcium chloride and other salts, road oi l and tar, tree sap . chemica ls from fac tory chimneys and oth e r s imilar foreign matter may cause damage to any known automobile finish if allowed to remain in con
t act with the paint film for an excess ive length of time. Prompt washing may not always t horoughly r emove these deposits especially in areas where exposure conditio n s are more severe. Your Chevrolet Dealer offers many approved polishes . waxes and ta r and road oil removers which will provide maximum protection.
It is recommended that afte r being thoroughly cle a n ed with wa r m
water, bright metal parts be g iven a coating of wax and rubbed to a high polish. This should be repeated as often as necessary. Never scour bright meta l parts.
Soap,
warm water and a s tiff brush will remove normal road dirt
from white sidewall tires. Severe curb scrapes may b e removed with a fine grade of stee l wool. Don't use gasoline, kerosene or similar oil products w h ich might d i scolo r tires.
NOTE: When purchasing ony polish, cleaner or tar and road oil remover for use on your CorveHs; make
sure thot the instructions specifically state that the contents can be used solely on acrylic finishes.
27
Page 36 of 52
Recommended Schedule for Periodic
Maintenance
and Lubrication
The time or mileage intervals on the following pages
are intended as a guide for establishing regular main
tenance and lubrication periods for your Corvette .
Sustained heavy
duty or high speed operations or operation under adverse conditions may necessitate
more frequent servicing. To determine specific recommendations for conditions under which you use
your car, consult your Authorized Chevrolet Dealer.
BATTERY
Check the fluid level in each cell of the battery regularly and keep filled with distilled water to the bottom of the split ring in the vent tube of each
cell. DO NOT OVERFILL.
Clean and oil the battery terminals and oil the felt
washer at each regular engine oil change.
Check the state
of charge regularly, especially in
freezing weather when an undercharged battery may
freeze and break.
ENGINE OIL
Engine oil should be changed at 60
day or 6,000 mile intervals. whichever occurs first. U ndef prolonged
dusty driving conditions it may be necessary to
change the engine oil more often.
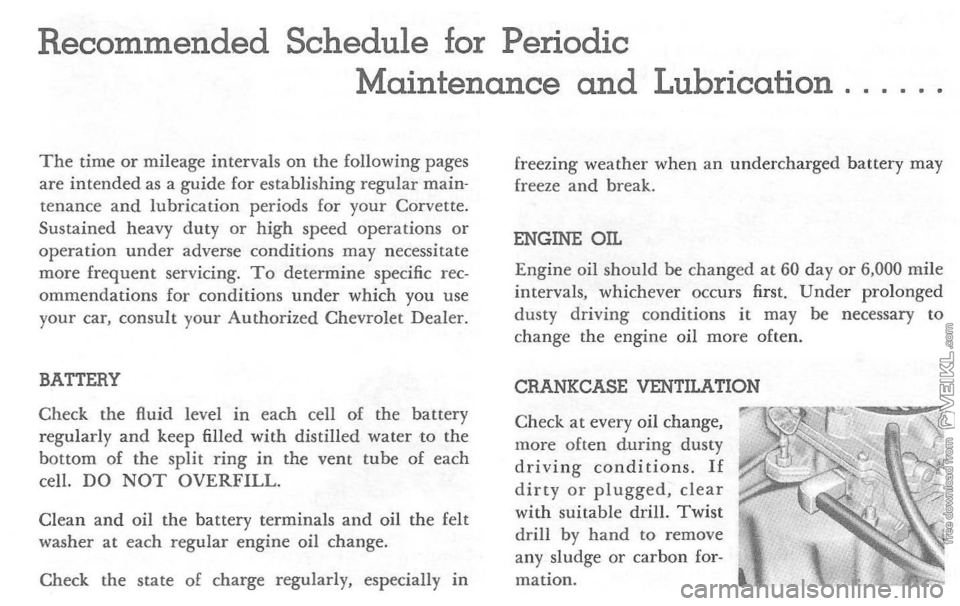
CRANKCASE VENTILATION
Check
at every oil change,
more often during dusty driving conditions. If dirty or plugged, clear with suitable drill. Twist drill by hand to remove
any sludge or carbon for
mation.
Page 42 of 52
MINOR TROUBLE SHOOTING PROCEDURES
T h e chart on the p reviou s page, and the information on the pages which follow, contains information designed to
aid th e average drive r to d iscove r, and possibly correc t,
conditions resu ltin g i n m inor m echanica l difficulties i n his
c ar. The chart, des igned to point out poss ible solutions to
s evera l of the most cQ,mmon autom otive malfunctions and point out a log ica l checkin g seq uence, will lead step by step to the most lik el y causes and corrective proc edures.
H, afte r makin g the checks and adjustments suggeste d, the source of the trouble has not been found and corrected, it is stro ngly recommended that an Authorized Chevrolet Dealer inspect the vehicl e and make whatever r e pairs or adjust me nts are necessary.
FUEL SYSTEM AND ENGINE If the ignition switch will cause the e n gin e to "turn over" or "crank" but the car will not sta rt, check Steps A through D below.
a
TE: ,l Continuol "flooding" of the carburetor is ev;de by 0 carburefor wet with fuel o r blade exhaust smoke
perform the operation suggested in paragraph D only
(A) T h e first and most obv ious , and one of the most frequently overlooked, items to check when you have difficulty in starting your car is the amount of fuel in the
tank. Make it a habit to chec k the FUEL GAUGE reg - ularly
a n d m ost especia lly
at a time when the engine _ "turn over" but will not start. (B) If th e fue l tank is not empty, you may check fur.=c to see whether the fuel is reachin g the carburetor. Disc:o&r neet the fuel line at the carb uretor. Place a jar or c:r
under the open line and brieRy "crank" the ~~e ... mean s of the st arter. ]( fuel spurts from the fiuiog.
may assume that the FUEL LINES are clear and the FeIl.. PUMP is operating properly. If n o fuel leaves the :me. either the fuel lines, fuel pump or the in-lin e filter art' 1-fault. See your Authorized Chevrolet Dealer. (C) Befor e recolln ecting the fu el line to me carbu..~ r emove the FUEL FILTER from the carburetor inlet ux! check its co ndition. !{ it appears to be clean , replace i~ a=. reconnec t the fue l line. If the filter appears to be p1!:s--;rt!
clean it as we ll as possible by scraping out the foreigt!~. rial and cleaning in a solvent. Then reinst all the filter ~== a new one as soon as possible.
(D) If the fuel seems to be reaching the carburetor prop
erly , th e problem may be: a n EMPTY CA.RBL""RET O::" BO'VL caused by a "stuck shut" carburetor; a ROODE:> CARBURETOR caused by a "stuck open" condition 2r.C. ev idenced by gasoline flowing down the outside 0: :.2 carburetor ; or a stuck CHOKE valve. Remove the U:cleaner from the carburetor. Check that the choke ~~ moves free ly and is not stuck . (Don't mistake no~ sp~~ tens ion for a stuck valve.) Tap the side of the carb~..lX sharply seve ral times with a light tool such as a sc::::-ewdriver handle or plie rs. R e p lace the air cleaner and a~?,to start the engin e in the normal manner.
Page 43 of 52

(E) If the car will start but sta lls w h e n hot or has a roug h idle, you can sus pect a f aulty IDLE ADJUSTMENT, a malfunctioning AUTOMATIC CHOKE or an extremely
dirty and blocked AIR CLEANER ELEMENT. Clean
your air cleaner element if necessary. If the above Fuel Syste m checks and the checks suggested under the Electr ica l System followi ng do not corre ct the malfunction , i t is recommended that you turTI to your Authorized Chevrolet Dealer for further checks, adjust
ments or repairs.
ELECTRICAL SYSTEM If, when the ignition key is turned to "Star t," the engine
will not turn over, you have good reason to sus pec t elec
trical trouble.
(F) '
Vhen there is
no response at all to attempts to star t
the car , check the obv ious-your AUTOMATIC TRANS· M ISSION SELECTOR LEVER mus t be in Neutral or Park position befor e the engine can be started. Turning
the IGNITION SvVITCH rapidly back and forth several
times will sometimes correct a poor internal switch contact.
(G) The BATTER Y may be discha rged. If so, lights will
be dim and the horn will have a poor tone if it will blow a t
all. Usually a
garage recharge will be nece ssary to return the battery to operation. Occasiona lly, however, a p u sh start and long driv e will recharge the battery .
POOR BATTERY CONNECTIONS may be suspec ted if
th e car has operated prope rly a short time befor e and now not eve n the horn will operate. Check both ends o f both battery cables. If the connections are corroded, a car ma y
som etimes be restore d to operation by removing all cab le
e n ds, scraping all contacting surfaces clean with a pen
knife, and reassembling. If the cables a r e broken, they
must be replaced. The power supply should now b e restored
unless the battery is dead.
(H)
If, however, the lights and horn work properly but
th e starter will still not turn ove r , c heck the STARTER connections. A "click " from the starter soleno id indicates
th a t the wirin g to the starter is properly install ed. If the
wiring seems to be clean and tightly installed, the trouble
is proba bly in the starter itself and sho uld be referred to
your Authorized Chevr olet Dealer.
When the e ngine will "turn ove r " but will not start, [h e
foll owin g items may b e checked along with the Fuel Syst em
Checks listed previous ly.
(I) With a clean dry cloth wipe the ceramic portions o f
t he spark plugs dry. In particul arly damp or rainy weather dampness may be the cause of not starting, espec ially when the e ngin e is cold.
0) C heck the cables
at the top of the distributor and coil as well as eac h spark plug cable for tightness.
(K)
If the car w ill stilI not st art. ch eck for spark at the
spark plugs in th e foll owing manner:
Pull o n e of the spark plug wi res off its spark plug. Insert a
short piece of bare wir e (such as a bobby pin) between the