2024 CHEVROLET SILVERADO EV dimensions
[x] Cancel search: dimensionsPage 253 of 429

Chevrolet Silverado EV Owner Manual (GMNA-Localizing-U.S./Canada-
16702912) - 2024 - CRC - 1/17/23
252 Driving and Operating
Certain trailer views require a compatible
trailer profile be configured and selected.
A compatible trailer is a box type trailer
(cargo, camper, etc.) with a conventional
hitch.
Available camera views:
.Front/Rear Standard View
.Front/Rear Top-Down View
.Rear Bowl View
.Front/Rear Side View
.Hitch View
.Rear Trailer View
.Rear Side View with Available Articulation
Functionality
.Picture-in-Picture Side View
.Interior Trailer View
.Transparent Trailer View
.Surround View
.Guidance Lines
.Hitch Guidance
Troubleshooting
The Trailer Camera calibration may take
longer than expected or not calibrate if:
.The vehicle is driven too fast during
calibration. Maintain speeds below
50 km/h (31 mph).
.The vehicle is not driven straight during
calibration. Steering should be maintained
as straight as possible. Excessive Steering
during calibration may extend
calibration time.
.The calibration is attempted in low light.
Calibration should be attempted when
there is enough light.
.The calibration is attempted during
adverse weather conditions. Calibration
during conditions such as snow or heavy
rain should be avoided.
.The road surface is not ideal for
calibration. Calibration should be
attempted on an alternate road surface.
.The accessory trailer cameras are
swapped at the hitch connector. Ensure
that the camera mounted to the rear of
the trailer is connected to the rear trailer
camera input.
.The accessory trailer camera is mounted,
angled, or rotated outside of the defined
mounting location (see camera
installation instructions).
.The vehicle or accessory trailer camera is
obstructed by dirt or debris. Check
cameras and clean as needed.
.The accessory trailer camera is mounted
such that obstructions are visible in the
view (spare tire, bike/cargo racks, etc.).
Calibration should be attempted with
obstruction temporarily removed.
Shadows resulting from driving toward
the sun may be perceived as obstructions.
Attempt to calibrate driving in an
alternate direction if possible.
.The entered trailer profile dimensions are
inaccurate. Measurements are expected to
be made to the nearest centimeter or
inch. Enter accurate measurements and
reattempt calibration.
Distortion may be observed in a rear trailer
camera view if:
.The accessory trailer camera is mounted,
angled or rotated outside of the defined
mounting location. See your dealer.
.The entered trailer profile dimensions are
inaccurate. Measurements are expected to
be made to the nearest centimeter or
inch. Enter accurate measurements and
reattempt calibration.
Page 254 of 429

Chevrolet Silverado EV Owner Manual (GMNA-Localizing-U.S./Canada-
16702912) - 2024 - CRC - 1/17/23
Driving and Operating 253
The Transparent Trailer image is not the
right size:
.The size of the image overlaid on the face
of the trailer may be too large or too
small if the measurements input in the
Trailering App are not accurate. See
Trailering App0310 for details on how to
take measurements.
The preview may not be provided or the
wrong preview may be provided if:
.The accessory cameras are not recognized.
Ensure that the accessory camera(s) are
connected and restart the vehicle.
.The accessory trailer cameras are
swapped at the hitch connector. Ensure
that the accessory camera(s) are
connected to the correct input.
.The accessory trailer camera(s) are not
installed according to the installation
instructions.
A feature may be unavailable or not
activating as expected if:
.The trailer is not compatible.
.The customization is disabled. Check the
customization settings where applicable.
.The accessory trailer cameras are
swapped at the hitch connector. Ensure
that the accessory camera(s) are
connected to the correct camera input.
.A trailer profile is not configured and
selected.
.The entered trailer profile dimensions are
inaccurate. Measurements are expected to
be made to the nearest centimeter or
inch. Enter accurate measurements and
reattempt calibration.
.The trailer position is not known. Drive
straight forward to learn trailer position.
.The rear vehicle camera is obstructed by
dirt or debris. Check cameras and clean as
needed.
.The accessory trailer cameras were
plugged in when the vehicle was running.
Prior to plugging in the trailer camera,
the vehicle needs to be off with all doors
closed for at least five minutes.
An unexpected view may display when:
.During the initial portions of the drive,
Transparent Trailer Degraded may be
displayed until truck or trailer articulation
angle can be calculated. Once calculated,
the expected transparent trailer view will
be displayed. Certain viewing features may experience
degraded performance if:
.The entered trailer profile dimensions are
inaccurate. Measurements are expected to
be made to the nearest centimeter or
inch. Enter accurate measurements and
reattempt calibration.
.The rear vehicle camera is obstructed by
dirt or debris. Check cameras and clean as
needed.
For trailers with outboard wheels:
.Performance for Transparent Trailer and
Jack Knife Detection are optimized when
the entered value for trailer width reflects
the width of the box of the trailer. If total
width is entered:
.The inlayed camera view in
Transparent Trailer View may appear
wider than the trailer face.
.The rear vehicle camera is obstructed by
dirt or debris. Check cameras and clean as
needed.
.Jack Knife Detection alerts may activate
prematurely.
Page 314 of 429

Chevrolet Silverado EV Owner Manual (GMNA-Localizing-U.S./Canada-
16702912) - 2024 - CRC - 1/17/23
Driving and Operating 313
a maximum of two minutes to detect and
label each TTPMS sensor. After each sensor
is learned, a check mark appears next to the
tire, the vehicle horn sounds, the vehicle
brake lamps flash, and all working trailer
lamps flash.
The recommended tire pressure must be
entered for the trailer tires. An alert appears
when a trailer tire's pressure is high or low.
Tool Method: A TTPMS activation tool can
be purchased separately to learn the trailer
TTPMS sensor locations.
Manual Method: Without the TTPMS
activation tool, the air pressure can be
increased or decreased in each tire for
10 seconds. Do not exceed the maximum
inflation pressure found on the tire
sidewalls. Make sure to readjust tire
pressure to the recommended level when
the process is complete.
Sensor Learning Steps
To complete the sensor-to-vehicle learn
process:1. Touch Start on the Learn Sensors screen. The horn chirps twice and the Learning
Active screen appears on the
infotainment display. 2. Start with the driver side front
trailer tire.
3. Activate the tool near the valve stem or adjust the air pressure of this tire until
the horn chirps and all working vehicle
and trailer lights flash.
The process stops without saving the
sensor locations if this step takes more
than two minutes.
4. Move to the next tire and repeat Step 3 for each sensor. The horn chirps twice
when all sensors are completed.
5. Return to the vehicle to complete the setup.
Maintenance Reminders
To set up maintenance reminders, touch the
Trailer Maintenance icon. Follow the
on-screen prompts. The maximum number
of reminders is 50.
Camera Views and Guides
To set up the trailer camera and guideline
features, if equipped, touch the Camera
Views and Guides icon.
1. Select the number of axles on the trailer.
2. Select the wheel location on the trailer (inboard or outboard). 3. Enter the trailer dimensions as prompted.
Follow the on-screen instructions to
complete setup for available features.
Certain trailer features require a compatible
trailer profile be configured and selected.
A compatible trailer is a box-type trailer
(cargo, camper, etc.) with a conventional
hitch.
Transparent Trailer Setup
If equipped, the rear trailer camera must be
mounted on the trailer and electrically
connected to the vehicle before transparent
trailer feature can be used. See Assistance
Systems for Parking or Backing 0246.
Follow the on-screen instructions to enter
the trailer dimensions.
Trailer dimensions must be in range and
transparent trailer must be calibrated
before use.
.Trailer Length: Measure from center of
coupler to furthest rear point on the
trailer.
.Trailer Total Width: Measure from the left
most edge of trailer, including the wheels,
to the right most edge.
Page 315 of 429

Chevrolet Silverado EV Owner Manual (GMNA-Localizing-U.S./Canada-
16702912) - 2024 - CRC - 1/17/23
314 Driving and Operating
.Trailer Body Width: Measure from the left
edge to the right edge of the trailer
body. This is only applicable to trailers
with outboard tires.
.Trailer Height: Measure from ground to
tallest point of the trailer.
.Hitching Point Length: Measure from
center of coupler to middle of tires.
.Trailer Tongue Length: Measure from the
center of the coupler to the trailer front
wall, if the trailer has a flat front. If it
does not have a flat front, measure from
the center of the coupler to the corner of
the sidewall. The point where the taper
meets the full width of the trailer.
.Vehicle Hitch Height: Measure from
ground to top of coupler.
.Vehicle Hitch Length: Measure from hitch
receiver to center of ball.
If trailer dimensions are out of range, this
feature is unavailable. Ensure the rear trailer
camera is connected.
Follow on-screen instructions to drive
forward to complete calibration.
Rear Trailer Guidance Setup
If equipped, a rear trailer camera must be
mounted on the trailer and electrically
connected to the vehicle before the rear trailer guidance feature can be used. See
Assistance Systems for Parking or Backing
0
246.
Trailer dimensions must be in the following
range to enable this feature:
.Trailer Length: Measure from center of
coupler to furthest rear point on the
trailer.
If trailer dimensions are out of range, this
feature is unavailable. Ensure rear trailer
camera is connected.
Follow the on-screen instructions to drive
forward to complete calibration.
Jack-Knife Alert Setup
If equipped, follow the on-screen instructions
to drive forward to complete calibration.
Trailer Length Indicator Setup
Follow on-screen instructions to drive
forward to complete calibration.
Trailer Side Blind Zone Alert Setup
Follow the on-screen instructions to enter
the trailer dimensions.
Trailer dimensions must be in range to
enable this feature.
.Trailer Length: Measure from center of
coupler to furthest rear point on the
trailer.
.Trailer Width: Measure from the left edge
to right edge of the trailer body.
If trailer dimensions are out of range, this
feature is unavailable.
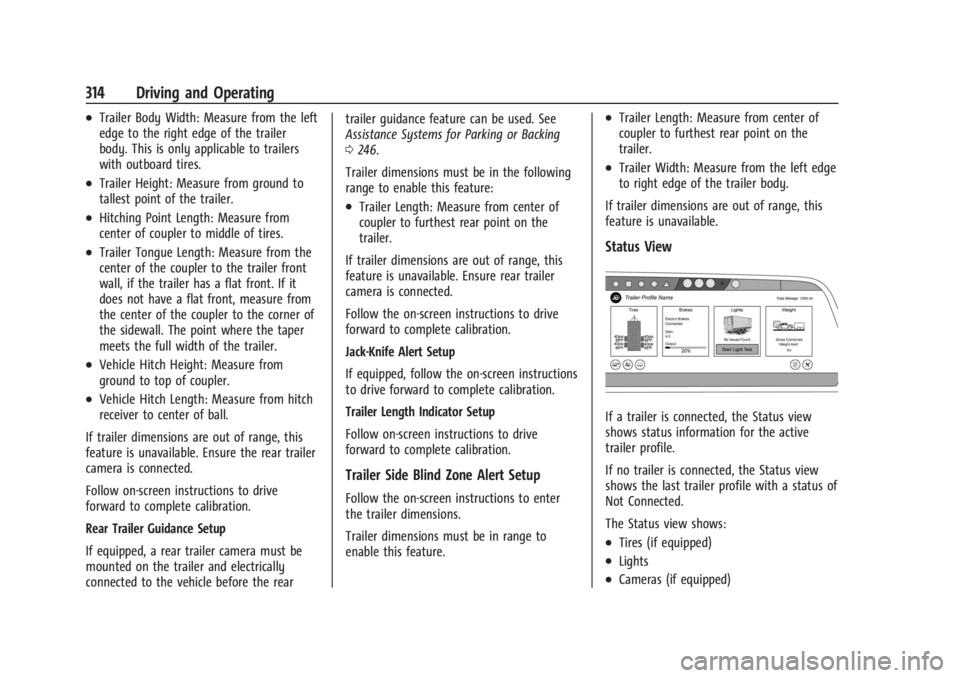
Status View
If a trailer is connected, the Status view
shows status information for the active
trailer profile.
If no trailer is connected, the Status view
shows the last trailer profile with a status of
Not Connected.
The Status view shows:
.Tires (if equipped)
.Lights
.Cameras (if equipped)