2024 CHEVROLET SILVERADO EV tires
[x] Cancel search: tiresPage 311 of 429
Chevrolet Silverado EV Owner Manual (GMNA-Localizing-U.S./Canada-
16702912) - 2024 - CRC - 1/17/23
310 Driving and Operating
of these aftermarket devices on vehicle
handling or trailer brake performance is not
known.
{Warning
Use of aftermarket electronic trailer sway
control devices could result in reduced
trailer brake performance, loss of trailer
brakes, or other malfunctions, and result
in a crash. You or others could be
seriously injured or killed. Before using
one of these devices:
.Ask the device or trailer manufacturer
if the device has been thoroughly
tested for compatibility with the
make, model, and year of your vehicle
and any optional equipment installed
on your vehicle.
.Before driving, check the trailer brakes
are working properly, if equipped.
Drive the vehicle with the trailer
attached on a level road surface that
is free of traffic at about 32-40 km/h
(20-25 mph) and fully apply the
manual trailer brake apply lever. Also,
check the trailer brake lamps and
other lamps are functioning correctly.(Continued)
Warning (Continued)
.If the trailer brakes are not operating
properly at any time, or if a DIC
message indicates problems with the
trailer connections or trailer brakes,
carefully pull the vehicle over to the
side of the road when traffic
conditions allow.
Trailer Tires
Special Trailer (ST) tires differ from vehicle
tires. Trailer tires are designed with stiff
sidewalls to help prevent sway and to
support heavy loads. These features can
make it difficult to determine if the trailer
tire pressures are low only based on a visual
inspection.
Always check all trailer tire pressures before
each trip when the tires are cool. Low trailer
tire pressure is a leading cause of trailer tire
blow-outs.
If the vehicle is equipped with a trailer tire
pressure monitoring system, see the trailer
tire pressure monitoring system description
and the trailering app. Trailer tires deteriorate over time. The trailer
tire sidewall will show the week and year
the tire was manufactured. Many trailer tire
manufacturers recommend replacing tires
more than six years old.
Overloading is another leading cause of
trailer tire blow-outs. Never load your trailer
with more weight than the tires are
designed to support. The load rating is
located on the trailer tire sidewall.
Always know the maximum speed rating for
the trailer tires before driving. This may be
significantly lower than the vehicle tire
speed rating. The speed rating may be on
the trailer tire sidewall. If the speed rating is
not shown, the default trailer tire speed
rating is 105 km/h (65 mph).
Trailering App
Trailer Light App
If equipped, the Trailering App is on the
infotainment home screen.
Page 314 of 429
Chevrolet Silverado EV Owner Manual (GMNA-Localizing-U.S./Canada-
16702912) - 2024 - CRC - 1/17/23
Driving and Operating 313
a maximum of two minutes to detect and
label each TTPMS sensor. After each sensor
is learned, a check mark appears next to the
tire, the vehicle horn sounds, the vehicle
brake lamps flash, and all working trailer
lamps flash.
The recommended tire pressure must be
entered for the trailer tires. An alert appears
when a trailer tire's pressure is high or low.
Tool Method: A TTPMS activation tool can
be purchased separately to learn the trailer
TTPMS sensor locations.
Manual Method: Without the TTPMS
activation tool, the air pressure can be
increased or decreased in each tire for
10 seconds. Do not exceed the maximum
inflation pressure found on the tire
sidewalls. Make sure to readjust tire
pressure to the recommended level when
the process is complete.
Sensor Learning Steps
To complete the sensor-to-vehicle learn
process:1. Touch Start on the Learn Sensors screen. The horn chirps twice and the Learning
Active screen appears on the
infotainment display. 2. Start with the driver side front
trailer tire.
3. Activate the tool near the valve stem or adjust the air pressure of this tire until
the horn chirps and all working vehicle
and trailer lights flash.
The process stops without saving the
sensor locations if this step takes more
than two minutes.
4. Move to the next tire and repeat Step 3 for each sensor. The horn chirps twice
when all sensors are completed.
5. Return to the vehicle to complete the setup.
Maintenance Reminders
To set up maintenance reminders, touch the
Trailer Maintenance icon. Follow the
on-screen prompts. The maximum number
of reminders is 50.
Camera Views and Guides
To set up the trailer camera and guideline
features, if equipped, touch the Camera
Views and Guides icon.
1. Select the number of axles on the trailer.
2. Select the wheel location on the trailer (inboard or outboard). 3. Enter the trailer dimensions as prompted.
Follow the on-screen instructions to
complete setup for available features.
Certain trailer features require a compatible
trailer profile be configured and selected.
A compatible trailer is a box-type trailer
(cargo, camper, etc.) with a conventional
hitch.
Transparent Trailer Setup
If equipped, the rear trailer camera must be
mounted on the trailer and electrically
connected to the vehicle before transparent
trailer feature can be used. See Assistance
Systems for Parking or Backing 0246.
Follow the on-screen instructions to enter
the trailer dimensions.
Trailer dimensions must be in range and
transparent trailer must be calibrated
before use.
.Trailer Length: Measure from center of
coupler to furthest rear point on the
trailer.
.Trailer Total Width: Measure from the left
most edge of trailer, including the wheels,
to the right most edge.
Page 315 of 429
Chevrolet Silverado EV Owner Manual (GMNA-Localizing-U.S./Canada-
16702912) - 2024 - CRC - 1/17/23
314 Driving and Operating
.Trailer Body Width: Measure from the left
edge to the right edge of the trailer
body. This is only applicable to trailers
with outboard tires.
.Trailer Height: Measure from ground to
tallest point of the trailer.
.Hitching Point Length: Measure from
center of coupler to middle of tires.
.Trailer Tongue Length: Measure from the
center of the coupler to the trailer front
wall, if the trailer has a flat front. If it
does not have a flat front, measure from
the center of the coupler to the corner of
the sidewall. The point where the taper
meets the full width of the trailer.
.Vehicle Hitch Height: Measure from
ground to top of coupler.
.Vehicle Hitch Length: Measure from hitch
receiver to center of ball.
If trailer dimensions are out of range, this
feature is unavailable. Ensure the rear trailer
camera is connected.
Follow on-screen instructions to drive
forward to complete calibration.
Rear Trailer Guidance Setup
If equipped, a rear trailer camera must be
mounted on the trailer and electrically
connected to the vehicle before the rear trailer guidance feature can be used. See
Assistance Systems for Parking or Backing
0
246.
Trailer dimensions must be in the following
range to enable this feature:
.Trailer Length: Measure from center of
coupler to furthest rear point on the
trailer.
If trailer dimensions are out of range, this
feature is unavailable. Ensure rear trailer
camera is connected.
Follow the on-screen instructions to drive
forward to complete calibration.
Jack-Knife Alert Setup
If equipped, follow the on-screen instructions
to drive forward to complete calibration.
Trailer Length Indicator Setup
Follow on-screen instructions to drive
forward to complete calibration.
Trailer Side Blind Zone Alert Setup
Follow the on-screen instructions to enter
the trailer dimensions.
Trailer dimensions must be in range to
enable this feature.
.Trailer Length: Measure from center of
coupler to furthest rear point on the
trailer.
.Trailer Width: Measure from the left edge
to right edge of the trailer body.
If trailer dimensions are out of range, this
feature is unavailable.
Status View
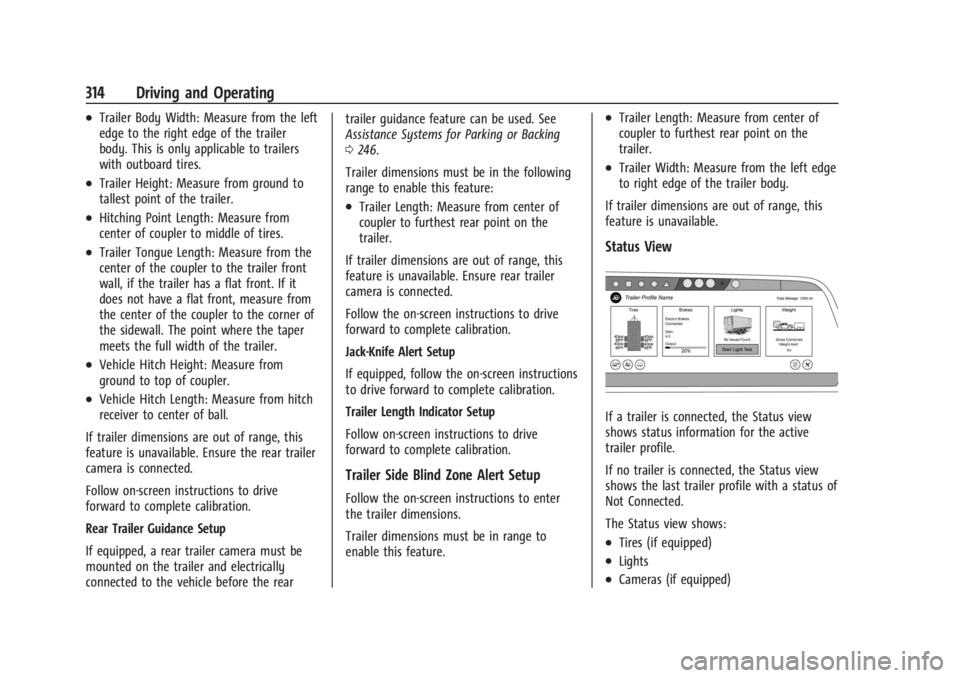
If a trailer is connected, the Status view
shows status information for the active
trailer profile.
If no trailer is connected, the Status view
shows the last trailer profile with a status of
Not Connected.
The Status view shows:
.Tires (if equipped)
.Lights
.Cameras (if equipped)
Page 317 of 429
Chevrolet Silverado EV Owner Manual (GMNA-Localizing-U.S./Canada-
16702912) - 2024 - CRC - 1/17/23
316 Driving and Operating
Light Test
Touch Start Light Test to cycle the trailer
lights on and off to determine if they are
working. The test follows this sequence:1. The running lights turn on first and remain on throughout the sequence.
2. The brake lights turn on for about two seconds.
3. The left turn signal light flashes three times.
4. The right turn signal light flashes three times.
5. The reverse lights turn on for about two seconds.
6. Steps 2–5 repeat for approximately one minute and 45 seconds, or until the
test deactivates.
Touch Stop to manually stop the test. The
test automatically ends after one minute
and 45 seconds.
The Light Test also deactivates when any of
the following occur:
.The vehicle is turned off.
.The vehicle is shifted out of P (Park).
.The brake pedal is pressed.
.The turn signal is activated.
.The hazard warning flashers are activated.
Tires
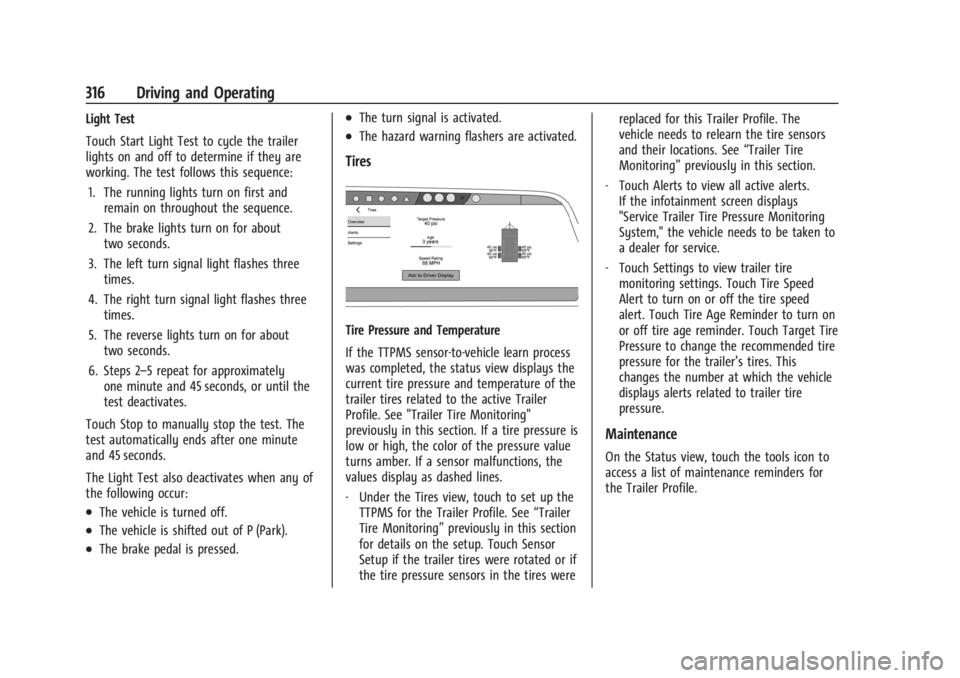
Tire Pressure and Temperature
If the TTPMS sensor-to-vehicle learn process
was completed, the status view displays the
current tire pressure and temperature of the
trailer tires related to the active Trailer
Profile. See "Trailer Tire Monitoring"
previously in this section. If a tire pressure is
low or high, the color of the pressure value
turns amber. If a sensor malfunctions, the
values display as dashed lines.
‐ Under the Tires view, touch to set up the
TTPMS for the Trailer Profile. See “Trailer
Tire Monitoring” previously in this section
for details on the setup. Touch Sensor
Setup if the trailer tires were rotated or if
the tire pressure sensors in the tires were replaced for this Trailer Profile. The
vehicle needs to relearn the tire sensors
and their locations. See
“Trailer Tire
Monitoring” previously in this section.
‐ Touch Alerts to view all active alerts.
If the infotainment screen displays
"Service Trailer Tire Pressure Monitoring
System," the vehicle needs to be taken to
a dealer for service.
‐ Touch Settings to view trailer tire
monitoring settings. Touch Tire Speed
Alert to turn on or off the tire speed
alert. Touch Tire Age Reminder to turn on
or off tire age reminder. Touch Target Tire
Pressure to change the recommended tire
pressure for the trailer’s tires. This
changes the number at which the vehicle
displays alerts related to trailer tire
pressure.
Maintenance
On the Status view, touch the tools icon to
access a list of maintenance reminders for
the Trailer Profile.
Page 324 of 429
Chevrolet Silverado EV Owner Manual (GMNA-Localizing-U.S./Canada-
16702912) - 2024 - CRC - 1/13/23
Vehicle Care 323
Vehicle Care
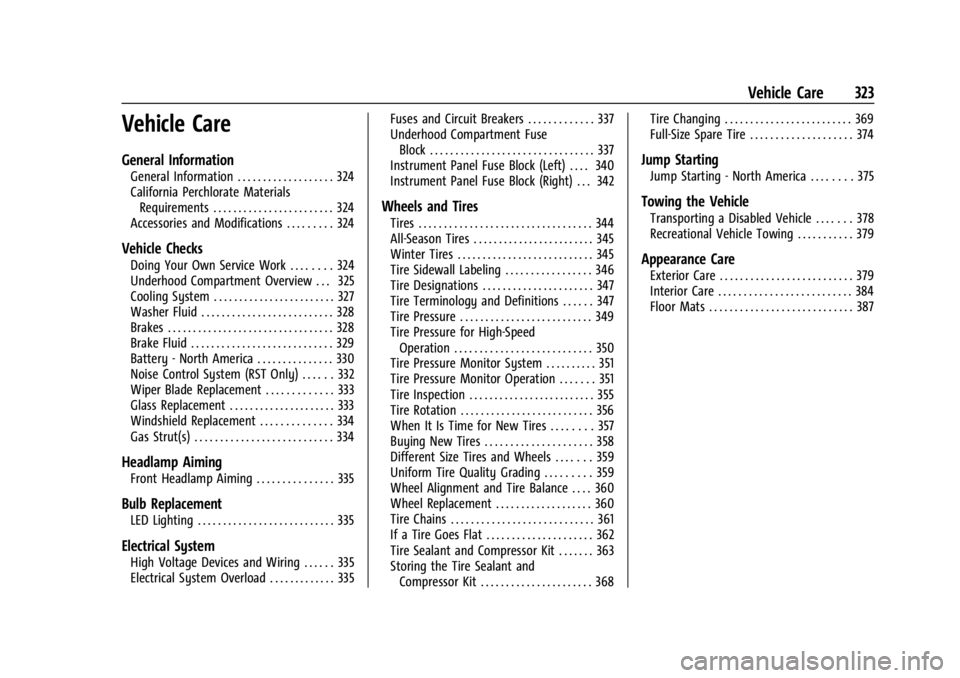
General Information
General Information . . . . . . . . . . . . . . . . . . . 324
California Perchlorate MaterialsRequirements . . . . . . . . . . . . . . . . . . . . . . . . 324
Accessories and Modifications . . . . . . . . . 324
Vehicle Checks
Doing Your Own Service Work . . . . . . . . 324
Underhood Compartment Overview . . . 325
Cooling System . . . . . . . . . . . . . . . . . . . . . . . . 327
Washer Fluid . . . . . . . . . . . . . . . . . . . . . . . . . . 328
Brakes . . . . . . . . . . . . . . . . . . . . . . . . . . . . . . . . . 328
Brake Fluid . . . . . . . . . . . . . . . . . . . . . . . . . . . . 329
Battery - North America . . . . . . . . . . . . . . . 330
Noise Control System (RST Only) . . . . . . 332
Wiper Blade Replacement . . . . . . . . . . . . . 333
Glass Replacement . . . . . . . . . . . . . . . . . . . . . 333
Windshield Replacement . . . . . . . . . . . . . . 334
Gas Strut(s) . . . . . . . . . . . . . . . . . . . . . . . . . . . 334
Headlamp Aiming
Front Headlamp Aiming . . . . . . . . . . . . . . . 335
Bulb Replacement
LED Lighting . . . . . . . . . . . . . . . . . . . . . . . . . . . 335
Electrical System
High Voltage Devices and Wiring . . . . . . 335
Electrical System Overload . . . . . . . . . . . . . 335 Fuses and Circuit Breakers . . . . . . . . . . . . . 337
Underhood Compartment Fuse
Block . . . . . . . . . . . . . . . . . . . . . . . . . . . . . . . . 337
Instrument Panel Fuse Block (Left) . . . . 340
Instrument Panel Fuse Block (Right) . . . 342
Wheels and Tires
Tires . . . . . . . . . . . . . . . . . . . . . . . . . . . . . . . . . . 344
All-Season Tires . . . . . . . . . . . . . . . . . . . . . . . . 345
Winter Tires . . . . . . . . . . . . . . . . . . . . . . . . . . . 345
Tire Sidewall Labeling . . . . . . . . . . . . . . . . . 346
Tire Designations . . . . . . . . . . . . . . . . . . . . . . 347
Tire Terminology and Definitions . . . . . . 347
Tire Pressure . . . . . . . . . . . . . . . . . . . . . . . . . . 349
Tire Pressure for High-Speed Operation . . . . . . . . . . . . . . . . . . . . . . . . . . . 350
Tire Pressure Monitor System . . . . . . . . . . 351
Tire Pressure Monitor Operation . . . . . . . 351
Tire Inspection . . . . . . . . . . . . . . . . . . . . . . . . . 355
Tire Rotation . . . . . . . . . . . . . . . . . . . . . . . . . . 356
When It Is Time for New Tires . . . . . . . . 357
Buying New Tires . . . . . . . . . . . . . . . . . . . . . 358
Different Size Tires and Wheels . . . . . . . 359
Uniform Tire Quality Grading . . . . . . . . . 359
Wheel Alignment and Tire Balance . . . . 360
Wheel Replacement . . . . . . . . . . . . . . . . . . . 360
Tire Chains . . . . . . . . . . . . . . . . . . . . . . . . . . . . 361
If a Tire Goes Flat . . . . . . . . . . . . . . . . . . . . . 362
Tire Sealant and Compressor Kit . . . . . . . 363
Storing the Tire Sealant and
Compressor Kit . . . . . . . . . . . . . . . . . . . . . . 368 Tire Changing . . . . . . . . . . . . . . . . . . . . . . . . . 369
Full-Size Spare Tire . . . . . . . . . . . . . . . . . . . . 374
Jump Starting
Jump Starting - North America . . . . . . . . 375
Towing the Vehicle
Transporting a Disabled Vehicle . . . . . . . 378
Recreational Vehicle Towing . . . . . . . . . . . 379
Appearance Care
Exterior Care . . . . . . . . . . . . . . . . . . . . . . . . . . 379
Interior Care . . . . . . . . . . . . . . . . . . . . . . . . . . 384
Floor Mats . . . . . . . . . . . . . . . . . . . . . . . . . . . . 387
Page 330 of 429
Chevrolet Silverado EV Owner Manual (GMNA-Localizing-U.S./Canada-
16702912) - 2024 - CRC - 1/13/23
Vehicle Care 329
Caution
Continuing to drive with worn-out brake
linings could result in costly brake
repairs.
Some driving conditions or climates can
cause a brake squeal when the brakes are
first applied, clearing up following several
applications. This does not mean something
is wrong with the brakes.
Properly torqued wheel nuts are necessary
to help prevent brake pulsation. When tires
are rotated, inspect brake linings for wear
and evenly tighten wheel nuts in the proper
sequence to torque specifications. See
Capacities and Specifications 0395.
Brake pads should be replaced as complete
axle sets.
Brake Pedal Travel
See your dealer if the brake pedal does not
return to normal height, or if there is a
rapid increase in pedal travel. This could be
a sign that brake service may be required.
Replacing Brake System Parts
Always replace brake system parts with
new, approved replacement parts. If this is
not done, the brakes may not work
properly. The braking performance can
change in many ways if the wrong brake
parts are installed or if parts are improperly
installed.
Brake Fluid
The brake master cylinder reservoir is filled
with GM approved DOT 4 brake fluid as
indicated on the reservoir cap. See
Underhood Compartment Overview 0325 for
the location of the reservoir.
Checking Brake Fluid
With the vehicle in P (Park) on a level
surface, the brake fluid level should be
between the minimum and maximum marks
on the brake fluid reservoir. There are only two reasons why the brake
fluid level in the reservoir may go down:
.Normal brake lining wear. When new
linings are installed, the fluid level goes
back up.
.A fluid leak in the brake hydraulic system.
Have the brake hydraulic system fixed.
With a leak, the brakes will not
work well.
Always clean the brake fluid reservoir cap
and the area around the cap before
removing it.
Do not top off the brake fluid. Adding fluid
does not correct a leak. If fluid is added
when the linings are worn, there will be too
much fluid when new brake linings are
installed. Add or remove fluid, as necessary,
only when work is done on the brake
hydraulic system.
When the brake fluid falls to a low level,
the brake warning light comes on. See Brake
System Warning Light 0115.
Brake fluid absorbs water over time which
degrades the effectiveness of the brake fluid.
Replace brake fluid at the specified intervals
to prevent increased stopping distance. See
Maintenance Schedule 0389.
Page 345 of 429
Chevrolet Silverado EV Owner Manual (GMNA-Localizing-U.S./Canada-
16702912) - 2024 - CRC - 1/13/23
344 Vehicle Care
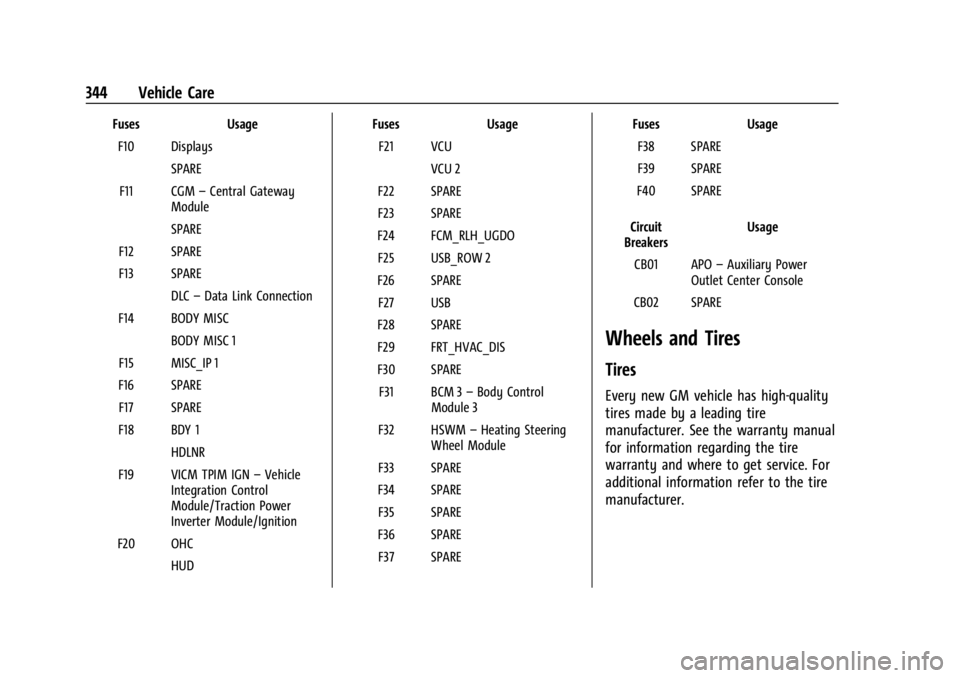
FusesUsage
F10 Displays SPARE
F11 CGM –Central Gateway
Module
SPARE
F12 SPARE
F13 SPARE DLC–Data Link Connection
F14 BODY MISC BODY MISC 1
F15 MISC_IP 1
F16 SPARE F17 SPARE
F18 BDY 1 HDLNR
F19 VICM TPIM IGN –Vehicle
Integration Control
Module/Traction Power
Inverter Module/Ignition
F20 OHC HUD Fuses
Usage
F21 VCU VCU 2
F22 SPARE
F23 SPARE
F24 FCM_RLH_UGDO F25 USB_ROW 2
F26 SPARE F27 USB
F28 SPARE
F29 FRT_HVAC_DIS
F30 SPARE F31 BCM 3 –Body Control
Module 3
F32 HSWM –Heating Steering
Wheel Module
F33 SPARE
F34 SPARE F35 SPARE
F36 SPARE F37 SPARE Fuses
Usage
F38 SPARE
F39 SPARE
F40 SPARE
Circuit
Breakers Usage
CB01 APO –Auxiliary Power
Outlet Center Console
CB02 SPARE
Wheels and Tires
Tires
Every new GM vehicle has high-quality
tires made by a leading tire
manufacturer. See the warranty manual
for information regarding the tire
warranty and where to get service. For
additional information refer to the tire
manufacturer.
Page 346 of 429
Chevrolet Silverado EV Owner Manual (GMNA-Localizing-U.S./Canada-
16702912) - 2024 - CRC - 1/13/23
Vehicle Care 345
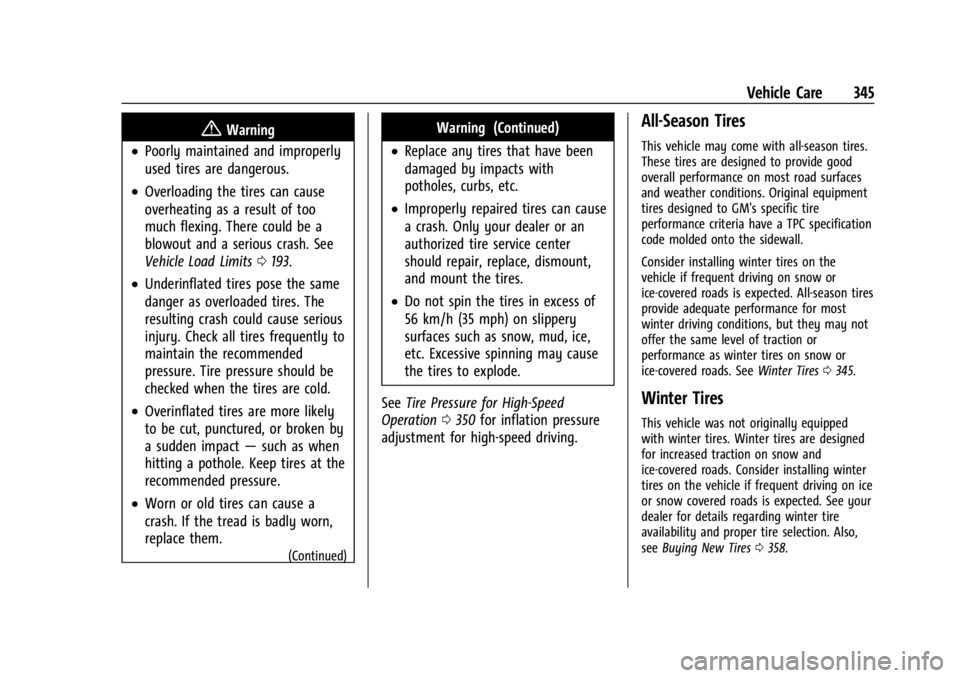
{Warning
.Poorly maintained and improperly
used tires are dangerous.
.Overloading the tires can cause
overheating as a result of too
much flexing. There could be a
blowout and a serious crash. See
Vehicle Load Limits0193.
.Underinflated tires pose the same
danger as overloaded tires. The
resulting crash could cause serious
injury. Check all tires frequently to
maintain the recommended
pressure. Tire pressure should be
checked when the tires are cold.
.Overinflated tires are more likely
to be cut, punctured, or broken by
a sudden impact —such as when
hitting a pothole. Keep tires at the
recommended pressure.
.Worn or old tires can cause a
crash. If the tread is badly worn,
replace them.
(Continued)
Warning (Continued)
.Replace any tires that have been
damaged by impacts with
potholes, curbs, etc.
.Improperly repaired tires can cause
a crash. Only your dealer or an
authorized tire service center
should repair, replace, dismount,
and mount the tires.
.Do not spin the tires in excess of
56 km/h (35 mph) on slippery
surfaces such as snow, mud, ice,
etc. Excessive spinning may cause
the tires to explode.
See Tire Pressure for High-Speed
Operation 0350 for inflation pressure
adjustment for high-speed driving.
All-Season Tires
This vehicle may come with all-season tires.
These tires are designed to provide good
overall performance on most road surfaces
and weather conditions. Original equipment
tires designed to GM's specific tire
performance criteria have a TPC specification
code molded onto the sidewall.
Consider installing winter tires on the
vehicle if frequent driving on snow or
ice-covered roads is expected. All-season tires
provide adequate performance for most
winter driving conditions, but they may not
offer the same level of traction or
performance as winter tires on snow or
ice-covered roads. See Winter Tires0345.
Winter Tires
This vehicle was not originally equipped
with winter tires. Winter tires are designed
for increased traction on snow and
ice-covered roads. Consider installing winter
tires on the vehicle if frequent driving on ice
or snow covered roads is expected. See your
dealer for details regarding winter tire
availability and proper tire selection. Also,
see Buying New Tires 0358.