2023 TOYOTA VENZA HYBRID wheel size
[x] Cancel search: wheel sizePage 106 of 560
1062-1. Instrument cluster
wheel in 6 steps from 0 to 5.
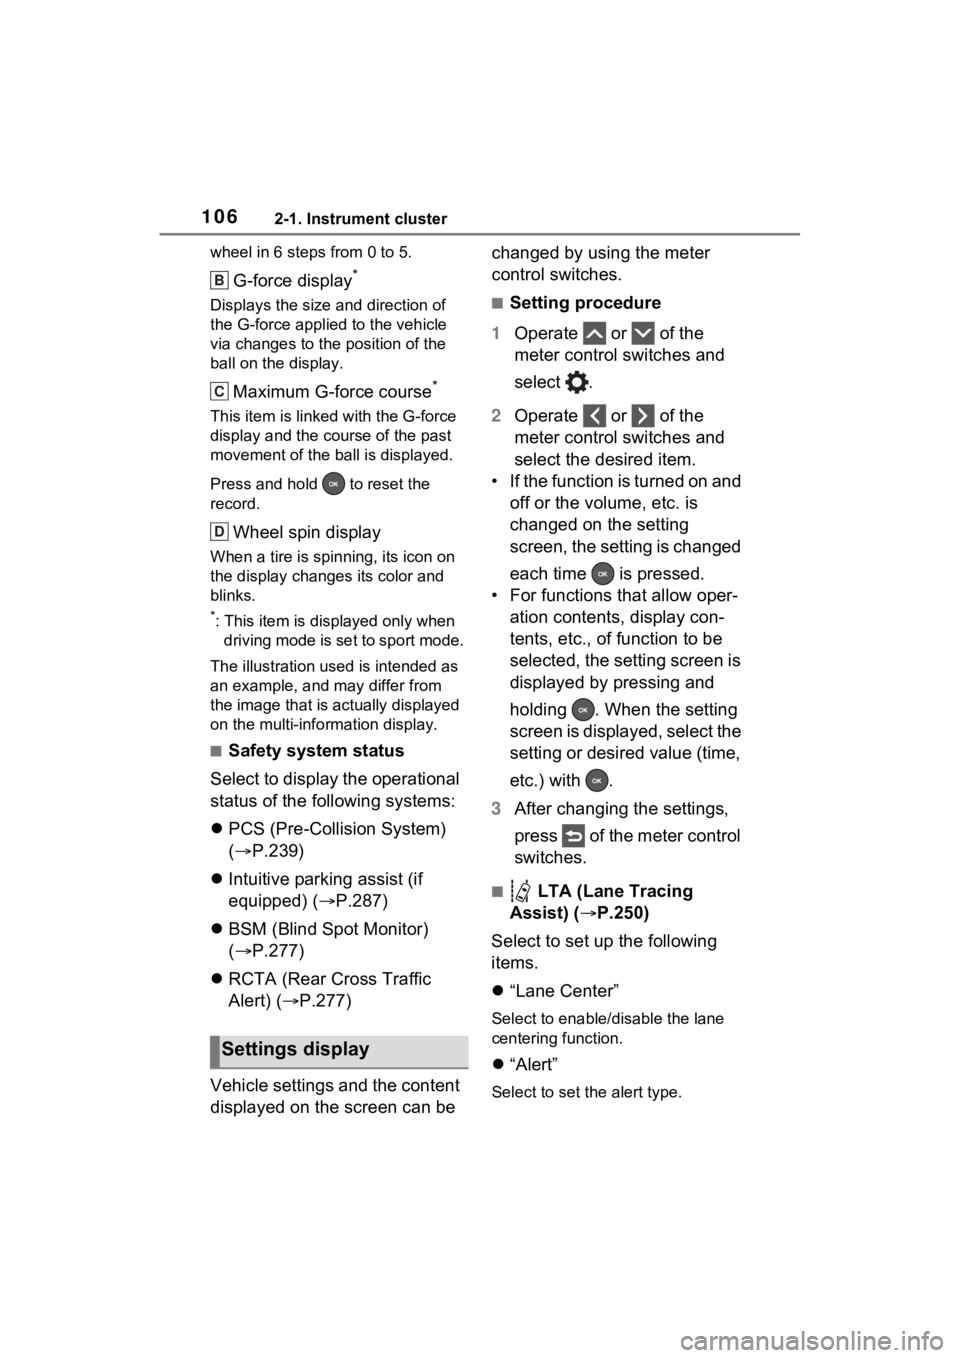
G-force display*
Displays the size and direction of
the G-force applied to the vehicle
via changes to the position of the
ball on the display.
Maximum G-force course*
This item is linke d with the G-force
display and the course of the past
movement of the ball is displayed.
Press and hold to reset the
record.
Wheel spin display
When a tire is spin ning, its icon on
the display change s its color and
blinks.
*: This item is displayed only when driving mode is set to sport mode.
The illustration used is intended as
an example, and may differ from
the image that is actually displayed
on the multi-info rmation display.
■Safety system status
Select to display the operational
status of the following systems:
PCS (Pre-Collision System)
( P.239)
Intuitive parking assist (if
equipped) ( P.287)
BSM (Blind Spot Monitor)
( P.277)
RCTA (Rear Cross Traffic
Alert) ( P.277)
Vehicle settings and the content
displayed on the screen can be changed by using the meter
control switches.
■Setting procedure
1 Operate or of the
meter control switches and
select .
2 Operate or of the
meter control switches and
select the desired item.
• If the function is turned on and off or the volume, etc. is
changed on the setting
screen, the setting is changed
each time is pressed.
• For functions that allow oper- ation contents, display con-
tents, etc., of function to be
selected, the setting screen is
displayed by pressing and
holding . When the setting
screen is displayed, select the
setting or desired value (time,
etc.) with .
3 After changing the settings,
press of the meter control
switches.
■ LTA (Lane Tracing
Assist) ( P.250)
Select to set up the following
items.
“Lane Center”
Select to enable /disable the lane
centering function.
“Alert”
Select to set the alert type.
Settings display
B
C
D
Page 174 of 560
1743-4. Adjusting the steering wheel and mirrors
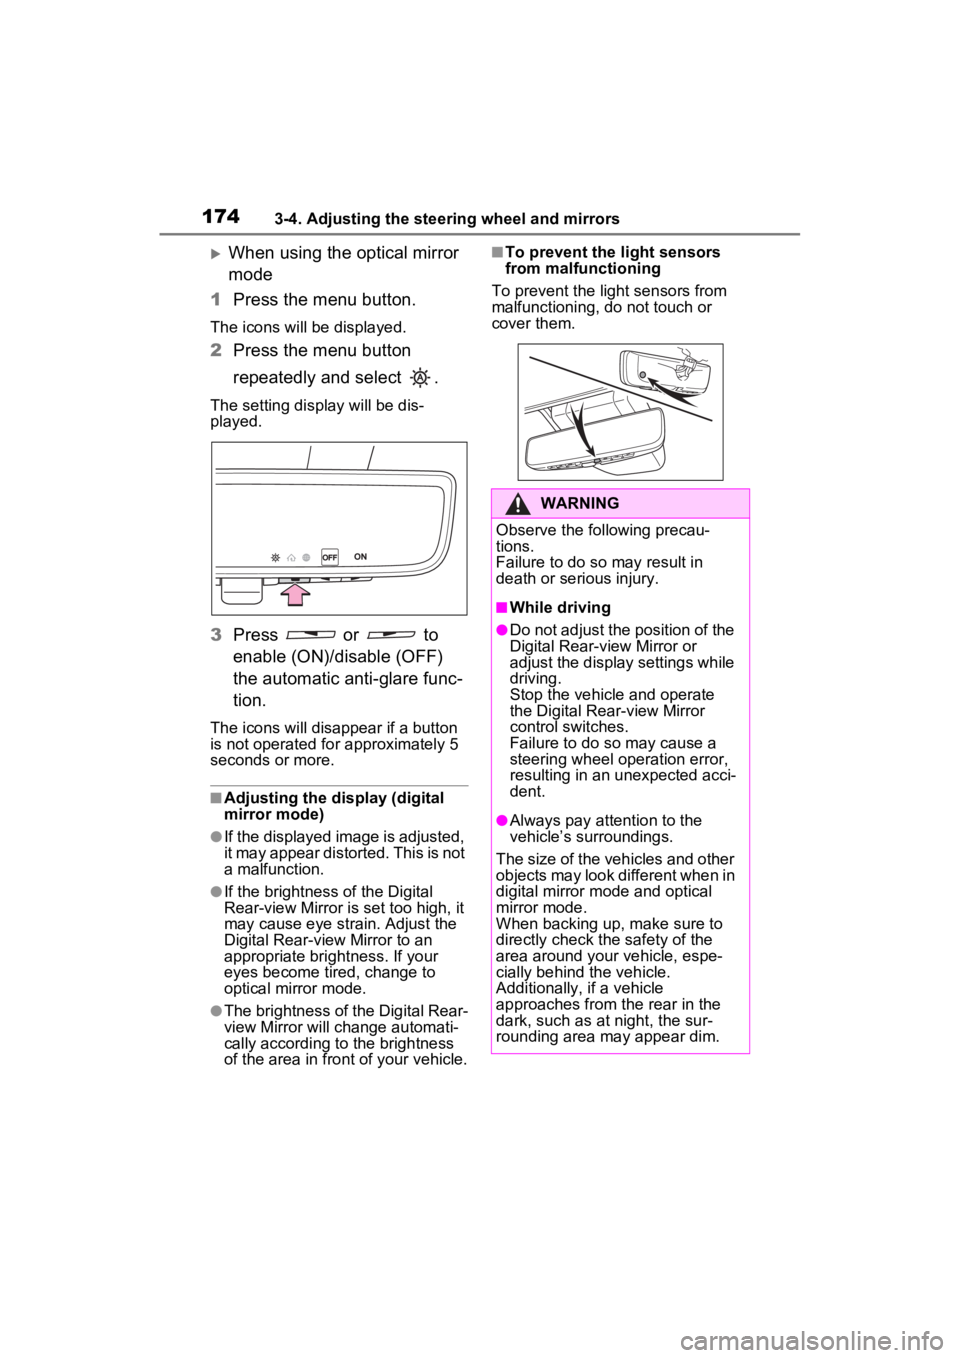
When using the optical mirror
mode
1 Press the menu button.
The icons will be displayed.
2Press the menu button
repeatedly and select .
The setting display will be dis-
played.
3Press or to
enable (ON)/disable (OFF)
the automatic anti-glare func-
tion.
The icons will disappear if a button
is not operated fo r approximately 5
seconds or more.
■Adjusting the display (digital
mirror mode)
●If the displayed image is adjusted,
it may appear distorted. This is not
a malfunction.
●If the brightness of the Digital
Rear-view Mirror is set too high, it
may cause eye strain. Adjust the
Digital Rear-view Mirror to an
appropriate brightness. If your
eyes become tired, change to
optical mirror mode.
●The brightness of the Digital Rear-
view Mirror will ch ange automati-
cally according to the brightness
of the area in front of your vehicle.
■To prevent the light sensors
from malfunctioning
To prevent the light sensors from
malfunctioning, do not touch or
cover them.
WARNING
Observe the following precau-
tions.
Failure to do so may result in
death or serious injury.
■While driving
●Do not adjust the position of the
Digital Rear-view Mirror or
adjust the display settings while
driving.
Stop the vehicle and operate
the Digital Rear-view Mirror
control switches.
Failure to do so may cause a
steering wheel operation error,
resulting in an unexpected acci-
dent.
●Always pay attention to the
vehicle’s surroundings.
The size of the vehicles and other
objects may look different when in
digital mirror mode and optical
mirror mode.
When backing up, make sure to
directly check the safety of the
area around your vehicle, espe-
cially behind the vehicle.
Additionally, if a vehicle
approaches from the rear in the
dark, such as at night, the sur-
rounding area may appear dim.
Page 245 of 560
2454-5. Using the driving support systems
4
Driving
If any of the following occur while the emergency steering assi st function is
operating, it will be canceled:
• The accelerator pedal is depressed strongly.
• The steering wheel is turned sharply or abruptly.
• The brake pedal is depressed.
●Intersection right/left turn assistance (pre-collision warning)
When the turn signal lights are not flashing, support for turning left or right at
an intersection which targets on coming vehicles does not work.
●Intersection right/left turn assistance (pre-collision braking)
When the turn signal lights are not flashing, support for turning left or right at
an intersection which targets on coming vehicles does not work.
■Object detection function
The system detects objects based
on their size, profile, motion, etc.
However, an object may not be
detected depending on the sur- rounding brightness and the motion,
posture, and angle of the detected
object, preventing the system from
operating properly. (
P.247)
The illustration shows an image of
Detectable objectsVehicle speedRelative speed between
your vehicle and object
Preceding and stopped vehicles, bicyclists and pedestriansApprox. 25 to 50 mph (40 to 80 km/h)Approx. 25 to 50 mph (40 to 80 km/h)
Detectable objectsVehicle speedOncoming vehicle speedRelative speed between your
vehicle and object
Oncoming vehi- clesApprox. 7 to 15 mph (10 to 25 km/h)Approx. 20 to 35 mph (30 to 55 km/h)Approx. 25 to 50 mph (40 to 80 km/h)
Pedestrians
Approx. 7 to 15 mph (10 to 25 km/h)
Approx. 7 to 15 mph (10 to 25 km/h)
Detectable objectsVehicle speedOncoming vehicle speedRelative speed between your
vehicle and object
Oncoming vehi- clesApprox. 10 to 15 mph (15 to 25 km/h)Approx. 20 to 28 mph (30 to 45 km/h)Approx. 28 to 43 mph (45 to 70 km/h)
Pedestrians
Approx. 7 to 15 mph (10 to 25 km/h)
Approx. 7 to 15 mph (10 to 25 km/h)
Page 248 of 560
2484-5. Using the driving support systems
• When part of a detectable object is hidden by an object, such as
large baggage, an umbrella, or
guardrail
• When there are many things which can reflect the radio waves
of the radar in the vicinity (tunnels,
truss bridges, gravel roads, snow
covered road that have tracks,
etc.)
• When there is an effect on the
radio waves to the radar that is
installed on another vehicle
• When multiple detectable objects are close together
• If the sun or other light is shining directly on a detectable object
• When a detectable object is a
shade of white and looks
extremely bright
• When a detectable object appears
to be nearly the same color or
brightness as its surroundings
• If a detectable object cuts or sud-
denly emerges in front of your
vehicle
• When the front of your vehicle is
hit by water, snow, dust, etc.
• When a very bright light ahead, such as the sun or the headlights
of oncoming traffic, shines directly
into the front camera
• When approaching the side or
front of a vehicle ahead
• If a vehicle ahead is a motorcycle
• If a vehicle ahead is narrow, such as a personal mobility vehicle
• If a preceding vehicle has a small rear end, such as an unloaded
truck
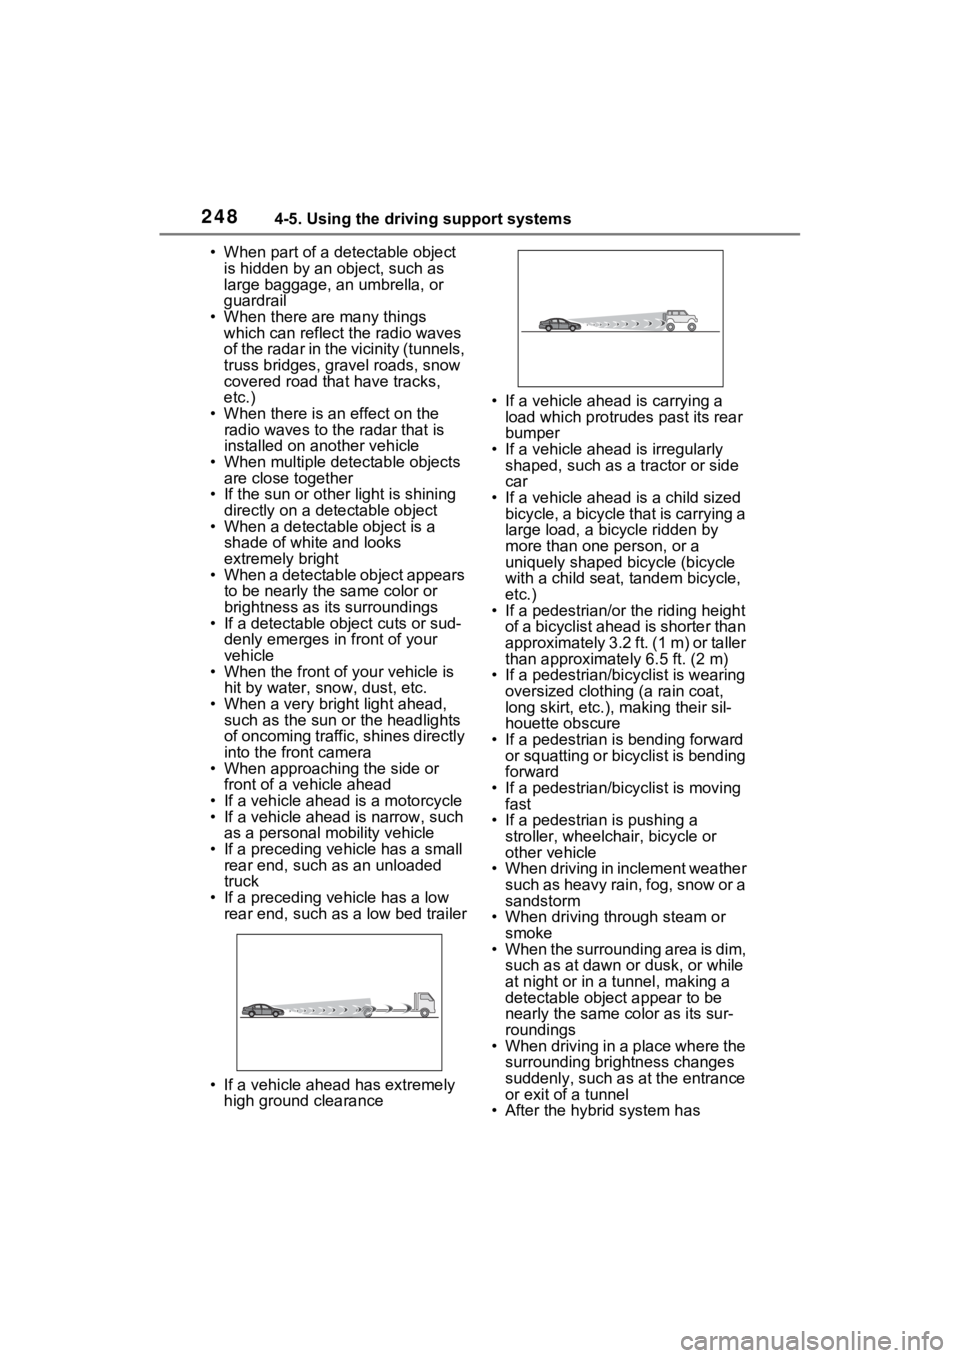
• If a preceding vehicle has a low rear end, such as a low bed trailer
• If a vehicle ahead has extremely high ground clearance • If a vehicle ahead is carrying a
load which protrudes past its rear
bumper
• If a vehicle ahead is irregularly shaped, such as a tractor or side
car
• If a vehicle ahead is a child sized bicycle, a bicycle that is carrying a
large load, a bicycle ridden by
more than one person, or a
uniquely shaped bicycle (bicycle
with a child seat, tandem bicycle,
etc.)
• If a pedestrian/or the riding height of a bicyclist ahead is shorter than
approximately 3.2 ft. (1 m) or taller
than approximate ly 6.5 ft. (2 m)
• If a pedestrian/bic yclist is wearing
oversized clothing (a rain coat,
long skirt, etc.), making their sil-
houette obscure
• If a pedestrian is bending forward or squatting or bicyclist is bending
forward
• If a pedestrian/bicyclist is moving fast
• If a pedestrian is pushing a
stroller, wheelchair, bicycle or
other vehicle
• When driving in inclement weather
such as heavy rain, fog, snow or a
sandstorm
• When driving through steam or
smoke
• When the surrounding area is dim, such as at dawn or dusk, or while
at night or in a tunnel, making a
detectable object appear to be
nearly the same co lor as its sur-
roundings
• When driving in a place where the surrounding brightness changes
suddenly, such as at the entrance
or exit of a tunnel
• After the hybrid system has
Page 310 of 560
3104-5. Using the driving support systems
WARNING
●Unlike the parking brake, hill-
start assist control is not
intended to hold the vehicle sta-
tionary for an extended period
of time. Do not attempt to use
hill-start assist control to hold
the vehicle on an incline, as
doing so may lead to an acci-
dent.
■When the TRAC/ABS/VSC is
activated
The slip indicator light flashes.
Always drive carefully. Reckless
driving may cause an accident.
Exercise particular care when the
indicator light flashes.
■When the TRAC/VSC systems
are turned off
Be especially careful and drive at
a speed appropriate to the road
conditions. As these are the sys-
tems to help ensure vehicle stabil-
ity and driving force, do not turn
the TRAC/VSC systems off
unless necessary.
■Replacing tires
Make sure that all tires are of the
specified size, brand, tread pat-
tern and total load capacity. In
addition, make sure that the tires
are inflated to the recommended
tire inflation pressure level.
The ABS, TRAC and VSC sys-
tems will not f unction correctly if
different tires are installed on the
vehicle.
Contact your Toyota dealer for
further information when replacing
tires or wheels.
■Handling of tires and the sus-
pension
Using tires with any kind of prob-
lem or modifying the suspension
will affect the driving assist sys-
tems, and may cause a system to
malfunction.
■Secondary Collision Brake
Do not rely solely upon the Sec-
ondary Collision Brake. This sys-
tem is designed to help reduce
the possibility of further damage
due to a secondary collision, how-
ever, that effect changes accord-
ing to various conditions. Overly
relying on the system may result
in death or serious injury.
Page 313 of 560
3134-6. Driving tips
4
Driving
Use fluids that are appropriate
to the prevailing outside tem-
peratures.
• Engine oil
• Engine coolant
• Power control unit coolant
• Washer fluid
Have a service technician
inspect the condition of the
12-volt battery.
Have the vehicle fitted with
four snow tires or purchase a
set of tire chains for the front
tires.
Ensure that all tires are the same
size and brand, and that chains
match the size of the tires.
Winter driving tips
Carry out the necessary
preparations and inspec-
tions before driving the
vehicle in winter. Always
drive the vehicle in a man-
ner appropriate to the pre-
vailing weather conditions.
Preparation for winter
WARNING
■Driving with snow tires
Observe the following precautions
to reduce the risk of accidents.
Failure to do so m ay result in a
loss of vehicle control and cause
death or serious injury.
●Use tires of the specified size.
●Maintain the recommended
level of air pressure.
●Do not drive in excess of 75
mph (120 km/h), regardless of
the type of snow tires being
used.
●Use snow tires on all, not just
some wheels.
■Driving with tire chains
Observe the following precautions
to reduce the risk of accidents.
Failure to do so may result in the
vehicle being unable to be driven
safely, and may cause death or
serious injury.
●Do not drive in excess of the
speed limit specifi ed for the tire
chains being used, or 30 mph
(50 km/h), whichever is lower.
●Avoid driving on bumpy road
surfaces or over potholes.
●Avoid sudden acceleration,
abrupt steering, sudden brak-
ing and shifting operations that
cause sudden engine braking.
●Slow down sufficiently before
entering a curve to ensure that
vehicle control is maintained.
●Do not use LTA (Lane Tracing
Assist) system.
NOTICE
■Repairing or replacing snow
tires
Request repairs or replacement of
snow tires from your Toyota
dealer or legitimate tire retailers.
This is because the removal and
attachment of snow tires affects
the operation of the tire pressure
warning valves and transmitters.
Page 315 of 560
3154-6. Driving tips
4
Driving
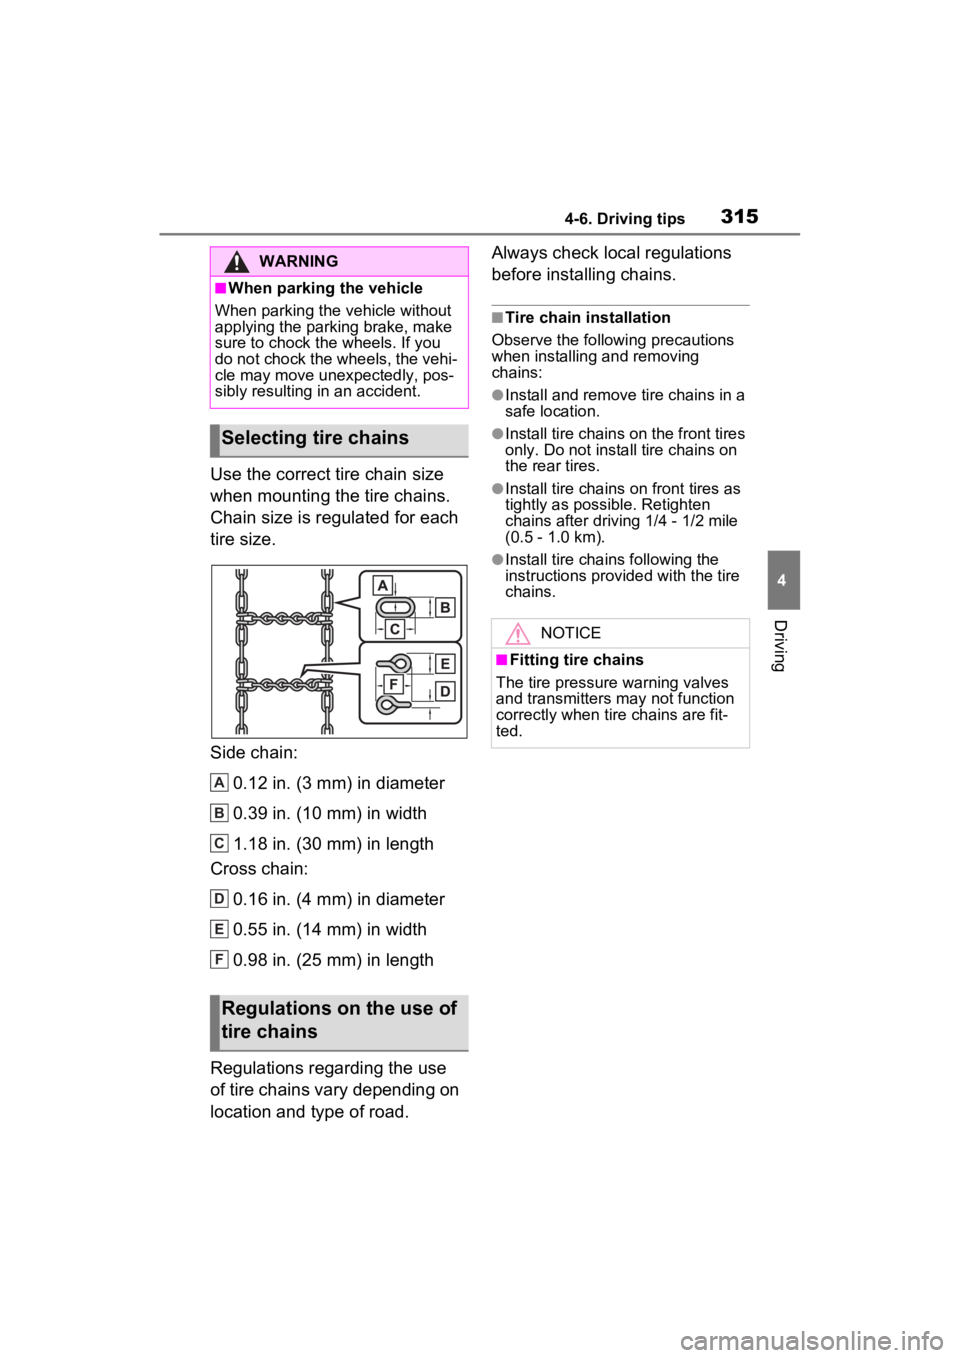
Use the correct tire chain size
when mounting the tire chains.
Chain size is regulated for each
tire size.
Side chain:0.12 in. (3 mm) in diameter
0.39 in. (10 mm) in width
1.18 in. (30 mm) in length
Cross chain:
0.16 in. (4 mm) in diameter
0.55 in. (14 mm) in width
0.98 in. (25 mm) in length
Regulations regarding the use
of tire chains vary depending on
location and type of road. Always check local regulations
before installing chains.
■Tire chain installation
Observe the followi ng precautions
when installing and removing
chains:
●Install and remove tire chains in a
safe location.
●Install tire chains on the front tires
only. Do not install tire chains on
the rear tires.
●Install tire chains on front tires as
tightly as possible. Retighten
chains after drivi ng 1/4 - 1/2 mile
(0.5 - 1.0 km).
●Install tire chains following the
instructions provided with the tire
chains.
WARNING
■When parking the vehicle
When parking the v ehicle without
applying the parking brake, make
sure to chock the wheels. If you
do not chock the wheels, the vehi-
cle may move unexpectedly, pos-
sibly resulting in an accident.
Selecting tire chains
Regulations on the use of
tire chains
A
B
C
D
E
F
NOTICE
■Fitting tire chains
The tire pressure warning valves
and transmitters may not function
correctly when tire chains are fit-
ted.
Page 401 of 560
4016-3. Do-it-yourself maintenance
6
Maintenance and care
■Tire types
●Summer tires
Summer tires are high-speed perfor-
mance tires best suited to highway
driving under dry conditions. Since
summer tires do not have the same
traction performanc e as snow tires,
summer tires are inadequate for
driving on snow-covered or icy
roads. For driving on snow-covered
roads or icy roads, the use of snow
tires is recommended. When install-
ing snow tires, be sure to replace all
four tires.
●All season tires
All season tires are designed to pro-
vide better traction in snow and to
be adequate for driving in most win-
ter conditions a s well as for use
year-round. All season tires, how-
ever, do not have adequate traction
performance compared with snow
tires in heavy or loose snow. Also,
all season tires fall short in accelera-
tion and handling performance com-
pared with summer tires in highway
driving.
●Snow tires
For driving on snow-covered roads
or icy roads, we recommend using
snow tires. If you need snow tires,
select tires of the same size, con-
struction and load capacity as the
originally installed tires. Since your
vehicle has radial tires as original
equipment, make sure your snow
tires also have radial construction.
Do not install stud ded tires without
first checking local regulations for
possible restrictions. Snow tires
should be installed on all wheels.
( P.313)
■If the tread on snow tires wears
down below 0.16 in. (4 mm)
The effectiveness of the tires as
snow tires is lost.
WARNING
■When inspecting or replacing
tires
Observe the following precautions
to prevent accidents.
Failure to do so may cause dam-
age to parts of the drive train as
well as dangerous handling char-
acteristics, which may lead to an
accident resulting in death or seri-
ous injury.
●Do not mix tires of different
makes, models or tread pat-
terns.
Also, do not mix tires of remark-
ably different treadwear.
●Do not use tire sizes other than
those recommended by Toyota.
●Do not mix differently con-
structed tires (radial, bias-belted
or bias-ply tires).
●Do not mix summer, all season
and snow tires.
●Do not use tires that have been
used on another vehicle.
Do not use tires if you do not
know how they were used previ-
ously.
NOTICE
■Driving on rough roads
Take particular care when driving
on roads with loose surfaces or
potholes.
These conditions may cause
losses in tire inflation pressure,
reducing the cushioning ability of
the tires. In addition, driving on
rough roads may cause damage
to the tires themselves, as well as
the vehicle’s wheels and body.