2023 TOYOTA RAV4 PRIME air condition
[x] Cancel search: air conditionPage 456 of 662

4586-4. Using the other interior features
WARNING
●Do not leave the vehicle unat-
tended while using the power
outlet.
●Do not use the power outlet
during weather with a possibility
of lightning. If you notice light-
ning while using the power out-
let, stop using it.
●Do not use the p ower outlet if
the vehicle has a vehicle cover
installed.
●Be especially careful when
using an electrical device such
as a heater and sleeping in the
vehicle. The device may stop
unexpectedly due to operations
such as an autom atic stop of
the power supply system.
●Do not use while the vehicle is
stopped on a sl ope or other
slanted location. Do not move or
tilt the vehicle during use.
●Observe the following precau-
tions when using the power out-
let with the cord pulled outside
of the vehicle.
• Be careful of entry of rain or water. If the p ower outlet
becomes wet, dry the outlet
before using.
• Prevent the cord from being caught in the window or door
• Provide some slack in the cord and do not pull it too tight
• Make sure not to start the vehi-
cle
●Do not refuel or wash the vehi-
cle during use.
●Make sure that the hood is
closed. As the engine will start
automatically depending on the
condition of the vehicle, make
sure that nothing is left near or
contacting the exhaust pipes.
Also, do not put your head or
hands anywhere inside the
engine compartment, as the
cooling fan ma y operate sud-
denly. Keep hands and clothing
(especially a tie, scarf, etc.)
away from the fan as they may
get caught in a fan.
●Do not stop the vehicle near
objects which burn easily. If the
exhaust system is extremely
hot, it may cause a fire.
●The gasoline engine starts auto-
matically when the remaining
charge of the hybrid battery
(traction battery) decreases.
When using a power outlet in an
area with poor ventilation or an
enclosed area, such as a
garage or a place where snow
has piled up, properly use an air
intake and exhaust device to
prevent lack of oxygen and full-
ness of exhaust gas. If such
device cannot be used, do not
use the power outlet.
■When using the power outlet
while driving
●Do not use devices such as the
following when driving. Also, do
not use a device if it cannot be
secured within the vehicle.
• Devices which may distract the driver and be a hinderance to
safe driving, such as a TV, DVD
player, etc.
Page 460 of 662
4626-4. Using the other interior features
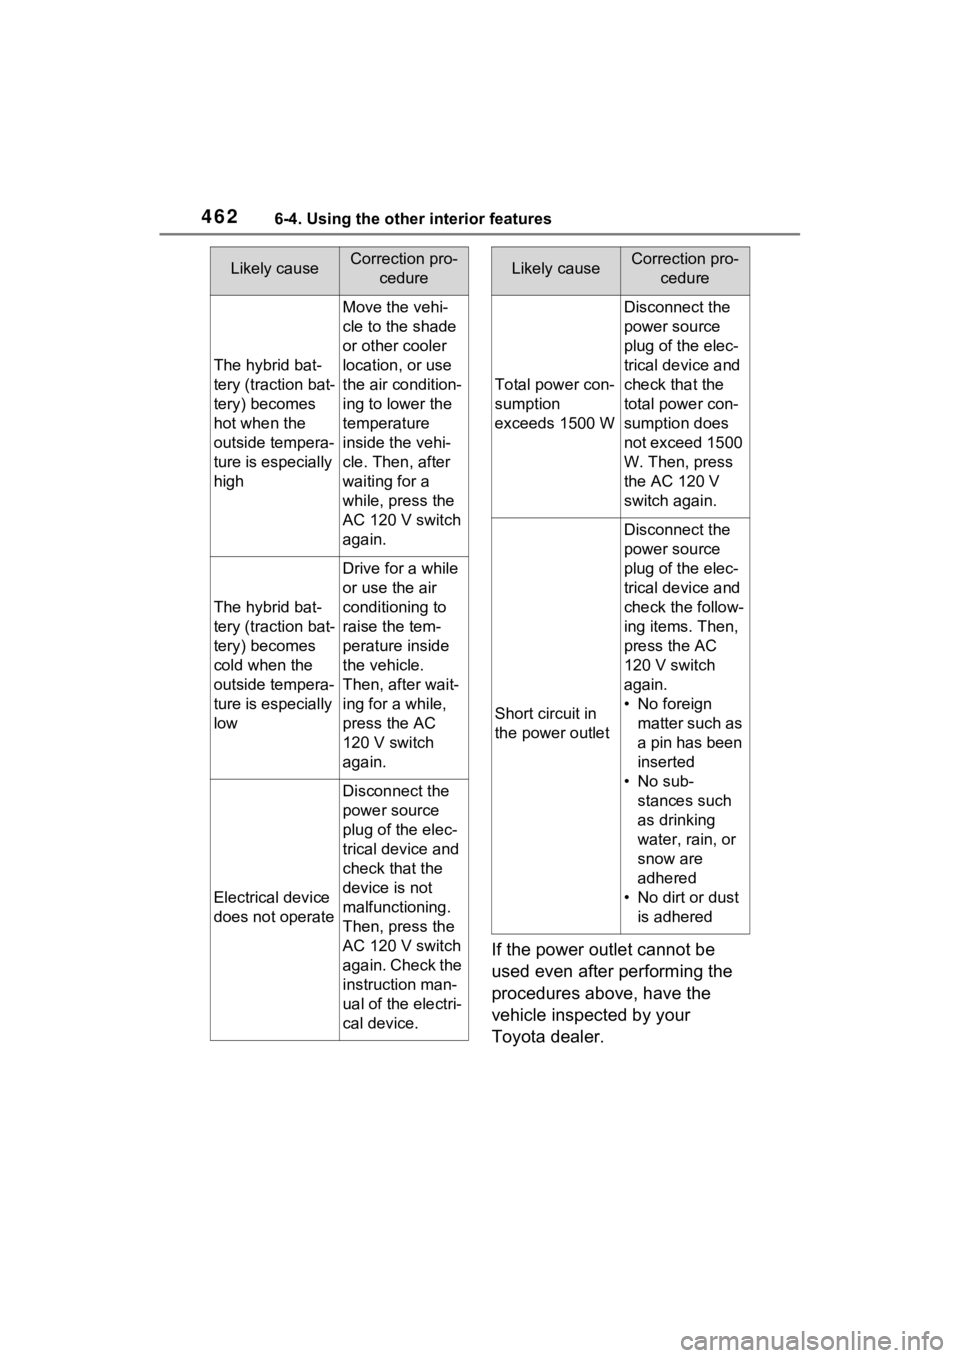
If the power outlet cannot be
used even after performing the
procedures above, have the
vehicle inspected by your
Toyota dealer.
The hybrid bat-
tery (traction bat-
tery) becomes
hot when the
outside tempera-
ture is especially
high
Move the vehi-
cle to the shade
or other cooler
location, or use
the air condition-
ing to lower the
temperature
inside the vehi-
cle. Then, after
waiting for a
while, press the
AC 120 V switch
again.
The hybrid bat-
tery (traction bat-
tery) becomes
cold when the
outside tempera-
ture is especially
low
Drive for a while
or use the air
conditioning to
raise the tem-
perature inside
the vehicle.
Then, after wait-
ing for a while,
press the AC
120 V switch
again.
Electrical device
does not operate
Disconnect the
power source
plug of the elec-
trical device and
check that the
device is not
malfunctioning.
Then, press the
AC 120 V switch
again. Check the
instruction man-
ual of the electri-
cal device.
Likely causeCorrection pro-cedure
Total power con-
sumption
exceeds 1500 W
Disconnect the
power source
plug of the elec-
trical device and
check that the
total power con-
sumption does
not exceed 1500
W. Then, press
the AC 120 V
switch again.
Short circuit in
the power outlet
Disconnect the
power source
plug of the elec-
trical device and
check the follow-
ing items. Then,
press the AC
120 V switch
again.
• No foreign matter such as
a pin has been
inserted
• No sub- stances such
as drinking
water, rain, or
snow are
adhered
• No dirt or dust is adhered
Likely causeCorrection pro- cedure
Page 469 of 662

471
7
7
Maintenance and care
Maintenance and care
7-1. Maintenance and careCleaning and protecting the vehicle exterior .......... 472
Cleaning and protecting the vehicle interior ........... 475
7-2. Maintenance Maintenance requirements.................................. 478
General maintenance.. 480
Emission inspection and maintenance (I/M) pro-
grams ........................ 482
7-3. Do-it-yourself mainte- nance
Do-it-yourself service pre- cautions ..................... 484
Hood ........................... 486
Positioning a floor jack 487
Engine compartment ... 489
12-volt battery ............. 495
Tires ............................ 497
Tire inflation pressure . 509
Wheels ......... ...............511
Air conditioning filter .... 513
Cleaning the DC/DC Con- verter air intake vent and
filter ........................... 515
Wiper insert replacement .................................. 519
Electronic key battery.. 522
Checking and replacing fuses.......................... 524Headlight aim ..............
527
Light bulbs ................... 528
Page 473 of 662
4757-1. Maintenance and care
7
Maintenance and care
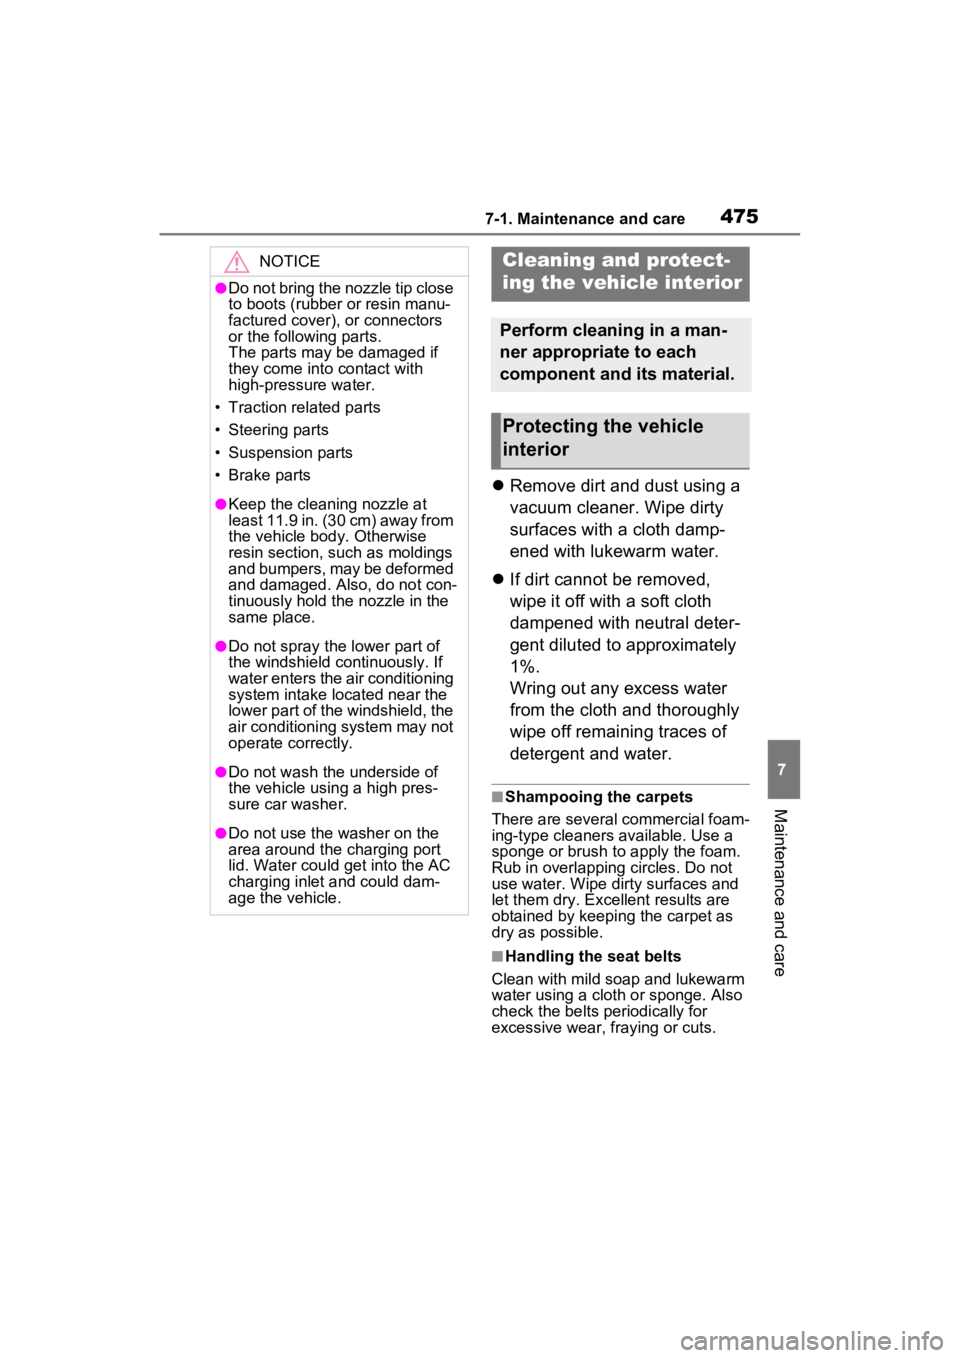
Remove dirt and dust using a
vacuum cleaner. Wipe dirty
surfaces with a cloth damp-
ened with lukewarm water.
If dirt cannot be removed,
wipe it off with a soft cloth
dampened with neutral deter-
gent diluted to approximately
1%.
Wring out any excess water
from the cloth and thoroughly
wipe off remaining traces of
detergent and water.
■Shampooing the carpets
There are several commercial foam-
ing-type cleaners available. Use a
sponge or brush to apply the foam.
Rub in overlapping circles. Do not
use water. Wipe dirty surfaces and
let them dry. Exce llent results are
obtained by keeping the carpet as
dry as possible.
■Handling the seat belts
Clean with mild soap and lukewarm
water using a clot h or sponge. Also
check the belts periodically for
excessive wear, fraying or cuts.
NOTICE
●Do not bring the nozzle tip close
to boots (rubber or resin manu-
factured cover), or connectors
or the following parts.
The parts may be damaged if
they come into contact with
high-pressure water.
• Traction related parts
• Steering parts
• Suspension parts
• Brake parts
●Keep the cleaning nozzle at
least 11.9 in. (30 cm) away from
the vehicle body. Otherwise
resin section, such as moldings
and bumpers, may be deformed
and damaged. Also, do not con-
tinuously hold the nozzle in the
same place.
●Do not spray the lower part of
the windshield continuously. If
water enters the air conditioning
system intake located near the
lower part of the windshield, the
air conditioning system may not
operate correctly.
●Do not wash the underside of
the vehicle usin g a high pres-
sure car washer.
●Do not use the washer on the
area around the charging port
lid. Water could get into the AC
charging inlet and could dam-
age the vehicle.
Cleaning and protect-
ing the vehicle interior
Perform cleaning in a man-
ner appropriate to each
component and its material.
Protecting the vehicle
interior
Page 496 of 662

4987-3. Do-it-yourself maintenance
etc., molded into the sidewall of
each tire.
Replace the tires if the treadwear
indicators are showing on a tire.
■When to replace your vehicle’s
tires
Tires should be replaced if:
●The treadwear indicators are
showing on a tire.
●You have tire damage such as
cuts, splits, cracks deep enough
to expose the fabric, and bulges
indicating internal damage.
●A tire goes flat repeatedly or can-
not be properly repaired due to
the size or location of a cut or
other damage.
If you are not sure, consult with your
Toyota dealer.
■Tire life
Any tire over 6 years old must be
checked by a qualified technician
even if it has seldom or never been
used or damage i s not obvious.
■Maximum load of tire
Check that the number given by
dividing the maximum load by 1.10
of the replacement tire is greater
than 1/2 of the Gross Axle Weight
Ratings (GAWR) of e ither the front
axle or the rear a xle, whichever is
greater.
For the GAWR, see the Certification
Regulation Label. For the maximum
load of the tire, see the load limit at
maximum cold tire inflation pressure
mentioned on the sidewall of the
tire. ( P.589)
■Tire types
●Summer tires
Summer tires are high-speed perfor-
mance tires best suited to highway
driving under dry conditions. Since
summer tires do not have the same
traction performance as snow tires,
summer tires are inadequate for
driving on snow-covered or icy
roads. For driving on snow-covered
roads or icy roads, the use of snow
tires is recommended. When install-
ing snow tires, be sure to replace all
four tires.
●All season tires
All season tires are designed to pro-
vide better traction in snow and to
be adequate for driving in most win-
ter conditions as well as for use
year-round. All season tires, how-
ever, do not have adequate traction
performance compared with snow
tires in heavy or loose snow. Also,
all season tires fall short in accelera-
tion and handling performance com-
pared with summer tires in highway
driving.
●Snow tires
For driving on snow-covered roads
or icy roads, we recommend using
snow tires. If you need snow tires,
select tires of the same size, con-
struction and load capacity as the
originally installed tires. Since your
vehicle has radial tires as original
equipment, make sure your snow
tires also have radi al construction.
Do not install studded tires without
first checking local regulations for
possible restrictions. Snow tires
should be installed on all wheels.
( P.413)
Page 500 of 662
5027-3. Do-it-yourself maintenance
• If a window tint that affects the
radio wave signals is installed.
• If there is a lot of snow or ice on
the vehicle, particularly around the
wheels or wheel housings.
• If the tire inflation pressure is
extremely higher than the speci-
fied level.
• If wheel without tire pressure
warning valves a nd transmitters
are used.
• If the ID code on the tire pressure
warning valves and transmitters is
not registered in the tire pressure
warning computer.
●Performance may be affected in
the following situations.
• Near a TV tower, electric power plant, gas station, radio station,
large display, airpo rt or other facil-
ity that generates strong radio
waves or electrical noise
• When carrying a portable radio,
cellular phone, cordless phone or
other wireless communication
device
If tire position information is not
correctly displayed due to the
radio wave conditions, the display
may be corrected by driving and
changing the radio wave condi-
tions.
●When the vehicle is parked, the
time taken for the warning to start
or go off could be extended.
●When tire inflation pressure
declines rapidly for example when
a tire has burst, the warning may
not function.
■Warning performance of the tire
pressure warning system
The warning of the tire pressure
warning system will change in
accordance with th e conditions
under which it was initialized. For
this reason, the system may give a
warning even if the tire pressure
does not reach a low enough level,
or if the pressure is higher than the
pressure that was adjusted to when
the system was initialized.
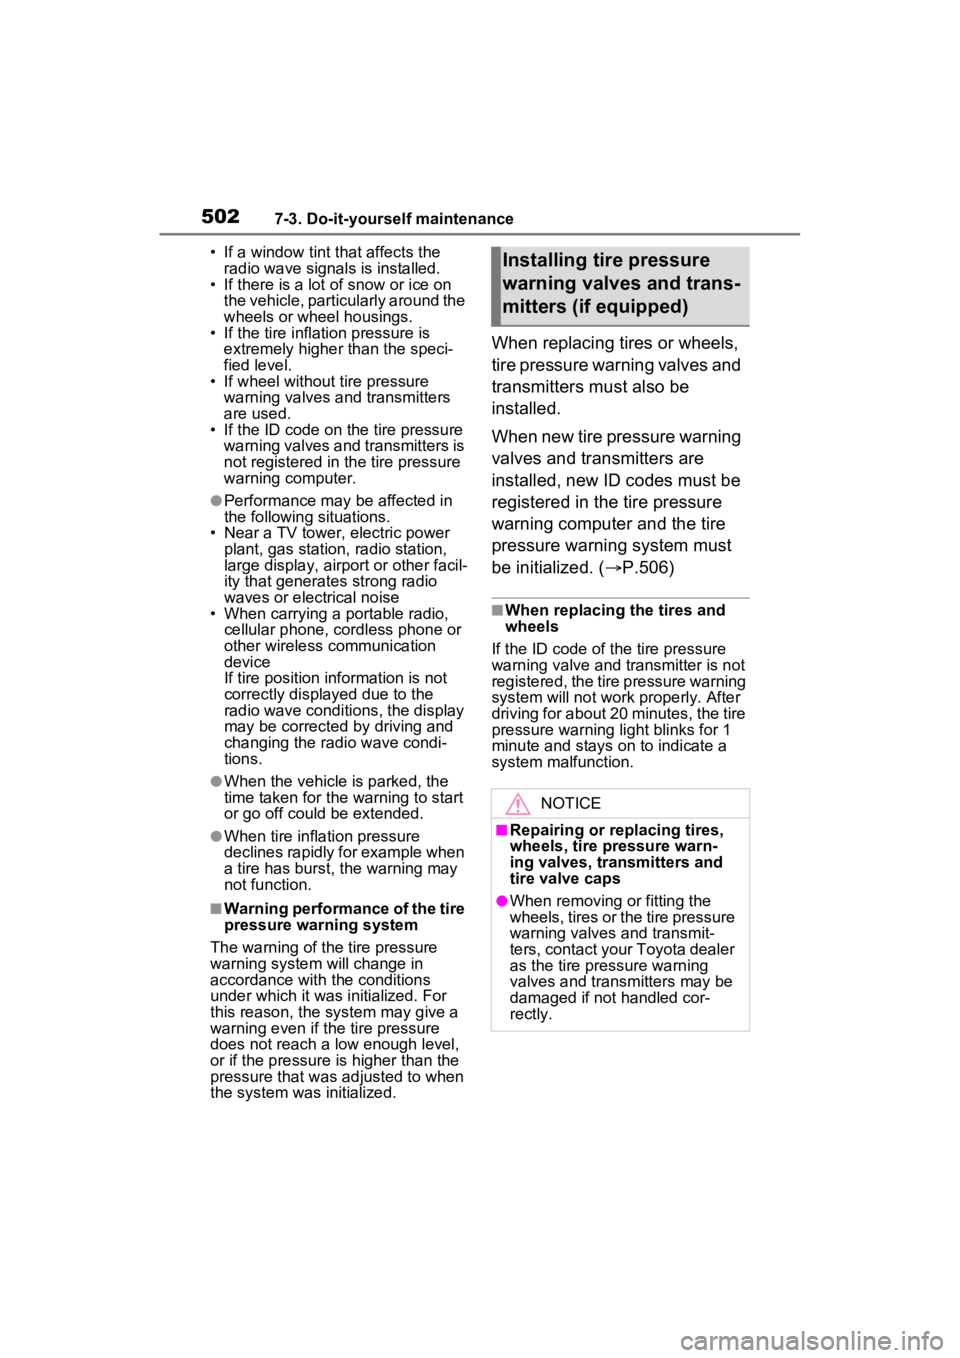
When replacing tires or wheels,
tire pressure warning valves and
transmitters must also be
installed.
When new tire pressure warning
valves and transmitters are
installed, new ID codes must be
registered in the tire pressure
warning computer and the tire
pressure warning system must
be initialized. ( P.506)
■When replacing the tires and
wheels
If the ID code of the tire pressure
warning valve and tr ansmitter is not
registered, the tire pressure warning
system will not work properly. After
driving for about 20 minutes, the tire
pressure warning light blinks for 1
minute and stays on to indicate a
system malfunction.
Installing tire pressure
warning valves and trans-
mitters (if equipped)
NOTICE
■Repairing or replacing tires,
wheels, tire pressure warn-
ing valves, transmitters and
tire valve caps
●When removing or fitting the
wheels, tires or the tire pressure
warning valves and transmit-
ters, contact your Toyota dealer
as the tire pressure warning
valves and transmitters may be
damaged if not handled cor-
rectly.
Page 509 of 662
5117-3. Do-it-yourself maintenance
7
Maintenance and care
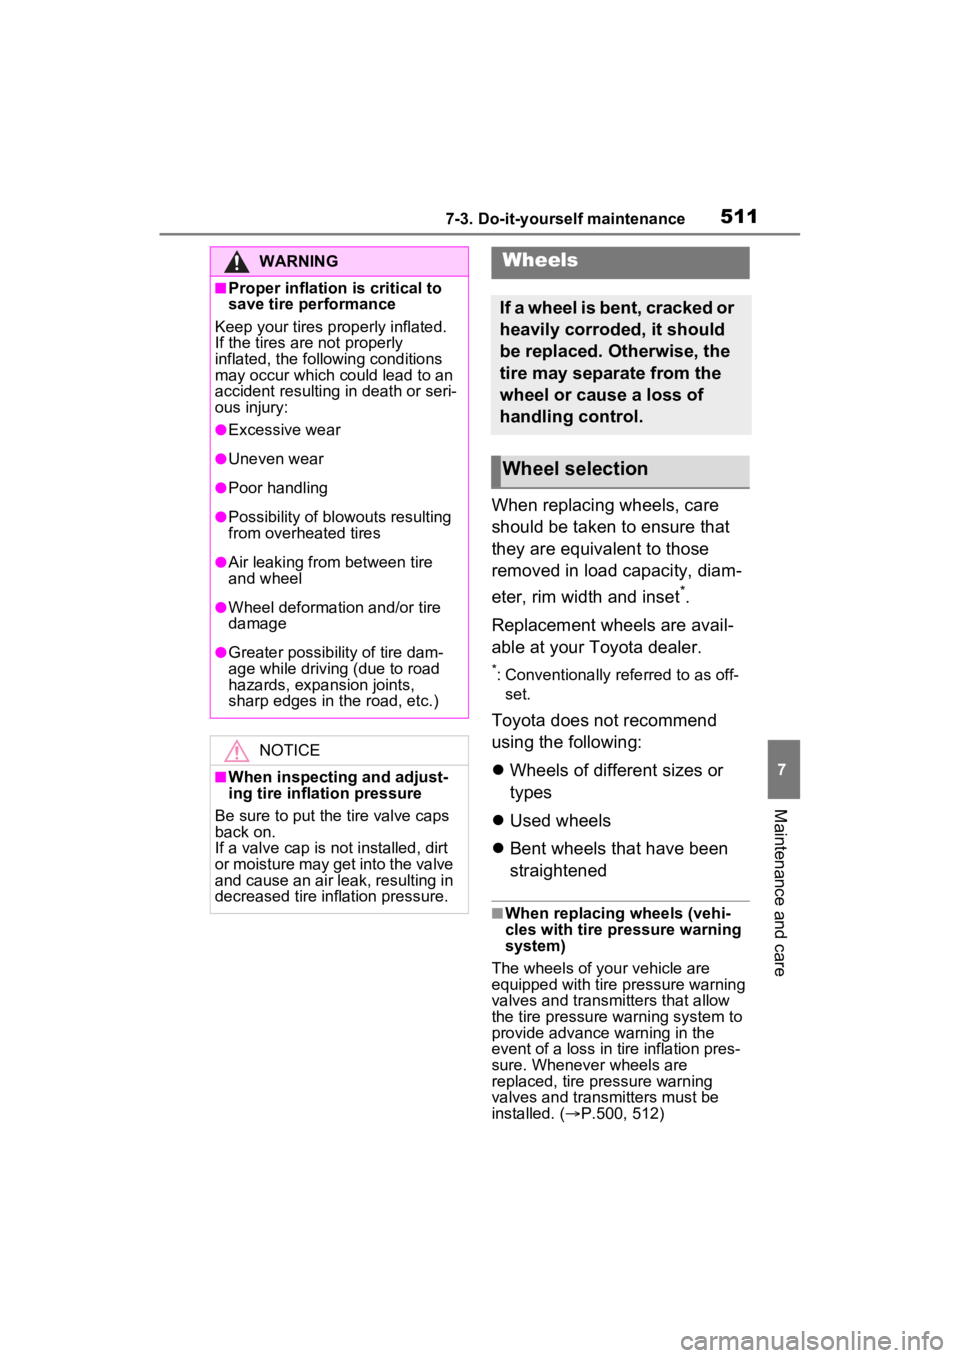
When replacing wheels, care
should be taken to ensure that
they are equivalent to those
removed in load capacity, diam-
eter, rim width and inset
*.
Replacement wheels are avail-
able at your Toyota dealer.
*: Conventionally referred to as off- set.
Toyota does not recommend
using the following:
Wheels of different sizes or
types
Used wheels
Bent wheels that have been
straightened
■When replacing wheels (vehi-
cles with tire p ressure warning
system)
The wheels of your vehicle are
equipped with tire pressure warning
valves and transmitters that allow
the tire pressure warning system to
provide advance warning in the
event of a loss in tire inflation pres-
sure. Whenever wheels are
replaced, tire pressure warning
valves and transmitters must be
installed. ( P.500, 512)
WARNING
■Proper inflation is critical to
save tire performance
Keep your tires properly inflated.
If the tires are not properly
inflated, the following conditions
may occur which could lead to an
accident resulting in death or seri-
ous injury:
●Excessive wear
●Uneven wear
●Poor handling
●Possibility of blowouts resulting
from overheated tires
●Air leaking from between tire
and wheel
●Wheel deformation and/or tire
damage
●Greater possibility of tire dam-
age while driving (due to road
hazards, expansion joints,
sharp edges in the road, etc.)
NOTICE
■When inspecting and adjust-
ing tire inflation pressure
Be sure to put the tire valve caps
back on.
If a valve cap is not installed, dirt
or moisture may get into the valve
and cause an air leak, resulting in
decreased tire inflation pressure.
Wheels
If a wheel is bent, cracked or
heavily corroded, it should
be replaced. Otherwise, the
tire may separate from the
wheel or cause a loss of
handling control.
Wheel selection
Page 511 of 662
5137-3. Do-it-yourself maintenance
7
Maintenance and care
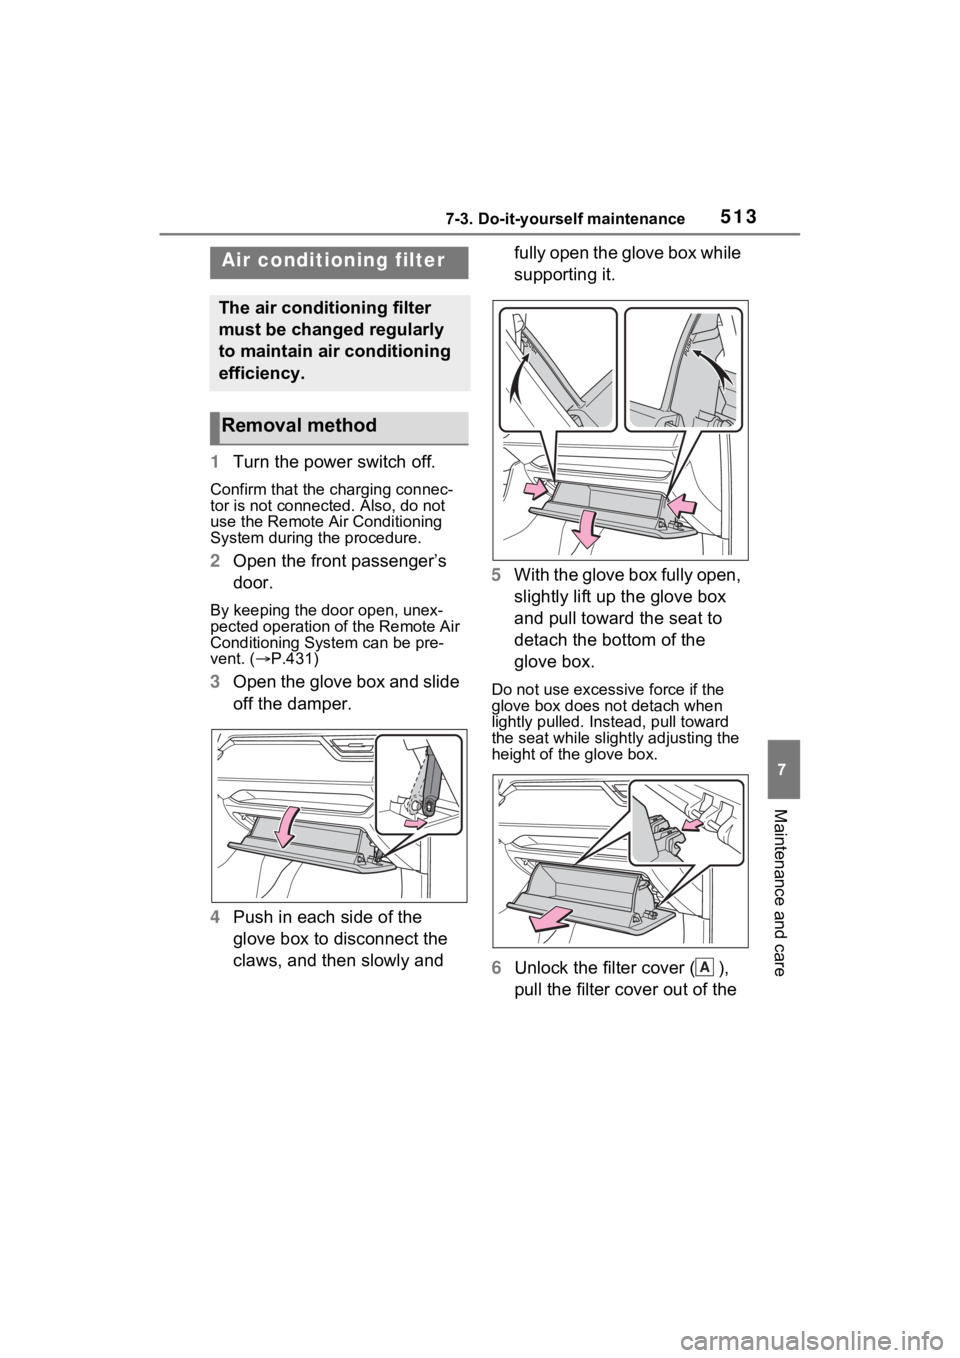
1Turn the power switch off.
Confirm that the charging connec-
tor is not connect ed. Also, do not
use the Remote Air Conditioning
System during the procedure.
2 Open the front passenger’s
door.
By keeping the door open, unex-
pected operation of the Remote Air
Conditioning System can be pre-
vent. ( P.431)
3 Open the glove box and slide
off the damper.
4 Push in each side of the
glove box to disconnect the
claws, and then slowly and fully open the glove box while
supporting it.
5 With the glove box fully open,
slightly lift up the glove box
and pull toward the seat to
detach the bottom of the
glove box.Do not use excessi ve force if the
glove box does not detach when
lightly pulled. Ins tead, pull toward
the seat while slightly adjusting the
height of the glove box.
6 Unlock the filter cover ( ),
pull the filter cover out of the
Air condition ing filter
The air conditioning filter
must be changed regularly
to maintain air conditioning
efficiency.
Removal method
A