2023 TOYOTA COROLLA HYBRID change wheel
[x] Cancel search: change wheelPage 36 of 496
361-1. For safe use
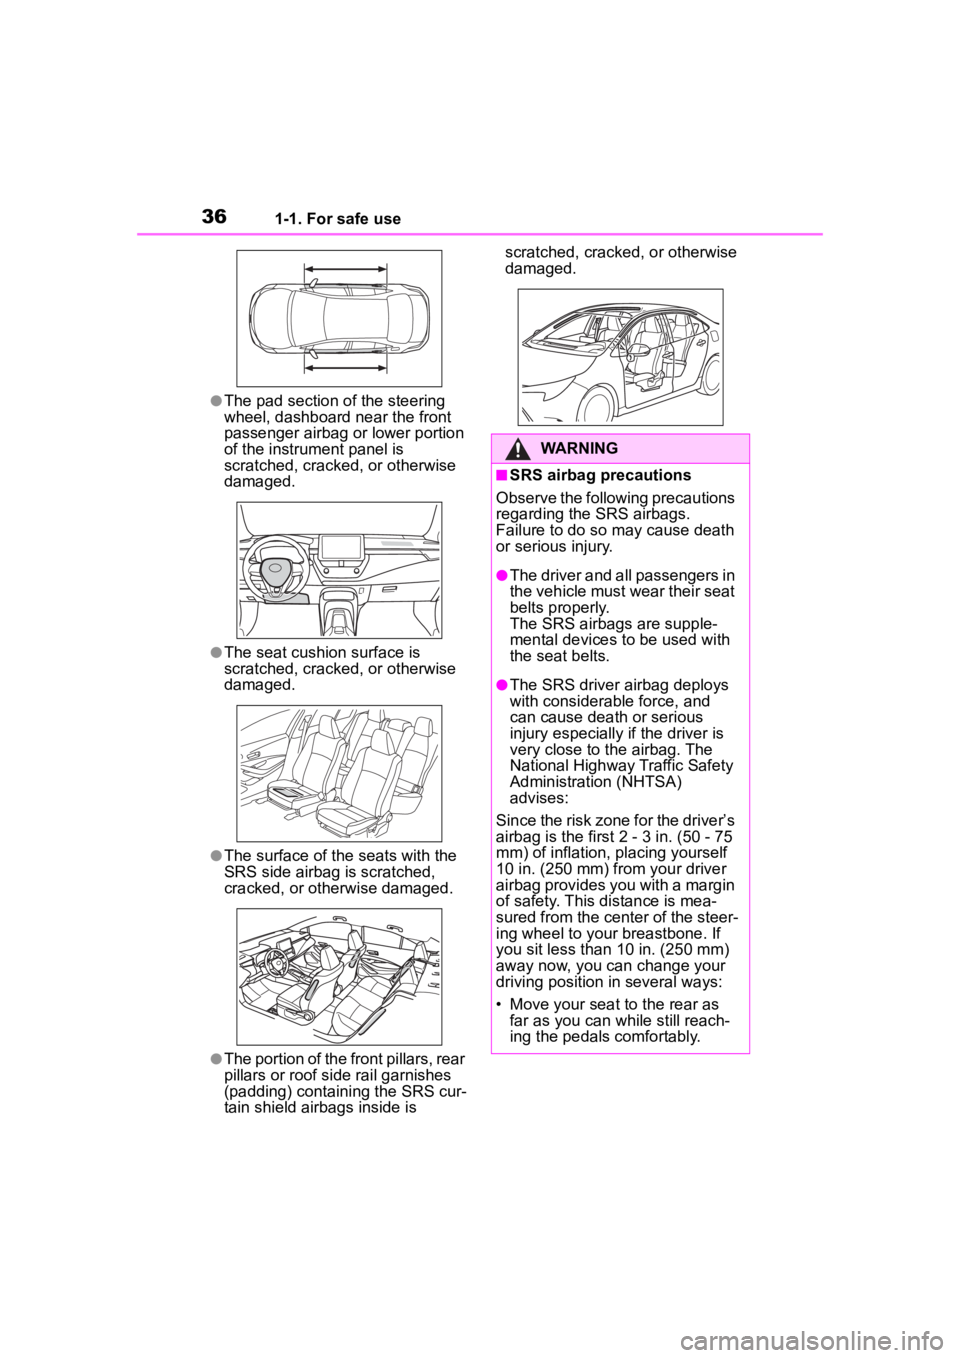
●The pad section of the steering
wheel, dashboard near the front
passenger airbag or lower portion
of the instrument panel is
scratched, cracked, or otherwise
damaged.
●The seat cushion surface is
scratched, cracked, or otherwise
damaged.
●The surface of the seats with the
SRS side airbag is scratched,
cracked, or otherwise damaged.
●The portion of the front pillars, rear
pillars or roof side rail garnishes
(padding) containing the SRS cur-
tain shield airbags inside is scratched, cracked, or otherwise
damaged.
WARNING
■SRS airbag precautions
Observe the following precautions
regarding the SRS airbags.
Failure to do so may cause death
or serious injury.
●The driver and all passengers in
the vehicle must wear their seat
belts properly.
The SRS airbags are supple-
mental devices to be used with
the seat belts.
●The SRS driver airbag deploys
with considerable force, and
can cause death or serious
injury especially if the driver is
very close to the airbag. The
National Highway Traffic Safety
Administration (NHTSA)
advises:
Since the risk zone for the driver’s
airbag is the first 2 - 3 in. (50 - 75
mm) of inflation, placing yourself
10 in. (250 mm) from your driver
airbag provides you with a margin
of safety. This distance is mea-
sured from the center of the steer-
ing wheel to your breastbone. If
you sit less than 10 in. (250 mm)
away now, you can change your
driving position in several ways:
• Move your seat to the rear as far as you can while still reach-
ing the pedals comfortably.
Page 108 of 496

1082-1. Instrument cluster
• Average vehicle speed: Displays the average vehi cle speed since
the display was reset
*
*
: To reset, display the desired item
and press and hold the
meter control switch.
■AWD operation status dis-
play (AWD models)
The illustration used is intended as
an example, and may differ from the
image that is actually displayed on
the multi-information display.
Torque distribution display
Displays the drive status of each
wheel in 6 steps from 0 to 5.
■Meter display settings that
can be changed
Language
Select to change the language dis-
played.
Units
Select to change t he units of mea-
sure displayed.
EV indicator
Select to enable/disable the EV
indicator.
Select to change the displayed con-
tent of the following:
• Hybrid system indicator
Select to displa y/not display the
Eco Accelerator Guidance.
( P.104)
• Fuel economy display
Select to change the average fuel
consumption display between after
start/after reset. ( P.104)
Select to displa y/not display the
audio system linked display.
Select to change the displayed con-
tent of the following:
• Display contents
Select to displa y/not display the
energy monitor. (P. 1 1 6 )
• Drive information type
Select to change the drive informa-
tion type display between after
start/after reset.
• Drive information items
Select to set the first and second
items of the drive information dis-
play to any of the following: aver-
age vehicle
speed/distance/elapsed time.
Pop-up display
Select to enable/disable pop-up
displays for each relevant system.
Multi-information display off
Select to turn the multi-information
display off.
To turn the multi-information display
Settings display
Page 114 of 496

1142-1. Instrument cluster
reset*
• Elapsed time: Displays the elapsed time since the display
was reset
*
• Average vehicle speed: Displays the average vehi cle speed since
the display was reset
*
*
: To reset, display the desired item
and press and hold the
meter control switch.
■AWD operation status dis-
play (AWD models)
The illustration used is intended as
an example, and may differ from the
image that is actually displayed on
the multi-information display.
Torque distribution display
Displays the drive status of each
wheel in 6 steps from 0 to 5.
■Meter display settings that
can be changed
Language
Select to change the language dis-
played.
Units
Select to change t he units of mea- sure displayed.
Meter Type
Select to change the meter type.
Dial Type
Select to change the display of the
speedometer, tachometer or Hybrid
System Indicator.
EV indicator
Select to enable/disable the EV
indicator.
• Fuel economy display
Select to change the average fuel
consumption display to any of the
following: trip average/total aver-
age/tank average. ( P. 1 1 0 )
• Hybrid system display
Select to displa y/not display the
zone of Eco acceleration of the Eco
Accelerator Guidance. (P. 1 1 1 )
Select to displa y/not display the
audio system linked display.
Select to change the displayed con-
tent of the following:
• Display contents
Select to displa y/not display the
energy monitor. (P. 1 1 6 )
• Drive information type
Select to change the drive informa-
tion type display between trip infor-
mation/total information.
• Drive information items
Select to set the first and second
items of the drive information dis-
Settings display
Page 170 of 496
1704-2. Driving procedures
4-2.Driving procedures
1Check that the parking brake
is set. ( 183)
2 Check that the shift lever is in
P.
3 Firmly depress the brake
pedal.
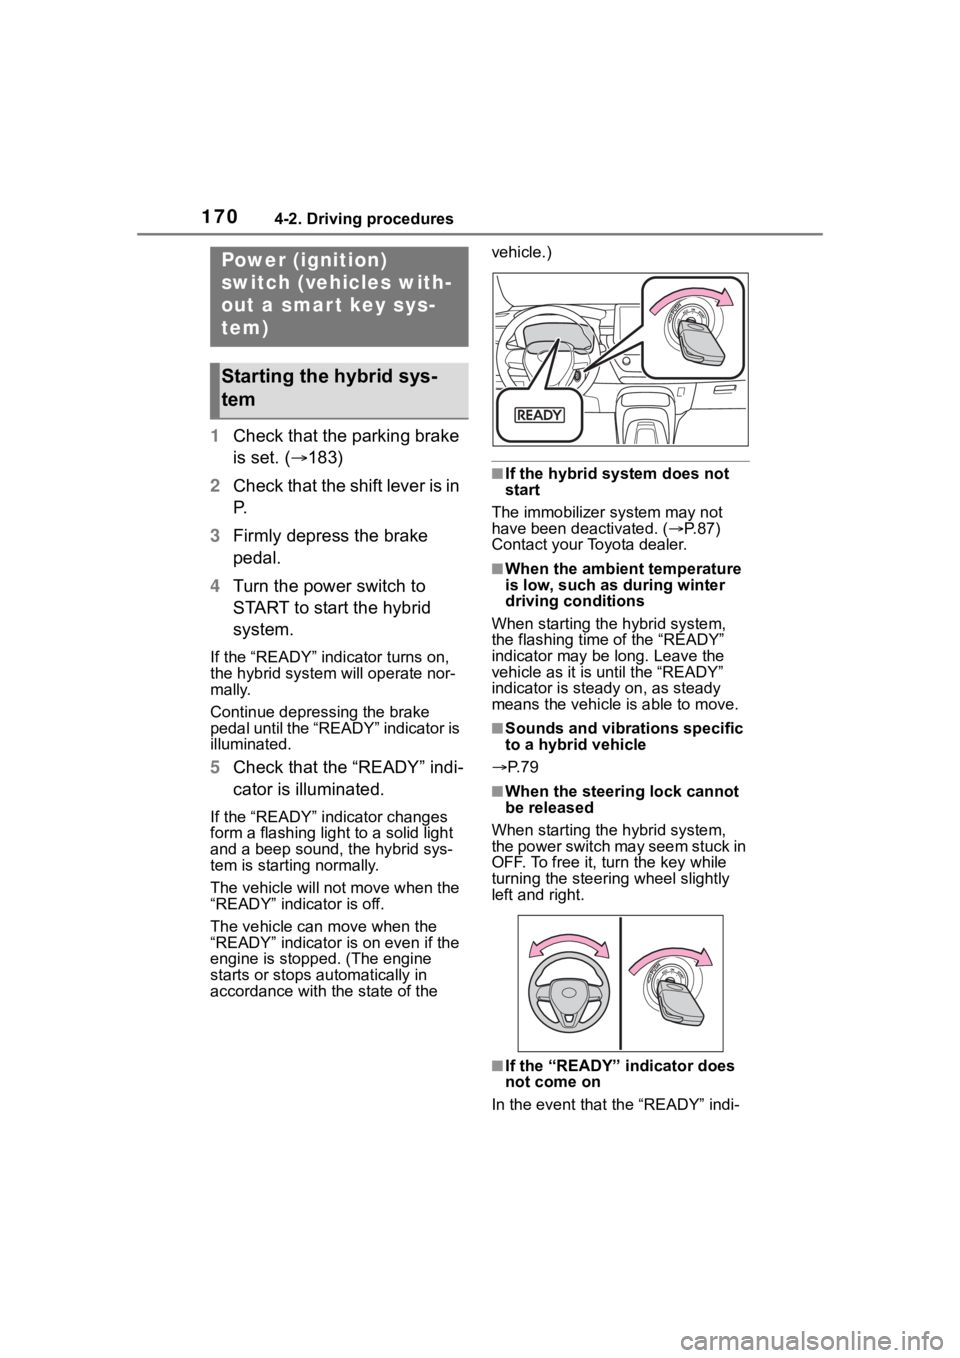
4 Turn the power switch to
START to start the hybrid
system.
If the “READY” indicator turns on,
the hybrid system will operate nor-
mally.
Continue depressing the brake
pedal until the “READY” indicator is
illuminated.
5Check that the “READY” indi-
cator is illuminated.
If the “READY” indicator changes
form a flashing light to a solid light
and a beep sound, the hybrid sys-
tem is starting normally.
The vehicle will not move when the
“READY” indicator is off.
The vehicle can move when the
“READY” indicator i s on even if the
engine is stopped. (The engine
starts or stops automatically in
accordance with the state of the vehicle.)
■If the hybrid system does not
start
The immobilizer system may not
have been deactivated. ( P. 8 7 )
Contact your Toyota dealer.
■When the ambient temperature
is low, such as during winter
driving conditions
When starting the hybrid system,
the flashing time of the “READY”
indicator may be long. Leave the
vehicle as it is until the “READY”
indicator is steady on, as steady
means the vehicle is able to move.
■Sounds and vibrations specific
to a hybrid vehicle
P. 7 9
■When the steering lock cannot
be released
When starting the hybrid system,
the power switch may seem stuck in
OFF. To free it, turn the key while
turning the steering wheel slightly
left and right.
■If the “READY” indicator does
not come on
In the event that the “READY” indi-
Power (ignition)
switch (vehicles with-
out a smart key sys-
tem)
Starting the hybrid sys-
tem
Page 192 of 496

1924-3. Operating the lights and wipers
2Turn the headlight switch to
the or position.
When the headlight switch lever is
in the low beam position, the AHB
system will be enabled and the
AHB indicator will illuminate.
■Automatic operating condi-
tions of the high beams
●When all of the following condi-
tions are met, the high beams will
illuminate automatically:
• The vehicle speed is approxi-
mately 21 mph (34 km/h) or more.
• The area ahead of the vehicle is dark.
• There are no vehicles ahead with lights on.
• There are few streetlights or other
lights on the road ahead.
●If any of the following conditions
are met, the headlights will
change to the low beams:
• Vehicle speed drops below
approximately 17 mph (27 km/h).
• The area ahead of the vehicle is not dark.
• There is a vehi cle ahead with
lights on.
• There are many streetlights or
other lights on the road ahead.
■Front camera detection
●In the following situations, the high
beams may not be automatically
changed to the low beams:
• When a vehicle cuts in front of your vehicle
• When another vehicle crosses in front of the vehicle • When vehicles ahead are repeat-
edly detected and then hidden
due to repeated curves, road
dividers or roadside trees
• When a vehicle ahead approaches from a far lane
• When a vehicle ahead is far away
• When a vehicle ahead has no lights
• When the lights of a vehicle ahead are dim
• When a vehicle ahead is reflecting
strong light, such as own head-
lights
• Situations in which the sensors
may not operate properly: P. 2 0 5
●The headlights may change to the
low beams if a vehicle ahead that
is using fog lights without its head-
lights turned on is detected.
●House lights, street lights, traffic
signals, and illuminated billboards
or signs may cause the high
beams to change to the low
beams, or the low beams to
remain on.
●The following may change the tim-
ing at which the headlights
change to the low beams:
• The brightness o f lights of vehi-
cles ahead
• The movement and direction of vehicles ahead
• The distance between the vehicle and a vehicle ahead
• When a vehicle ahead only has
lights illuminate d on one side
• When a vehicle ahead is a two-wheeled vehicle
• The condition of the road (gradi- ent, curve, condition of the road
surface, etc.)
• The number of passengers and amount of luggage
●The headlights may change
between the high beams and low
beams unexpectedly.
●Bicycles and other small vehicles
may not be detected.
●In the following situations, the sys-
tem may not be able to correctly
detect the brightness of the sur-
Page 206 of 496
2064-5. Using the driving support systems
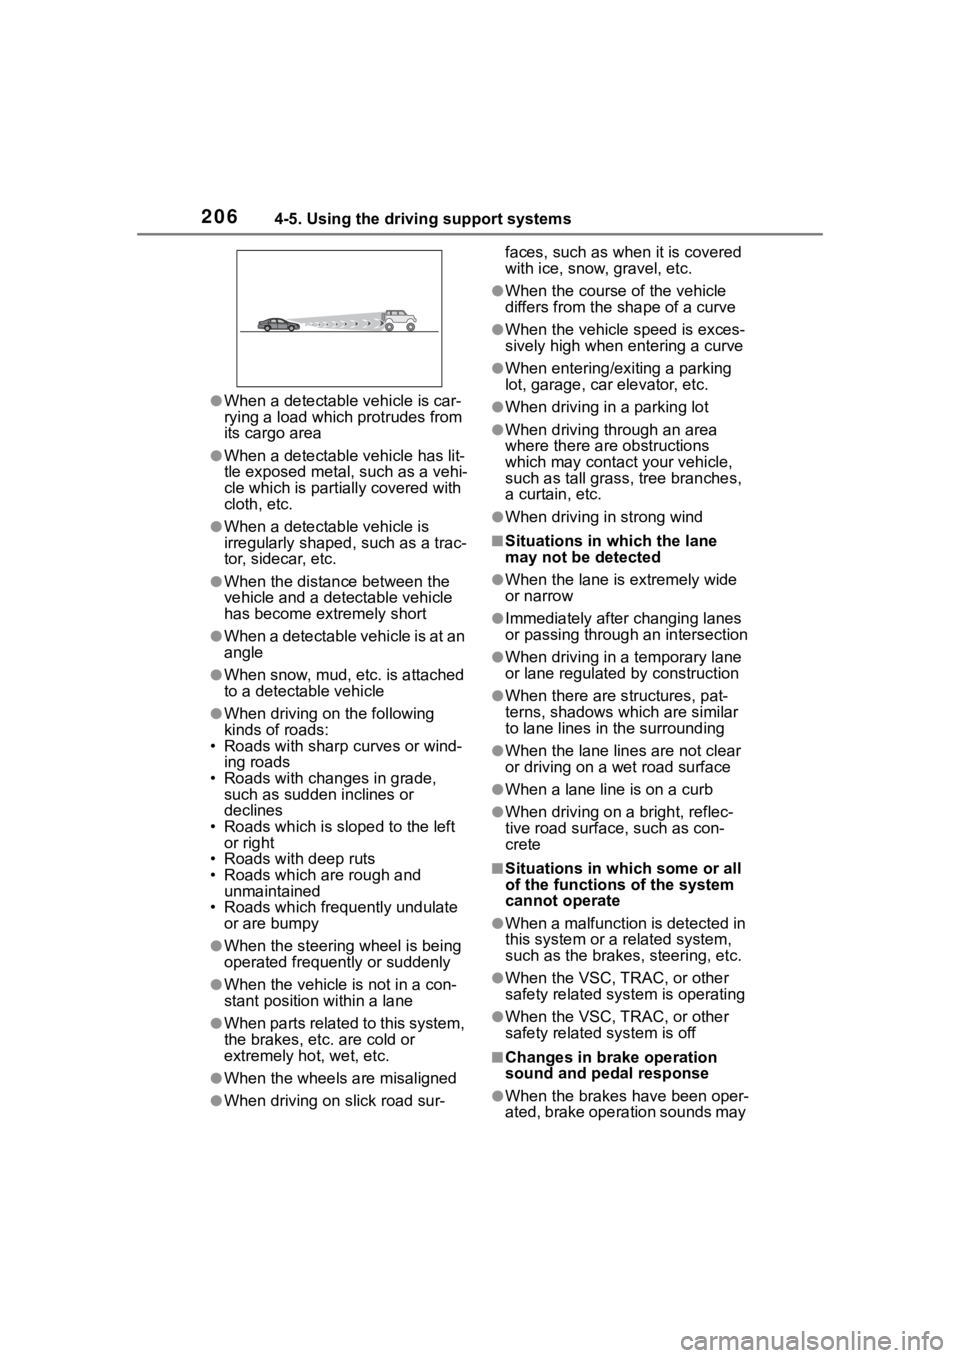
●When a detectable vehicle is car-
rying a load which protrudes from
its cargo area
●When a detectable vehicle has lit-
tle exposed metal, such as a vehi-
cle which is parti ally covered with
cloth, etc.
●When a detectabl e vehicle is
irregularly shaped , such as a trac-
tor, sidecar, etc.
●When the distance between the
vehicle and a detectable vehicle
has become extremely short
●When a detectable vehicle is at an
angle
●When snow, mud, etc. is attached
to a detectable vehicle
●When driving on the following
kinds of roads:
• Roads with sharp curves or wind- ing roads
• Roads with chang es in grade,
such as sudden inclines or
declines
• Roads which is slo ped to the left
or right
• Roads with deep ruts
• Roads which are rough and
unmaintained
• Roads which frequently undulate
or are bumpy
●When the steering wheel is being
operated frequently or suddenly
●When the vehicle is not in a con-
stant position within a lane
●When parts related to this system,
the brakes, etc. are cold or
extremely hot, wet, etc.
●When the wheels are misaligned
●When driving on slick road sur- faces, such as when it is covered
with ice, snow, gravel, etc.
●When the course of the vehicle
differs from the
shape of a curve
●When the vehicle speed is exces-
sively high when entering a curve
●When entering/exiting a parking
lot, garage, car elevator, etc.
●When driving in a parking lot
●When driving through an area
where there are obstructions
which may contact your vehicle,
such as tall grass , tree branches,
a curtain, etc.
●When driving in strong wind
■Situations in which the lane
may not be detected
●When the lane is extremely wide
or narrow
●Immediately after changing lanes
or passing through an intersection
●When driving in a temporary lane
or lane regulated by construction
●When there are s tructures, pat-
terns, shadows which are similar
to lane lines in the surrounding
●When the lane lines are not clear
or driving on a wet road surface
●When a lane line is on a curb
●When driving on a bright, reflec-
tive road surface, such as con-
crete
■Situations in which some or all
of the functions of the system
cannot operate
●When a malfunction is detected in
this system or a related system,
such as the brakes, steering, etc.
●When the VSC, TRAC, or other
safety related system is operating
●When the VSC, TRAC, or other
safety related system is off
■Changes in brake operation
sound and pedal response
●When the brakes have been oper-
ated, brake operation sounds may
Page 218 of 496
2184-5. Using the driving support systems
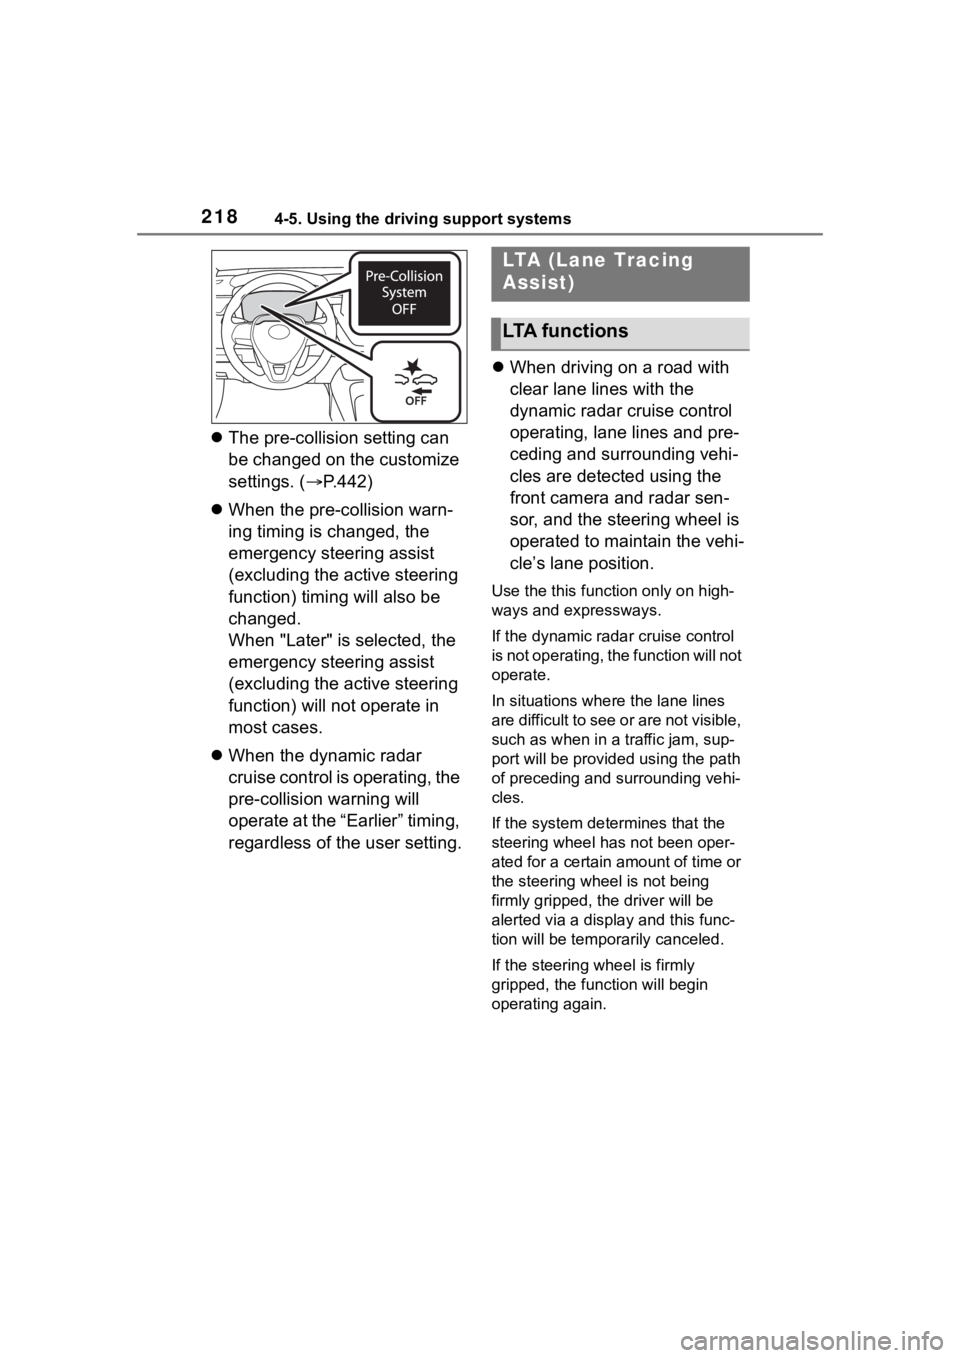
The pre-collision setting can
be changed on the customize
settings. ( P.442)
When the pre-collision warn-
ing timing is changed, the
emergency steering assist
(excluding the active steering
function) timing will also be
changed.
When "Later" is selected, the
emergency steering assist
(excluding the active steering
function) will not operate in
most cases.
When the dynamic radar
cruise control is operating, the
pre-collision warning will
operate at the “Earlier” timing,
regardless of the user setting.
When driving on a road with
clear lane lines with the
dynamic radar cruise control
operating, lane lines and pre-
ceding and surrounding vehi-
cles are detected using the
front camera and radar sen-
sor, and the steering wheel is
operated to maintain the vehi-
cle’s lane position.
Use the this function only on high-
ways and expressways.
If the dynamic radar cruise control
is not operating, the function will not
operate.
In situations where the lane lines
are difficult to see or are not visible,
such as when in a traffic jam, sup-
port will be provided using the path
of preceding and surrounding vehi-
cles.
If the system determines that the
steering wheel has not been oper-
ated for a certain amount of time or
the steering wheel is not being
firmly gripped, the driver will be
alerted via a display and this func-
tion will be temporarily canceled.
If the steering wheel is firmly
gripped, the func tion will begin
operating again.
LTA (Lane Tracing
Assist)
LTA functions
Page 220 of 496
2204-5. Using the driving support systems
the following conditions are met:
●The LTA system detects lane lines
or the path of preceding or sur-
rounding vehicles (except when
the preceding vehicle is small,
such as a motorcycle).
●The dynamic radar cruise control
is operating.
●The lane width is approximately
10 to 13 ft. (3 to 4 m).
●The turn signal le ver is not being
operated.
●The vehicle is not being driven
around a sharp curve.
●The vehicle is not accelerating or
decelerating more than a certain
amount.
●The steering wheel is not being
turned with a large force.
●The hands off steering wheel
warning ( P.220) is not operat-
ing.
●The vehicle is being driven in the
center of a lane.
■Temporary cancelation of func-
tions
●When the operating conditions are
no longer met, a function may be
temporarily canceled. However,
when the operation conditions are
met again, operation of the func-
tion will automatically be restored.
( P.219)
●If the operating conditions of a
function are no longer met while
the function is operating, a buzzer
may sound to indicate that the
function has been temporarily
canceled.
●The steering assist operation of
the function can be overridden by
the steering wheel operation of
the driver.
■Lane departure warning func-
tion when the LTA is operating
●Even if the LDA warning method is
changed to vibration of the steer-
ing wheel, if the vehicle deviates from the lane while the LTA is
operating, the warning buzzer will
sound to aler
t the driver.
●If steering wheel operation equiv-
alent to that necessary for a lane
change is detected, the system
will determine the vehicle is not
deviating from the lane and the
warning will not operate.
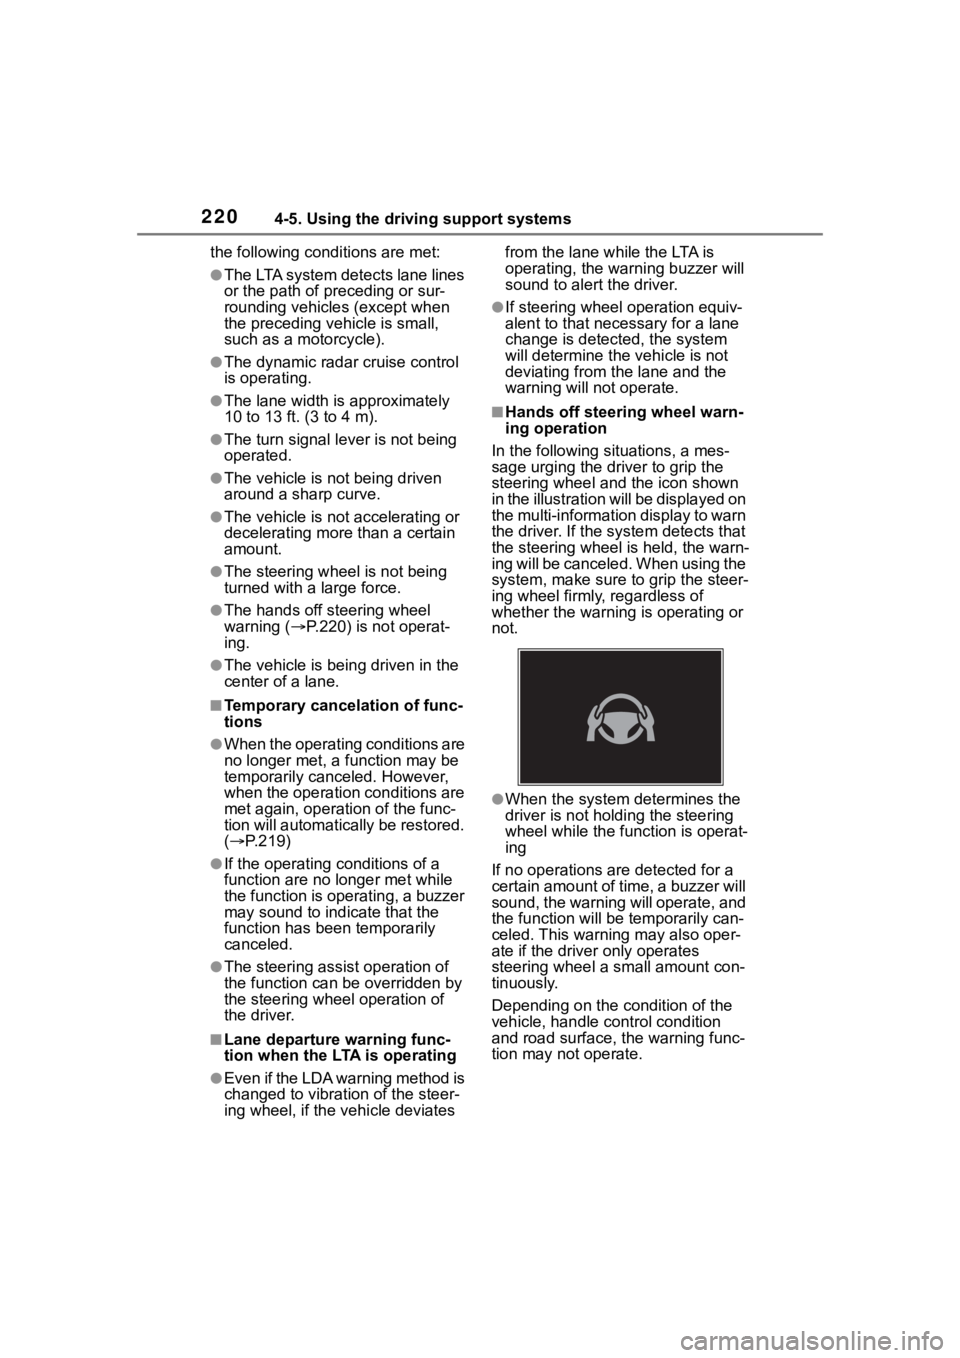
■Hands off steering wheel warn-
ing operation
In the following si tuations, a mes-
sage urging the driver to grip the
steering wheel and the icon shown
in the illustration will be displayed on
the multi-information display to warn
the driver. If the system detects that
the steering wheel is held, the warn-
ing will be canceled. When using the
system, make sure to grip the steer-
ing wheel firmly, regardless of
whether the warning is operating or
not.
●When the system determines the
driver is not hold ing the steering
wheel while the function is operat-
ing
If no operations are detected for a
certain amount of time, a buzzer will
sound, the warning will operate, and
the function will be temporarily can-
celed. This warnin g may also oper-
ate if the driver only operates
steering wheel a small amount con-
tinuously.
Depending on the condition of the
vehicle, handle control condition
and road surface, t he warning func-
tion may not operate.