2023 TOYOTA COROLLA HYBRID headlights
[x] Cancel search: headlightsPage 14 of 496
14Pictorial index
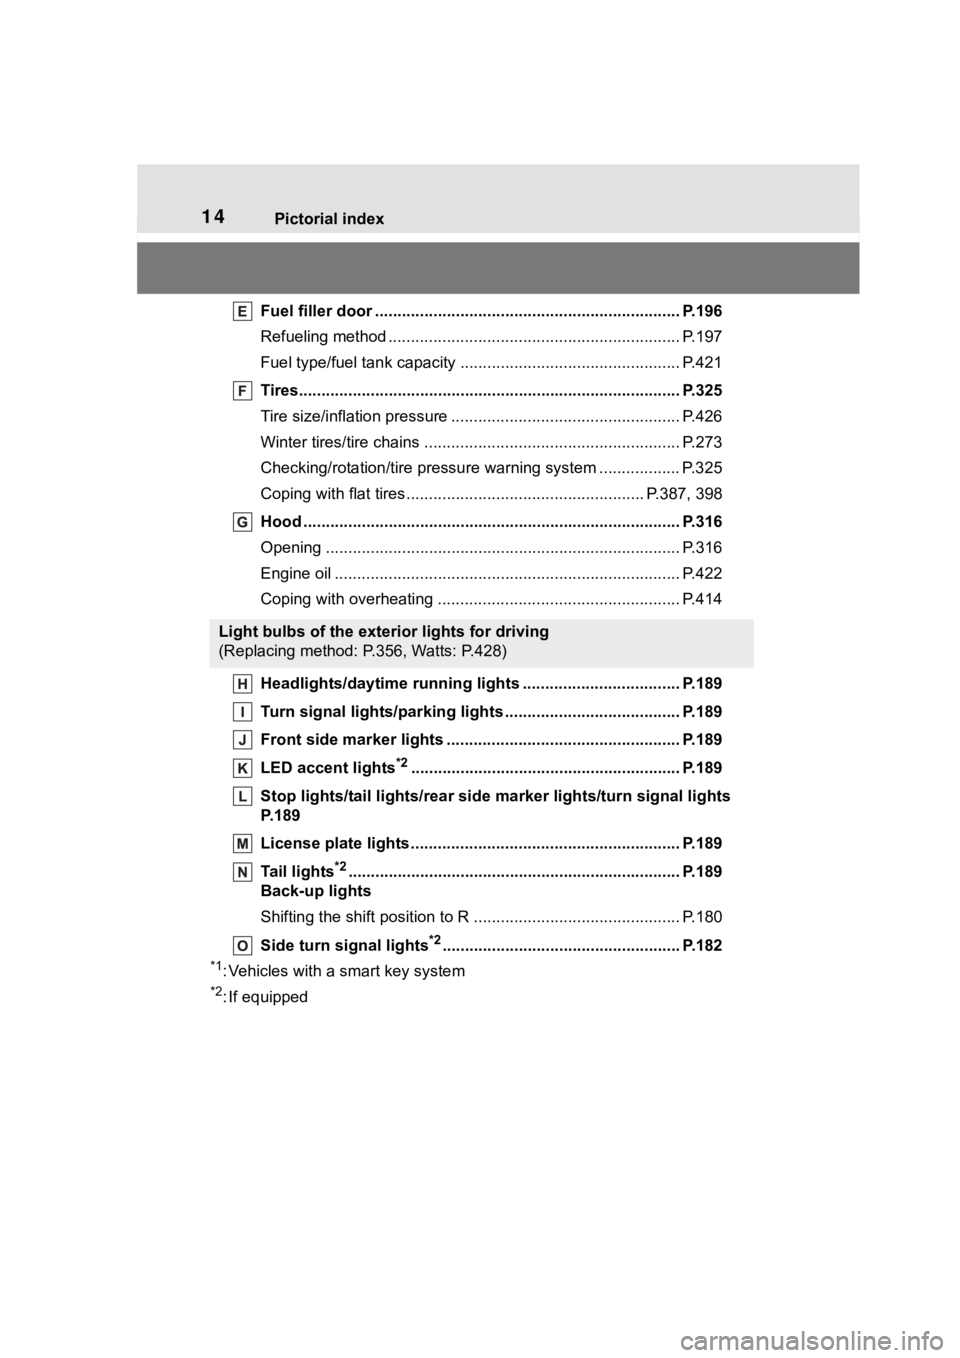
Fuel filler door .................................................................... P.196
Refueling method ............................................... .................. P.197
Fuel type/fuel tan k capacity ................................... .............. P.421
Tires.......................................................... ........................... P.325
Tire size/inflation pressure ................................... ................ P.426
Winter tires/tire chains ....................................... .................. P.273
Checking/rotation/tire pressur e warning system ..................P.325
Coping with flat tires......................................... ............ P.387, 398
Hood ........................................................... ......................... P.316
Opening ............................................................................... P.316
Engine oil ..................................................... ........................ P.422
Coping with overheating ...................................................... P.414
Headlights/daytime running lights .............................. ..... P.189
Turn signal lights/parking lights .............................. ......... P.189
Front side marker lights ....................................... ............. P.189
LED accent lights
*2............................................................ P.1 89
Stop lights/tail lights/rear side marker lights/turn signal lig hts
P. 1 8 9
License plate lights........................................... ................. P.189
Tail lights
*2............................................................... ........... P.189
Back-up lights
Shifting the shift position to R ............................... ............... P.180
Side turn signal lights
*2..................................................... P.182
*1: Vehicles with a smart key system
*2: If equipped
Light bulbs of the exterior lights for driving
(Replacing method: P.356, Watts: P.428)
Page 16 of 496

16Pictorial index
Energy monitor..................................................................... P.116
When a warning message is displayed ............................ .... P.382
Turn signal lever.............................................. ................... P.182
Headlight switch ............................................... ................. P.189
Headlights/parking lights/tail lig hts/side marker lights/daytime run-
ning lights/LED accent lights
*3............................................. P.189
Windshield wiper and washer switch............................... P.194
Usage................................................................................... P.194
Adding washer fluid .............................................................. P.324
Emergency flasher switch ....................................... .......... P.362
Hood lock release lever ........................................ ............. P.316
Tilt and telescopic steering lock release lever ................P. 1 4 6
Air conditioning system ............................. ....................... P.278
Usage................................................................................... P.278
Rear window defogger ........................................... .............. P.280
Audio system
*4
*1
: Vehicles without a smart key system
*2: Vehicles with a smart key system
*3: If equipped
*4: Refer to “MULTIMEDIA OWNER’S MANUAL”.
Page 189 of 496
1894-3. Operating the lights and wipers
4
Driving
4-3.Operating the lights and wipers
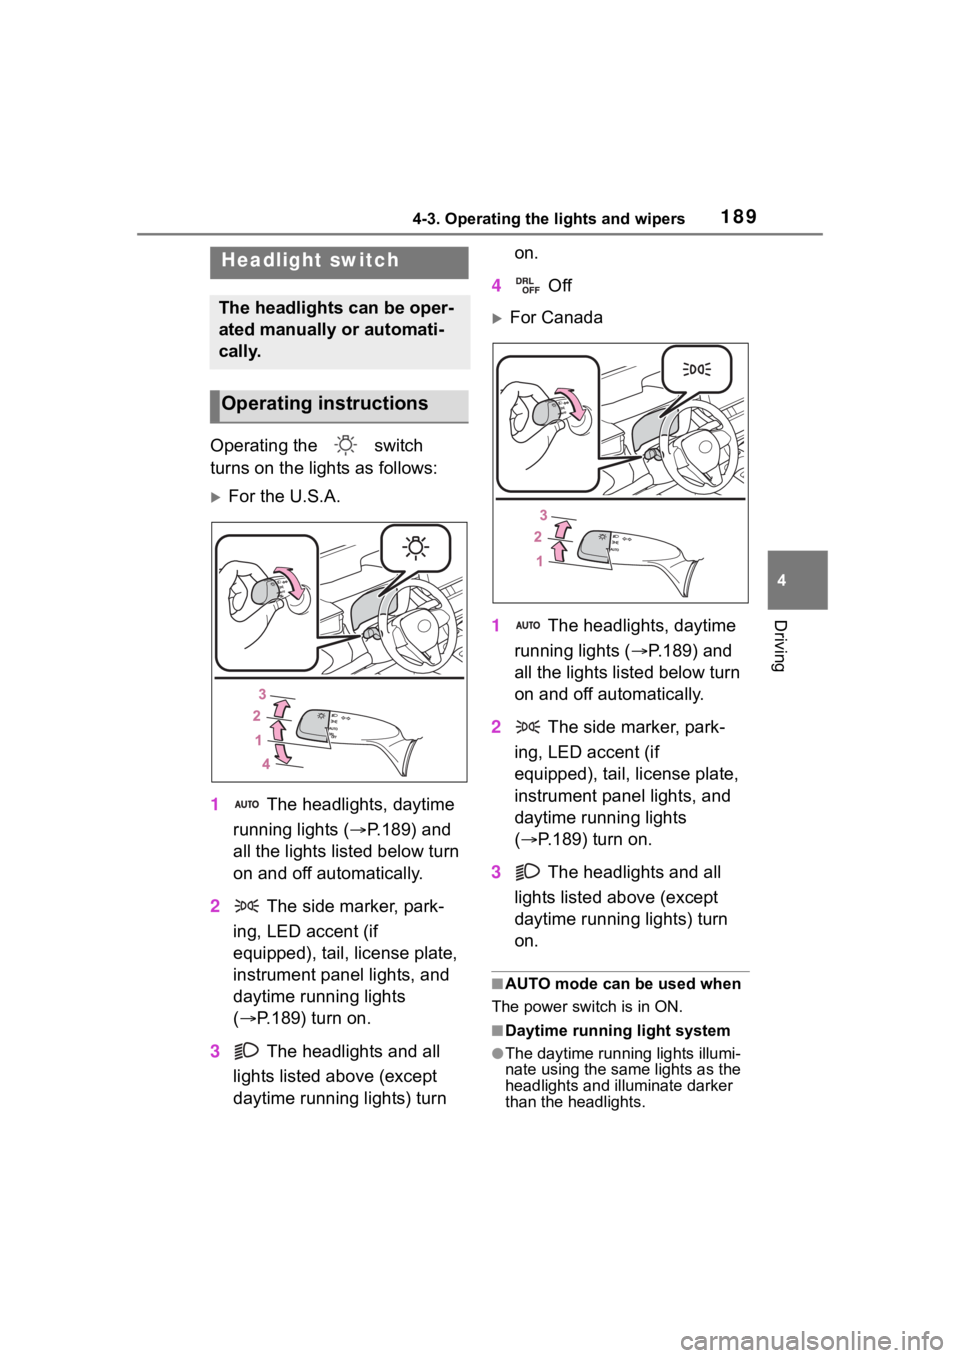
Operating the switch
turns on the lights as follows:
For the U.S.A.
1 The headlights, daytime
running lights ( P.189) and
all the lights listed below turn
on and off automatically.
2 The side marker, park-
ing, LED accent (if
equipped), tail, license plate,
instrument panel lights, and
daytime running lights
( P.189) turn on.
3 The headlights and all
lights listed above (except
daytime running lights) turn on.
4 Off
For Canada
1 The headlights, daytime
running lights ( P.189) and
all the lights listed below turn
on and off automatically.
2 The side marker, park-
ing, LED accent (if
equipped), tail, license plate,
instrument panel lights, and
daytime running lights
( P.189) turn on.
3 The headlights and all
lights listed above (except
daytime running lights) turn
on.
■AUTO mode can be used when
The power switch is in ON.
■Daytime running light system
●The daytime runn ing lights illumi-
nate using the same lights as the
headlights and illu minate darker
than the headlights.
Headlight switch
The headlights can be oper-
ated manually or automati-
cally.
Operating instructions
Page 190 of 496
1904-3. Operating the lights and wipers
●To make your vehicle more visible
to other drivers during daytime
driving, the daytime running lights
turn on automatically when all of
the following conditions are met.
(The daytime running lights are
not designed for use at night.)
• The hybrid system is operating.
• The parking brake is released
• The headlight switch is in the
or
* position
*: When the surroundings are bright
The daytime running lights remain
on after they illumi nate, even if the
parking brake is set again.
●For the U.S.A.: Daytime running
lights can be turned off by operat-
ing the switch.
●Compared to turning on the head-
lights, the daytime running light
system offers gr eater durability
and consumes less electricity, so
it can help improve fuel economy.
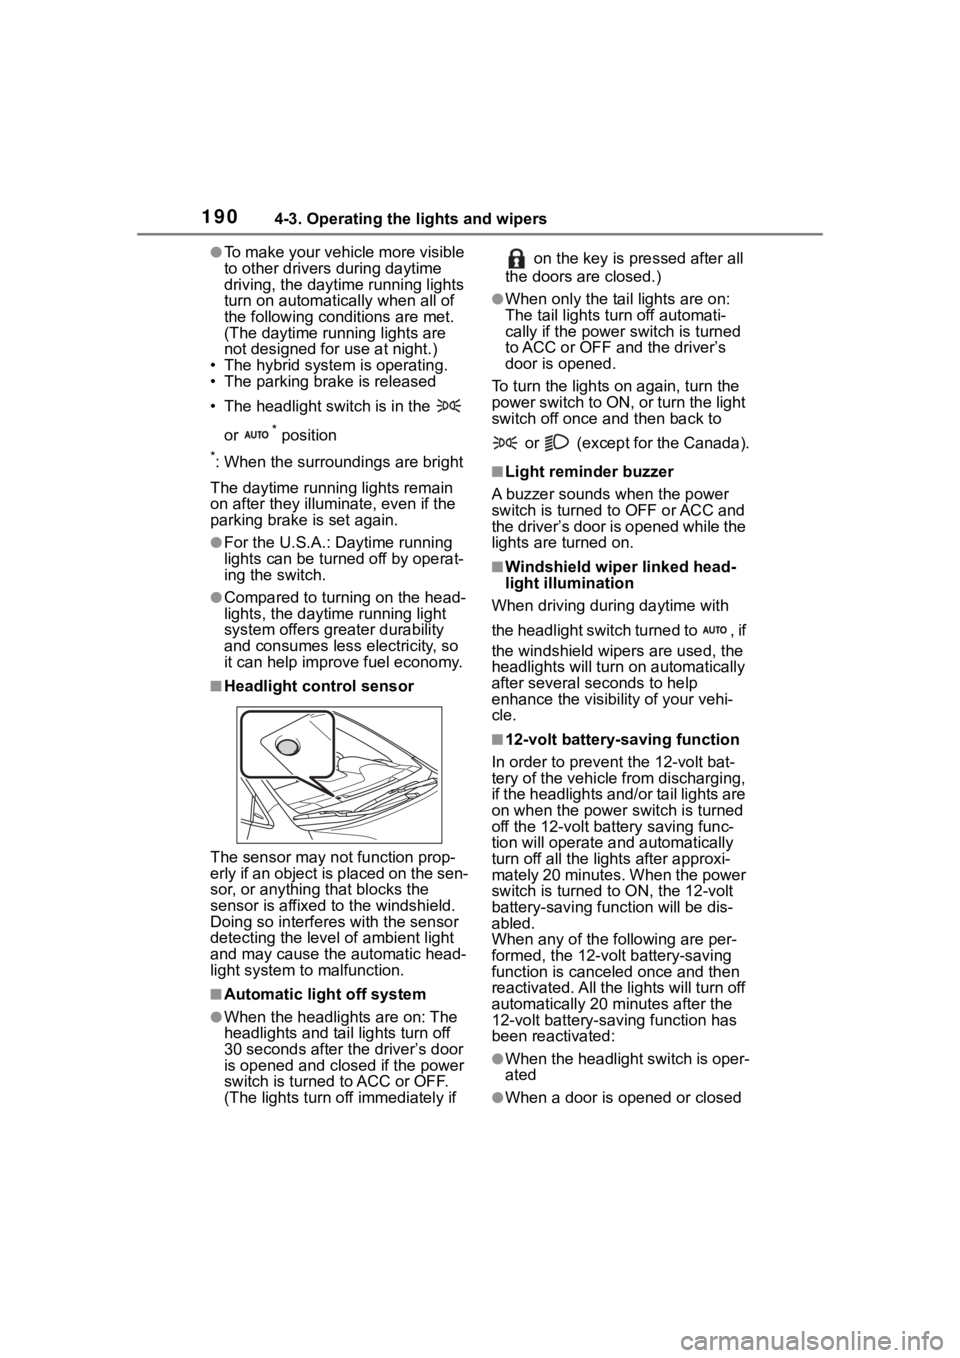
■Headlight control sensor
The sensor may not function prop-
erly if an object is placed on the sen-
sor, or anything that blocks the
sensor is affixed to the windshield.
Doing so interfere s with the sensor
detecting the level of ambient light
and may cause the automatic head-
light system to malfunction.
■Automatic light off system
●When the headlights are on: The
headlights and tail lights turn off
30 seconds after the driver’s door
is opened and clos ed if the power
switch is turned to ACC or OFF.
(The lights turn off immediately if on the key is pressed after all
the doors are closed.)
●When only the tail lights are on:
The tail lights turn off automati-
cally if the power switch is turned
to ACC or OFF and the driver’s
door is opened.
To turn the lights on again, turn the
power switch to ON, or turn the light
switch off once and then back to
or (except for the Canada).
■Light reminder buzzer
A buzzer sounds when the power
switch is turned t o OFF or ACC and
the driver’s door is opened while the
lights are turned on.
■Windshield wiper linked head-
light illumination
When driving during daytime with
the headlight switch turned to , if
the windshield wipers are used, the
headlights will turn o n automatically
after several se conds to help
enhance the visibility of your vehi-
cle.
■12-volt battery-saving function
In order to prevent the 12-volt bat-
tery of the vehicle from discharging,
if the headlights and/or tail lights are
on when the power switch is turned
off the 12-volt battery saving func-
tion will operate and automatically
turn off all the lig hts after approxi-
mately 20 minutes. When the power
switch is turned to ON, the 12-volt
battery-saving function will be dis-
abled.
When any of the following are per-
formed, the 12-volt battery-saving
function is canceled once and then
reactivated. All the lights will turn off
automatically 20 mi nutes after the
12-volt battery-saving function has
been reactivated:
●When the headlight switch is oper-
ated
●When a door is opened or closed
Page 191 of 496
1914-3. Operating the lights and wipers
4
Driving
■Customization
Some functions can be customized.
( P.442)
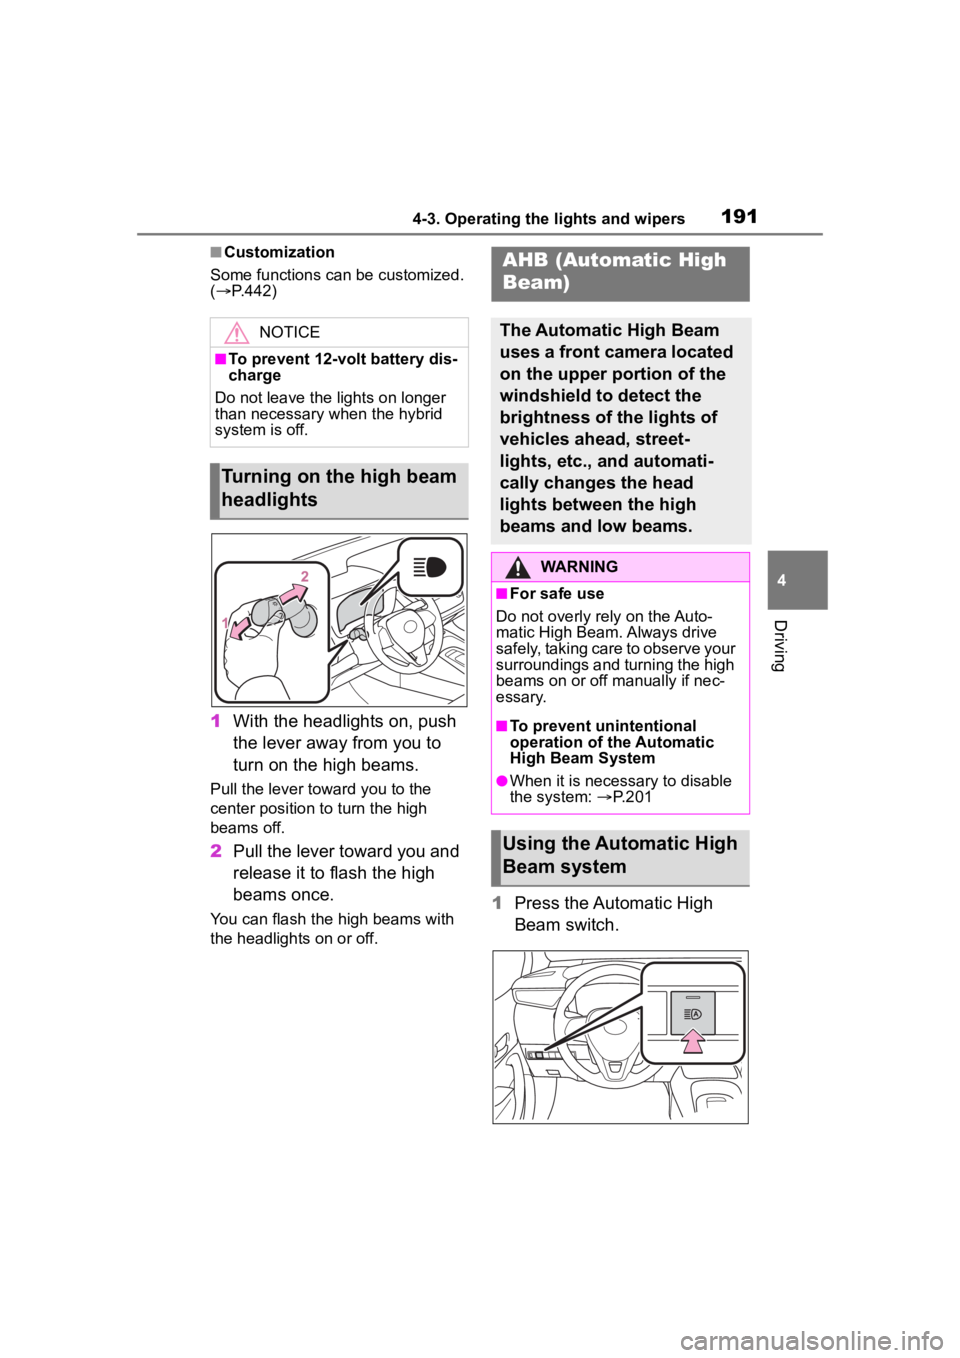
1 With the headlights on, push
the lever away from you to
turn on the high beams.
Pull the lever toward you to the
center position to turn the high
beams off.
2Pull the lever toward you and
release it to flash the high
beams once.
You can flash the high beams with
the headlights on or off.1Press the Automatic High
Beam switch.
NOTICE
■To prevent 12-volt battery dis-
charge
Do not leave the lights on longer
than necessary when the hybrid
system is off.
Turning on the high beam
headlights
AHB (Automatic High
Beam)
The Automatic High Beam
uses a front camera located
on the upper portion of the
windshield to detect the
brightness of the lights of
vehicles ahead, street-
lights, etc., and automati-
cally changes the head
lights between the high
beams and low beams.
WARNING
■For safe use
Do not overly rely on the Auto-
matic High Beam. Always drive
safely, taking care to observe your
surroundings and turning the high
beams on or off manually if nec-
essary.
■To prevent unintentional
operation of the Automatic
High Beam System
●When it is necessary to disable
the system: P.201
Using the Automatic High
Beam system
Page 192 of 496

1924-3. Operating the lights and wipers
2Turn the headlight switch to
the or position.
When the headlight switch lever is
in the low beam position, the AHB
system will be enabled and the
AHB indicator will illuminate.
■Automatic operating condi-
tions of the high beams
●When all of the following condi-
tions are met, the high beams will
illuminate automatically:
• The vehicle speed is approxi-
mately 21 mph (34 km/h) or more.
• The area ahead of the vehicle is dark.
• There are no vehicles ahead with lights on.
• There are few streetlights or other
lights on the road ahead.
●If any of the following conditions
are met, the headlights will
change to the low beams:
• Vehicle speed drops below
approximately 17 mph (27 km/h).
• The area ahead of the vehicle is not dark.
• There is a vehi cle ahead with
lights on.
• There are many streetlights or
other lights on the road ahead.
■Front camera detection
●In the following situations, the high
beams may not be automatically
changed to the low beams:
• When a vehicle cuts in front of your vehicle
• When another vehicle crosses in front of the vehicle • When vehicles ahead are repeat-
edly detected and then hidden
due to repeated curves, road
dividers or roadside trees
• When a vehicle ahead approaches from a far lane
• When a vehicle ahead is far away
• When a vehicle ahead has no lights
• When the lights of a vehicle ahead are dim
• When a vehicle ahead is reflecting
strong light, such as own head-
lights
• Situations in which the sensors
may not operate properly: P. 2 0 5
●The headlights may change to the
low beams if a vehicle ahead that
is using fog lights without its head-
lights turned on is detected.
●House lights, street lights, traffic
signals, and illuminated billboards
or signs may cause the high
beams to change to the low
beams, or the low beams to
remain on.
●The following may change the tim-
ing at which the headlights
change to the low beams:
• The brightness o f lights of vehi-
cles ahead
• The movement and direction of vehicles ahead
• The distance between the vehicle and a vehicle ahead
• When a vehicle ahead only has
lights illuminate d on one side
• When a vehicle ahead is a two-wheeled vehicle
• The condition of the road (gradi- ent, curve, condition of the road
surface, etc.)
• The number of passengers and amount of luggage
●The headlights may change
between the high beams and low
beams unexpectedly.
●Bicycles and other small vehicles
may not be detected.
●In the following situations, the sys-
tem may not be able to correctly
detect the brightness of the sur-
Page 193 of 496
1934-3. Operating the lights and wipers
4
Driving
roundings. This may cause the
low beams to remain on or the
high beams to flash or dazzle
pedestrians or vehicles ahead. In
such a case, it is necessary to
manually change between the
high beams and low beams.
• When there are lights similar to headlights or tail li ghts in the sur-
rounding area
• When headlights or tail lights of vehicles ahead are turned off,
dirty, changing color, or not aimed
properly
• When the headlights are repeat-
edly changing between the high
beams and low beams.
• When use of the high beams is
inappropriate or when the high
beams may be flashing or daz-
zling pedestrians or other drivers.
• When the vehicle is used in an area in which vehicles travel on
the opposite side of the road of
the country for wh ich the vehicle
was designed, for example using
a vehicle designed for right-hand
traffic in a left-hand traffic area, or
vice versa
• When it is necessary to disable
the system: P. 2 0 1
• Situations in which the sensors may not operate properly: P. 2 0 5
■Temporarily reducing front
camera sensitivity (for the
U.S.A.)
The sensitivity o f the front camera
can be temporarily reduced.
1 Press the power switch off with
the following conditions met.
• The headlight switch is in the
or position.
• The headlight switch lever is in the low beam position.
• The automatic High Beam switch is on.
2 Press the power switch to ON.
3 Within 60 seconds after perform-
ing step 2, push the headlight
switch lever to the high beam
position then pull it to the original position quickly 10 times, then
leave the lever in its original posi-
tion.
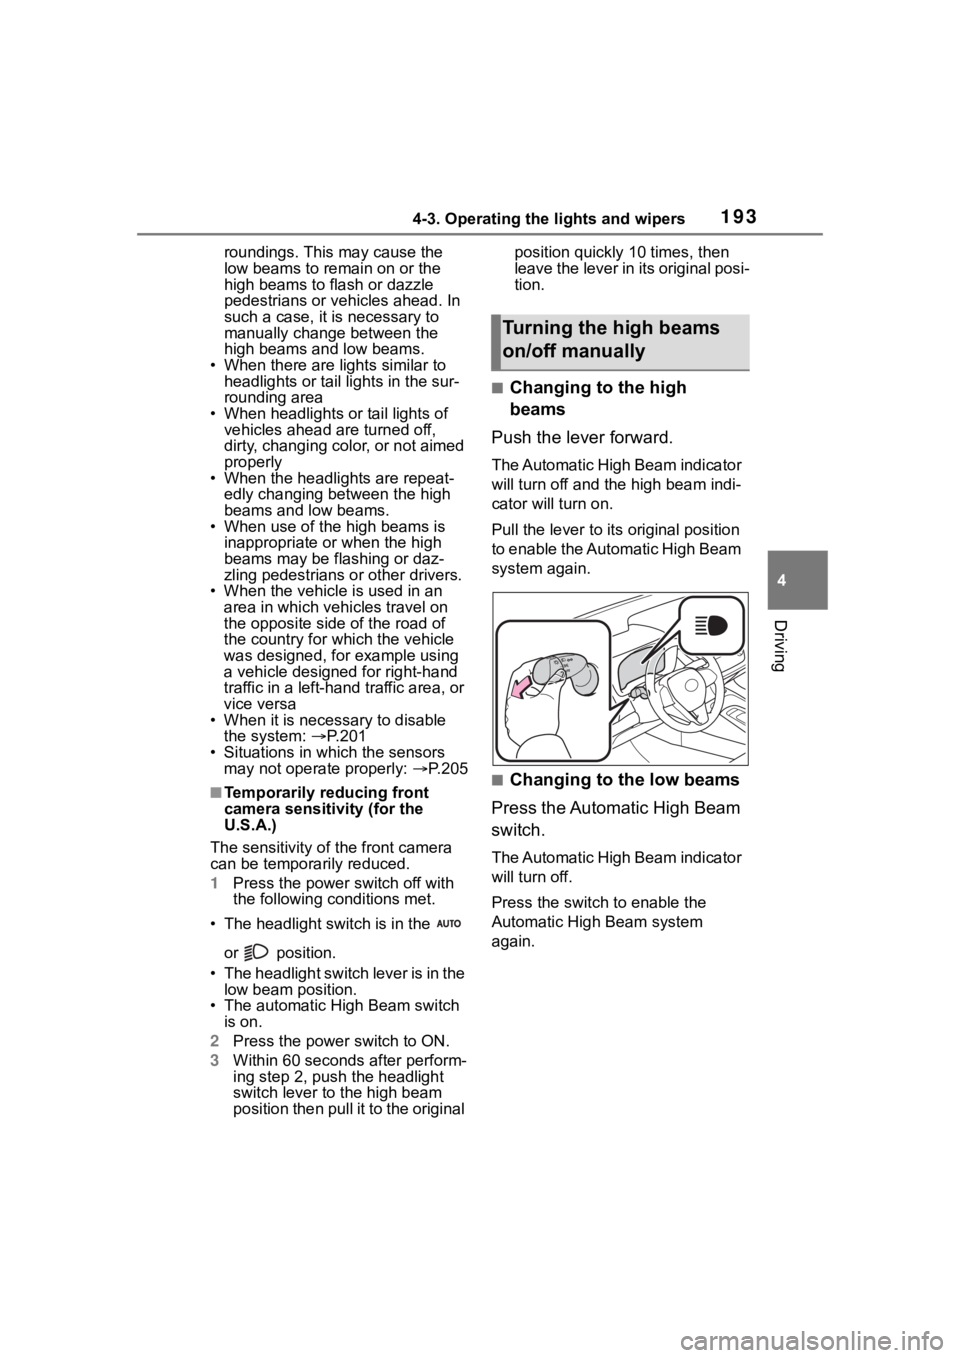
■Changing to the high
beams
Push the lever forward.
The Automatic High Beam indicator
will turn off and the high beam indi-
cator will turn on.
Pull the lever to its original position
to enable the Automatic High Beam
system again.
■Changing to the low beams
Press the Automatic High Beam
switch.
The Automatic High Beam indicator
will turn off.
Press the switch to enable the
Automatic High Beam system
again.
Turning the high beams
on/off manually
Page 204 of 496

2044-5. Using the driving support systems
WARNING
• Even if a glass coating agent is applied to the windshield, it will
still be necessary to use the
windshield wipers to remove
water droplets, etc. from the
area of the windshield in front of
the front camera.
• If the inner side of the wind- shield where the front camera is
installed is dirty, contact your
Toyota dealer.
●Do not attach stickers (including
transparent stickers) or other
items to the area of the wind-
shield in front o f the front cam-
era (shaded area in the
illustration).
Approximately 1.6 in. (4 cm)
Approximately 1.6 in. (4 cm)
●If the part of the windshield in
front of the front camera is
fogged up or covered with con-
densation or ice, use the wind-
shield defogger to remove the
fog, condensation, or ice.
●If water droplets cannot be
properly removed from the area
of the windshield in front of the
front camera by the windshield
wipers, replace the wiper insert
or wiper blade.
●Do not attach win dow tint to the
windshield.
●Replace the windshield if it is
damaged or cracked.
If the windshield has been
replaced, recalibration of the
front camera will be necessary.
For details, contact your Toyota
dealer.
●Do not allow liquids to contact
the front camera.
●Do not allow bright lights to
shine into the front camera.
●Do not damage th e lens of the
front camera o r allow it to
become dirty.
When cleaning the inside of the
windshield, do not allow glass
cleaner to contact the lens of
the front camera. Do not touch
the lens of the front camera.
If the lens of the front camera is
dirty or damaged, contact your
Toyota dealer.
●Do not subject the front camera
to a strong impact.
●Do not change the position or
orientation of the front camera
or remove it.
●Do not disassemble the front
camera.
●Do not modify any parts around
the front camera , such as the
inside rear view mirror or ceil-
ing.
●Do not attach accessories
which may obstruct the front
camera to the hood, front grille,
or front bumper. For details,
contact your Toyota dealer.
●If a surfboard or other long
object is to be mounted on the
roof, make sure that it will not
obstruct the front camera.
●Do not modify or change the
headlights and other lights.