2023 TOYOTA COROLLA CROSS engine
[x] Cancel search: enginePage 297 of 500
2975-1. Using the air conditioning system and defogger
5
Interior features
1Press the automatic mode
switch.
2 Adjust the temperature set-
ting.
3 To stop the operation, press
the off switch.
If the fan speed setting or air
flow modes are operated, the
automatic mode indicator goes
off. However, automatic mode
for functions other than that
operated is maintained.
■Using automatic mode
Fan speed is adjusted automati-
cally according to the temperature
setting and the ambient conditions. Therefore, the fan may stop for a
while until warm or
cool air is ready
to flow immediately after the auto-
matic mode switch pressed.
This function automatically con-
trols the air conditioning airflow
so that priority is given to the
front seats. Unnecessary air
conditioning is suppressed, con-
tributing to increased fuel effi-
ciency.
Front seat concentrated airflow
mode operates in the following
situations.
No passengers are detected
in the rear seats
The windshield defogger is
not operating
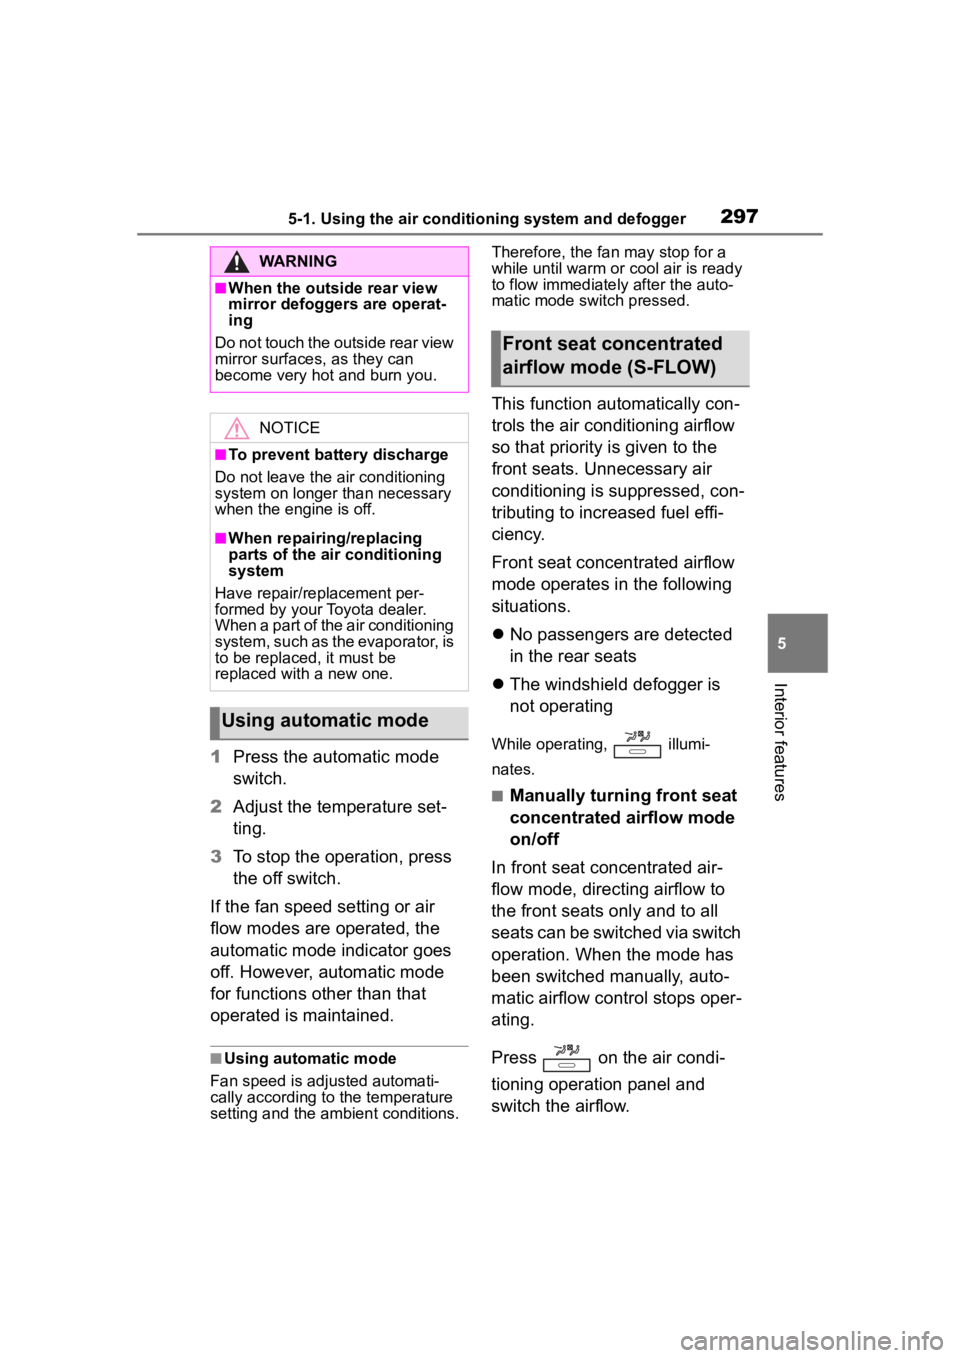
While operating, illumi-
nates.
■Manually turning front seat
concentrated airflow mode
on/off
In front seat concentrated air-
flow mode, directing airflow to
the front seats only and to all
seats can be switched via switch
operation. When the mode has
been switched manually, auto-
matic airflow control stops oper-
ating.
Press on the air condi-
tioning operation panel and
switch the airflow.
WARNING
■When the outside rear view
mirror defoggers are operat-
ing
Do not touch the outside rear view
mirror surfaces, as they can
become very hot and burn you.
NOTICE
■To prevent battery discharge
Do not leave the air conditioning
system on longer than necessary
when the engine is off.
■When repairing/replacing
parts of the air conditioning
system
Have repair/replacement per-
formed by your Toyota dealer.
When a part of the air conditioning
system, such as the evaporator, is
to be replaced, it must be
replaced with a new one.
Using automatic mode
Front seat concentrated
airflow mode (S-FLOW)
Page 298 of 500
2985-1. Using the air conditioning system and defogger
Indicator illuminated: Airflow
to the front seats only
Indicator off: Airflow to all the
seats
■Operation of automatic airflow
control
●In order to maintain a comfortable
interior, airflow may be directed to
seats without passengers immedi-
ately after the e ngine is started
and at other times depending on
the outside temperature.
●After the engine is started, if pas-
sengers move around inside or
enter/exit the vehicle, the system
cannot accurately detect the pres-
ence of passengers and automatic
airflow control will not operate.
■Operation of manual airflow
control
Even if the function is manually
switched to directing airflow to only
the front seats, whe n a rear seat is
occupied, it may automatically direct
airflow to all seats.
■To return to automatic airflow
control
1 With the indicator off, turn the
engine switch off.
2 After 60 minutes or more elapse,
turn the engine switch to ON.
Prevent ice from building up on
the windshield and wiper
blades.
When the windshield wiper de-icer
switch is on, the indicator illumi-
nates on the windshield wiper
de-icer switch.
The windshield wiper de-icer will
automatically turn off after a period
of time.
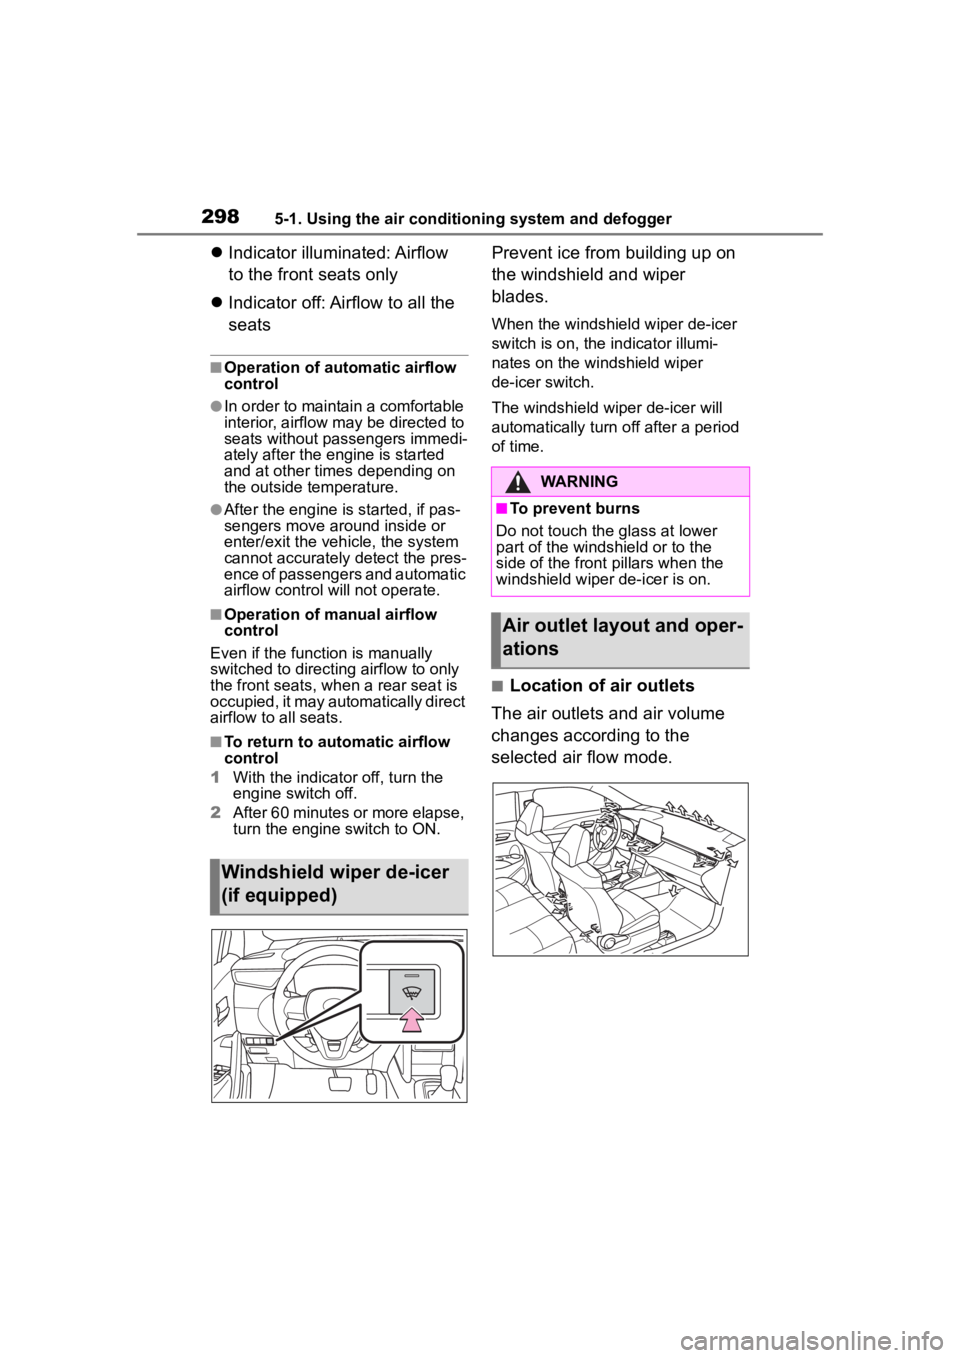
■Location of air outlets
The air outlets and air volume
changes according to the
selected air flow mode.
Windshield wiper de-icer
(if equipped)
WARNING
■To prevent burns
Do not touch the glass at lower
part of the windshield or to the
side of the front p illars when the
windshield wiper de-icer is on.
Air outlet layout and oper-
ations
Page 300 of 500
3005-1. Using the air conditioning system and defogger
*: If equipped
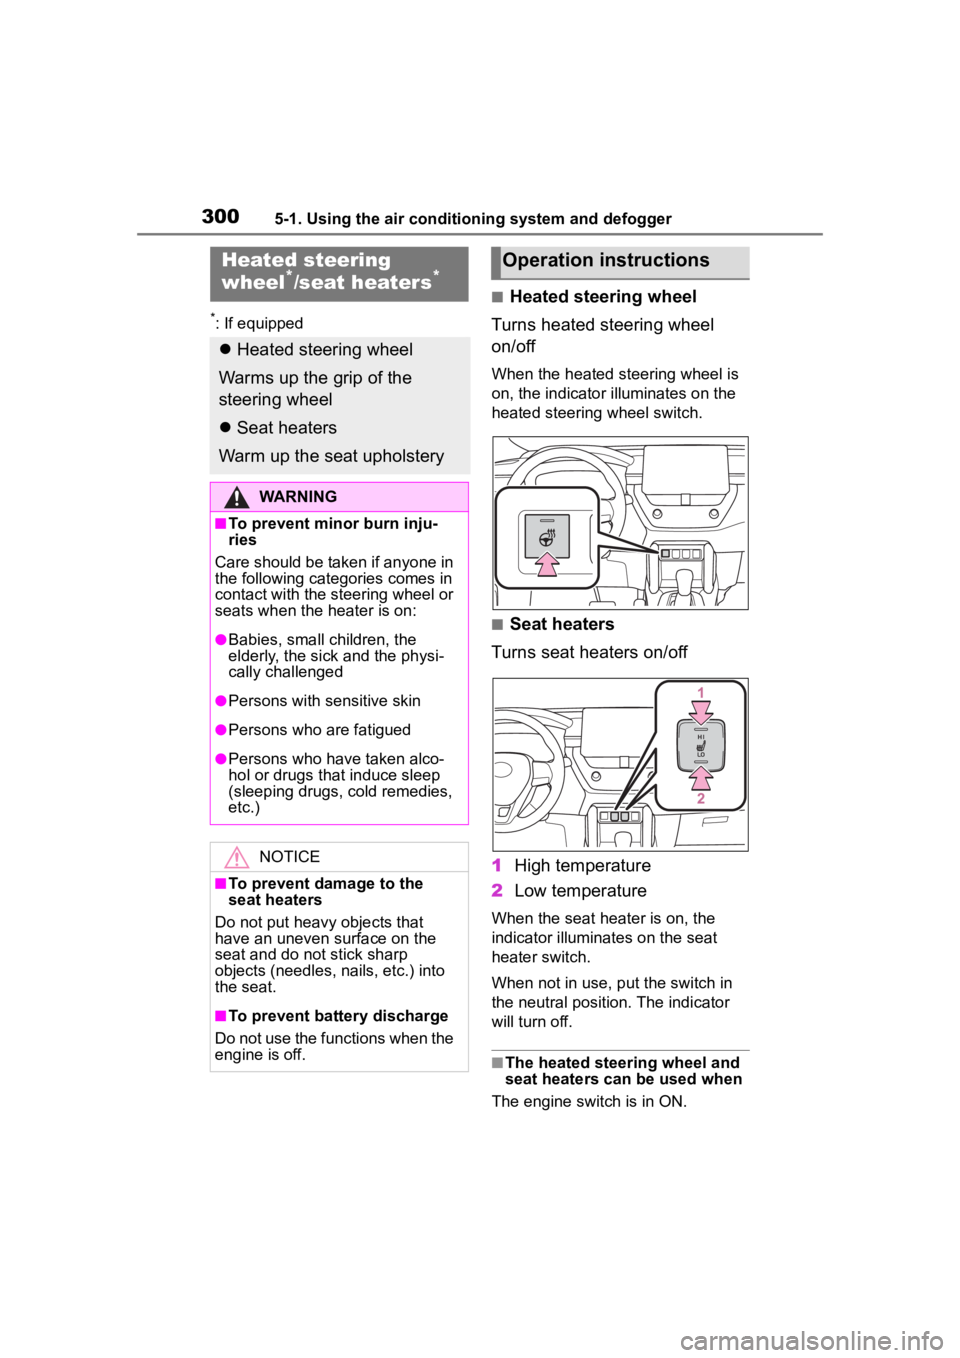
■Heated steering wheel
Turns heated steering wheel
on/off
When the heated steering wheel is
on, the indicator illuminates on the
heated steering wheel switch.
■Seat heaters
Turns seat heaters on/off
1 High temperature
2 Low temperature
When the seat heater is on, the
indicator illuminates on the seat
heater switch.
When not in use, put the switch in
the neutral position. The indicator
will turn off.
■The heated steering wheel and
seat heaters can be used when
The engine switch is in ON.
Heated steering
wheel*/seat heaters*
Heated steering wheel
Warms up the grip of the
steering wheel
Seat heaters
Warm up the seat upholstery
WARNING
■To prevent minor burn inju-
ries
Care should be taken if anyone in
the following categories comes in
contact with the steering wheel or
seats when the heater is on:
●Babies, small children, the
elderly, the sick and the physi-
cally challenged
●Persons with sensitive skin
●Persons who are fatigued
●Persons who have taken alco-
hol or drugs that induce sleep
(sleeping drugs, cold remedies,
etc.)
NOTICE
■To prevent damage to the
seat heaters
Do not put heavy objects that
have an uneven surface on the
seat and do not stick sharp
objects (needles, nails, etc.) into
the seat.
■To prevent battery discharge
Do not use the functions when the
engine is off.
Operation instructions
Page 303 of 500
3035-2. Using the interior lights
5
Interior features
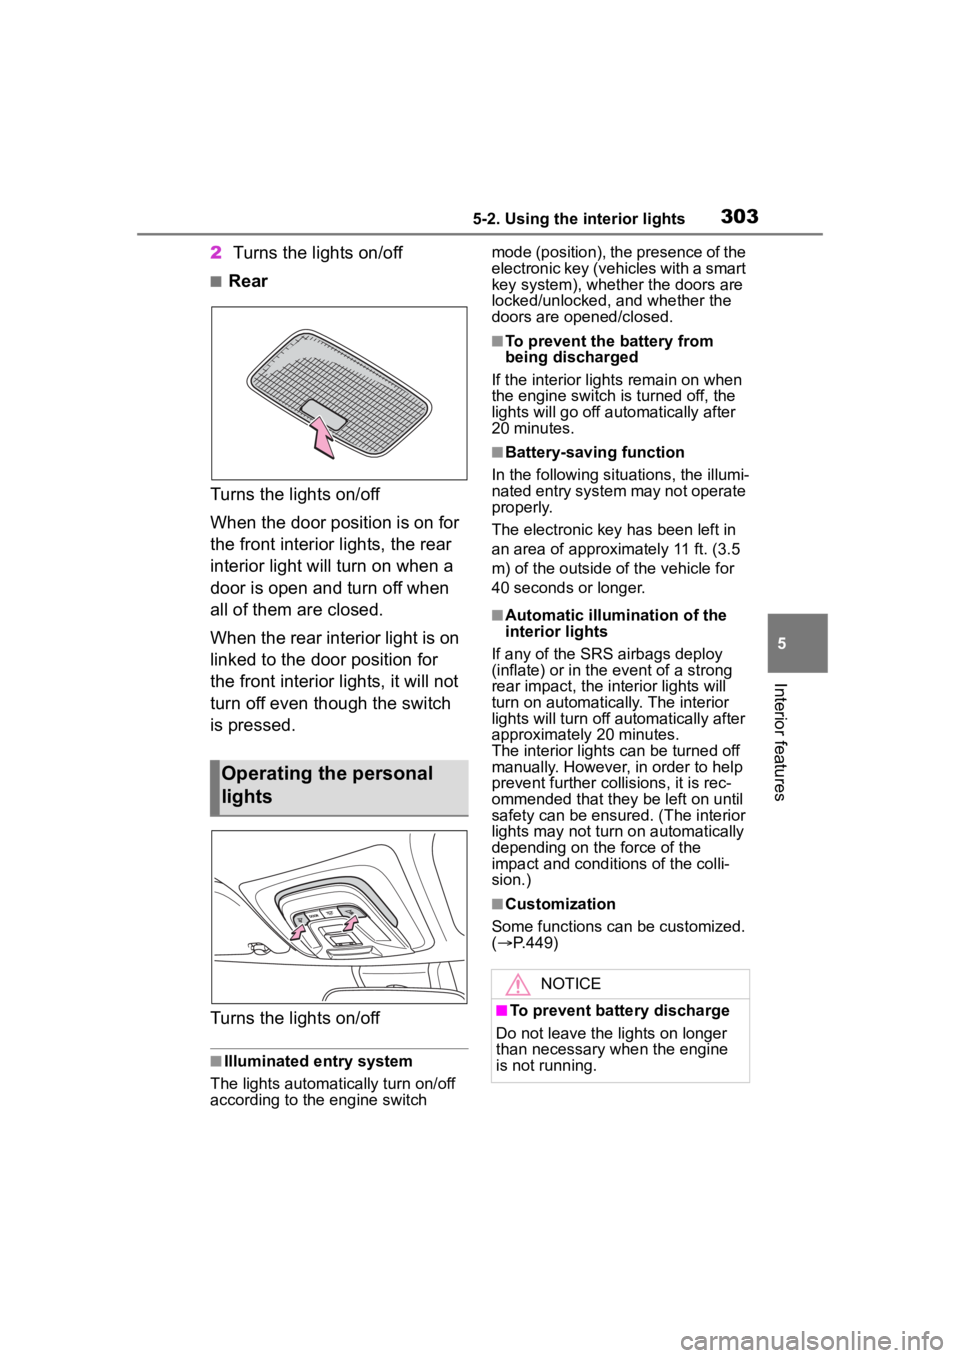
2Turns the lights on/off
■Rear
Turns the lights on/off
When the door position is on for
the front interior lights, the rear
interior light will turn on when a
door is open and turn off when
all of them are closed.
When the rear interior light is on
linked to the door position for
the front interior lights, it will not
turn off even though the switch
is pressed.
Turns the lights on/off
■Illuminated entry system
The lights automatically turn on/off
according to the engine switch mode (position), the presence of the
electronic key (vehicles with a smart
key system), whether the doors are
locked/unlocked, and whether the
doors are opened/closed.
■To prevent the battery from
being discharged
If the interior light s remain on when
the engine switch is turned off, the
lights will go off automatically after
20 minutes.
■Battery-saving function
In the following situations, the illumi-
nated entry system may not operate
properly.
The electronic key has been left in
an area of approximately 11 ft. (3.5
m) of the outside of the vehicle for
40 seconds or longer.
■Automatic illumination of the
interior lights
If any of the SRS airbags deploy
(inflate) or in the event of a strong
rear impact, the in terior lights will
turn on automatically. The interior
lights will turn off automatically after
approximately 20 minutes.
The interior lights can be turned off
manually. However, in order to help
prevent further co llisions, it is rec-
ommended that they be left on until
safety can be ensured. (The interior
lights may not turn on automatically
depending on the force of the
impact and conditions of the colli-
sion.)
■Customization
Some functions can be customized.
( P.449)
Operating the personal
lights
NOTICE
■To prevent battery discharge
Do not leave the lights on longer
than necessary w hen the engine
is not running.
Page 309 of 500
3095-4. Other interior features
5
Interior features
5-4.Other interior features
The USB charging port are used
to supply 3.0 A of electricity at 5
V to external devices.
The USB charging port are for
charging only. They are not
designed for data transfer or
other purposes.
Depending on the external
device, it may not charge prop-
erly. Refer to the manual
included with the device before
using a USB charging port.
■Using the USB charging
ports
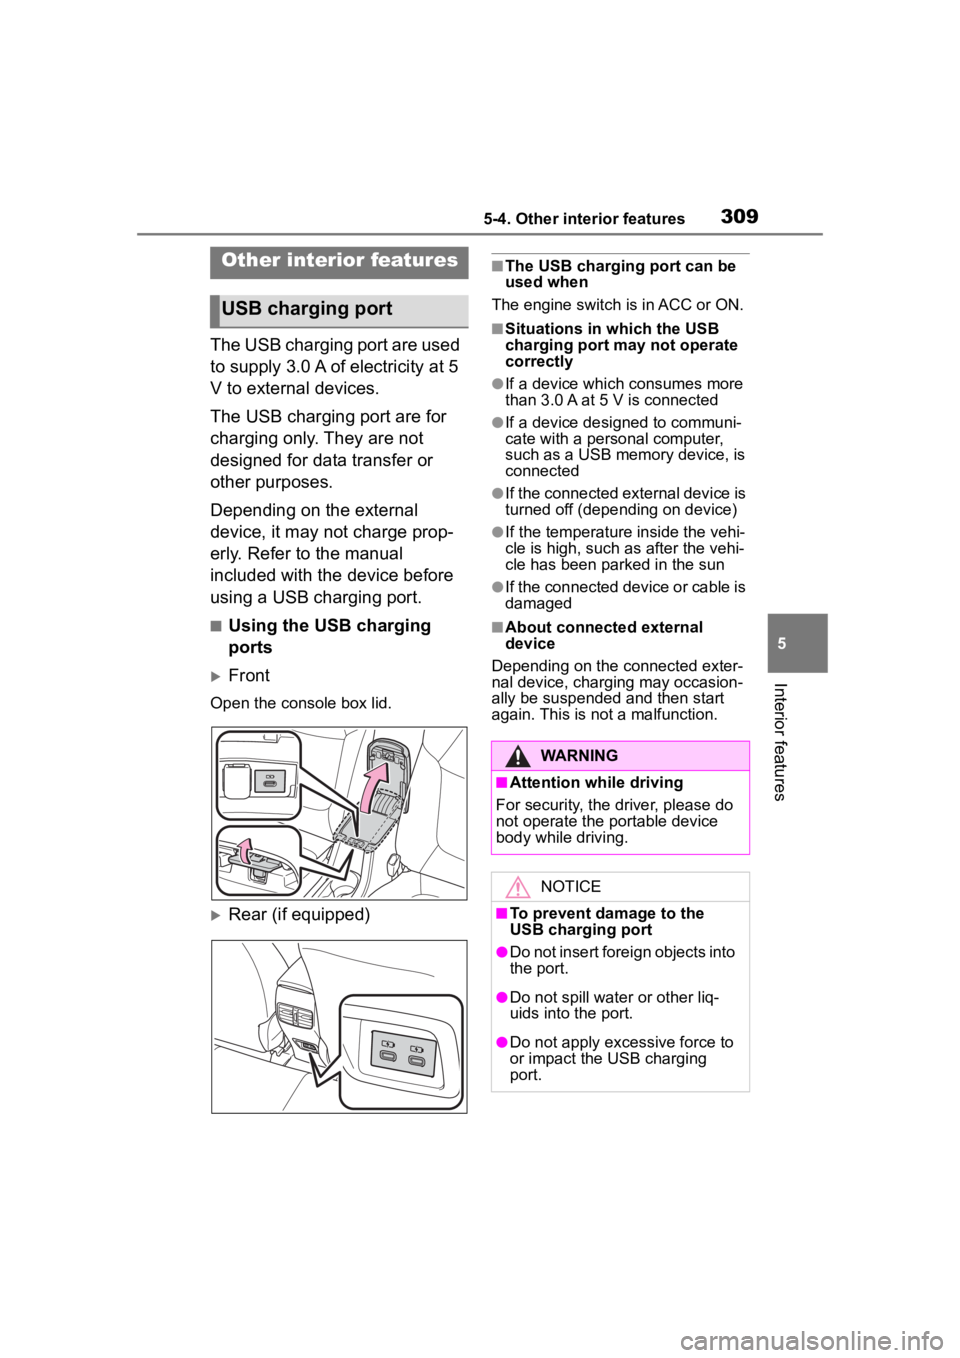
Front
Open the console box lid.
Rear (if equipped)
■The USB charging port can be
used when
The engine switch i s in ACC or ON.
■Situations in which the USB
charging port may not operate
correctly
●If a device which consumes more
than 3.0 A at 5 V is connected
●If a device designed to communi-
cate with a personal computer,
such as a USB memory device, is
connected
●If the connected external device is
turned off (depend ing on device)
●If the temperature inside the vehi-
cle is high, such as after the vehi-
cle has been parked in the sun
●If the connected device or cable is
damaged
■About connected external
device
Depending on the connected exter-
nal device, charging may occasion-
ally be suspended and then start
again. This is not a malfunction.
Other interior features
USB charging port
WARNING
■Attention while driving
For security, the driver, please do
not operate the p ortable device
body while driving.
NOTICE
■To prevent damage to the
USB charging port
●Do not insert foreign objects into
the port.
●Do not spill water or other liq-
uids into the port.
●Do not apply excessive force to
or impact the USB charging
port.
Page 310 of 500

3105-4. Other interior features
The power outlet can be used
for 12 V accessories that run on
less than 10 A.
Lift the lid while pulling up the
knob and open the power outlet
lid.
■The power outlet can be used
when
The engine switch i s in ACC or ON.
■Using the power outlet
When the engine restarts after hav-
ing been stopped by the Stop &
Start system, the power outlets may
be temporarily unusable, but this is
not a malfunction.
■When turning the engine switch
off
Disconnect electrical devices with
charging functions, such as mobile
battery packs.
If such devices are left connected,
the engine switch may not be turned
off normally.
A portable device, such as a
smartphone or mobile battery,
can be charged by just placing it
on the charging area, provided
the device is compatible with the
NOTICE
●Do not disassemble or modify
the USB charging port.
●Do not use broken harness and
device.
■To prevent damage to exter-
nal devices
●Do not leave external devices in
the vehicle. The temperature
inside the vehicle may become
high, resulting in damage to an
external device.
●Do not push down on or apply
unnecessary force to an exter-
nal device or the cable of an
external device while it is con-
nected.
■To prevent battery discharge
Do not use the USB charging port
for a long period of time with the
engine stopped.
Power outlet
NOTICE
■To prevent the fuse from
being blown
Do not use an accessory that
uses more than 12 V 10 A.
■To avoid damaging the power
outlet
Close the power outlet lid when
the power outlet is not in use.
Foreign objects or liquids that
enter the power outlet may cause
a short circuit.
■To prevent the battery from
being discharged
Do not use the p ower outlet lon-
ger than necessary when the
engine is not running.
Wireless charger (if
equipped)
Page 311 of 500
3115-4. Other interior features
5
Interior features
Qi wireless charging standard
created by the Wireless Power
Consortium.
The wireless charger cannot be
used with a portable device that
is larger than the charging area.
Additionally, depending on the
portable device, the wireless
charger may not operate prop-
erly. Refer to the operation man-
ual of the portable device.
■The “Qi” logo
The “Qi” logo is a trademark of
the Wireless Power Consortium.
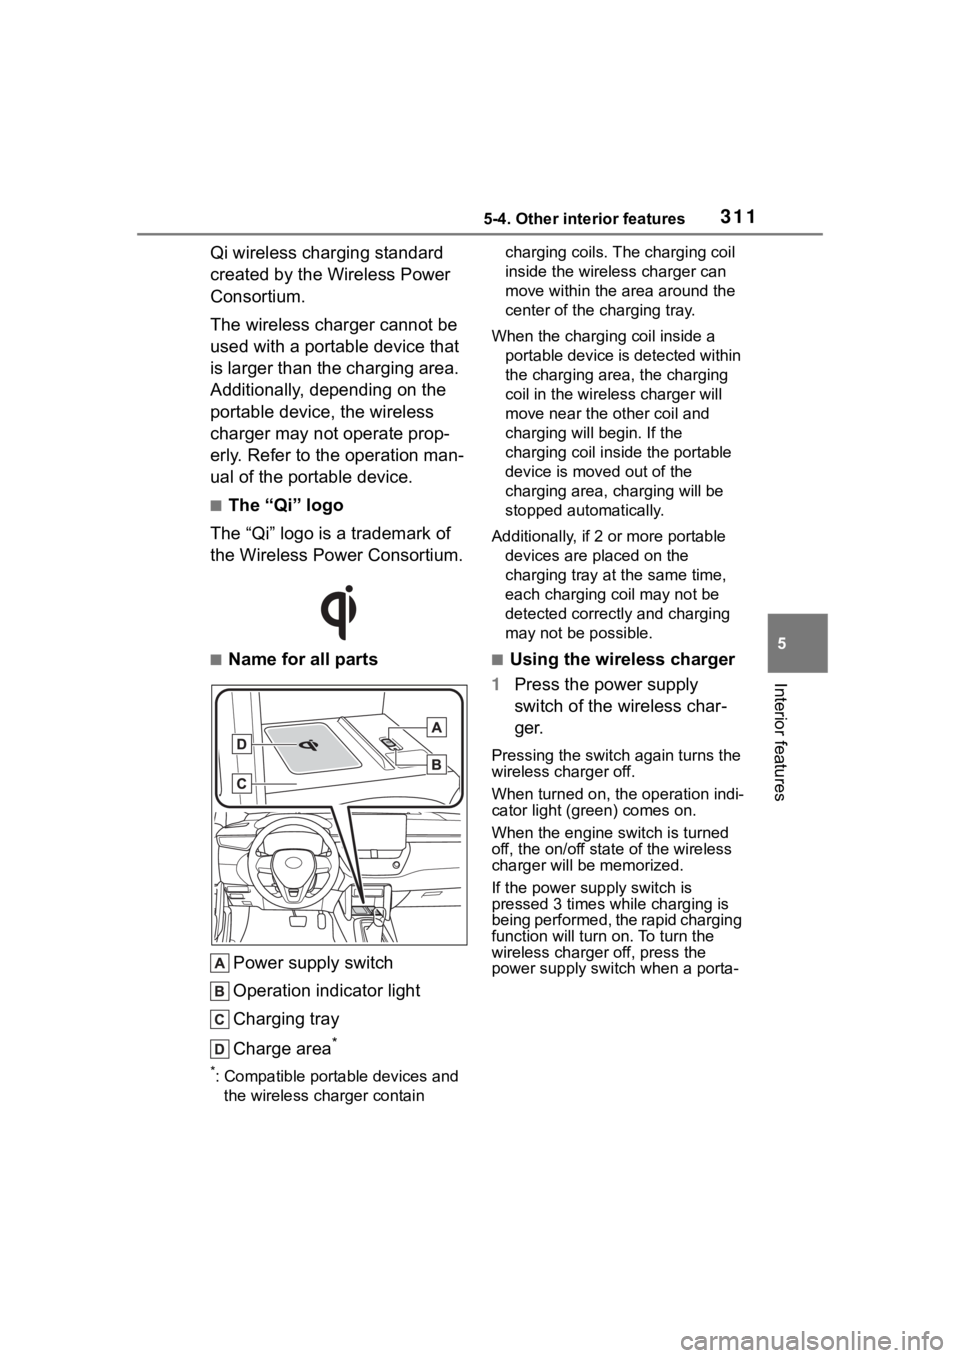
■Name for all parts
Power supply switch
Operation indicator light
Charging tray
Charge area
*
*: Compatible portable devices and the wireless charger contain charging coils. The charging coil
inside the wireless charger can
move within the area around the
center of the charging tray.
When the charging coil inside a portable device is detected within
the charging area, the charging
coil in the wirel ess charger will
move near the other coil and
charging will begin. If the
charging coil inside the portable
device is moved out of the
charging area, charging will be
stopped automatically.
Additionally, if 2 or more portable devices are placed on the
charging tray at t he same time,
each charging coil may not be
detected correctly and charging
may not be possible.
■Using the wireless charger
1 Press the power supply
switch of the wireless char-
ger.
Pressing the switch again turns the
wireless charger off.
When turned on, the operation indi-
cator light (green) comes on.
When the engine switch is turned
off, the on/off state of the wireless
charger will be memorized.
If the power supply switch is
pressed 3 times while charging is
being performed, the rapid charging
function will turn on. To turn the
wireless charger off, press the
power supply swit ch when a porta-
Page 314 of 500

3145-4. Other interior features
■The wireless charger can be
operated when
The engine switch is in ACC or ON.
■Portable devices that can be
charged
●Portable devices compatible with the Qi wireless charging standard
can be charged by the wireless
charger. However, compatibility
with all devices which meet the Qi
wireless charging standard is not
guaranteed.●The wireless char
ger is designed
to supply low power electricity (5
Operation indicator lightSuspected causeMeasure
Continuously blinks 1
time per second
Communication mal-
function between the
wireless charger and
smart key system
If the engine is running,
stop the engine and
then restart it.
If the engine switch is in
ACC, start the engine.
( P.163)
Continuously flashes 3
times (orange)
Foreign matter detected
If a metallic foreign
object is detected in the
charge area, the over-
heat prevention func-
tion of the metallic
foreign obje ct will oper-
ate
Remove the foreign
object from the charge
area.
Portable device not
aligned correctly
If the charging coil of a
portable device is not
properly positioned on
the charging area, the
overheat prevention
function will operate
Remove the portable
device from the
charging tray, check that
the operation indicator
light changes back to
green, and then place
the portable device so
that it is near the center
of the charging tray.
Also, if a case or cover
is installed to the porta-
ble device, remove it.
Continuously flashes 4
times (orange)
Temperature inside
wireless charger
exceeded a certain
amount
Stop charging, remove
the portable device from
the charging tray, and
wait for the temperature
to decrease before
attempting to begin
charging again.