2023 TOYOTA 86 battery location
[x] Cancel search: battery locationPage 110 of 449

1103-2. Opening, closing and locking the doors and trunk
to be opened until a door is
opened.
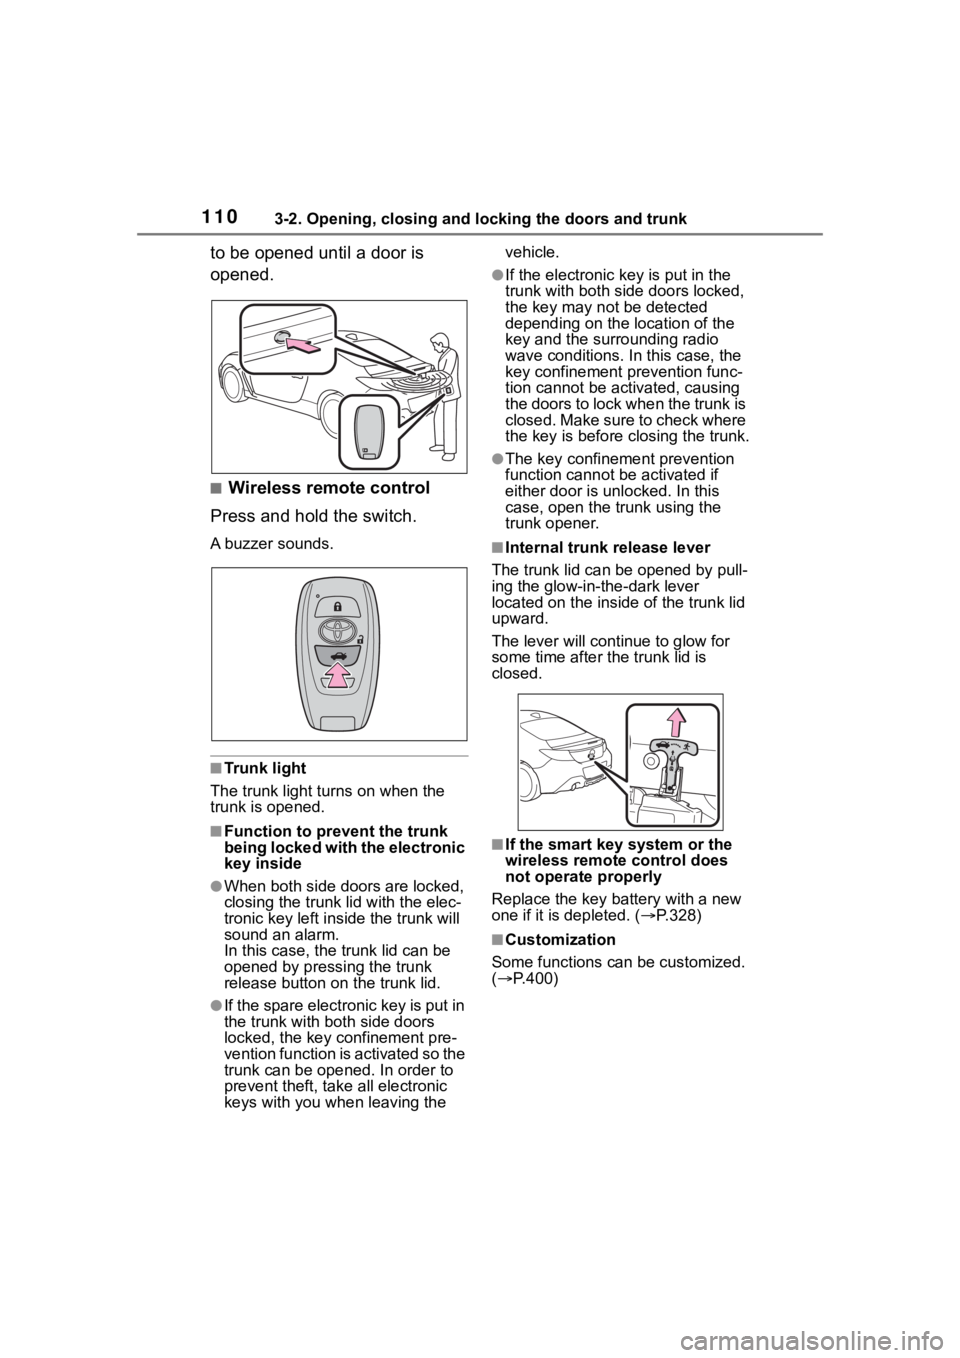
■Wireless remote control
Press and hold the switch.
A buzzer sounds.
■Trunk light
The trunk light t urns on when the
trunk is opened.
■Function to prevent the trunk
being locked with the electronic
key inside
●When both side do ors are locked,
closing the trunk lid with the elec-
tronic key left inside the trunk will
sound an alarm.
In this case, the trunk lid can be
opened by pressing the trunk
release button on the trunk lid.
●If the spare electronic key is put in
the trunk with both side doors
locked, the key confinement pre-
vention function is activated so the
trunk can be opened. In order to
prevent theft, take all electronic
keys with you when leaving the vehicle.
●If the electronic key is put in the
trunk with both side doors locked,
the key may not be detected
depending on the location of the
key and the surrounding radio
wave conditions. In this case, the
key confinement
prevention func-
tion cannot be act ivated, causing
the doors to lock when the trunk is
closed. Make sure to check where
the key is before closing the trunk.
●The key confinement prevention
function cannot be activated if
either door is unlocked. In this
case, open the tr unk using the
trunk opener.
■Internal trunk release lever
The trunk lid can b e opened by pull-
ing the glow-in-the-dark lever
located on the inside of the trunk lid
upward.
The lever will contin ue to glow for
some time after the trunk lid is
closed.
■If the smart key system or the
wireless remote control does
not operate properly
Replace the key battery with a new
one if it is depleted. ( P.328)
■Customization
Some functions can be customized.
( P.400)
Page 114 of 449

1143-2. Opening, closing and locking the doors and trunk
formed using the lock sensor, rec-
ognition signals will be shown up
to three consecuti ve times. After
this, no recogniti on signals will be
given.
●If the door handle becomes wet
while the electronic key is within
the effective ran ge, the door may
lock and unlock repeatedly. In this
case, follow the fo llowing correc-
tion procedures to wash the vehi-
cle:
• Place the electronic key in a loca- tion 6 ft. (2 m) or more away from
the vehicle. (Take care to ensure
that the key is not stolen.)
• Set the electronic key to bat-
tery-saving mode to disable the
smart key system. ( P. 1 1 2 )
●If the electronic key is inside the
vehicle and a door handle
becomes wet during a car wash, a
message may be shown on the
multi-information display and a
buzzer will sound outside the vehi-
cle. To turn off the alarm, lock both
side doors.
●The lock sensor may not work
properly if it com es into contact
with ice, snow, mud, etc. Clean
the lock sensor and attempt to
operate it again.
●A sudden handle operation or a
handle operation immediately
after entering the effective range
may prevent the doors from being
unlocked. Touch the door unlock
sensor and check that the doors
are unlocked bef ore pulling the
door handle again.
●Unlocking the vehicle may take
more time if another electronic key
is within the effective range.
■When the vehicle is not driven
for extended periods
●To prevent theft of the vehicle, do
not leave the electronic key within
6 ft. (2 m) of the vehicle.
●The smart key system can be
deactivated in advance. ( P. 1 1 5 )
●Setting the electronic key to bat-
tery-saving mode helps to reduce
key battery depletion. ( P. 1 1 2 )
■To operate the system properly
●Make sure to carry the electronic
key when operating the system.
Do not get the electronic key too
close to the vehicle when operat-
ing the system from the outside of
the vehicle.
Depending on the position and hold-
ing condition of the electronic key,
the key may not be detected cor-
rectly and the system may not oper-
ate properly. (The alarm may go off
accidentally, or the door lock pre-
vention function m ay not operate.)
●Do not leave the electronic key
inside the trunk.
The key confinement prevention
function may not operate, depend-
ing on the location of the key (the
inside edge of the Trunk), condi-
tions (inside a metal bag, close to
metallic objects) and the radio
waves in the surrounding area.
( P. 111 )
■If the smart key system does
not operate properly
●Locking and unlocking the doors:
P. 3 7 0
●Starting the engine: P. 3 7 0
■Customization
Some functions can be customized.
( P.400)
■If the smart key system has
been disabled
●Locking and unlocking the doors:
Use the wireless remote control or
mechanical key. ( P.105, 370)
●Starting the engi ne and changing
engine switch modes: P. 3 7 0
●Stopping the engine: P. 1 4 7
Page 274 of 449

2745-1. Using the air conditioning system
operating light remains illuminated.
The rear window defogger will con-
tinue to operate in this cycle until it
is turned off.
■Customization
Some functions can be customized.
( P.400)
1 Press the automatic mode
switch.
2 Adjust the temperature set-
ting.
3 To stop the operation, press
the “ON/OFF” switch.
If the fan speed setting or air
flow modes are operated, the
automatic mode indicator goes
off. However, automatic mode
for functions other than that
operated is maintained.
■Using automatic mode
Fan speed is adjusted automati-
cally according to the temperature
setting and the ambient conditions.
Therefore, the fan may stop for a
while until warm or cool air is ready
to flow immediately after the auto-
matic mode switch pressed.
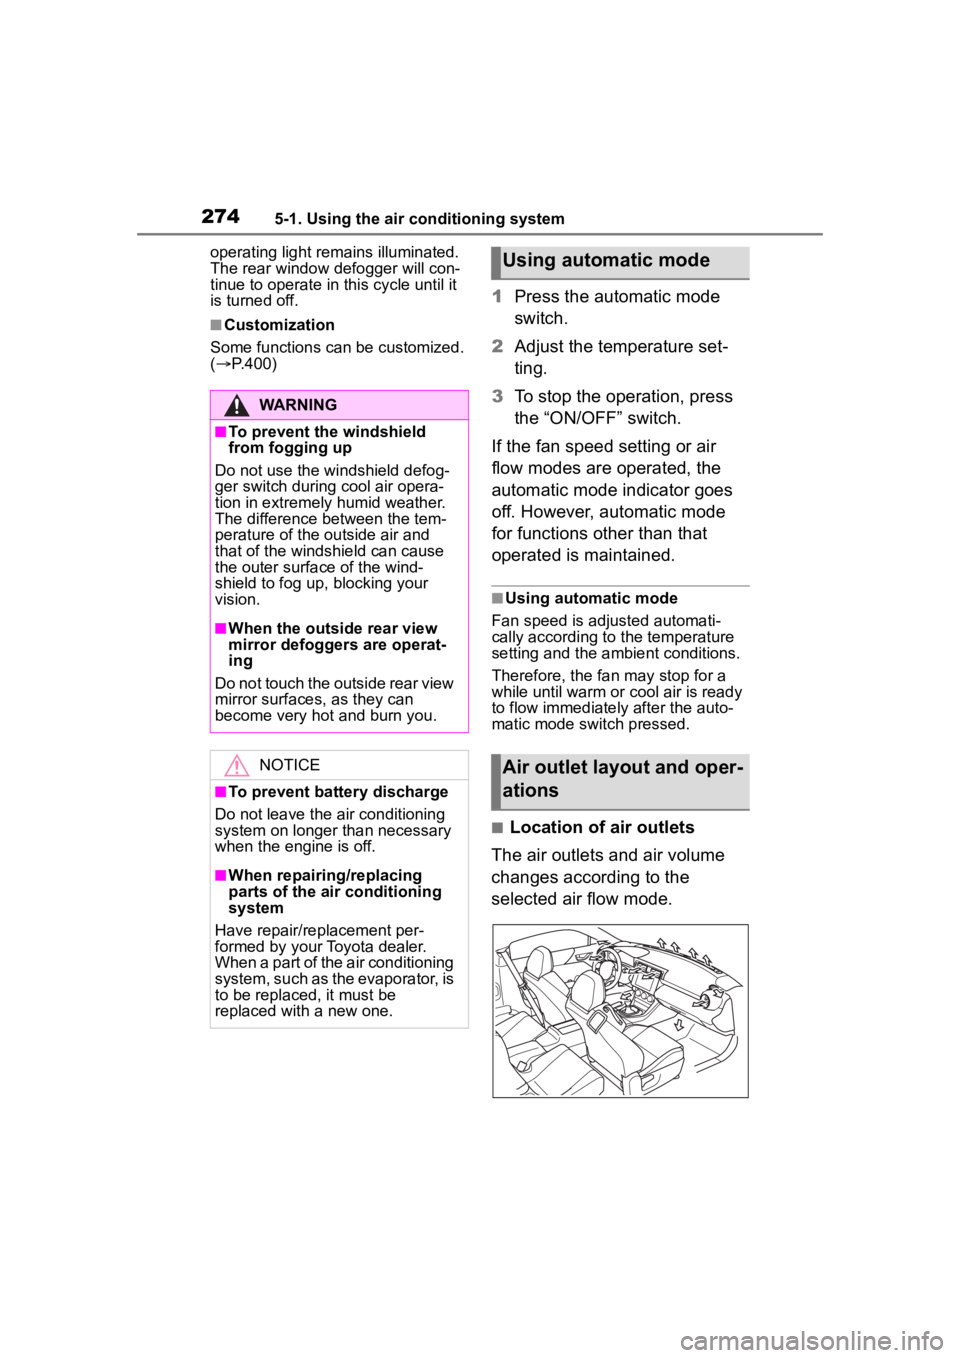
■Location of air outlets
The air outlets and air volume
changes according to the
selected air flow mode.
WARNING
■To prevent the windshield
from fogging up
Do not use the windshield defog-
ger switch during cool air opera-
tion in extremely humid weather.
The difference between the tem-
perature of the outside air and
that of the windshield can cause
the outer surface of the wind-
shield to fog up, blocking your
vision.
■When the outside rear view
mirror defoggers are operat-
ing
Do not touch the outside rear view
mirror surfaces, as they can
become very hot and burn you.
NOTICE
■To prevent battery discharge
Do not leave the air conditioning
system on longer than necessary
when the engine is off.
■When repairing/replacing
parts of the air conditioning
system
Have repair/replacement per-
formed by your Toyota dealer.
When a part of the air conditioning
system, such as the evaporator, is
to be replaced, it must be
replaced with a new one.
Using automatic mode
Air outlet layout and oper-
ations
Page 429 of 449

429Alphabetical Index
Alphabetical Index
A
A/CAir conditioning filter ............. 327
Automatic air conditioning sys-tem ..................................... 270
ABS (Anti-lock Brake System) ............................................... 262Warning light ........................ 349
Active Sound Control (ASC).. 157
Adaptive Cruise Control ........ 190 Warning message ................ 357
Air conditioning filter ............. 327
Air conditioning system Air conditioning filter ............. 327
Automatic air conditioning sys-tem ..................................... 270
Airbags Correct driving posture ........... 23
Front passenger occupant clas-sification system ................... 56
Locations of airbags ............... 29
SRS airbags ........................... 29
SRS warning light................. 349
Alarm ......................................... 81 Warning buzzer .................... 348
Anchor brackets ................. 66, 73
Antennas (smart key system) 111
Anti-lock Brake System (ABS) ............................................... 262Warning light ........................ 349
ASC (Active Sound Control).. 157
Audio system-linked display ... 98
Automatic air conditioning sys- tem ......................................... 270
Automatic headlight leveling system ................................... 159
Automatic light control system ............................................... 159
Automatic transmission ........ 149 Manual mode ....................... 152
Paddle shift switches.... 151, 152 Auxiliary box ...........................282
Auxiliary boxes .......................281
Average fuel consumption ......94
Average vehicle speed .............94
B
Back-up light
Replacing light bulbs ............334
Wattage ................................387
Battery Battery checking ...................309
If the battery is d ischarged ...372
Preparing and checking before winter ..................................266
Warning light.........................348
Blind Spot Detection (BSD) ...232
Bottle holders .........................280
Brake Fluid......................................385
Parking brake .......................156
Warning light.........................348
Brake assist ............................262
Break-in tips ............................133
Brightness control Instrument panel light control .91
BSD (Blind Spot D etection) ...232
C
Camera
High Beam Assist system .....162
Care Exterior .................................288
Interior ..........................291, 293
Seat belts .............................291
Ultrasuede
®..........................293
Wheels and wheel ornaments ...........................................288
Cargo capacity ........................143
Chains......................................268
Child restraint system Fixed with a LATCH system ...71