2023 TOYOTA 86 stop start
[x] Cancel search: stop startPage 98 of 449
982-1. Instrument cluster
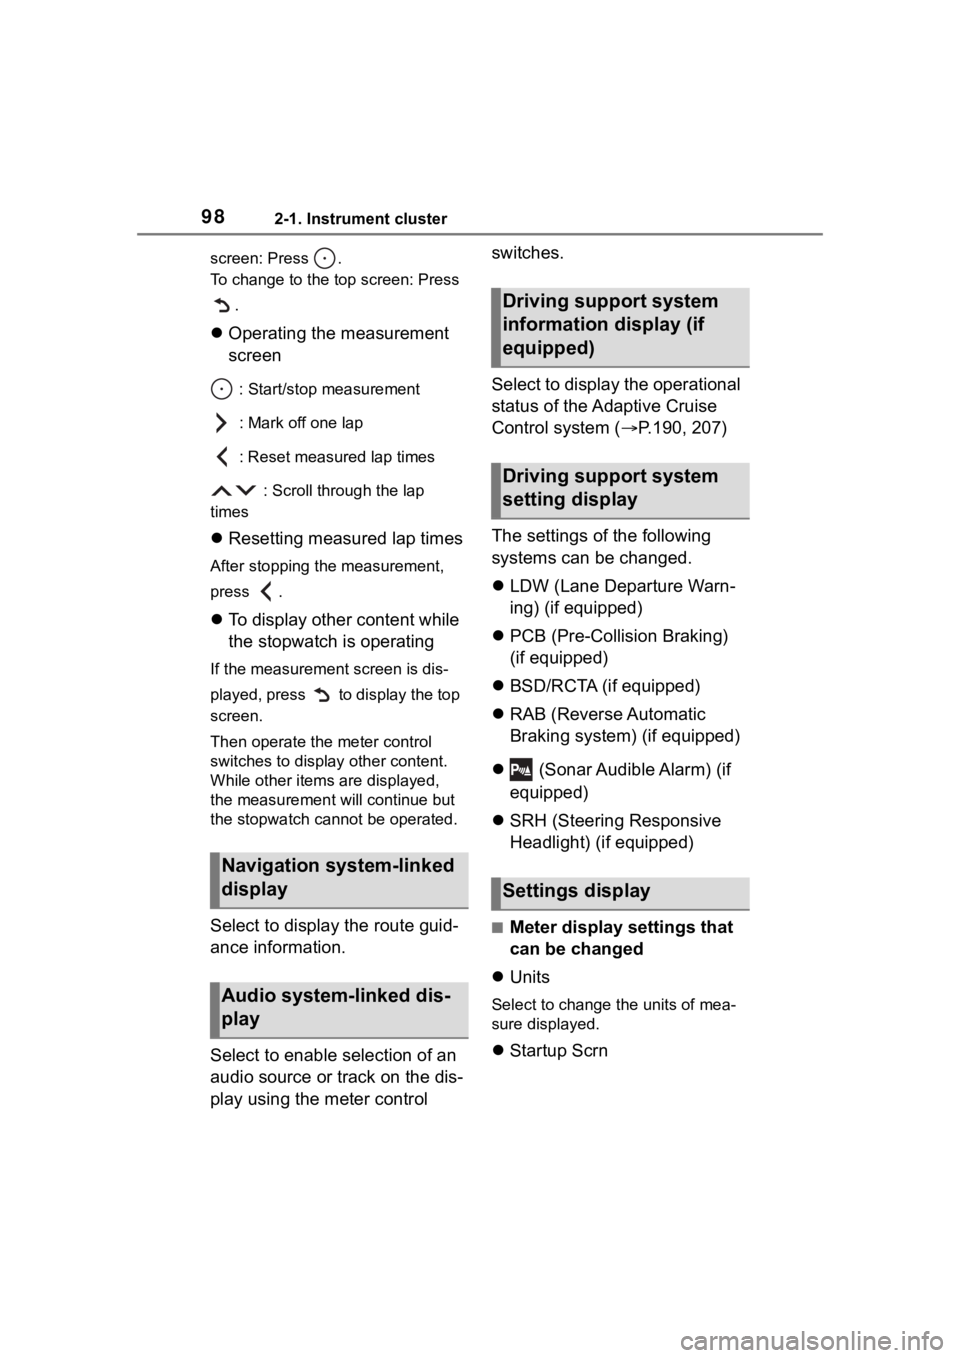
screen: Press .
To change to the top screen: Press .
Operating the measurement
screen
: Start/stop measurement
: Mark off one lap
: Reset measured lap times
: Scroll through the lap
times
Resetting measured lap times
After stopping the measurement,
press .
To display other content while
the stopwatch is operating
If the measurement screen is dis-
played, press to display the top
screen.
Then operate the meter control
switches to display other content.
While other items are displayed,
the measurement will continue but
the stopwatch cannot be operated.
Select to display the route guid-
ance information.
Select to enable selection of an
audio source or track on the dis-
play using the meter control switches.
Select to display the operational
status of the Adaptive Cruise
Control system (
P.190, 207)
The settings of the following
systems can be changed.
LDW (Lane Departure Warn-
ing) (if equipped)
PCB (Pre-Colli sion Braking)
(if equipped)
BSD/RCTA (if equipped)
RAB (Reverse Automatic
Braking system) (if equipped)
(Sonar Audible Alarm) (if
equipped)
SRH (Steering Responsive
Headlight) (if equipped)■Meter display settings that
can be changed
Units
Select to change the units of mea-
sure displayed.
Startup Scrn
Navigation system-linked
display
Audio system-linked dis-
play
Driving support system
information display (if
equipped)
Driving support system
setting display
Settings display
Page 114 of 449

1143-2. Opening, closing and locking the doors and trunk
formed using the lock sensor, rec-
ognition signals will be shown up
to three consecuti ve times. After
this, no recogniti on signals will be
given.
●If the door handle becomes wet
while the electronic key is within
the effective ran ge, the door may
lock and unlock repeatedly. In this
case, follow the fo llowing correc-
tion procedures to wash the vehi-
cle:
• Place the electronic key in a loca- tion 6 ft. (2 m) or more away from
the vehicle. (Take care to ensure
that the key is not stolen.)
• Set the electronic key to bat-
tery-saving mode to disable the
smart key system. ( P. 1 1 2 )
●If the electronic key is inside the
vehicle and a door handle
becomes wet during a car wash, a
message may be shown on the
multi-information display and a
buzzer will sound outside the vehi-
cle. To turn off the alarm, lock both
side doors.
●The lock sensor may not work
properly if it com es into contact
with ice, snow, mud, etc. Clean
the lock sensor and attempt to
operate it again.
●A sudden handle operation or a
handle operation immediately
after entering the effective range
may prevent the doors from being
unlocked. Touch the door unlock
sensor and check that the doors
are unlocked bef ore pulling the
door handle again.
●Unlocking the vehicle may take
more time if another electronic key
is within the effective range.
■When the vehicle is not driven
for extended periods
●To prevent theft of the vehicle, do
not leave the electronic key within
6 ft. (2 m) of the vehicle.
●The smart key system can be
deactivated in advance. ( P. 1 1 5 )
●Setting the electronic key to bat-
tery-saving mode helps to reduce
key battery depletion. ( P. 1 1 2 )
■To operate the system properly
●Make sure to carry the electronic
key when operating the system.
Do not get the electronic key too
close to the vehicle when operat-
ing the system from the outside of
the vehicle.
Depending on the position and hold-
ing condition of the electronic key,
the key may not be detected cor-
rectly and the system may not oper-
ate properly. (The alarm may go off
accidentally, or the door lock pre-
vention function m ay not operate.)
●Do not leave the electronic key
inside the trunk.
The key confinement prevention
function may not operate, depend-
ing on the location of the key (the
inside edge of the Trunk), condi-
tions (inside a metal bag, close to
metallic objects) and the radio
waves in the surrounding area.
( P. 111 )
■If the smart key system does
not operate properly
●Locking and unlocking the doors:
P. 3 7 0
●Starting the engine: P. 3 7 0
■Customization
Some functions can be customized.
( P.400)
■If the smart key system has
been disabled
●Locking and unlocking the doors:
Use the wireless remote control or
mechanical key. ( P.105, 370)
●Starting the engi ne and changing
engine switch modes: P. 3 7 0
●Stopping the engine: P. 1 4 7
Page 117 of 449
1173-2. Opening, closing and locking the doors and trunk
3
Before driving
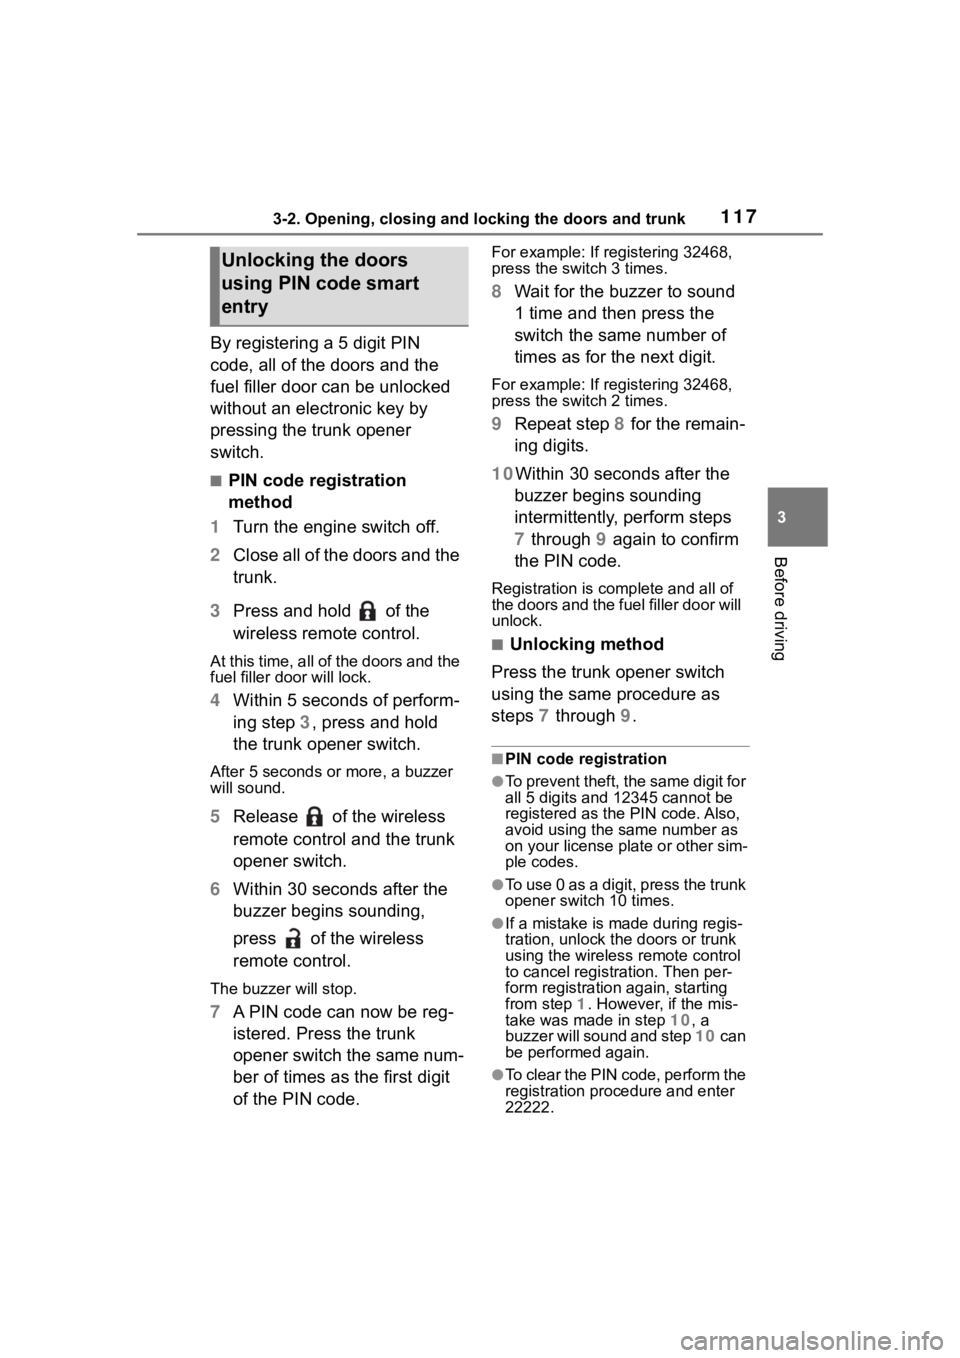
By registering a 5 digit PIN
code, all of the doors and the
fuel filler door can be unlocked
without an electronic key by
pressing the trunk opener
switch.
■PIN code registration
method
1 Turn the engine switch off.
2 Close all of the doors and the
trunk.
3 Press and hold of the
wireless remote control.
At this time, all of the doors and the
fuel filler door will lock.
4Within 5 seconds of perform-
ing step 3, press and hold
the trunk opener switch.
After 5 seconds or more, a buzzer
will sound.
5Release of the wireless
remote control and the trunk
opener switch.
6 Within 30 seconds after the
buzzer begins sounding,
press of the wireless
remote control.
The buzzer will stop.
7A PIN code can now be reg-
istered. Press the trunk
opener switch the same num-
ber of times as the first digit
of the PIN code.
For example: If registering 32468,
press the switch 3 times.
8Wait for the buzzer to sound
1 time and then press the
switch the same number of
times as for the next digit.
For example: If registering 32468,
press the switch 2 times.
9Repeat step 8 for the remain-
ing digits.
10Within 30 seconds after the buzzer begins sounding
intermittently, perform steps
7 through 9 again to confirm
the PIN code.
Registration is complete and all of
the doors and the fuel filler door will
unlock.
■Unlocking method
Press the trunk opener switch
using the same procedure as
steps 7 through 9.
■PIN code registration
●To prevent theft, the same digit for
all 5 digits and 12345 cannot be
registered as the PIN code. Also,
avoid using the same number as
on your license plate or other sim-
ple codes.
●To use 0 as a digit, press the trunk
opener switch 10 times.
●If a mistake is made during regis-
tration, unlock the doors or trunk
using the wireless remote control
to cancel registration. Then per-
form registration again, starting
from step 1. However, if the mis-
take was made in step 10, a
buzzer will sound and step 10 c a n
be performed again.
●To cle a r t he P IN c od e , p e rfo rm the
registration procedure and enter
22222.
Unlocking the doors
using PIN code smart
entry
Page 129 of 449
1293-5. Opening, closing the windows
3
Before driving
3-5.Opening, closing the windows
The power windows can be
opened and closed using the
switches.
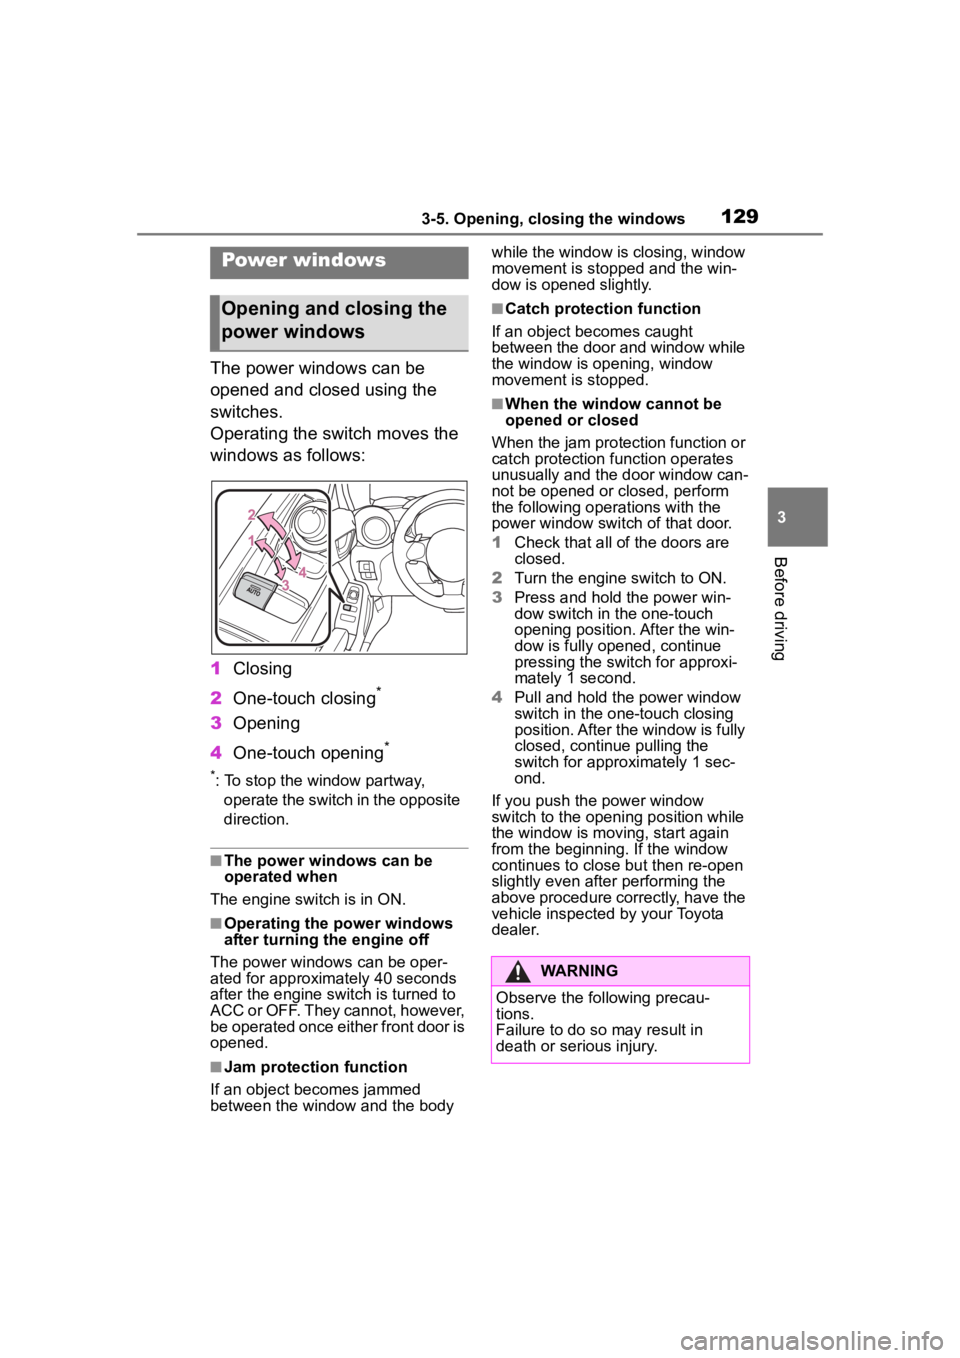
Operating the switch moves the
windows as follows:
1Closing
2 One-touch closing
*
3Opening
4 One-touch opening
*
*: To stop the window partway,
operate the switch in the opposite
direction.
■The power windows can be
operated when
The engine switch is in ON.
■Operating the power windows
after turning the engine off
The power windows can be oper-
ated for approximately 40 seconds
after the engine switch is turned to
ACC or OFF. They cannot, however,
be operated once either front door is
opened.
■Jam protection function
If an object becomes jammed
between the window and the body while the window is closing, window
movement is stopped and the win-
dow is opened slightly.
■Catch protection function
If an object becomes caught
between the door and window while
the window is opening, window
movement is stopped.
■When the window cannot be
opened or closed
When the jam protection function or
catch protection function operates
unusually and the door window can-
not be opened or closed, perform
the following operations with the
power window switch of that door.
1 Check that all of the doors are
closed.
2 Turn the engine switch to ON.
3 Press and hold the power win-
dow switch in the one-touch
opening position. After the win-
dow is fully opened, continue
pressing the switch for approxi-
mately 1 second.
4 Pull and hold the power window
switch in the on e-touch closing
position. After the window is fully
closed, continue pulling the
switch for appro ximately 1 sec-
ond.
If you push the power window
switch to the openi ng position while
the window is movin g, start again
from the beginning. If the window
continues to close but then re-open
slightly even after performing the
above procedure correctly, have the
vehicle inspected by your Toyota
dealer.
Power windows
Opening and closing the
power windows
WARNING
Observe the following precau-
tions.
Failure to do so may result in
death or serious injury.
Page 131 of 449
131
4
4
Driving
Driving
.4-1. Before drivingDriving the vehicle....... 132
Cargo and luggage ..... 140
Vehicle load limits ....... 143
Trailer towing............... 143
Dinghy towing ............. 144
4-2. Driving procedures Engine (ignition) switch.................................. 145
Automatic transmission .................................. 149
Manual transmission ... 153
Turn signal lever.......... 155
Parking brake .............. 156
ASC (Active Sound Control) .................................. 157
4-3. Operating the lights and wipers
Headlight switch .......... 158
High Beam Assist ........ 162
Windshield wipers and washer....................... 165
4-4. Refueling Opening the fuel tank cap.................................. 167
4-5. EyeSight EyeSight...................... 170
Pre-Collision Braking Sys- tem ............................ 179
Adaptive Cruise Control .................................. 190Conventional Cruise Control
.................................. 207
Pre-Collision Throttle Man- agement .................... 215
Lane Departure Warning .................................. 220
Lane Sway Warning .... 222
Lead Vehicle Start Alert .................................. 224
List of alert/notification sounds ......... ..............226
EyeSight malfunction and temporary stop .......... 228
4-6. Using other driving sys- tems
BSD/RCTA................... 232
Reverse Automatic Braking (RAB) system ............ 240
Rear view camera ....... 250
Conventional Cruise Control .................................. 255
Driving mode select switch .................................. 258
Hill-start assist control . 259
Driving assist systems .................................. 262
4-7. Driving tips Winter driving tips........ 266
Page 132 of 449
1324-1. Before driving
4-1.Before driving
■Starting the engine
P. 1 4 5
■Driving
Automatic transmission
1 With the brake pedal
depressed, shift the shift
lever to D. ( P.149)
2 Release the parking brake.
( P.156)
3 Gradually release the brake
pedal and gently depress the
accelerator pedal to acceler-
ate the vehicle.
Manual transmission
1 While depressing the clutch
pedal, shift the shift lever to
1. ( P.153)
2 Release the parking brake.
( P.156)
3 Gradually release the clutch
pedal. At the same time, gen-
tly depress the accelerator
pedal to accelerate the vehi-
cle.
■Stopping
Automatic transmission
1 With the shift lever in D,
depress the brake pedal. 2
If necessary, set the parking
brake.
If the vehicle is to be stopped for an
extended period of time, shift the
shift lever to P. ( P.149)
Manual transmission
1 While depressing the clutch
pedal, depress the brake
pedal.
2 If necessary, set the parking
brake.
If the vehicle is to be stopped for an
extended period of time, shift the
shift lever to N. ( P.153)
■Parking the vehicle
Automatic transmission
1 With the shift lever in D,
depress the brake pedal to
stop the vehicle completely.
2 Set the parking brake
( P.156), shift the shift lever
to P. ( P.149)
Check the parking brake indicator
is illuminated.
3 Press the engine switch to
stop the engine.
4 Slowly release the brake
pedal.
5 Lock the door, making sure
that you have the key on your
person.
If parking on a hill, block the wheels
as needed.
Manual transmission
1 While depressing the clutch
pedal, depress the brake
pedal to stop the vehicle
completely.
Driving the vehicle
The following procedures
should be observed to
ensure safe driving:
Driving procedure
Page 133 of 449
1334-1. Before driving
4
Driving
2Set the parking brake.
( P.156)
Check that the park ing brake indi-
cator is illuminated.
3 Shift the shift lever to N.
( P.153)
If parking on a hill, shift the shift
lever to 1 or R and block the wheels
as needed.
4Press the engine switch to
stop the engine.
5 Slowly release the brake
pedal.
6 Lock the door, making sure
that you have the key on your
person.
■Starting off on a steep
uphill
Automatic transmission
1 Make sure that the parking
brake is set and shift the shift
lever to D.
2 Gently depress the accelera-
tor pedal.
3 Release the parking brake.
Manual transmission
1 Make sure that the parking
brake is set and shift the shift
lever to 1.
2 Lightly depress the accelera-
tor pedal at the same time as
gradually releasing the clutch
pedal.
3 Release the parking brake.
■When starting off on an uphill
The hill-start assis t control will acti- vate. (
P.259)
■Driving in the rain
●Drive carefully whe n it is raining,
because visibility will be reduced,
the windows may become
fogged-up, and the road will be
slippery.
●Drive carefully whe n it starts to
rain, because the road surface will
be especially slippery.
●Refrain from hig h speeds when
driving on an expressway in the
rain, because there may be a
layer of water between the tires
and the road surface, preventing
the steering and brakes from
operating properly.
■Engine speed while driving
(vehicles with an automatic
transmission)
In the following conditions, the
engine speed may become high
while driving. This is due to auto-
matic up-shifting control or
down-shifting implementation to
meet driving conditions. It does not
indicate sudden acceleration.
●The vehicle is judged to be driving
uphill or downhill
●When the accele rator pedal is
released
●When driving on curves
●When the brake p edal is firmly
depressed
■Restraining the engine output
(Brake Override System)
When the accelerator and brake
pedals are depressed at the same
time, the engine output may be
restrained.
■New vehicle break-in driving
(the first 1000 miles [1600 km])
The performance a nd long life of
your vehicle are dependent on how
you handle and care for your vehicle
while it is new. Follow these instruc-
tions during the first 1000 miles
(1600 km):
Page 134 of 449
1344-1. Before driving
●Do not race the engine. And do
not allow the engine speed to
exceed 4000 rpm except in an
emergency.
●Do not drive at one constant
engine or vehicle speed for a long
time, either fast or slow.
●Avoid starting suddenly and rapid
acceleration, except in an emer-
gency.
●Avoid hard braking, except in an
emergency.
The same break-in procedures
should be applied to an over-
hauled engine, newly mounted
engine or when brake pads or
brake linings are replaced with
new ones.
■Drum-in-disc type parking
brake system
Your vehicle has a drum-in-disc type
parking brake system. This type of
brake system needs bedding-down
of the brake shoes periodically or
whenever the parking brake shoes
and/or drum are replaced. Have
your Toyota dealer perform the bed-
ding down operation.
■After the engine starts
For a short time after the engine is
started, in order to ensure emissions
performance, intake and exhaust
noise and vibration may increase,
but this does not indicate a malfunc-
tion.
■Operating your vehicle in a for-
eign country
Comply with the relevant vehicle
registration laws and confirm the
availability of the correct fuel.
( P.381)
WARNING
Observe the following precau-
tions.
Failure to do so m ay result in
death or serious injury.
■When starting the vehicle
(vehicles with an automatic
transmission)
●Always keep your foot on the
brake pedal while stopped with
the engine running. This pre-
vents the vehicle from creeping.
●Firmly depress the brake pedal
because engine speed may
increase immediately after start-
ing the engine, when the air
conditioning system is operat-
ing, when turning the steering
wheel, etc., thereby causing
creeping to become stronger.
Apply the parkin g brake as nec-
essary.
■When driving the vehicle
●Do not drive if you are unfamil-
iar with the location of the brake
and accelerator pedals to avoid
depressing the wrong pedal.
• Accidentally depressing the accelerator pedal instead of the
brake pedal will result in sudden
acceleration that may lead to an
accident.
• When backing up, you may twist your body around, leading to a
difficulty in operating the pedals.
Make sure to operate the pedals
properly.
• Make sure to keep a correct driving posture even when mov-
ing the vehicle only slightly. This
allows you to depress the brake
and accelerator pedals properly.
• Depress the brake pedal using your right foot. Depressing the
brake pedal using your left foot
may delay response in an emer-
gency, resulting in an accident.