Page 116 of 296

How Speed Assist Works
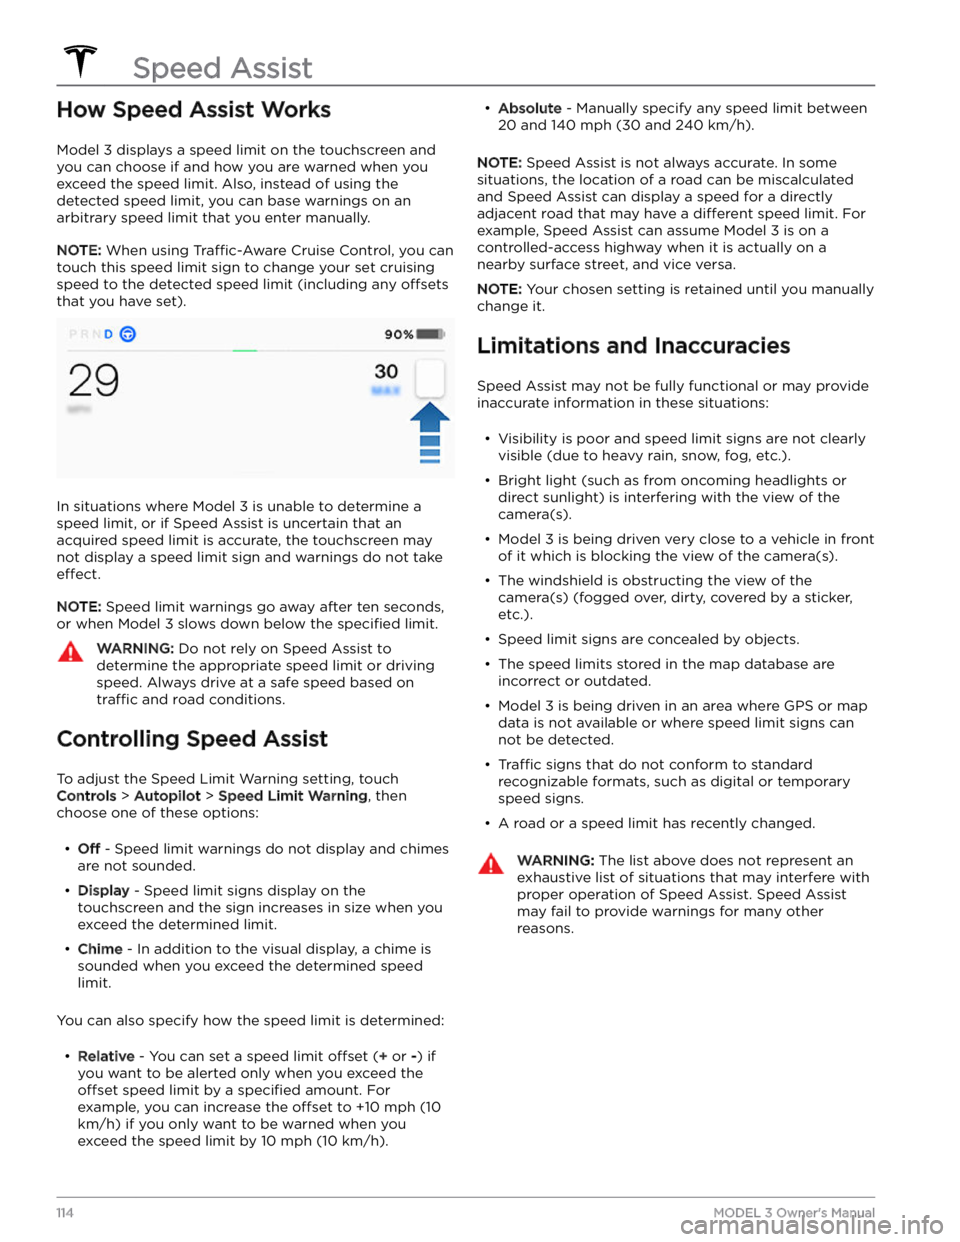
Model 3 displays a speed limit on the touchscreen and
you can choose if and how you are warned when you exceed the speed limit. Also, instead of using the detected speed limit, you can base warnings on an arbitrary speed limit that you enter manually.
NOTE: When using Traffic-Aware Cruise Control, you can
touch this speed limit sign to change your set cruising
speed to the detected speed limit (including any
offsets
that you have set).
In situations where Model 3 is unable to determine a
speed limit, or if Speed Assist is uncertain that an acquired speed limit is accurate, the
touchscreen may
not display a speed limit sign and warnings do not take
effect.
NOTE: Speed limit warnings go away after ten seconds,
or when
Model 3 slows down below the specified limit.
WARNING: Do not rely on Speed Assist to
determine the appropriate speed limit or driving
speed. Always drive at a safe speed based on
traffic and road conditions.
Controlling Speed Assist
To adjust the Speed Limit Warning setting, touch
Controls > Autopilot > Speed Limit Warning, then
choose one of these options:
Page 117 of 296

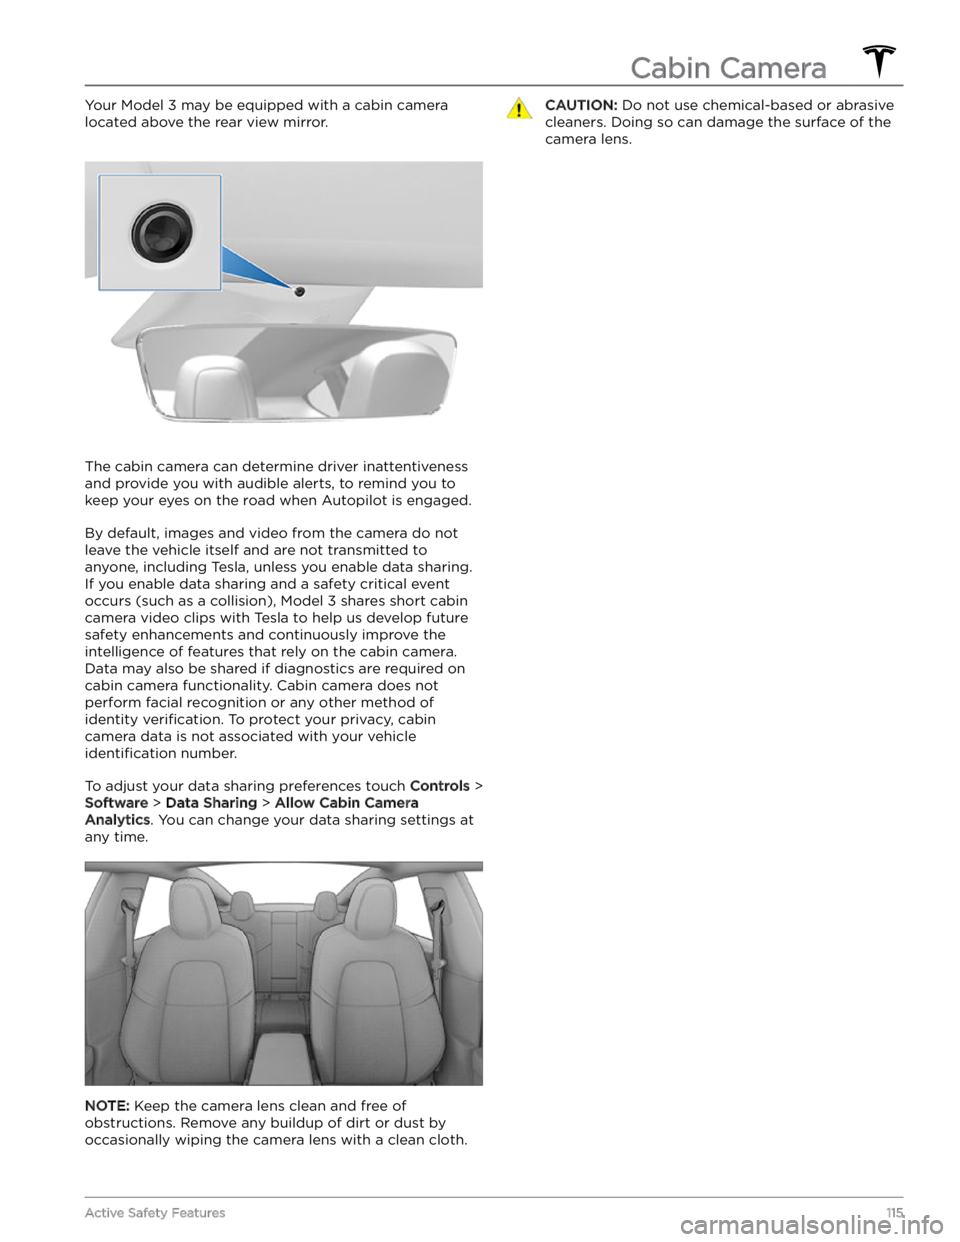
Your Model 3 may be equipped with a cabin camera
located above the rear view mirror.
The cabin camera can determine driver inattentiveness
and provide you with audible alerts, to remind you to keep your eyes on the road when Autopilot is engaged.
By default, images and video from the camera do not
leave the vehicle itself and are not transmitted to
anyone, including Tesla, unless you enable data sharing. If you enable data sharing and a safety critical event
occurs (such as a collision),
Model 3 shares short cabin
camera video clips with Tesla to help us develop future
safety enhancements and continuously improve the
intelligence of features that rely on the cabin camera.
Data may also be shared if diagnostics are required on cabin camera functionality. Cabin camera does not
perform facial recognition or any other method of identity
verification. To protect your privacy, cabin
camera data is not associated with your vehicle
identification number.
To adjust your data sharing preferences touch Controls >
Software > Data Sharing > Allow Cabin Camera
Analytics. You can change your data sharing settings at
any time.
NOTE: Keep the camera lens clean and free of
obstructions. Remove any buildup of dirt or dust by occasionally wiping the camera lens with a clean cloth.
CAUTION: Do not use chemical-based or abrasive
cleaners. Doing so can damage the surface of the
camera lens.
Cabin Camera
115Active Safety Features
Page 135 of 296
NOTE: For some vehicles manufactured after
approximately November 1, 2021, the center console USB
ports may only support charging devices. Tesla
recommends using the USB port inside the glove box for
all other functions.
NOTE: The ability to format, and view video footage on,
USB drives may not be available on your vehicle
depending on date of manufacture and vehicle
configuration.
Some features on your Model 3 requires the use of a
USB drive (for example, Dashcam
, Sentry Mode and
Track Mode, if equipped) that meet these requirements:
Page 138 of 296
Troubleshooting HomeLink
Standard Mode
In Standard Mode, Model 3 records the RF signal from
your HomeLink device
Page 139 of 296

Wi-Fi is available as a data connection method and is often faster than cellular data networks. Connecting to Wi-Fi is especially useful in areas with limited or no
cellular connectivity. To ensure fast, reliable delivery of software and map updates, Tesla recommends leaving
Model 3 connected to a Wi-Fi network whenever
possible (for example, when parked overnight).
To connect to a Wi-Fi network:
1.
Touch Controls > Wi-Fi icon at the top of the
Controls screen. Model 3 begins to scan and display
detected Wi-Fi networks that are within range.
When connected to Wi-Fi, the Wi-Fi icon displays at
the top of the touchscreen.
NOTE: If a known Wi-Fi network does not appear in
the list, move
Model 3 closer to the access point or
consider using a range extender.
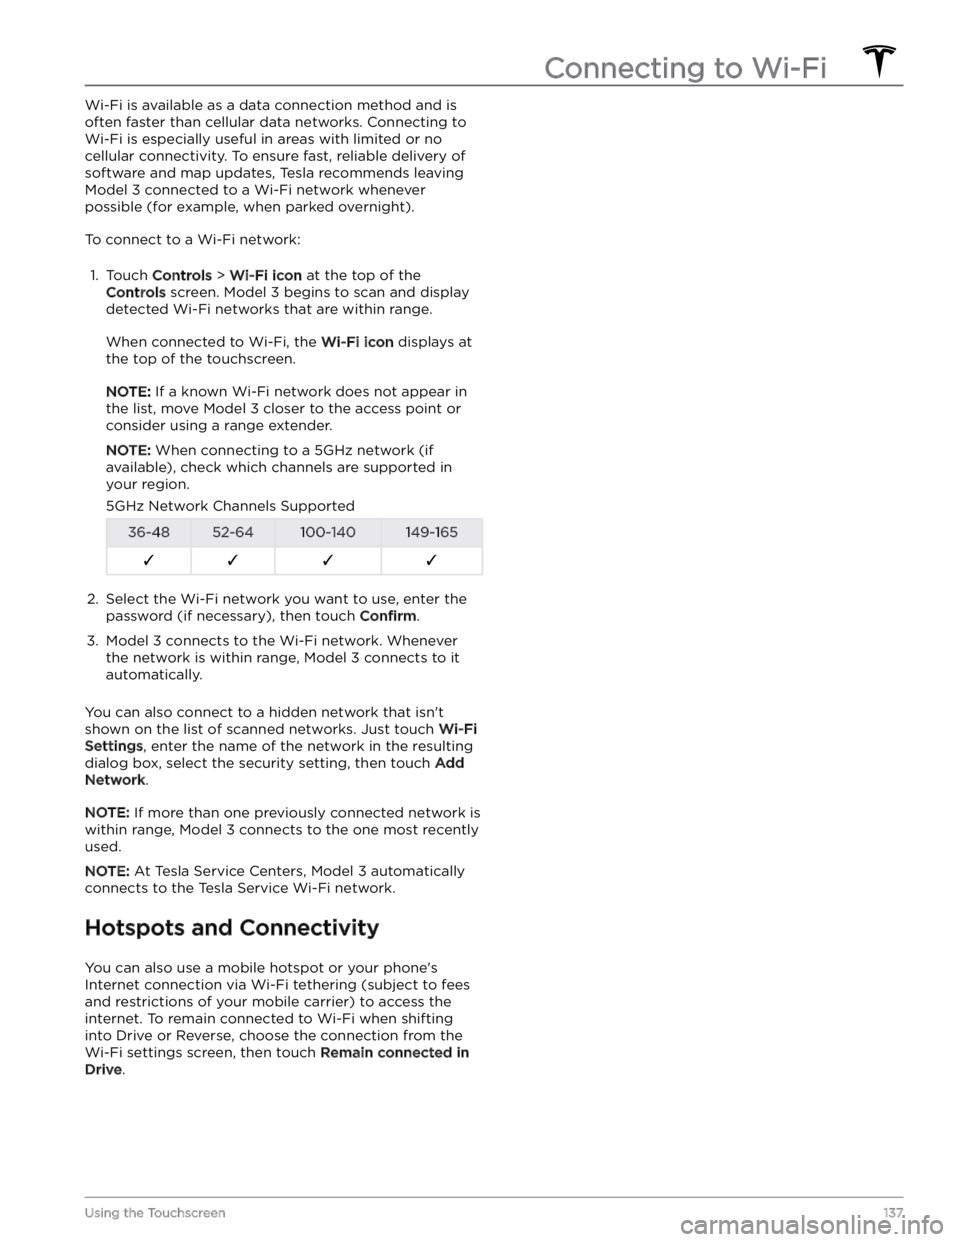
NOTE: When connecting to a 5GHz network (if
available), check which channels are supported in your region.
5GHz Network Channels Supported36-4852-64100-140149-165F�F�F�F�2.
Select the Wi-Fi network you want to use, enter the password (if necessary), then touch
Confirm.
3.
Model 3 connects to the Wi-Fi network. Whenever
the network is within range,
Model 3 connects to it
automatically.
You can also connect to a hidden network that isn
Page 147 of 296

To add a destination to your Favorites list touch its pin on the map, then touch the star icon on the popup screen that
appears. Enter a name (or leave as-is to accept the default name), then touch
Add
to Favorites. The star becomes solid and
the destination is included on your
Favorites list.
To delete a Recent or Favorite destination, touch it on the destination list and hold it down
briefly until the X
appears. Then touch the X to delete it from the list.
Home and Work locations also display under the
navigation search bar. Touch to set an address to the corresponding location. After entering the address, touch
Save as Home or Save as Work. Then simply
touch these shortcuts whenever you want to navigate home or to work.
To change or delete the corresponding address, press
and hold the
Home or Work icon. A popup allows you to
enter a new address and
Save as Home or Save as Work.
Or touch
Clear Home or Clear Work to remove
associated addresses entirely.
NOTE: Based on your usage patterns, Model 3 may
prompt you to save a location as Home or Work.
NOTE: Once a Home or Work location is saved, Model 3
may prompt you to navigate to your Work location in
the mornings and to your Home location in the evenings
and provide an estimated driving time based on current
traffic conditions. See Automatic Navigation on page
144.
For security reasons, if you sell Model 3, it is
recommended that you delete your Home and Work
locations. You can delete these individually or you can perform a factory reset to erase all personal data (touch
Controls > Service > Factory Reset).
Charging Locations
To display charging locations on the map, touch the map
Page 165 of 296

Toggle between Scheduled Departure and Scheduled Charging by touching
Controls > Charging > Switch to
Scheduled Charging/Scheduled Departure when Model
3 is in Park.
NOTE: Scheduled Charging/Scheduled Departure
settings are also available on the Climate Controls screen and in the Tesla mobile app.
Think of Scheduled Charging as "When do I want
charging to start?" and think of
Scheduled Departure
Off-Peak Charging which is "When do I want charging to
be complete?"
Scheduled Charging can be used together with
Scheduled Departure Preconditioning but not with
Scheduled Departure Off-Peak Charging.
Scheduled Charging/Scheduled Departure settings are
automatically saved for each location.
NOTE: If you plug in Model 3 with both Off-Peak
Charging and Scheduled Charging deselected, your
vehicle charges immediately.
Using Scheduled Charging
Use Scheduled Charging to specify a daily time in which
you want
Model 3 to start charging.
With Scheduled Charging selected, enable the feature
then set a daily time to start charging.
NOTE: Scheduled Charging starts charging immediately
if
Model 3 is plugged in up to six hours after the
scheduled start time. However, if
Model 3 is plugged in
after six hours of the scheduled charging time, charging may not start until the scheduled time on the next day.
Using Scheduled Departure
Use Scheduled Departure to set a daily time when you
want
Model 3 to be ready to drive. Model 3
automatically calculates when it needs to start preconditioning and/or charging. This ensures that charging is complete and/or the cabin climate and
Battery are preconditioned by your departure time.
When Scheduled Departure is displayed, touch
Schedule to set a daily time when you want Model 3 to
be ready to drive. Specify a time, then touch
Settings to
enable one or both of the following departure features.
When plugging in with
Off-Peak Charging enabled, the
vehicle
briefly draws power (you may hear clicking) to
calculate the necessary charging start time.
After you
Page 168 of 296
Service Intervals
Your vehicle should generally be serviced on an as-needed basis. However, Tesla recommends the following maintenance items and intervals, as applicable to your
vehicle, to ensure continued reliability and
efficiency of
your
Model 3.
For more do-it-yourself maintenance procedures and information, see
https://www.tesla.com/support/do-it-
yourself-guides.
For more information on vehicle alerts, see
Troubleshooting Alerts on page 227.