2023 SUBARU SOLTERRA lock
[x] Cancel search: lockPage 58 of 628
581-2. Child safety
Owners Manual_USA_M42C01_ensystem.
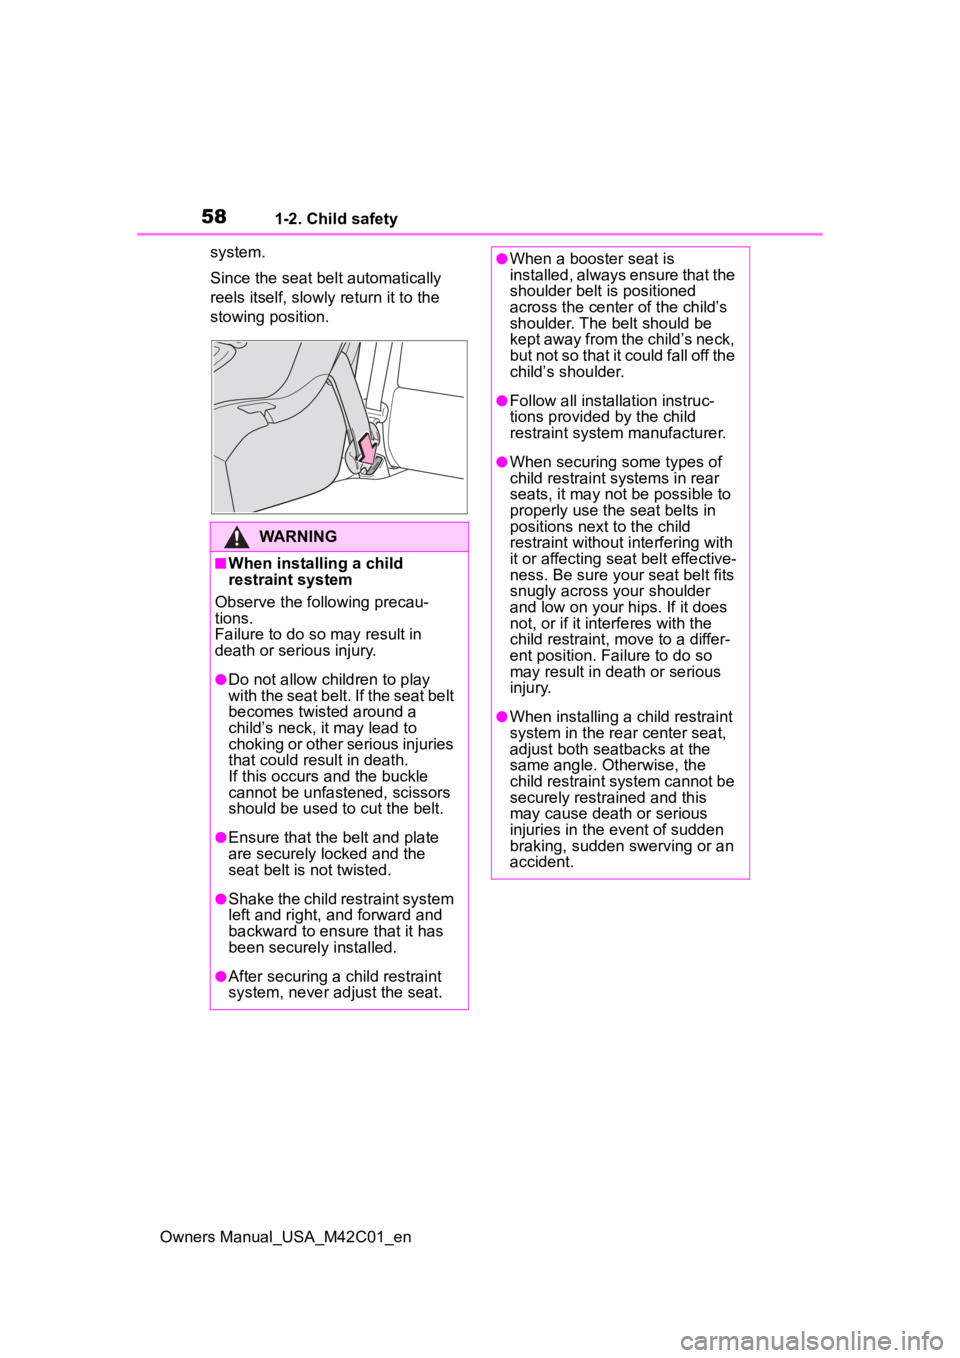
Since the seat belt automatically
reels itself, slowly
return it to the
stowing position.
WARNING
■When installing a child
restraint system
Observe the following precau-
tions.
Failure to do so m ay result in
death or serious injury.
●Do not allow children to play
with the seat belt. If the seat belt
becomes twisted around a
child’s neck, it may lead to
choking or other serious injuries
that could result in death.
If this occurs and the buckle
cannot be unfastened, scissors
should be used to cut the belt.
●Ensure that the belt and plate
are securely locked and the
seat belt is not twisted.
●Shake the child restraint system
left and right, and forward and
backward to ensure that it has
been securely installed.
●After securing a child restraint
system, never adjust the seat.
●When a booster seat is
installed, always ensure that the
shoulder belt is positioned
across the center of the child’s
shoulder. The belt should be
kept away from the child’s neck,
but not so that it could fall off the
child’s shoulder.
●Follow all installation instruc-
tions provided by the child
restraint system manufacturer.
●When securing some types of
child restraint systems in rear
seats, it may not be possible to
properly use the seat belts in
positions next to the child
restraint without interfering with
it or affecting seat belt effective-
ness. Be sure your seat belt fits
snugly across your shoulder
and low on your hips. If it does
not, or if it interferes with the
child restraint, move to a differ-
ent position. Fa ilure to do so
may result in death or serious
injury.
●When installing a child restraint
system in the rear center seat,
adjust both seatbacks at the
same angle. Otherwise, the
child restraint system cannot be
securely restrained and this
may cause death or serious
injuries in the event of sudden
braking, sudden swerving or an
accident.
Page 59 of 628
591-2. Child safety
Owners Manual_USA_M42C01_en
1
For safety and security
■Child restraint LATCH
anchors
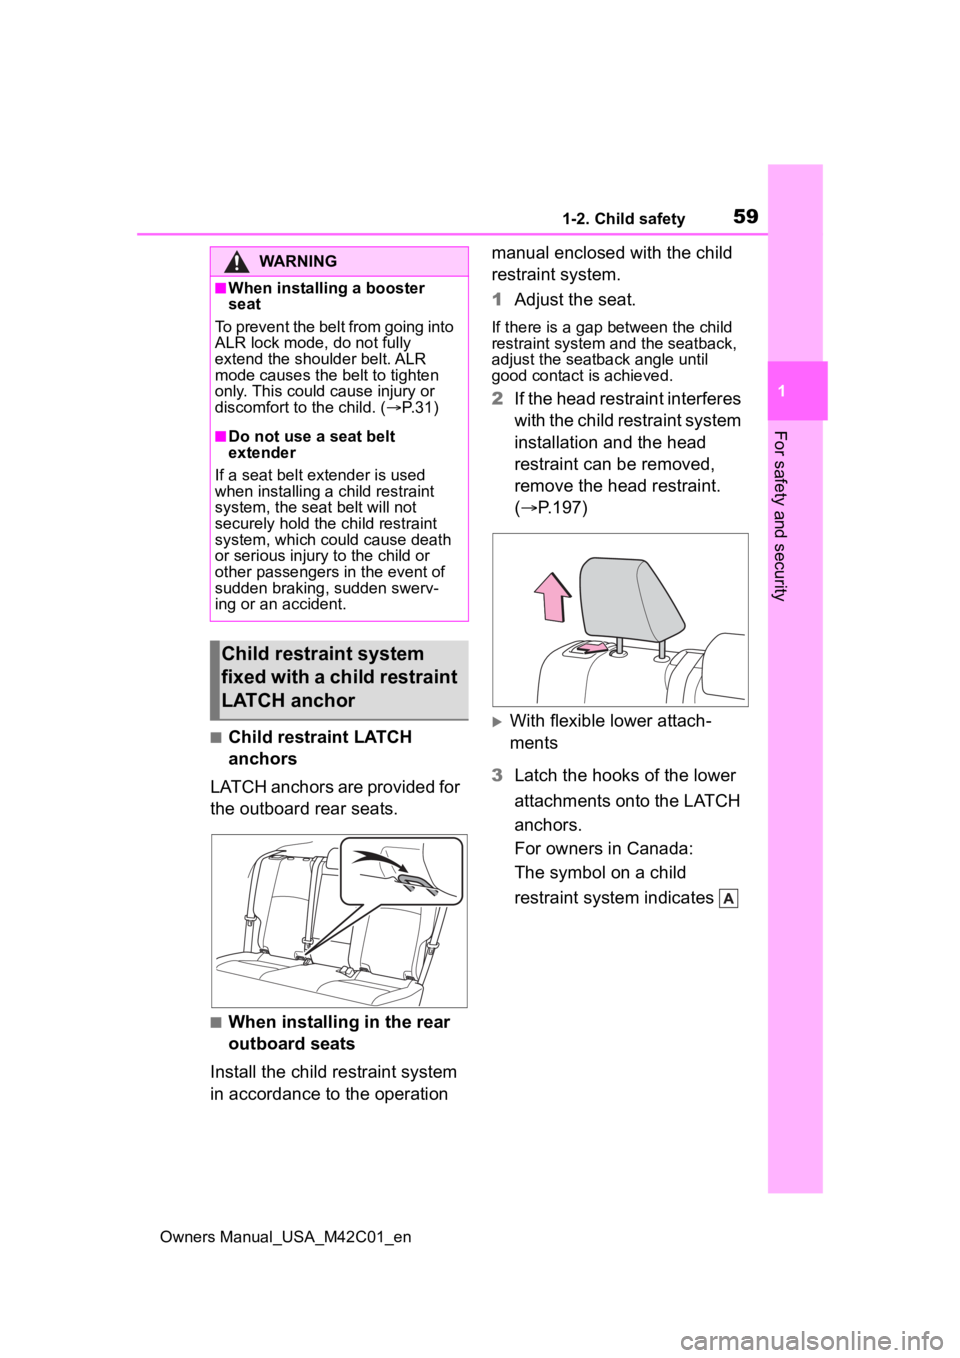
LATCH anchors are provided for
the outboard rear seats.
■When installing in the rear
outboard seats
Install the child restraint system
in accordance to the operation manual enclosed with the child
restraint system.
1
Adjust the seat.
If there is a gap between the child
restraint system and the seatback,
adjust the seatback angle until
good contact is achieved.
2If the head restraint interferes
with the child restraint system
installation and the head
restraint can be removed,
remove the head restraint.
( P.197)
With flexible lower attach-
ments
3 Latch the hooks of the lower
attachments onto the LATCH
anchors.
For owners in Canada:
The symbol on a child
restraint system indicates
WARNING
■When installing a booster
seat
To prevent the belt from going into
ALR lock mode, do not fully
extend the shoulder belt. ALR
mode causes the belt to tighten
only. This could cause injury or
discomfort to the child. ( P.31)
■Do not use a seat belt
extender
If a seat belt extender is used
when installing a child restraint
system, the seat belt will not
securely hold the child restraint
system, which could cause death
or serious injury to the child or
other passengers in the event of
sudden braking, sudden swerv-
ing or an accident.
Child restraint system
fixed with a child restraint
LATCH anchor
Page 69 of 628
691-4. Theft deterrent system
Owners Manual_USA_M42C01_en
1
For safety and security
■Items to check before lock-
ing the vehicle
To prevent unexpected trigger-
ing of the alarm and vehicle
theft, make sure of the following:
Nobody is in the vehicle.
The side windows are closed
before the alarm is set.
No valuables or other per-
sonal items are left in the
vehicle.
■Setting
Close the doors and hood, and
lock all the doors. The system
will be set automatically after 30
seconds.
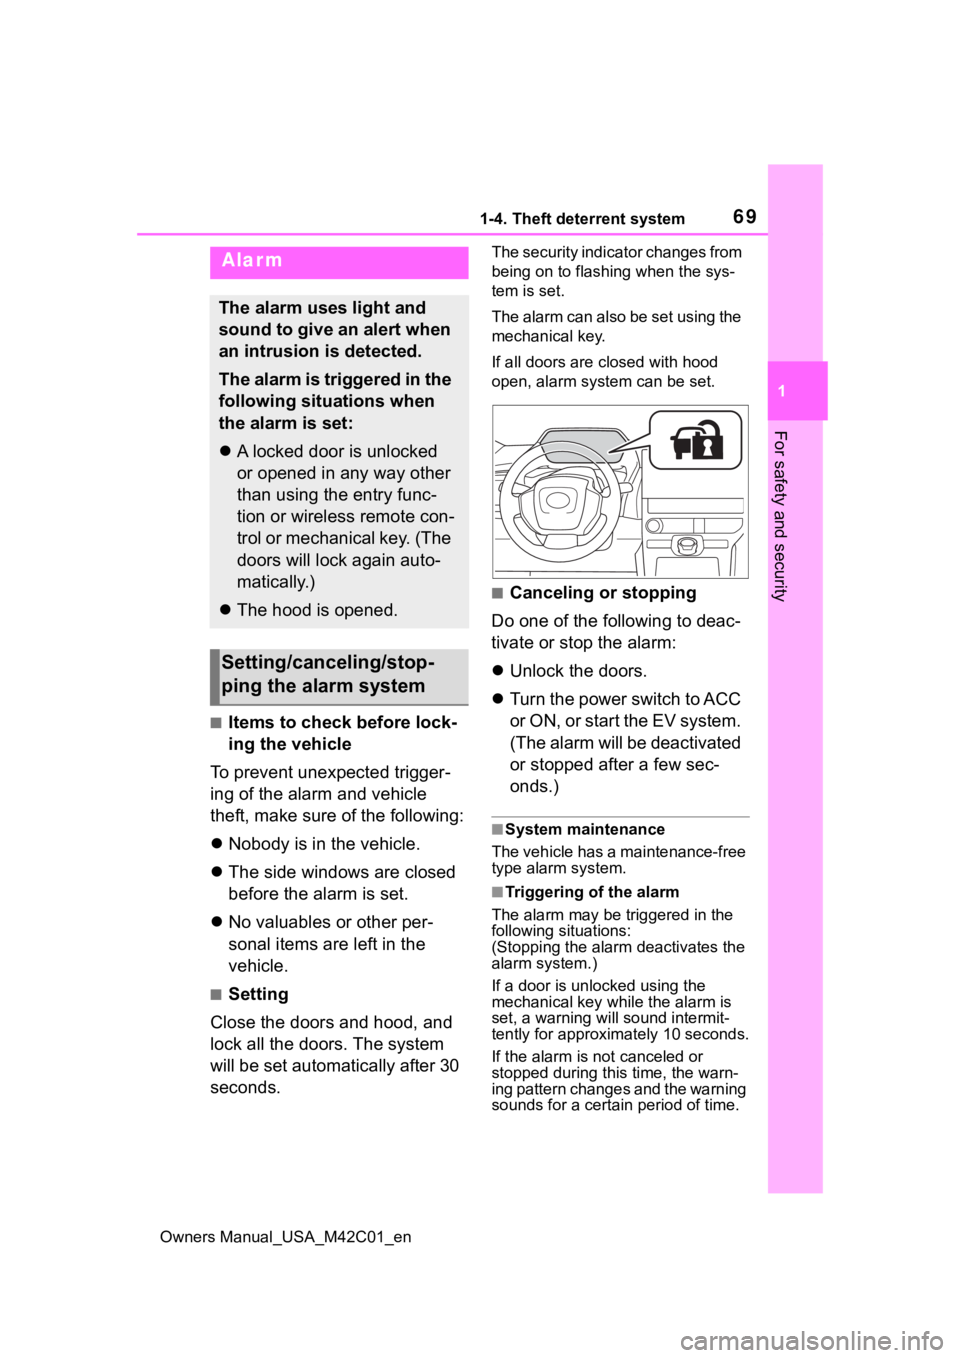
The security indicator changes from
being on to flashing when the sys-
tem is set.
The alarm can also be set using the
mechanical key.
If all doors are closed with hood
open, alarm system can be set.
■Canceling or stopping
Do one of the following to deac-
tivate or stop the alarm:
Unlock the doors.
Turn the power switch to ACC
or O N, or s tart the E V s ys tem .
(The alarm will be deactivated
or stopped after a few sec-
onds.)
■System maintenance
The vehicle has a maintenance-free
type alarm system.
■Triggering of the alarm
The alarm may be triggered in the
following situations:
(Stopping the alarm deactivates the
alarm system.)
If a door is unl ocked using the
mechanical key while the alarm is
set, a warning will sound intermit-
tently for approxi mately 10 seconds.
If the alarm is not canceled or
stopped during this time, the warn-
ing pattern changes and the warning
sounds for a certain period of time.
Alarm
The alarm uses light and
sound to give an alert when
an intrusion is detected.
The alarm is triggered in the
following situations when
the alarm is set:
A locked door is unlocked
or opened in any way other
than using the entry func-
tion or wireless remote con-
trol or mechanical key. (The
doors will lock again auto-
matically.)
The hood is opened.
Setting/canceling/stop-
ping the alarm system
Page 70 of 628
701-4. Theft deterrent system
Owners Manual_USA_M42C01_en
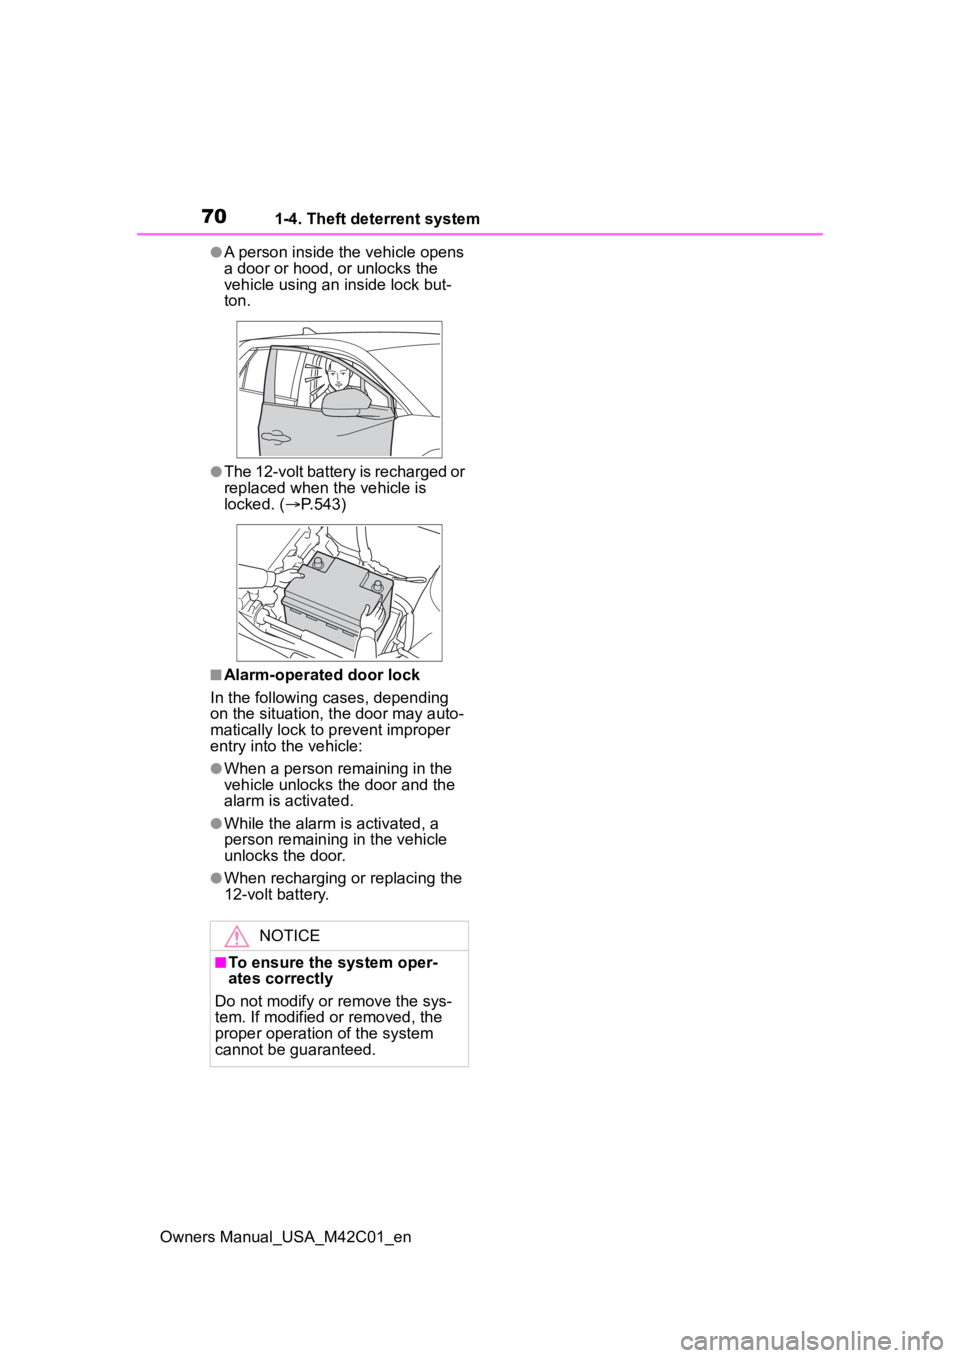
●A person inside the vehicle opens
a door or hood, or unlocks the
vehicle using an inside lock but-
ton.
●The 12-volt battery is recharged or
replaced when the vehicle is
locked. (P.543)
■Alarm-operated door lock
In the following cases, depending
on the situation, th e door may auto-
matically lock to p revent improper
entry into the vehicle:
●When a person remaining in the
vehicle unlocks the door and the
alarm is activated.
●While the alarm is activated, a
person remaining in the vehicle
unlocks the door.
●When recharging or replacing the
12-volt battery.
NOTICE
■To ensure the system oper-
ates correctly
Do not modify or remove the sys-
tem. If modified or removed, the
proper operation of the system
cannot be guaranteed.
Page 71 of 628
71
Owners Manual_USA_M42C01_en
2
2
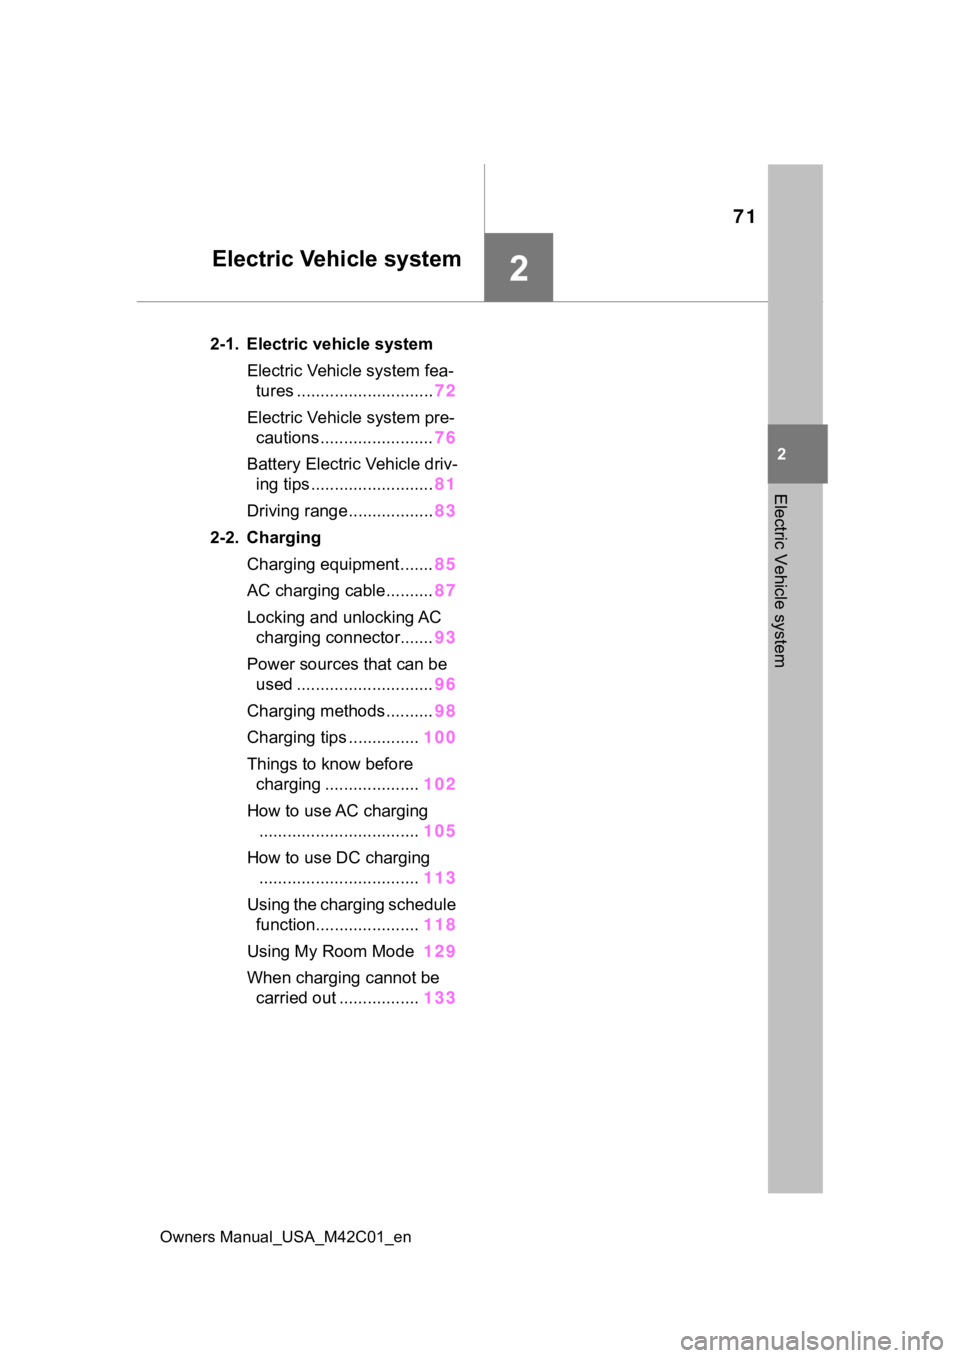
Electric Vehicle system
Electric Vehicle system
2-1. Electric vehicle systemElectric Vehicle system fea-tures ............................. 72
Electric Vehicle system pre- cautions ........................ 76
Battery Electric Vehicle driv- ing tips .......................... 81
Driving range.................. 83
2-2. Charging Charging equipment....... 85
AC charging cable.......... 87
Locking and unlocking AC charging connector....... 93
Power sources that can be used ............................. 96
Charging methods.......... 98
Charging tips ............... 100
Things to know before charging .................... 102
How to use AC charging .................................. 105
How to use DC charging .................................. 113
Using the charging schedule function...................... 118
Using My Room Mode 129
When charging cannot be carried out ................. 133
Page 80 of 628

802-1. Electric vehicle system
Owners Manual_USA_M42C01_en
When a certain level of impact is
detected by the impact sensors,
the emergency shut off system turns off the EV system and
blocks the high voltage current.
If the emergency shut off system
activates, your vehicle will not
restart. To restart the EV sys-
tem, contact your Toyota dealer.
A message is automatically dis-
played when a malfunction
occurs in the EV system or an
improper operation is attempted.
If a warning message is shown
on the multi-information display,
read the message and follow the
instructions. (
P.140, 522)
■If a warning light comes on, a
warning message is displayed,
or the 12-volt battery is discon-
nected
The EV system may not start.
In that case, try to start the system
again. If the “READY” indicator does
not come on, contact your Toyota
dealer.
■When the traction battery is
completely discharged
When the EV system cannot be
started due to the traction battery
being completely discharged, restart
the system after AC charging or DC
charging. When charging, it is rec-
WARNING
■Caution while driving
●Pay special attention to the area
around the vehicle. Because
there is no engine noise, pedes-
trians, people riding bicycles or
other people and vehicles in the
area may not be aware of the
vehicle starting off or approach-
ing them, so take extra care
while driving. Therefore, take
extra care while driving even if
the Acoustic Vehicle Alerting
System is active.
●If the vehicle under floor area
receives strong shock or impact
while driving, stop the vehicle in
a safe place and check around
the bottom of the vehicle. If
there is damage to the traction
battery or liquid leakage, it may
lead to a vehicle fire, etc. Do not
touch the vehicle and immedi-
ately contact your Toyota dealer.
Even if no damage can be seen
under the floor, the traction bat-
tery may be damaged. If the
vehicle received an impact
under the floor, have the traction
battery inspected at a Toyota
dealer.
■Modifications
Do not make modifications that
lower the height of the vehicle.
The traction battery in the under
floor area may come into contact
with the ground when the height
of vehicle is lowered. If the trac-
tion battery is damaged, a vehicle
fire may occur, possibly resulting
in death or serious injury.
Emergency shut off sys-
tem
Warning message
Page 86 of 628

862-2. Charging
Owners Manual_USA_M42C01_en
■Close
Move the charging port lid to the
slightly open position and then
press the rear edge (the position
shown in the illustration) to close
it.
■Lid lifter
●The charging lid is not closed if
the lifter is pushing in before clos-
ing the charging lid. In that case,
while unlocking the door, push
again and release the lid lifter, and
close the charging lid again.
■Charging port lid open/close
detection switch
When the charging port lid is open,
do not touch the charging port lid
open/close detection switch (Posi-
tion shown in the figure).
If you touch it by mistake, the vehi-
cle may incorrectly display the
opened/closed status of the
charging port lid, or the charging
connector may not be able to
lock/unlock normally.
The illumination/flashing pattern
changes to inform the user of
the charging status in the follow-
ing ways.
Charging indicator
Page 88 of 628
882-2. Charging
Owners Manual_USA_M42C01_en
WARNING
●Do not bring the AC charging
cable to a high-temperature
item such as a heating device.
●Do not apply a load to the AC
charging cable and plug-cord
(such as wrapping the AC
charging cable around the CCID
(Charging Circuit Interrupting
Device) and the charging con-
nector).
●Do not use or leave the AC
charging cable in situations
where a load is applied to the
outlet and the plug (such as
when the CCID (Charging Cir-
cuit Interrupting Device) is
hanging in the air without con-
tacting the ground).
NOTICE
■Precautions when handling
AC charging cable
Make sure to observe the follow-
ing precautions. Failure to
observe these precautions may
result in damage to the AC
charging cable and AC charging
inlet.
●Insert the charging connector
straight into the AC charging
inlet.
●After inserting the charging con-
nector, do not apply excessive
force to or twist the connector.
Also, do not lean on the connec-
tor or hang any objects from it.
●Do not step on or trip over the
AC charging cable.
●Before removing the charging
connector, make sure that it is
unlocked. ( P. 9 3 )
●After removing the AC charging
cable, promptly return it to its
proper location.
●After removing the charging
connector, securely install the
AC charging inlet cap.
■When using the AC charging
cable and related parts
P. 1 0 5
■Precautions for low tempera-
tures
In low temperatures, the AC
charging cable and plug-cord may
become hard. Therefore, make
sure to not apply excessive force
when they are hard. If excessive
force is applied to the hardened
AC charging cable and plug-cord,
they may be damaged.