2023 PEUGEOT 408 start stop button
[x] Cancel search: start stop buttonPage 117 of 244

11 5
Driving
6works with moving vehicles driving in the
same direction as your vehicle.
Selecting/Deselecting the
system
ASSIST
► Press this button successively until the Drive
Assist Plus mode is displayed on the instrument
panel.
►
After a few seconds, the Drive
Assist Plus
mode is selected. The Driving aids mini-view is
displayed on the instrument panel.
The colour of the symbols, representing the
steering wheel and the side lines, depends on
the operating state of the system:
(grey)
One or more operating conditions is not
met; the system is paused.
(green)
All operating conditions are met; the
system is active.
(orange)
System malfunction.
►
Press this button successively again until the
OFF mode is displayed on the instrument panel.
►
After a few seconds, the Drive
Assist Plus
mode is deselected. The Driving aids mini-view
disappears.
Drive Assist 2.0
This system automatically regulates the speed and corrects the trajectory of the vehicle by
combining the following functions:
–
Drive
Assist Plus with Adaptive cruise control
with Stop&Go function and Lane positioning
assist.
–
Semi-automatic lane changing.
–
Speed setting advance recommendation.
For more information on these functions, refer to
the corresponding sections.
The availability of the system depends on the
country you are driving in.
This system is only to be used on eligible
motorways and main roads.
Selecting/Deselecting the
system
It is configured in the ADAS touch screen
application.
►
Select the
Functions tab, then select/
deselect Drive Assist.
The system's status is saved when the ignition is
switched off.
Adaptive cruise control
For more information, refer to the
General recommendations on the use
of driving and manoeuvring aids and the
Specific recommendations on cruise
control.
This system automatically maintains the vehicle
speed at a value set by the driver (speed
setting), while respecting a safety distance from
the vehicle in front (target vehicle) previously set
by the driver. The system automatically manages
the acceleration and deceleration of the vehicle.
With the Stop
& Go function , the system
manages braking until the vehicle comes to a
complete stop and restarts the vehicle.
The brake lamps come on if the vehicle is slowed down by the system.
The system is not operational in the event of
a brake lamp failure.
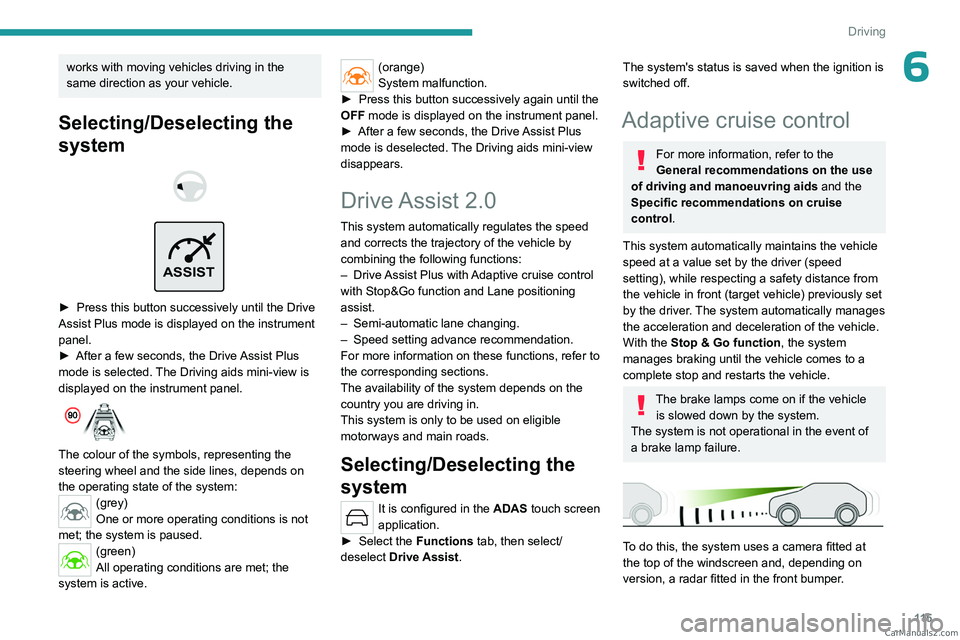
To do this, the system uses a camera fitted at
the top of the windscreen and, depending on
version, a radar fitted in the front bumper. CarM an uals 2 .c o m
Page 138 of 244

136
Driving
When the obstacle is very close, the "Danger"
symbol is displayed on the screen.
Front parking sensors
Supplementing the rear parking sensors, the
front parking sensors are triggered when an
obstacle is detected in front and the speed of the
vehicle is below 6 mph (10 km/h).
Front parking sensor operation is suspended if
the vehicle stops for more than three seconds in
forward gear, if an obstacle is no longer detected
or the vehicle speed exceeds 6
mph (10 km/h).
The sound emitted by the speaker (front or rear) locates the obstacle relative to
the vehicle, whether in front of or behind it on
its path.
Deactivation/Activation
(Depending on country of sale)
Depending on version, using the centre console
button and/or in the ADAS application on the
touch screen.
► Press this button to activate or deactivate the
function.
The indicator lamp is lit when the function is
deactivated.
It is configured in the ADAS touch screen
application.
If the function is deactivated, this indicator
lamp lights up on the instrument panel.
The system status is saved when the ignition is
switched off.
The rear parking sensors are deactivated automatically if a trailer or bicycle carrier
is connected to a towing device installed in
accordance with the Manufacturer's
recommendations.
In this case, the outline of a trailer is displayed
at the rear of the image of the vehicle.
When starting the vehicle, the graphic
and audible aids are only available after
the touch screen has started up.
Operating limits
If the boot is heavily loaded, the vehicle may tilt,
affecting distance measurements.
Malfunction
In the event of a malfunction when
changing into reverse gear, these
warning lamps light up on the instrument panel,
accompanied by the display of a message and
an audible signal (short beep).
In the event of a malfunction, this
indicator lamp flashes for approximately
10 seconds when reverse gear is engaged.
Have it checked by a PEUGEOT dealer or a
qualified workshop.
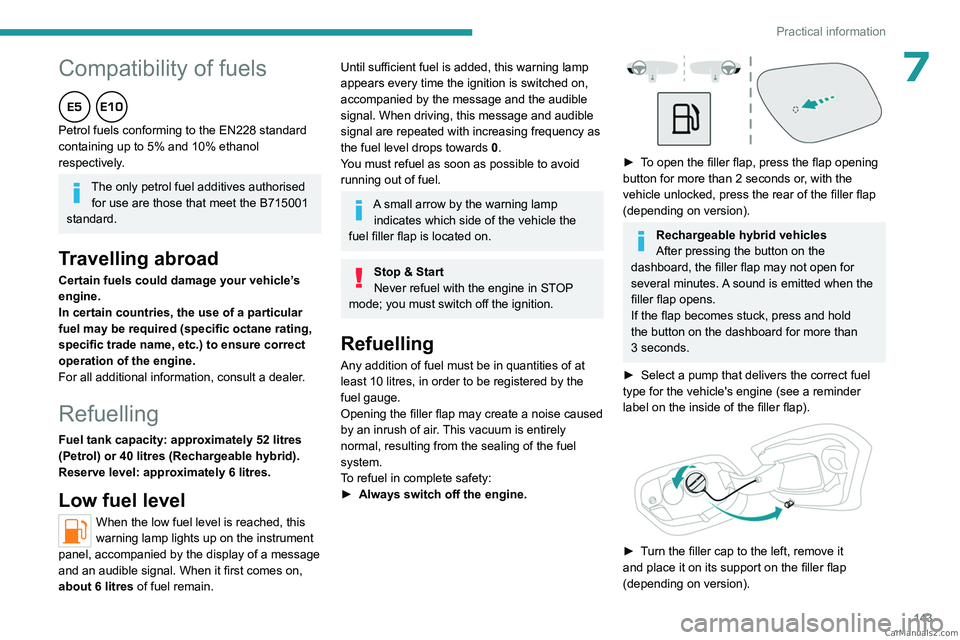
Visiopark 1
For more information, refer to the
General recommendations on the use
of driving and manoeuvring aids .
When reverse gear is engaged, with the engine
running, this system displays views of the
vehicle's close surroundings
on the touch screen
using a camera located at the rear of the vehicle. CarM an uals 2 .c o m
Page 145 of 244

143
Practical information
Peugeot & TotalEnergies,
a partnership in performance !
For more than 25 years of partnership, TotalEnergies and Peugeot have
pushed the limits of performance in sports competition with historic
victories, in endurance races or in rallies. Today, the two brands continue
their common motorsport adventure by setting out to conquer the 24h
of Le Mans and the FIA World Endurance Championship in the Hybrid
Hypercar category. So many challenges for which Peugeot exclusively
recommends high-tech Quartz lubricants for the protection of its
engines throughout their life. TotalEnergies therefore equips Peugeot
vehicles with Quartz lubricants from their fi rst fi lling in the factory to the
approved maintenance networks to guarantee them optimal day-to-
day operation. Peugeot & TotalEnergies: offi cial partners in performance !
Keep your engine younger for longer !
Quartz Ineo Xtra First 0W-20 is a very high performance lubricant
resulting from the joint work of the Peugeot and TotalEnergies R&D
teams. Its innovative technology extends your engine’s life while
reaching signifi cant fuel savings and thus limiting CO
2 emissions. The
product is now available in new packaging* made of 50% recycled
material and 100% recyclable.
* 1L & 5L produced in Europe
7Compatibility of fuels
Petrol fuels conforming to the EN228 standard
containing up to 5% and 10% ethanol
respectively.
The only petrol fuel additives authorised for use are those that meet the B715001
standard.
Travelling abroad
Certain fuels could damage your vehicle’s
engine.
In certain countries, the use of a particular
fuel may be required (specific octane rating,
specific trade name, etc.) to ensure correct
operation of the engine.
For all additional information, consult a dealer.
Refuelling
Fuel tank capacity: approximately 52 litres
(Petrol) or 40 litres (Rechargeable hybrid).
Reserve level: approximately 6 litres.
Low fuel level
When the low fuel level is reached, this
warning lamp lights up on the instrument
panel, accompanied by the display of a message
and an audible signal. When it first comes on,
about 6 litres of fuel remain.
Until sufficient fuel is added, this warning lamp
appears every time the ignition is switched on,
accompanied by the message and the audible
signal. When driving, this message and audible
signal are repeated with increasing frequency as
the fuel level drops towards 0.
You must refuel as soon as possible to avoid
running out of fuel.
A small arrow by the warning lamp indicates which side of the vehicle the
fuel filler flap is located on.
Stop & Start
Never refuel with the engine in STOP
mode; you must switch off the ignition.
Refuelling
Any addition of fuel must be in quantities of at
least 10 litres, in order to be registered by the
fuel gauge.
Opening the filler flap may create a noise caused
by an inrush of air. This vacuum is entirely
normal, resulting from the sealing of the fuel
system.
To refuel in complete safety:
►
Always switch off the engine.
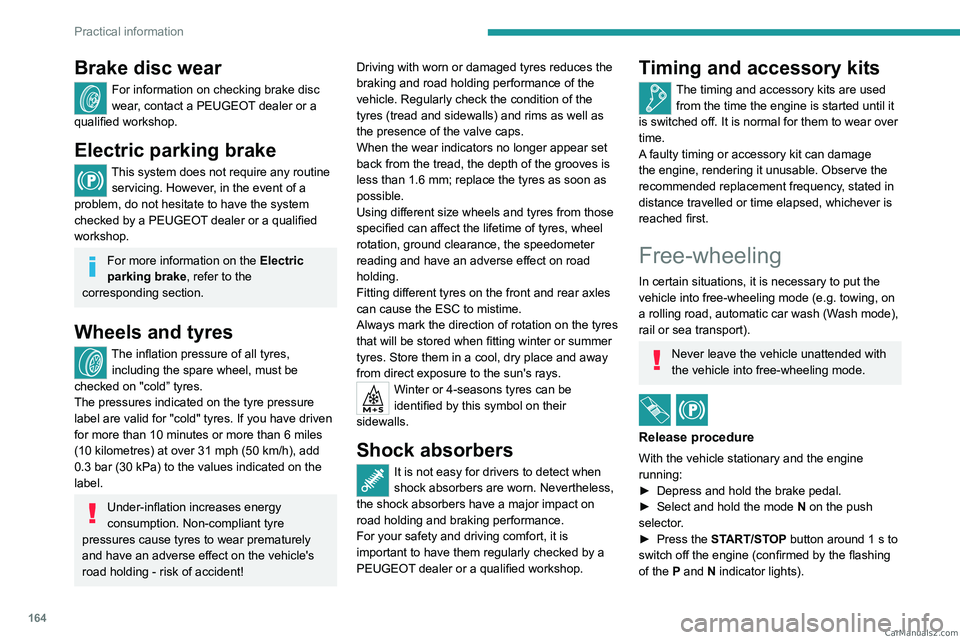
► To open the filler flap, press the flap opening
button for more than 2 seconds or, with the
vehicle unlocked, press the rear of the filler flap
(depending on version).
Rechargeable hybrid vehicles
After pressing the button on the
dashboard, the filler flap may not open for
several minutes. A sound is emitted when the
filler flap opens.
If the flap becomes stuck, press and hold
the button on the dashboard for more than
3
seconds.
►
Select a pump that delivers the correct fuel
type for the vehicle's engine (see a reminder
label on the inside of the filler flap).
► Turn the filler cap to the left, remove it
and place it on its support on the filler flap
(depending on version). CarM an uals 2 .c o m
Page 166 of 244

164
Practical information
Brake disc wear
For information on checking brake disc
wear, contact a PEUGEOT dealer or a
qualified workshop.
Electric parking brake
This system does not require any routine servicing. However, in the event of a
problem, do not hesitate to have the system
checked by a PEUGEOT dealer or a qualified
workshop.
For more information on the Electric
parking brake, refer to the
corresponding section.
Wheels and tyres
The inflation pressure of all tyres, including the spare wheel, must be
checked on "cold” tyres.
The pressures indicated on the tyre pressure
label are valid for "cold" tyres. If you have driven
for more than 10 minutes or more than 6 miles
(10 kilometres) at over 31 mph (50
km/h), add
0.3 bar (30 kPa) to the values indicated on the
label.
Under-inflation increases energy
consumption. Non-compliant tyre
pressures cause tyres to wear prematurely
and have an adverse effect on the vehicle's
road holding - risk of accident! Driving with worn or damaged tyres reduces the
braking and road holding performance of the
vehicle. Regularly check the condition of the
tyres (tread and sidewalls) and rims as well as
the presence of the valve caps.
When the wear indicators no longer appear set
back from the tread, the depth of the grooves is
less than 1.6 mm; replace the tyres as soon as
possible.
Using different size wheels and tyres from those
specified can affect the lifetime of tyres, wheel
rotation, ground clearance, the speedometer
reading and have an adverse effect on road
holding.
Fitting different tyres on the front and rear axles
can cause the ESC to mistime.
Always mark the direction of rotation on the tyres
that will be stored when fitting winter or summer
tyres. Store them in a cool, dry place and away
from direct exposure to the sun's rays.
Winter or 4-seasons tyres can be
identified by this symbol on their
sidewalls.
Shock absorbers
It is not easy for drivers to detect when
shock absorbers are worn. Nevertheless,
the shock absorbers have a major impact on
road holding and braking performance.
For your safety and driving comfort, it is
important to have them regularly checked by a
PEUGEOT dealer or a qualified workshop.
Timing and accessory kits
The timing and accessory kits are used
from the time the engine is started until it
is switched off. It is normal for them to wear over
time.
A
faulty timing or accessory kit can damage
the engine, rendering it unusable. Observe the
recommended replacement frequency, stated in
distance travelled or time elapsed, whichever is
reached first.
Free-wheeling
In certain situations, it is necessary to put the
vehicle into free-wheeling mode (e.g. towing, on
a rolling road, automatic car wash (Wash mode),
rail or sea transport).
Never leave the vehicle unattended with
the vehicle into free-wheeling mode.
/
Release procedure
With the vehicle stationary and the engine
running:
►
Depress and hold the brake pedal.
►
Select and hold the mode
N
on the push
selector.
►
Press the
START/STOP button around 1 s to
switch off the engine (confirmed by the flashing
of the P and N indicator lights). CarM an uals 2 .c o m
Page 173 of 244

171
In the event of a breakdown
8If after approximately 7 minutes, the
pressure of 2 bar is not reached, this
indicates that the tyre is not repairable;
contact a PEUGEOT dealer or a qualified
workshop for assistance.
►
Move the switch to position
"O".
►
Disconnect the compressor's electric plug
from the vehicle's 12
V socket.
►
Remove the kit.
►
Refit the cap on the valve.
►
Remove and store the bottle of sealant.
The sealant product is harmful if swallowed and causes irritation to the
eyes.
Keep this product out of the reach of children.
The use-by date of the fluid is marked on the
bottle.
After use, do not discard the bottle into the
environment; take it to a PEUGEOT dealer or
an authorised waste disposal site.
Do not forget to obtain a new bottle of
sealant, available from a PEUGEOT dealer or
a qualified workshop.
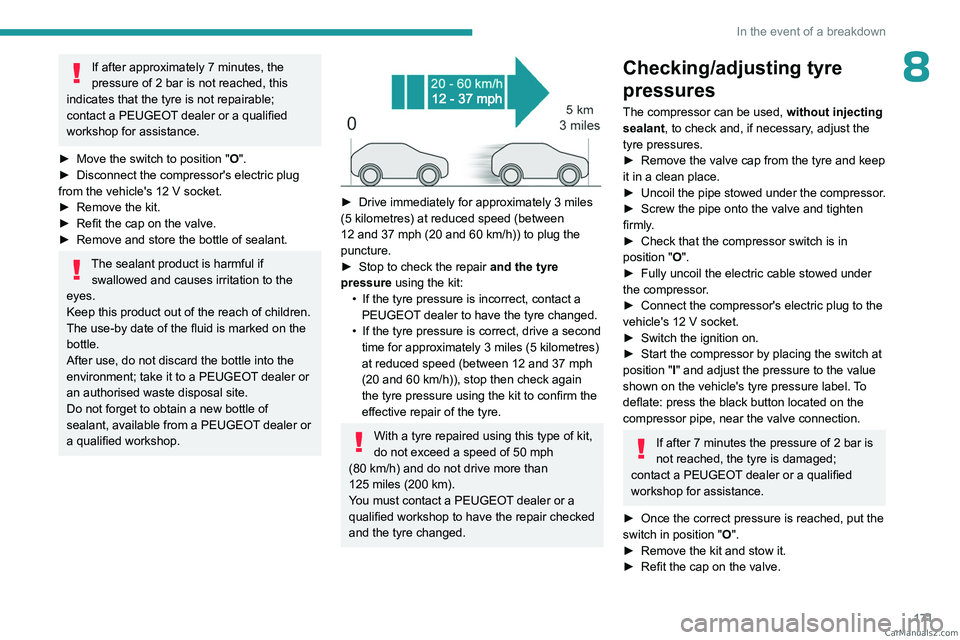
► Drive immediately for approximately 3 miles
(5 kilometres) at reduced speed (between
12 and 37
mph (20 and 60 km/h)) to plug the
puncture.
►
Stop to check the repair
and the tyre
pressure using the kit:
•
If the tyre pressure is incorrect, contact a
PEUGEOT
dealer to have the tyre changed.
•
If the tyre pressure is correct, drive a second
time for approximately 3
miles (5 kilometres)
at reduced speed (between 12 and 37
mph
(20 and 60
km/h)), stop then check again
the tyre pressure using the kit to confirm the
effective repair of the tyre.
With a tyre repaired using this type of kit,
do not exceed a speed of 50 mph
(80
km/h) and do not drive more than
125
miles (200 km).
You must contact a PEUGEOT dealer or a
qualified workshop to have the repair checked
and the tyre changed.
Checking/adjusting tyre
pressures
The compressor can be used, without injecting
sealant, to check and, if necessary, adjust the
tyre pressures.
►
Remove the valve cap from the tyre and keep
it in a clean place.
►
Uncoil
the pipe stowed under the compressor.
►
Screw the pipe onto the valve and tighten
firmly
.
►
Check that the compressor switch is in
position
"O".
►
Fully uncoil the electric cable stowed under
the compressor
.
►
Connect the compressor's electric plug to the
vehicle's 12
V socket.
►
Switch the ignition on.
►
Start the compressor by placing the switch at
position
"I" and adjust the pressure to the value
shown on the vehicle's tyre pressure label. To
deflate: press the black button located on the
compressor pipe, near the valve connection.
If after 7 minutes the pressure of 2 bar is
not reached, the tyre is damaged;
contact a PEUGEOT
dealer or a qualified
workshop for assistance.
►
Once the correct pressure is reached, put the
switch in position
"O".
►
Remove the kit and stow it.
►
Refit the cap on the valve. CarM an uals 2 .c o m