2023 NISSAN MURANO warning
[x] Cancel search: warningPage 159 of 518
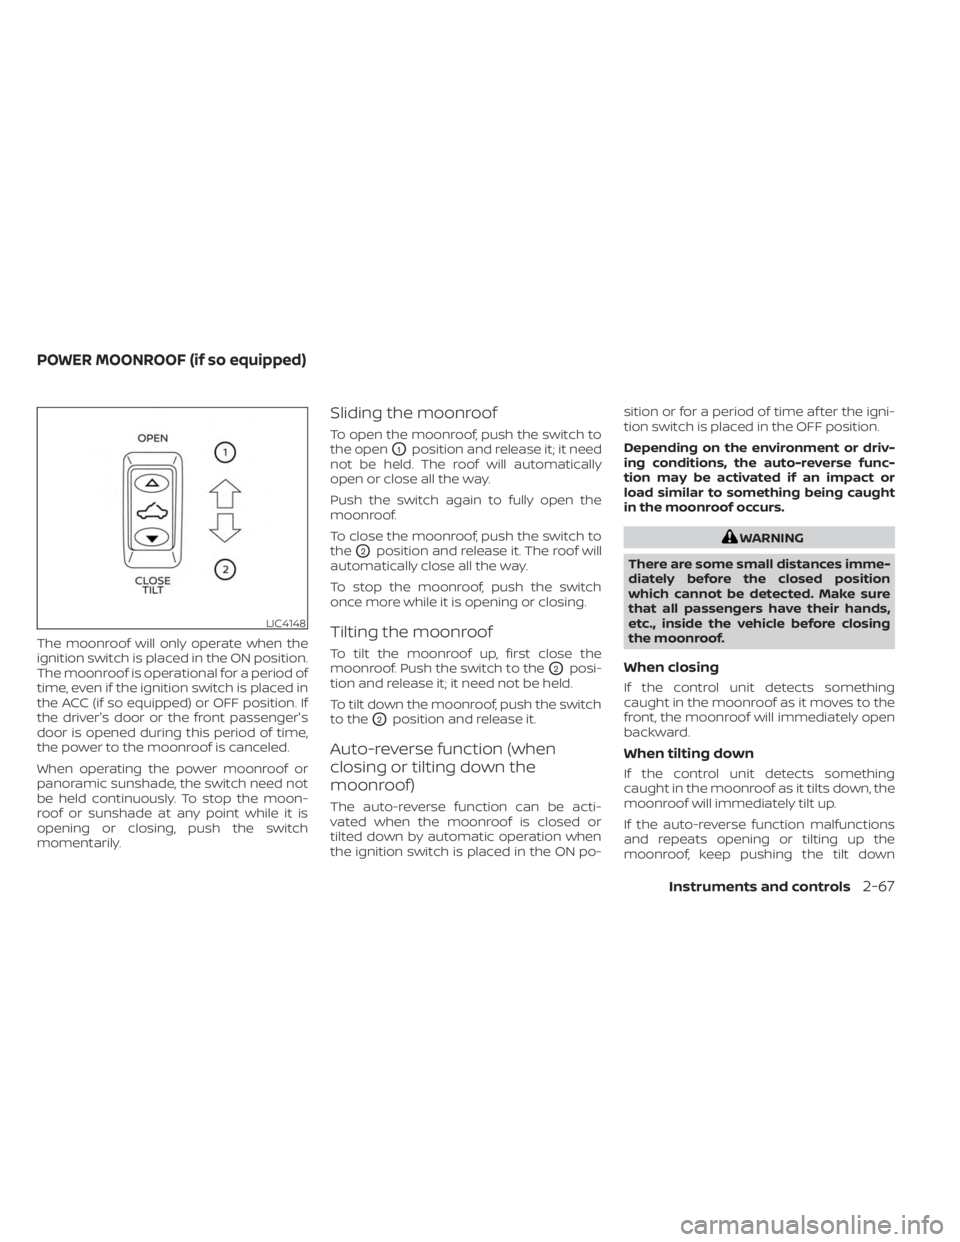
The moonroof will only operate when the
ignition switch is placed in the ON position.
The moonroof is operational for a period of
time, even if the ignition switch is placed in
the ACC (if so equipped) or OFF position. If
the driver's door or the front passenger's
door is opened during this period of time,
the power to the moonroof is canceled.
When operating the power moonroof or
panoramic sunshade, the switch need not
be held continuously. To stop the moon-
roof or sunshade at any point while it is
opening or closing, push the switch
momentarily.
Sliding the moonroof
To open the moonroof, push the switch to
the open
O1position and release it; it need
not be held. The roof will automatically
open or close all the way.
Push the switch again to fully open the
moonroof.
To close the moonroof, push the switch to
the
O2position and release it. The roof will
automatically close all the way.
To stop the moonroof, push the switch
once more while it is opening or closing.
Tilting the moonroof
To tilt the moonroof up, first close the
moonroof. Push the switch to the
O2posi-
tion and release it; it need not be held.
To tilt down the moonroof, push the switch
to the
O2position and release it.
Auto-reverse function (when
closing or tilting down the
moonroof)
The auto-reverse function can be acti-
vated when the moonroof is closed or
tilted down by automatic operation when
the ignition switch is placed in the ON po- sition or for a period of time af ter the igni-
tion switch is placed in the OFF position.
Depending on the environment or driv-
ing conditions, the auto-reverse func-
tion may be activated if an impact or
load similar to something being caught
in the moonroof occurs.
WARNING
There are some small distances imme-
diately before the closed position
which cannot be detected. Make sure
that all passengers have their hands,
etc., inside the vehicle before closing
the moonroof.
When closing
If the control unit detects something
caught in the moonroof as it moves to the
front, the moonroof will immediately open
backward.
When tilting down
If the control unit detects something
caught in the moonroof as it tilts down, the
moonroof will immediately tilt up.
If the auto-reverse function malfunctions
and repeats opening or tilting up the
moonroof, keep pushing the tilt down
LIC4148
POWER MOONROOF (if so equipped)
Instruments and controls2-67
Page 160 of 518
switch within 5 seconds af ter it happens;
the moonroof will fully close gradually.
Make sure nothing is caught in the
moonroof.
WARNING
• In an accident you could be thrown
from the vehicle through an open
moonroof. Always use seat belts and
child restraints.
• Do not allow anyone to stand up or
extend any portion of their body out
of the moonroof opening while the
vehicle is in motion or while the
moonroof is closing.
CAUTION
• Remove water drops, snow, ice or
sand from the moonroof before
opening.
• Do not place heavy objects on the
moonroof or surrounding area.
Panoramic sunshade
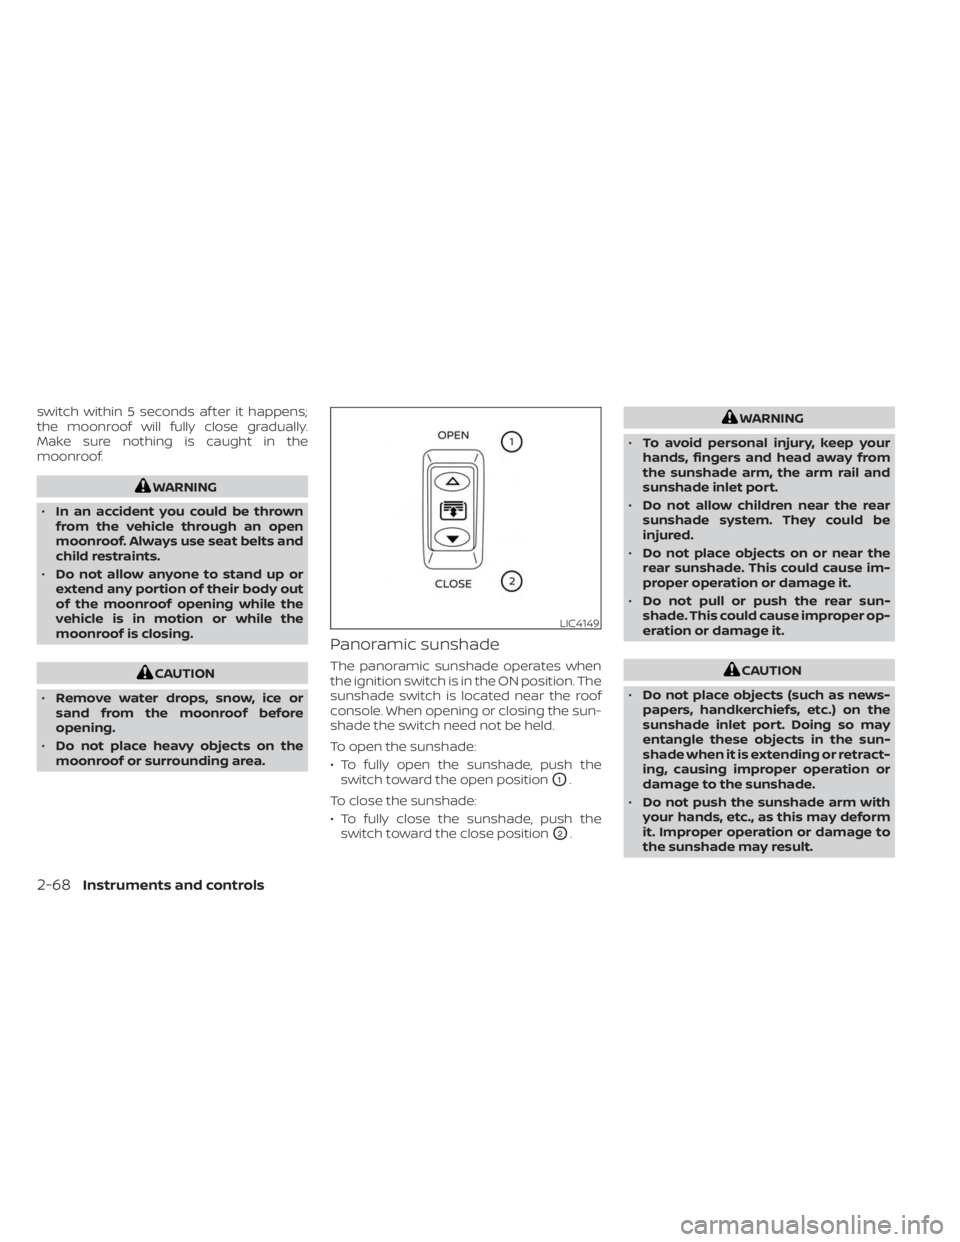
The panoramic sunshade operates when
the ignition switch is in the ON position. The
sunshade switch is located near the roof
console. When opening or closing the sun-
shade the switch need not be held.
To open the sunshade:
• To fully open the sunshade, push the switch toward the open position
O1.
To close the sunshade:
• To fully close the sunshade, push the switch toward the close position
O2.
WARNING
• To avoid personal injury, keep your
hands, fingers and head away from
the sunshade arm, the arm rail and
sunshade inlet port.
• Do not allow children near the rear
sunshade system. They could be
injured.
• Do not place objects on or near the
rear sunshade. This could cause im-
proper operation or damage it.
• Do not pull or push the rear sun-
shade. This could cause improper op-
eration or damage it.
CAUTION
• Do not place objects (such as news-
papers, handkerchiefs, etc.) on the
sunshade inlet port. Doing so may
entangle these objects in the sun-
shade when it is extending or retract-
ing, causing improper operation or
damage to the sunshade.
• Do not push the sunshade arm with
your hands, etc., as this may deform
it. Improper operation or damage to
the sunshade may result.
LIC4149
2-68Instruments and controls
Page 163 of 518
CAUTION
Do not use for extended periods of time
with the engine stopped. This could re-
sult in a discharged battery. The HomeLink® Universal Transceiver pro-
vides a convenient way to consolidate the
functions of up to three individual hand-
held transmitters into one built-in device.
HomeLink® Universal Transceiver:
• Will operate most radio frequency de-
vices such as garage doors, gates, home
and office lighting, entry door locks and
security systems.
• Is powered by your vehicle's battery. No separate batteries are required. If the
vehicle's battery is discharged or is dis-
connected, HomeLink® will retain all
programming.
When the HomeLink® Universal Trans-
ceiver is programmed, retain the original
transmitter for future programming pro-
cedures (Example: new vehicle purchases).
Upon sale of the vehicle, the programmed
HomeLink® Universal Transceiver buttons
should be erased for security purposes.
For additional information, see “Program-
ming HomeLink®” (P. 2-72).
WARNING
• Your vehicle's engine should be
turned off while programming the
HomeLink® Universal Transceiver. For
additional information, see “Push-
button ignition switch” (P. 5-13). Do
not breathe exhaust gases; they con-
tain colorless and odorless carbon
monoxide. Carbon monoxide is dan-
gerous. It can cause unconscious-
ness or death.
• Do not use the HomeLink® Universal
Transceiver with any garage door
opener that lacks safety stop and re-
verse features as required by federal
safety standards. (These standards
became effective for opener models
manufactured af ter April 1, 1982.) A
garage door opener which cannot
detect an object in the path of a clos-
ing garage door and then automati-
cally stop and reverse does not meet
current federal safety standards. Us-
ing a garage door opener without
these features increases the risk of
serious injury or death.
HOMELINK® UNIVERSAL
TRANSCEIVER (if so equipped)
Instruments and controls2-71
Page 168 of 518
3 Pre-driving checks and adjustments
Keys.............................................3-2NISSAN Intelligent Key® .......................3-2
NISSAN Vehicle Immobilizer System
keys..........................................3-4
Doors ...........................................3-5
Locking with key .............................3-5
Locking with inside lock knob ................3-6
Locking with power door lock switch .........3-6
Automatic door locks ........................3-6
Child safety rear door lock .................... 3-7
NISSAN Intelligent Key® system .................. 3-7
Operating range .............................3-8
Door locks/unlocks precaution ...............3-9
NISSAN Intelligent Key® Operation ............3-9
How to use the remote keyless entry
function ..................................... 3-12
Warning signals ............................. 3-16
Troubleshooting guide ......................3-16
Remote Engine Start (if so equipped) ...........3-18
Remote Engine Start operating range .......3-18
Remote starting the vehicle .................3-19
Extending engine run time ..................3-19
Canceling a Remote Engine Start ...........3-19
Conditions the Remote Engine Start will
notwork .................................... 3-20
Hood ........................................... 3-21Lif tgate
........................................ 3-21
Operating the manual lif tgate
(if so equipped) .............................. 3-22
Operating the power lif tgate
(if so equipped) .............................. 3-22
Motion-Activated Lif tgate
(if so equipped) .............................. 3-25
Lif tgate release ............................. 3-26
Lif tgate position setting
(if so equipped) .............................. 3-28
Fuel-filler door .................................. 3-28
Opener operation ........................... 3-28
Fuel-filler cap ................................ 3-29
Steering wheel ................................. 3-31
Manual operation (if so equipped) ...........3-31
Automatic operation (if so equipped) ........3-31
Sun visors ...................................... 3-32
Vanity mirrors ............................... 3-33
Card holder ................................. 3-33
Mirrors ......................................... 3-34
Manual anti-glare rearview mirror
(if
so equipped) .............................. 3-34
Automatic anti-glare rearview mirror
(if so equipped) .............................. 3-34
Outside mirrors ............................. 3-35
Page 173 of 518
When the doors are locked using one of the
following methods, the doors cannot be
opened using the inside or outside door
handles. The doors must be unlocked to
open the doors.
WARNING
• Always have the doors locked while
driving. Along with the use of seat
belts, this provides greater safety in
the event of an accident by helping to
prevent persons from being thrown
from the vehicle. This also helps keep
children and others from uninten-
tionally opening the doors, and will
help keep out intruders.
• Before opening any door, always look
for and avoid oncoming traffic. •
To help avoid risk of injury or death
through unintended operation of the
vehicle and/or its systems, including
entrapment in windows or inadver-
tent door lock activation, do not
leave children, people who require
the assistance of others or pets unat-
tended in your vehicle. Additionally,
the temperature inside a closed ve-
hicle on a warm day can quickly be-
come high enough to cause a signifi-
cant risk of injury or death to people
and pets.
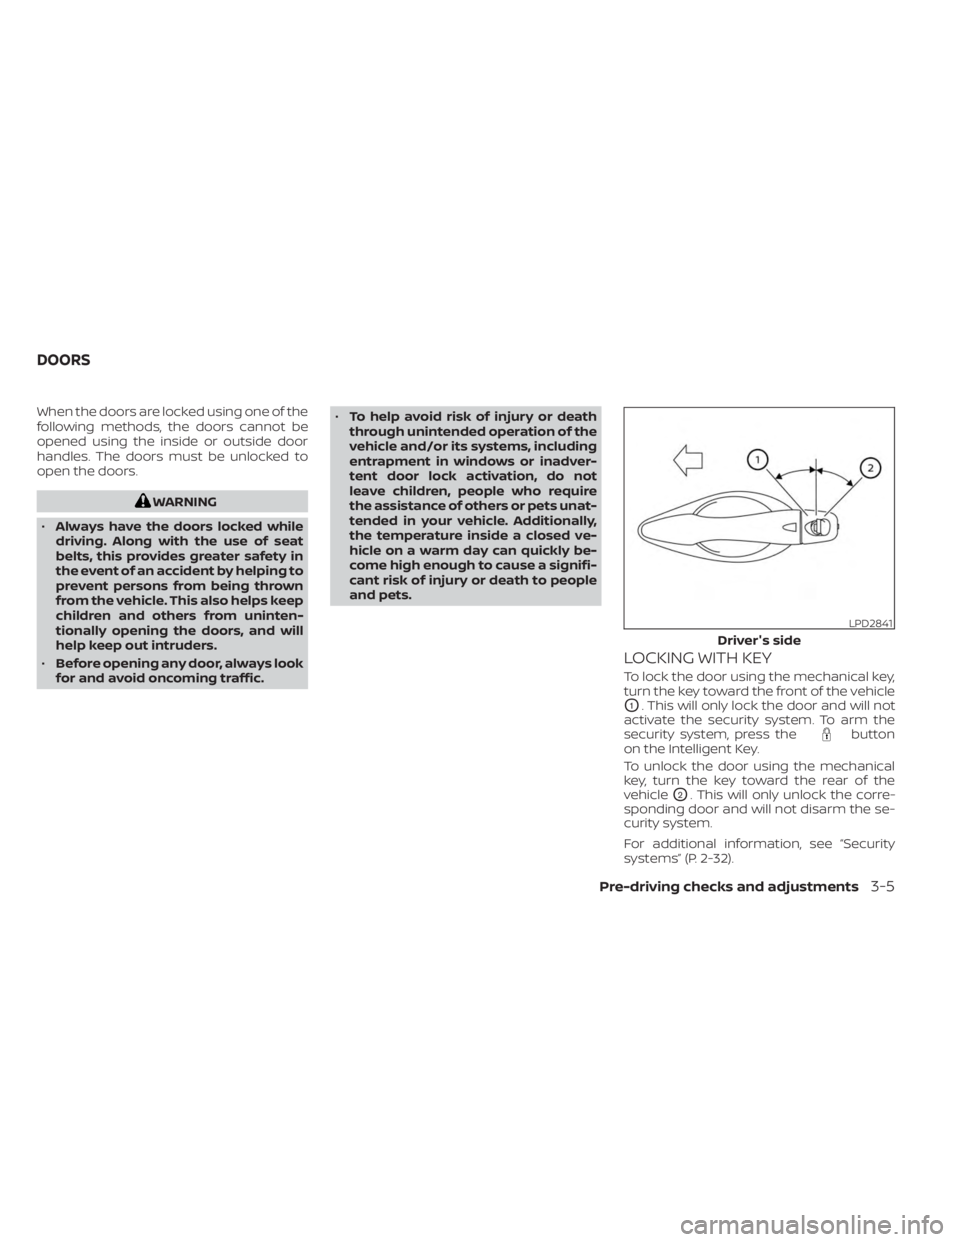
LOCKING WITH KEY
To lock the door using the mechanical key,
turn the key toward the front of the vehicle
O1. This will only lock the door and will not
activate the security system. To arm the
security system, press the
button
on the Intelligent Key.
To unlock the door using the mechanical
key, turn the key toward the rear of the
vehicle
O2. This will only unlock the corre-
sponding door and will not disarm the se-
curity system.
For additional information, see “Security
systems” (P. 2-32).
LPD2841
Driver's side
DOORS
Pre-driving checks and adjustments3-5
Page 175 of 518
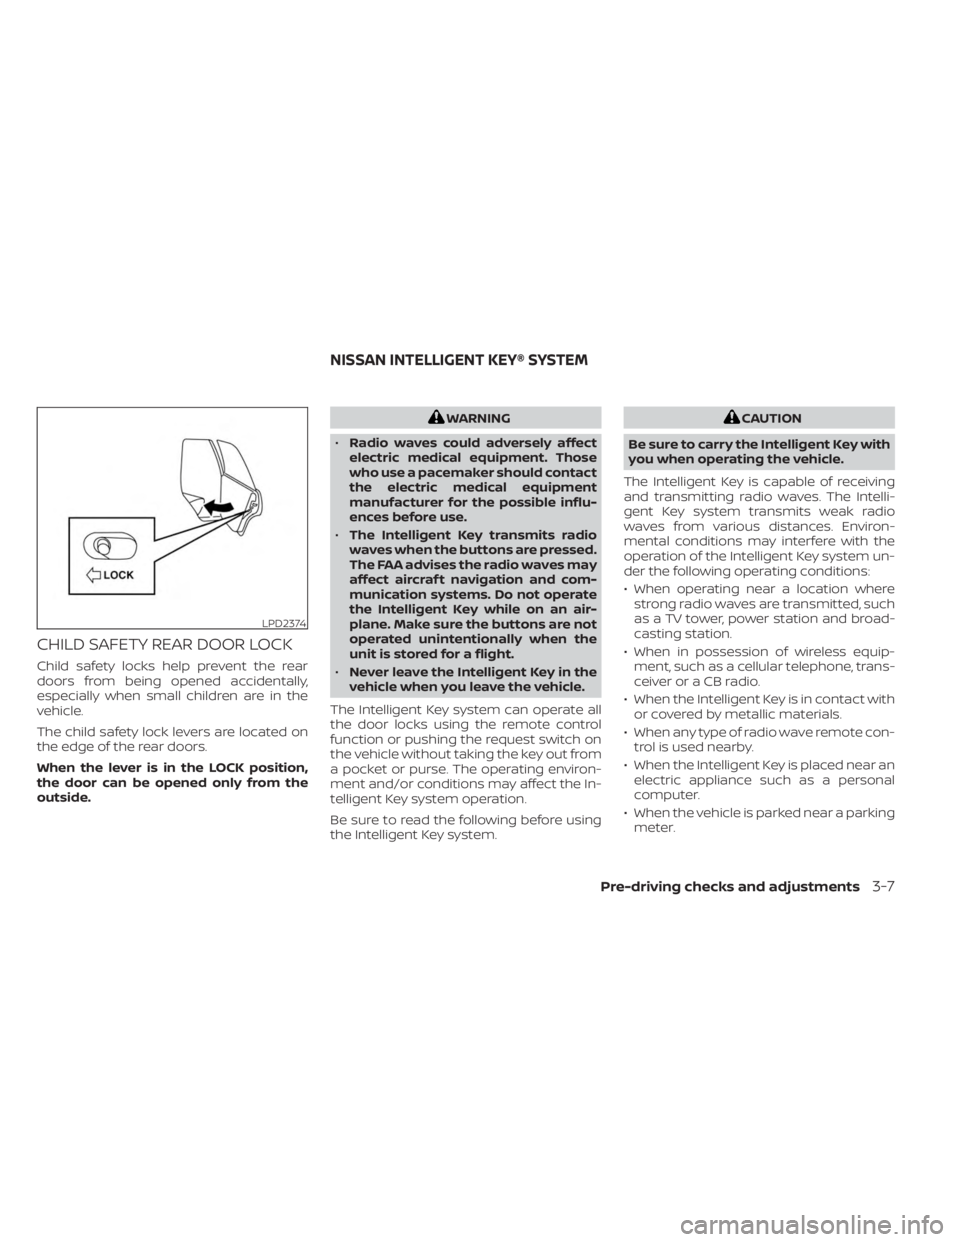
CHILD SAFETY REAR DOOR LOCK
Child safety locks help prevent the rear
doors from being opened accidentally,
especially when small children are in the
vehicle.
The child safety lock levers are located on
the edge of the rear doors.
When the lever is in the LOCK position,
the door can be opened only from the
outside.
WARNING
• Radio waves could adversely affect
electric medical equipment. Those
who use a pacemaker should contact
the electric medical equipment
manufacturer for the possible influ-
ences before use.
• The Intelligent Key transmits radio
waves when the buttons are pressed.
The FAA advises the radio waves may
affect aircraf t navigation and com-
munication systems. Do not operate
the Intelligent Key while on an air-
plane. Make sure the buttons are not
operated unintentionally when the
unit is stored for a flight.
• Never leave the Intelligent Key in the
vehicle when you leave the vehicle.
The Intelligent Key system can operate all
the door locks using the remote control
function or pushing the request switch on
the vehicle without taking the key out from
a pocket or purse. The operating environ-
ment and/or conditions may affect the In-
telligent Key system operation.
Be sure to read the following before using
the Intelligent Key system.CAUTION
Be sure to carry the Intelligent Key with
you when operating the vehicle.
The Intelligent Key is capable of receiving
and transmitting radio waves. The Intelli-
gent Key system transmits weak radio
waves from various distances. Environ-
mental conditions may interfere with the
operation of the Intelligent Key system un-
der the following operating conditions:
• When operating near a location where strong radio waves are transmitted, such
as a TV tower, power station and broad-
casting station.
• When in possession of wireless equip- ment, such as a cellular telephone, trans-
ceiver or a CB radio.
• When the Intelligent Key is in contact with or covered by metallic materials.
• When any type of radio wave remote con- trol is used nearby.
• When the Intelligent Key is placed near an electric appliance such as a personal
computer.
• When the vehicle is parked near a parking meter.
LPD2374
NISSAN INTELLIGENT KEY® SYSTEM
Pre-driving checks and adjustments3-7
Page 178 of 518
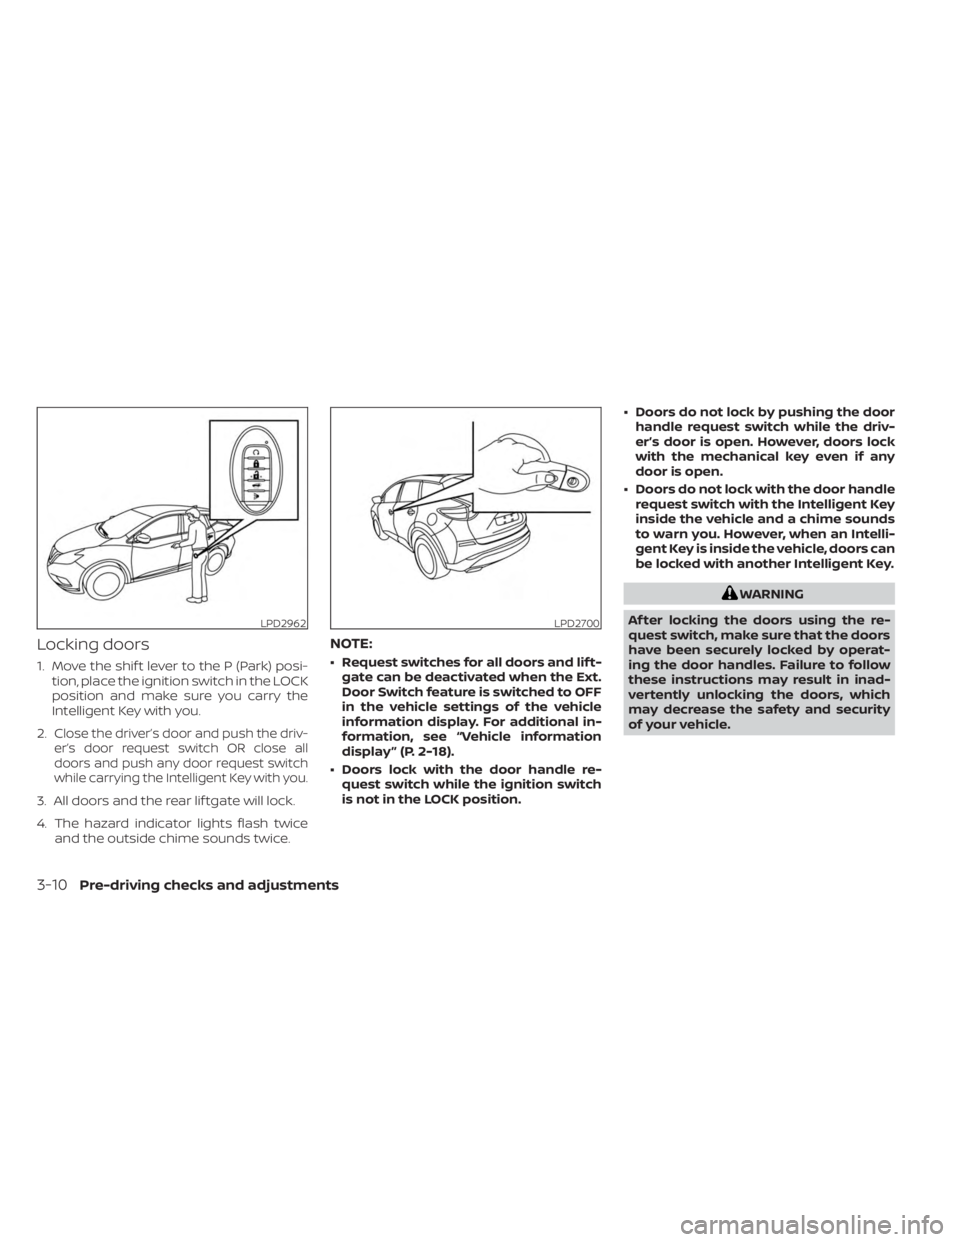
Locking doors
1. Move the shif t lever to the P (Park) posi-tion, place the ignition switch in the LOCK
position and make sure you carry the
Intelligent Key with you.
2.
Close the driver’s door and push the driv-
er’s door request switch OR close all
doors and push any door request switch
while carrying the Intelligent Key with you.
3. All doors and the rear lif tgate will lock.
4. The hazard indicator lights flash twice and the outside chime sounds twice.
NOTE:
• Request switches for all doors and lif t-gate can be deactivated when the Ext.
Door Switch feature is switched to OFF
in the vehicle settings of the vehicle
information display. For additional in-
formation, see “Vehicle information
display ” (P. 2-18).
• Doors lock with the door handle re- quest switch while the ignition switch
is not in the LOCK position. • Doors do not lock by pushing the door
handle request switch while the driv-
er’s door is open. However, doors lock
with the mechanical key even if any
door is open.
• Doors do not lock with the door handle request switch with the Intelligent Key
inside the vehicle and a chime sounds
to warn you. However, when an Intelli-
gent Key is inside the vehicle, doors can
be locked with another Intelligent Key.
WARNING
Af ter locking the doors using the re-
quest switch, make sure that the doors
have been securely locked by operat-
ing the door handles. Failure to follow
these instructions may result in inad-
vertently unlocking the doors, which
may decrease the safety and security
of your vehicle.
LPD2962LPD2700
3-10Pre-driving checks and adjustments
Page 182 of 518
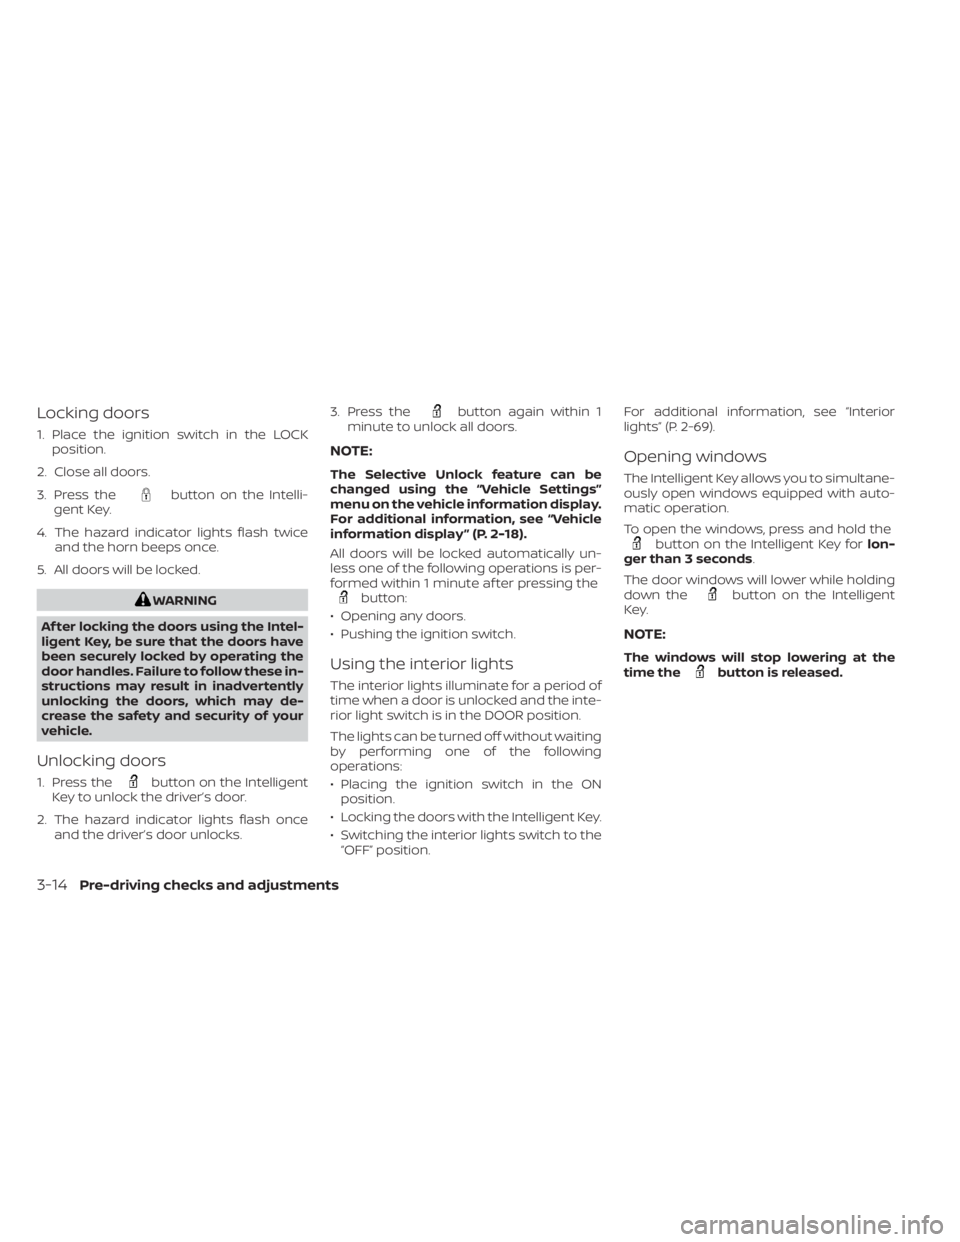
Locking doors
1. Place the ignition switch in the LOCKposition.
2. Close all doors.
3. Press the
button on the Intelli-
gent Key.
4. The hazard indicator lights flash twice and the horn beeps once.
5. All doors will be locked.
WARNING
Af ter locking the doors using the Intel-
ligent Key, be sure that the doors have
been securely locked by operating the
door handles. Failure to follow these in-
structions may result in inadvertently
unlocking the doors, which may de-
crease the safety and security of your
vehicle.
Unlocking doors
1. Press thebutton on the Intelligent
Key to unlock the driver’s door.
2. The hazard indicator lights flash once and the driver’s door unlocks. 3. Press the
button again within 1
minute to unlock all doors.
NOTE:
The Selective Unlock feature can be
changed using the “Vehicle Settings”
menu on the vehicle information display.
For additional information, see “Vehicle
information display ” (P. 2-18).
All doors will be locked automatically un-
less one of the following operations is per-
formed within 1 minute af ter pressing the
button:
• Opening any doors.
• Pushing the ignition switch.
Using the interior lights
The interior lights illuminate for a period of
time when a door is unlocked and the inte-
rior light switch is in the DOOR position.
The lights can be turned off without waiting
by performing one of the following
operations:
• Placing the ignition switch in the ON position.
• Locking the doors with the Intelligent Key.
• Switching the interior lights switch to the “OFF” position. For additional information, see “Interior
lights” (P. 2-69).
Opening windows
The Intelligent Key allows you to simultane-
ously open windows equipped with auto-
matic operation.
To open the windows, press and hold the
button on the Intelligent Key for
lon-
ger than 3 seconds.
The door windows will lower while holding
down the
button on the Intelligent
Key.
NOTE:
The windows will stop lowering at the
time thebutton is released.
3-14Pre-driving checks and adjustments