2023 NISSAN MURANO automatic transmission
[x] Cancel search: automatic transmissionPage 121 of 518
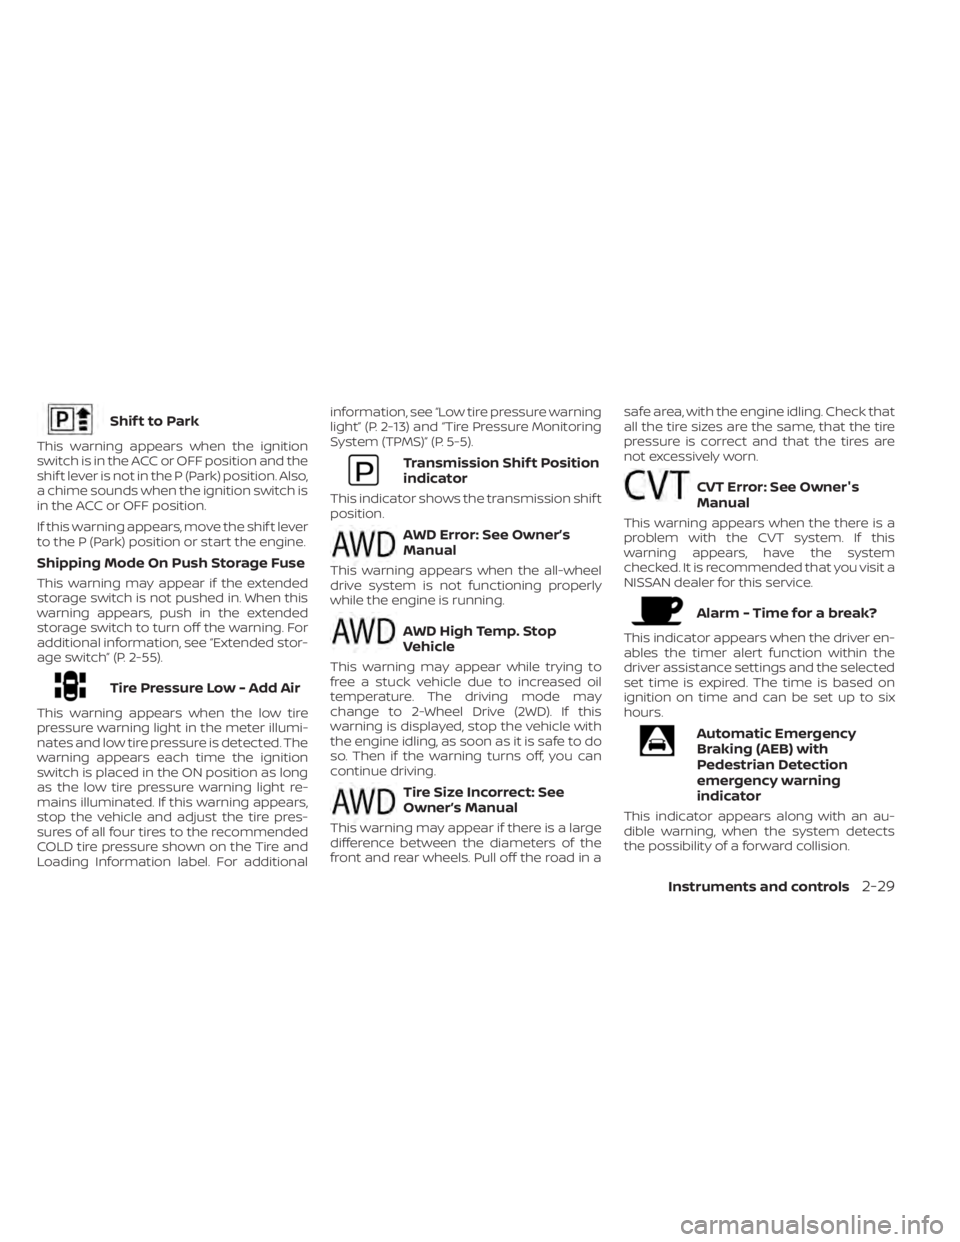
Shif t to Park
This warning appears when the ignition
switch is in the ACC or OFF position and the
shif t lever is not in the P (Park) position. Also,
a chime sounds when the ignition switch is
in the ACC or OFF position.
If this warning appears, move the shif t lever
to the P (Park) position or start the engine.
Shipping Mode On Push Storage Fuse
This warning may appear if the extended
storage switch is not pushed in. When this
warning appears, push in the extended
storage switch to turn off the warning. For
additional information, see “Extended stor-
age switch” (P. 2-55).
Tire Pressure Low - Add Air
This warning appears when the low tire
pressure warning light in the meter illumi-
nates and low tire pressure is detected. The
warning appears each time the ignition
switch is placed in the ON position as long
as the low tire pressure warning light re-
mains illuminated. If this warning appears,
stop the vehicle and adjust the tire pres-
sures of all four tires to the recommended
COLD tire pressure shown on the Tire and
Loading Information label. For additionalinformation, see “Low tire pressure warning
light” (P. 2-13) and “Tire Pressure Monitoring
System (TPMS)” (P. 5-5).
Transmission Shif t Position
indicator
This indicator shows the transmission shif t
position.
AWD Error: See Owner’s
Manual
This warning appears when the all-wheel
drive system is not functioning properly
while the engine is running.
AWD High Temp. Stop
Vehicle
This warning may appear while trying to
free a stuck vehicle due to increased oil
temperature. The driving mode may
change to 2-Wheel Drive (2WD). If this
warning is displayed, stop the vehicle with
the engine idling, as soon as it is safe to do
so. Then if the warning turns off, you can
continue driving.
Tire Size Incorrect: See
Owner’s Manual
This warning may appear if there is a large
difference between the diameters of the
front and rear wheels. Pull off the road in a
safe area, with the engine idling. Check that
all the tire sizes are the same, that the tire
pressure is correct and that the tires are
not excessively worn.
CVT Error: See Owner's
Manual
This warning appears when the there is a
problem with the CVT system. If this
warning appears, have the system
checked. It is recommended that you visit a
NISSAN dealer for this service.
Alarm - Time for a break?
This indicator appears when the driver en-
ables the timer alert function within the
driver assistance settings and the selected
set time is expired. The time is based on
ignition on time and can be set up to six
hours.
Automatic Emergency
Braking (AEB) with
Pedestrian Detection
emergency warning
indicator
This indicator appears along with an au-
dible warning, when the system detects
the possibility of a forward collision.
Instruments and controls2-29
Page 174 of 518
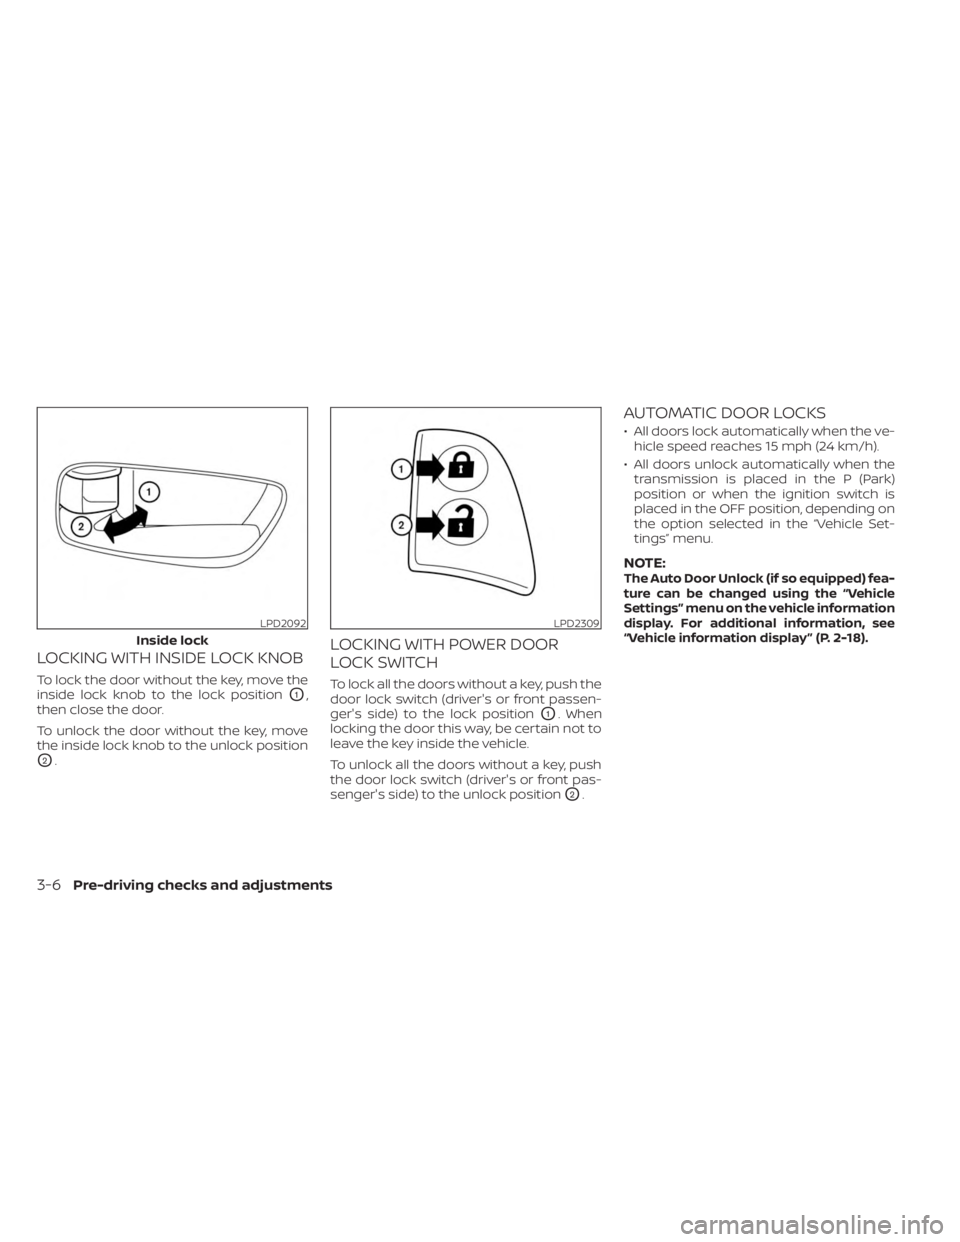
LOCKING WITH INSIDE LOCK KNOB
To lock the door without the key, move the
inside lock knob to the lock position
O1,
then close the door.
To unlock the door without the key, move
the inside lock knob to the unlock position
O2.
LOCKING WITH POWER DOOR
LOCK SWITCH
To lock all the doors without a key, push the
door lock switch (driver's or front passen-
ger's side) to the lock position
O1. When
locking the door this way, be certain not to
leave the key inside the vehicle.
To unlock all the doors without a key, push
the door lock switch (driver's or front pas-
senger's side) to the unlock position
O2.
AUTOMATIC DOOR LOCKS
• All doors lock automatically when the ve- hicle speed reaches 15 mph (24 km/h).
• All doors unlock automatically when the transmission is placed in the P (Park)
position or when the ignition switch is
placed in the OFF position, depending on
the option selected in the “Vehicle Set-
tings” menu.
NOTE:The Auto Door Unlock (if so equipped) fea-
ture can be changed using the “Vehicle
Settings” menu on the vehicle information
display. For additional information, see
“Vehicle information display ” (P. 2-18).
LPD2092
Inside lock
LPD2309
3-6Pre-driving checks and adjustments
Page 258 of 518
REMOTE ENGINE START (if so
equipped)
Vehicles started with the Remote Engine
Start require the ignition switch to be
placed in the ON position before the shif t
lever can be moved from the P (Park) posi-
tion. To place the ignition switch in the ON
position, follow these steps:
1. Make sure that the Intelligent Key is onyou.
2. Apply the brake.
3. Push the ignition switch once to the ON position.
For additional information, see “NISSAN In-
telligent Key®” (P. 3-2).
ENGINE PROTECTION MODE
The engine has an engine protection mode
to reduce the chance of damage if the
coolant temperature becomes too high
(for example, when climbing steep grades
in high temperatures with heavy loads,
such as when towing a trailer). When the
engine temperature reaches a certain
level:
• The engine coolant temperature gauge will move toward the H position.
• Engine power may be reduced.
• The air conditioning cooling function may be automatically turned off for a short
time (the blower will continue to operate).
Engine power and, under some conditions,
vehicle speed will decrease. Vehicle speed
can be controlled with the accelerator
pedal, but the vehicle may not accelerate at
the desired speed. The transmission will
downshif t or upshif t as it reaches pre-
scribed shif t points. You can also shif t
manually.
As driving conditions change and engine
coolant temperature is reduced, vehicle
speed can be increased using the accel-
erator pedal, and the air conditioning cool-
ing function will automatically be turned
back on. The Malfunction Indicator Light (MIL) may
also come on if the engine coolant tem-
perature is not reduced or the air condi-
tioning cooling function does not turn back
on. If
only it remains on, you do not need to
have your vehicle towed, but have it in-
spected soon. It is recommended that you
visit a NISSAN dealer for this service. For
additional information, see “Malfunction In-
dicator Light (MIL)” (P. 2-14).
WARNING
Overheating can result in reduced en-
gine power and vehicle speed. The re-
duced speed may be lower than other
traffic, which could increase the chance
of a collision. Be especially careful
when driving. If the vehicle cannot
maintain a safe driving speed, pull to
the side of the road in a safe area. Allow
the engine to cool and return to normal
operation. For additional information,
see “If your vehicle overheats” (P. 6-12).
DRIVING THE VEHICLE
5-18Starting and driving
Page 259 of 518
CAUTION
Running the engine with the engine oil
pressure warning light on could cause
serious damage to the engine almost
immediately. Such damage is not cov-
ered by warranty. Turn off the engine as
soon as it is safe to do so.
CONTINUOUSLY VARIABLE
TRANSMISSION (CVT)
WARNING
• Do not depress the accelerator pedal
while shif ting from P (Park) or N (Neu-
tral) to R (Reverse), D (Drive), or M
(Manual shif t mode). Always depress
the brake pedal until shif ting is com-
pleted. Failure to do so could cause
you to lose control and have an
accident.
• Cold engine idle speed is high, so use
caution when shif ting into a forward
or reverse gear before the engine has
warmed up.
• Do not downshif t abruptly on slip-
pery roads. This may cause a loss of
control. •
Never shif t to either the P (Park) or R
(Reverse) position while the vehicle is
moving forward and P (Park) or D
(Drive) position while the vehicle is
reversing. This could cause an acci-
dent or damage the transmission.
CAUTION
• To avoid possible damage to your ve-
hicle, when stopping the vehicle on
an uphill grade, do not hold the ve-
hicle by depressing the accelerator
pedal. The foot brake should be used
for this purpose.
• Except in an emergency, do not shif t
to the N (Neutral) position while driv-
ing. Coasting with the transmission
in the N (Neutral) position may cause
serious damage to the transmission.
The CVT in your vehicle is electronically
controlled to produce maximum power
and smooth operation.
The recommended operating procedures
for this transmission are shown on the fol-
lowing pages. Follow these procedures for
maximum vehicle performance and driv-
ing enjoyment. Engine power may be automatically re-
duced to protect the CVT if the engine
speed increases quickly when driving on
slippery roads or while being tested on
some dynamometers.
Starting the vehicle
1. Af ter starting the engine, fully depress
the foot brake pedal before moving the
shif t lever out of the P (Park) position.
This Continuously Variable Transmis-
sion is designed so that the foot brake
pedal must be depressed before shif t-
ing from P (Park) to any driving posi-
tion while the ignition switch is in the
ON position.
The shif t lever cannot be moved out of
the P (Park) position and into any of
the other positions if the ignition
switch is placed in the LOCK, OFF or
ACC position.
2. Keep the foot brake pedal depressed and move the shif t lever to a driving
position.
3. Release the parking brake and foot brake pedal, and then gradually start the
vehicle in motion.
Starting and driving5-19
Page 262 of 518
shif t mode, the shif t range is displayed on
the position indicator in the meter. When
moving the shif t lever to the manual shif t
gate, the position indicator displays 1 (First)
up to 7 (Seventh) depending on vehicle
speed.
Shif t ranges up or down one by one as
follows:
1⇔2⇔ 3⇔ 4⇔ 5⇔ 6⇔ 7
7 (Seventh)
Use this position for all normal forward
driving at highway speeds.
6 (Sixth) and 5 (Fif th)
Use this position when driving up long
slopes, or for engine braking when driving
down long slopes.
4 (Fourth), 3 (Third) and 2 (Second)
Use these positions for hill climbing or en-
gine braking on downhill grades.
1 (First)
Use this position when climbing steep hills
slowly or when driving slowly, or for maxi-
mum engine braking on steep downhill
grades. • Remember not to drive at high speeds for
extended periods of time in lower than
seventh gear. This reduces fuel economy.
When shif ting up
Move the shif t lever to the + (up) side. (Shif ts
to higher range.)
When shif ting down
Move the shif t lever to the − (down) side.
(Shif ts to lower range.)
• The transmission will automatically downshif t the gears. (For example, if you
select the third range, the transmission
will shif t down between the third and first
gears.)
• Moving the shif t lever rapidly to the same side twice will shif t the ranges in
succession.
When canceling the manual shif t mode
Return the shif t lever to the D (Drive) posi-
tion to return the transmission to the nor-
mal driving mode.
• In the manual shif t mode, the trans-
mission may not shif t to the selected
gear. This helps maintain driving per-
formance and reduces the chance of
vehicle damage or loss of control. •
When this situation occurs, the Con-
tinuously Variable Transmission (CVT)
position indicator light will blink and
the chime will sound.
• In the manual shif t mode, the trans-
mission may shif t up automatically to a
higher range than selected if the en-
gine speed is too high. When the ve-
hicle speed decreases, the transmis-
sion automatically shif ts down and
shif ts to first gear before the vehicle
comes to a stop.
• CVT operation is limited to automatic drive mode when CVT fluid temperature
is extremely low even if manual shif t
mode is selected. This is not a malfunc-
tion. When CVT fluid warms up, manual
mode can be selected.
• When the CVT fluid temperature is high, the shif t range may upshif t in lower rpm
than usual. This is not a malfunction.
5-22Starting and driving
Page 263 of 518
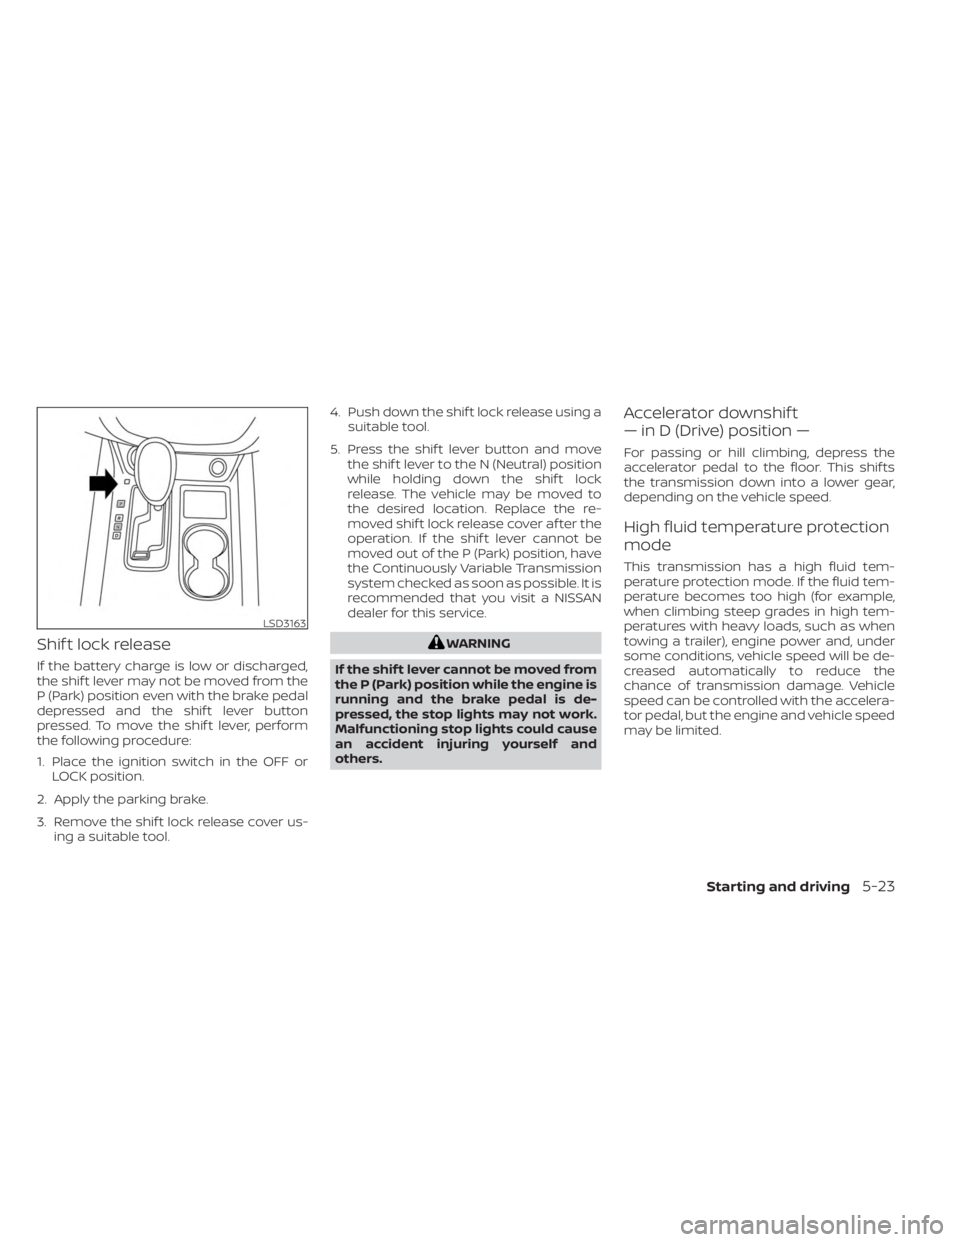
Shif t lock release
If the battery charge is low or discharged,
the shif t lever may not be moved from the
P (Park) position even with the brake pedal
depressed and the shif t lever button
pressed. To move the shif t lever, perform
the following procedure:
1. Place the ignition switch in the OFF orLOCK position.
2. Apply the parking brake.
3. Remove the shif t lock release cover us- ing a suitable tool. 4. Push down the shif t lock release using a
suitable tool.
5. Press the shif t lever button and move the shif t lever to the N (Neutral) position
while holding down the shif t lock
release. The vehicle may be moved to
the desired location. Replace the re-
moved shif t lock release cover af ter the
operation. If the shif t lever cannot be
moved out of the P (Park) position, have
the Continuously Variable Transmission
system checked as soon as possible. It is
recommended that you visit a NISSAN
dealer for this service.
WARNING
If the shif t lever cannot be moved from
the P (Park) position while the engine is
running and the brake pedal is de-
pressed, the stop lights may not work.
Malfunctioning stop lights could cause
an accident injuring yourself and
others.
Accelerator downshif t
— in D (Drive) position —
For passing or hill climbing, depress the
accelerator pedal to the floor. This shif ts
the transmission down into a lower gear,
depending on the vehicle speed.
High fluid temperature protection
mode
This transmission has a high fluid tem-
perature protection mode. If the fluid tem-
perature becomes too high (for example,
when climbing steep grades in high tem-
peratures with heavy loads, such as when
towing a trailer), engine power and, under
some conditions, vehicle speed will be de-
creased automatically to reduce the
chance of transmission damage. Vehicle
speed can be controlled with the accelera-
tor pedal, but the engine and vehicle speed
may be limited.
LSD3163
Starting and driving5-23
Page 406 of 518
•The dipstick must be inserted in
place to prevent oil spillage from the
dipstick hole when filling the engine
with oil.
6. Coat the gasket on the new filter with clean engine oil.
7. Screw in the oil filter clockwise until a slight resistance is felt, then tighten addi-
tionally more than 2/3 turn.
Oil filter tightening torque: 11 to 15 f t-lb (14.7 to 20.6 N·m)
8. Clean and re-install the drain plug with a new washer. Securely tighten the drain
plug with a wrench. Do not use exces-
sive force.
Drain plug tightening torque: 22 to 29 f t-lb (29.4 to 39.2 N·m)
9. Refill the engine with the recommended oil through the oil filler opening, and in-
stall the oil filler cap securely. For additional information about drain and
refill capacity, see “Recommended fluids/
lubricants and capacities” (P. 10-2). The
drain and refill capacity depends on the oil
temperature and drain time. Use these
specifications for reference only. Always
use the dipstick to determine the proper
amount of oil in the engine.
10. Start the engine and check for leakage
around the drain plug and the oil filter.
Correct as required. Turn the engine off
and wait more than 15 minutes. Check
the oil level with the dipstick. Add en-
gine oil if necessary.
Af ter the operation
1. Reinstall engine protectors in reverse or-der of removal.
2. Lower the vehicle carefully to the ground.
3. Reset oil and oil filter maintenance re- minder. For additional information, see
“Vehicle information display” (P. 2-18).
• Dispose of waste oil and filter properly.
• Check your local regulations.
CAUTION
• NISSAN recommends using Genuine
NISSAN CVT Fluid NS-3 (or equiva-
lent) ONLY in NISSAN CVTs. Do not mix
with other fluids.
• Do not use Automatic Transmission
Fluid (ATF) or manual transmission
fluid in a NISSAN CVT, as it may dam-
age the CVT. Damage caused by the
use of fluids other than as recom-
mended is not covered under
NISSAN's New Vehicle Limited War-
ranty outlined in your Warranty Infor-
mation Booklet.
• Using fluids that are not equivalent
to Genuine NISSAN CVT Fluid NS-3
may also damage the CVT. Damage
caused by the use of fluids other than
as recommended is not covered un-
der NISSAN's New Vehicle Limited
Warranty outlined in your Warranty
Information Booklet.
When checking or replacement of CVT fluid
is required, we recommend a NISSAN
dealer for servicing.
CONTINUOUSLY VARIABLE
TRANSMISSION (CVT) FLUID
8-10Do-it-yourself