2023 NISSAN ALTIMA AV Control Unit
[x] Cancel search: AV Control UnitPage 76 of 644
The NISSAN Advanced Air Bag System
monitors information from the crash zone
sensor, the Air bag Control Unit (ACU), seat
belt buckle sensors and occupant classifi-
cation sensor (weight sensor). Inflator op-
eration is based on the severity of a colli-
sion and seat belt usage for the driver. For
the front passenger, the occupant classifi-
cation sensor is also monitored. Based on
information from the sensor, only one front
air bag may inflate in a crash, depending on
the crash severity and whether the front
occupants are belted or unbelted. Addi-
tionally, the front passenger air bag and
front passenger supplemental knee air
bag may be automatically turned off under
some conditions, depending on the weight
detected on the front passenger seat and
how the seat belt is used. If the front pas-
senger air bag and front passenger
supplemental knee air bag are OFF, the
front passenger air bag status light will be
illuminated. For additional information, see
“Front passenger air bag and status light”
(P. 1-57). One front air bag inflating does not
indicate improper performance of the
system.If you have any questions about your air
bag system, it is recommended that you
visit a NISSAN dealer to obtain information
about the system. If you are considering
modification of your vehicle due to a dis-
ability, you may also contact NISSAN. Con-
tact information is contained in the front of
this Owner's Manual.
When a front air bag inflates, a fairly loud
noise may be heard, followed by the re-
lease of smoke. This smoke is not harmful
and does not indicate a fire. Care should be
taken to not inhale it, as it may cause irrita-
tion and choking. Those with a history of a
breathing condition should get fresh air
promptly.
Front air bags, along with the use of seat
belts, help to cushion the impact force on
the face and chest of the front occupants.
They can help save lives and reduce seri-
ous injuries. However, an inflating front air
bag may cause facial abrasions or other
injuries. Front air bags do not provide re-
straint to the lower body.
Even with NISSAN Advanced Air Bags, seat
belts should be correctly worn and the
driver and front passenger seated upright
as far as practical away from the steering
wheel or instrument panel. The front air
bags inflate quickly in order to help protect
the front occupants. Because of this, the
force of the front air bag inflating can in-
crease the risk of injury if the occupant is
too close to, or is against, the front air bag
module during inflation.
The front air bags deflate quickly af ter a
collision.
The front air bags operate only when the
ignition switch is placed in the ON
position.
Af ter placing the ignition switch in the
ON position, the supplemental air bag
warning light illuminates. The supple-
mental air bag warning light will turn off
af ter about 7 seconds if the system is
operational.
1-56Safety-Seats, seat belts and supplemental restraint system
Page 111 of 644
CAUTION
If the oil replacement indicator is dis-
played, change the engine oil within
two weeks or less than 500 miles (800
km).
Operating the vehicle with deteriorated
oil can damage the engine.
To reset oil control system:
1. Place the ignition switch in the ON position.
2. Press the
andbuttons located
on the steering wheel until “Settings” dis-
plays in the vehicle information display.
Use
to select “Maintenance”.
Then, press the OK button. 3. Select “Oil Control System” and press the
OK button.
4. Press the OK button according to the reset instructions displayed at the bot-
tom of the “Oil Control System” mainte-
nance screen.
5. For additional information, refer to the separate maintenance booklet.
SETTINGS
The setting mode allows you to change the
information displayed in the vehicle infor-
mation display. It also allows you to change
vehicle functions:
• VDC • Driver Assistance
• Clock
• Meter Settings
• Vehicle Settings
• Maintenance
• Alarm
• Tire Pressures
• Unit
• Language
• Factory Reset
VDC
The VDC Setting menu allows the user to enable or disable the Vehicle Dynamic Control (VDC) system.
Menu item
Explanation
VDC Allows the user turn the VDC system on or off. For additional information, see “Vehicle Dynamic Control (VDC) system”
(P. 5-175).
Instruments and controls2-21
Page 117 of 644

Tire Pressures
The TPMS settings menu allows the user to change the tire pressure units displayed in the vehicle information display.
Menu itemExplanation
Tire Pressures Displays available tire pressure settings.
Tire Pressure Unit Allows user to select the tire pressure units that will display in the vehicle information display.
Unit
The units menu allows the user to change the units shown in the vehicle information display.
Some menu items shown below may not be equipped on your vehicle.
Menu item Explanation
Mileage Allows user to select different mileage display units.
Tire Pressures Allows user to select different pressure display units.
Temperature Allows user to select different temperature display units.
Language
The language menu allows the user to change the languages displayed in the vehicle information display.
Menu item Explanation
Language Displays available language options for the vehicle information display.
Factory Reset
The factory reset menu allows the user to restore the vehicle information display settings to factory status.
Menu item Explanation
Factory Reset Allows user to reset the vehicle information display setti
ngs to the original factory settings. Once selected,
the user can confirm or cancel the reset.
Instruments and controls2-27
Page 120 of 644
Engine Oil Service due now
This message will be displayed when re-
maining distance is 0, indicating service is
now due/overdue. Af ter service is com-
pleted, the Oil Control System should be
reset from the Maintenance settings
menu.
Loose Fuel Cap
This warning appears when the fuel-filler
cap is not tightened correctly af ter the ve-
hicle has been refueled. For additional in-
formation, see “Fuel-filler door” (P. 3-25).
Low Fuel
This warning appears when the fuel level in
the fuel tank is getting low. Refuel as soon
as it is convenient, preferably before the
fuel gauge reaches 0 (Empty).There will be
a small reserve of fuel in the tank when
the fuel gauge needle reaches 0 (Empty).
Low Oil Pressure Stop
Vehicle
This warning appears if low oil pressure is
detected.
If the warning appears during normal driv-
ing, pull off the road in a safe area and stop the engine
immediately . Have the system
checked. It is recommended that you visit a
NISSAN dealer or other authorized repair
shop for this service.
The low oil pressure warning is not de-
signed to indicate a low oil level. Use the
dipstick to check the oil level. For additional
information, see “Engine oil” (P. 8-7).
Low outside temperature
indicator
This indicator appears if the outside tem-
perature is below 37°F (3°C). The tempera-
ture can be changed to display in Fahren-
heit or Celsius. For additional information,
see “Unit” (P. 2-27).
Low Washer Fluid
This warning appears when the
windshield-washer fluid is at a low level.
Add windshield-washer fluid as necessary.
For additional information, see
“Windshield-washer fluid” (P. 8-13).
Power will turn off to save the battery
This message appears af ter a period of
time if the ignition switch is in the ON posi-
tion and if the vehicle is in P (Park). For ad-
ditional information, see “Push-button igni-
tion switch positions” (P. 5-14).
Power turned off to save the battery
This message appears af ter the ignition
switch is automatically turned off. For addi-
tional information, see “Push-button igni-
tion switch positions” (P. 5-14).
Push brake and start
button to drive
This indicator appears when the shif t lever
is in the P (Park) position and the vehicle
has not been started. Start the engine by
pushing the ignition switch with the brake
pedal depressed. You can start the engine
from any position of the ignition switch.
This message also appears when the ve-
hicle has been started using the Remote
Engine Start function (if so equipped). Push
the ignition switch with the brake pedal
depressed to place the ignition switch in
the ON position. For additional information,
see “Remote Engine Start” (P. 3-19).
Reminder Turn OFF
Headlights
This warning appears when the headlights
are lef t in the ON position when exiting the
vehicle. Place the headlight switch in the
OFF or AUTO position. For additional infor-
mation, see “Headlight and turn signal
switch” (P. 2-57).
2-30Instruments and controls
Page 127 of 644

SETTINGS
The setting mode allows you to change the
information displayed in the vehicle infor-
mation display. It also allows you to change
vehicle functions:
• VDC Setting
• Driver Assistance
• TPMS Setting• Clock
• Vehicle Settings
• Maintenance
• Customize Display
• Unit/Language
• Key-Linked Settings (if so equipped)
• Factory Reset
VDC Setting
The VDC Setting menu allows the user to enable or disable the Vehicle Dynamic Control (VDC) system.
Menu item
Explanation
System Allows the user to turn the VDC system on or off. For additional information, see “Vehicle Dynamic Control
(VDC) system” (P. 5-175).
Instruments and controls2-37
Page 129 of 644

Menu itemExplanation
Rear Cross Traffic Alert Allows user to turn the Rear Cross Traffic Alert (RCTA) system on or off. For additional information, see “Rear Cross
Traffic Alert (RCTA)” (P. 5-58).
Driver Attention Alert Allows user to turn the Intelligent Driver Alertness on or off. For additional information, see “Intelligent Driver Alert-
ness (I-DA)” (P. 5-162).
Timer Alert Allows user to set the timer alert.
Low Temperature Alert Allows user to turn the low temperature alert on or off.
Chassis Control Displays available chassis control options.
Active Trace Control Allows user to turn the Intelligent Trace Control system on or off. For additional information, see “Intelligent Trace
Control (I-TC)” (P. 5-178).
TPMS Setting
The TPMS settings menu allows the user to change the tire pressure units displayed in the vehicle information display.
Menu item Explanation
TPMS Setting Displays available TPMS settings.
Tire Pressure Unit Allows user to select the tire pressure units that will display in the vehicle information display.
Clock
Menu item Explanation
Clock Allows user to adjust the clock settings and time within the vehicle information display. Adjustments that can
be made include automatically setting the time, 12H/24H format, Daylight Saving Time, time zone, and manu-
ally setting the time.
The clock can also be set within the center display. For additional information, refer to the separate
NissanConnect® Owner’s Manual.
Instruments and controls2-39
Page 134 of 644
Unit/Language
The unit/language menu allows the user to change the units shown in the vehicle information display.
Menu itemExplanation
Mileage/Fuel Displays the available mileage/fuel display units and allows user to select preferred unit for display.
Tire Pressure Allows user to select the tire pressure display units. Changing the tire pressure units will also change the
units displayed for the Variable Compression Turbo (if so equipped).
Temperature Allows user to select the temperature display units.
Language Displays the available language options and allows user to select preferred language for display.
Key-Linked Settings (if so equipped)
Menu item Explanation
Key-Linked Settings Allows user to turn the Key-Linked Settings on or off. For additional information, see “Memory storage func-
tion” (P. 3-31).
Factory Reset
The factory reset menu allows the user to restore the vehicle information display settings to factory status.
Menu item Explanation
Factory Reset Allows user to reset the vehicle information display setti
ngs to the original factory settings. Once selected,
the user can confirm or cancel the reset.
2-44Instruments and controls
Page 137 of 644
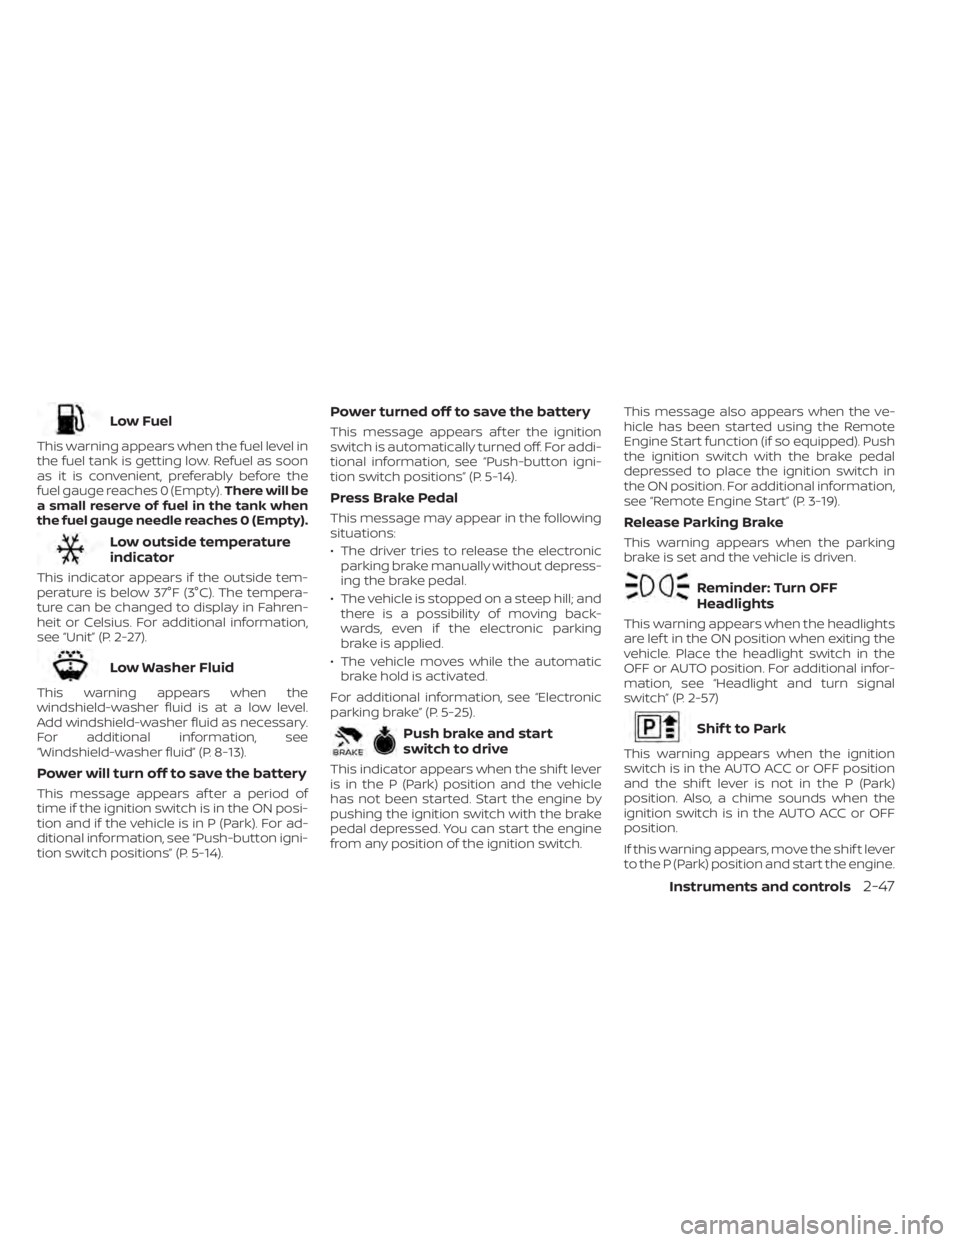
Low Fuel
This warning appears when the fuel level in
the fuel tank is getting low. Refuel as soon
as it is convenient, preferably before the
fuel gauge reaches 0 (Empty).There will be
a small reserve of fuel in the tank when
the fuel gauge needle reaches 0 (Empty).
Low outside temperature
indicator
This indicator appears if the outside tem-
perature is below 37°F (3°C). The tempera-
ture can be changed to display in Fahren-
heit or Celsius. For additional information,
see “Unit” (P. 2-27).
Low Washer Fluid
This warning appears when the
windshield-washer fluid is at a low level.
Add windshield-washer fluid as necessary.
For additional information, see
“Windshield-washer fluid” (P. 8-13).
Power will turn off to save the battery
This message appears af ter a period of
time if the ignition switch is in the ON posi-
tion and if the vehicle is in P (Park). For ad-
ditional information, see “Push-button igni-
tion switch positions” (P. 5-14).
Power turned off to save the battery
This message appears af ter the ignition
switch is automatically turned off. For addi-
tional information, see “Push-button igni-
tion switch positions” (P. 5-14).
Press Brake Pedal
This message may appear in the following
situations:
• The driver tries to release the electronic parking brake manually without depress-
ing the brake pedal.
• The vehicle is stopped on a steep hill; and there is a possibility of moving back-
wards, even if the electronic parking
brake is applied.
• The vehicle moves while the automatic brake hold is activated.
For additional information, see “Electronic
parking brake” (P. 5-25).
Push brake and start
switch to drive
This indicator appears when the shif t lever
is in the P (Park) position and the vehicle
has not been started. Start the engine by
pushing the ignition switch with the brake
pedal depressed. You can start the engine
from any position of the ignition switch. This message also appears when the ve-
hicle has been started using the Remote
Engine Start function (if so equipped). Push
the ignition switch with the brake pedal
depressed to place the ignition switch in
the ON position. For additional information,
see “Remote Engine Start” (P. 3-19).
Release Parking Brake
This warning appears when the parking
brake is set and the vehicle is driven.
Reminder: Turn OFF
Headlights
This warning appears when the headlights
are lef t in the ON position when exiting the
vehicle. Place the headlight switch in the
OFF or AUTO position. For additional infor-
mation, see “Headlight and turn signal
switch” (P. 2-57)
Shif t to Park
This warning appears when the ignition
switch is in the AUTO ACC or OFF position
and the shif t lever is not in the P (Park)
position. Also, a chime sounds when the
ignition switch is in the AUTO ACC or OFF
position.
If this warning appears, move the shif t lever
to the P (Park) position and start the engine.
Instruments and controls2-47