Page 147 of 644
HEADLIGHT CONTROL SWITCH
Lighting
�1Rotate the switch to theposition,
and the front parking, tail, license plate,
and instrument panel lights will come
on. The
will illuminate in the meter.
�2Rotate the switch to theposition,
and the headlights will come on and all
the other lights remain on.
NOTE:
The Light Guidance feature may be dis-
abled. For additional information, see
“Vehicle information display-5 inch (13
cm) Type A” (P. 2-18) or “Vehicle informa-
tion display-7 inch (18 cm) Type B”
(P. 2-34).
CAUTION
Use the headlights with the engine run-
ning to avoid discharging the vehicle
battery.
LIC2634
Type A (if so equipped)
LIC2635
Type B (if so equipped)
LIC4237
Type C (if so equipped)
HEADLIGHT AND TURN SIGNAL
SWITCH
Instruments and controls2-57
Page 148 of 644
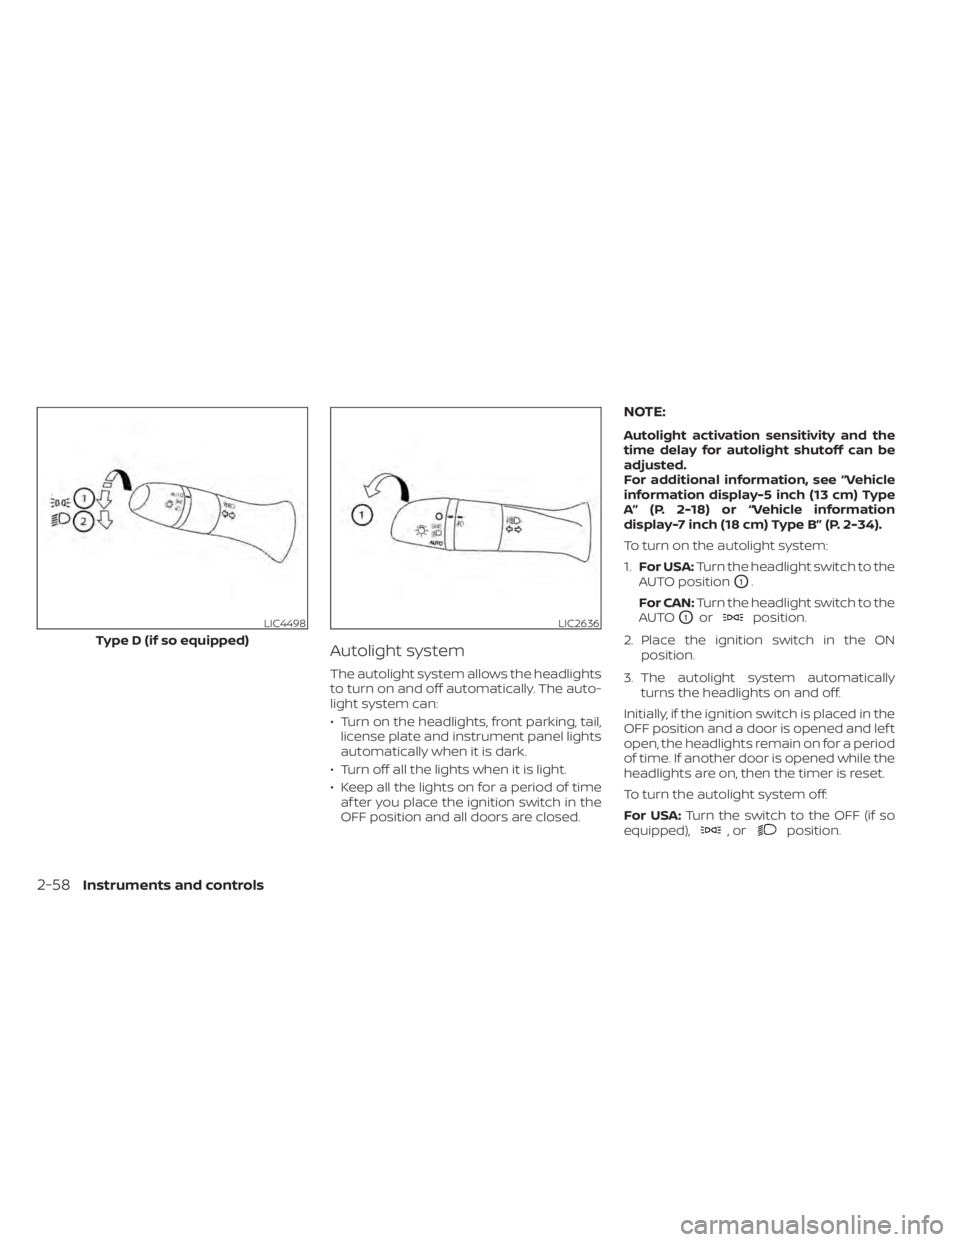
Autolight system
The autolight system allows the headlights
to turn on and off automatically. The auto-
light system can:
• Turn on the headlights, front parking, tail,license plate and instrument panel lights
automatically when it is dark.
• Turn off all the lights when it is light.
• Keep all the lights on for a period of time af ter you place the ignition switch in the
OFF position and all doors are closed.
NOTE:
Autolight activation sensitivity and the
time delay for autolight shutoff can be
adjusted.
For additional information, see “Vehicle
information display-5 inch (13 cm) Type
A” (P. 2-18) or “Vehicle information
display-7 inch (18 cm) Type B” (P. 2-34).
To turn on the autolight system:
1. For USA: Turn the headlight switch to the
AUTO position
O1.
For CAN: Turn the headlight switch to the
AUTO
O1orposition.
2. Place the ignition switch in the ON position.
3. The autolight system automatically turns the headlights on and off.
Initially, if the ignition switch is placed in the
OFF position and a door is opened and lef t
open, the headlights remain on for a period
of time. If another door is opened while the
headlights are on, then the timer is reset.
To turn the autolight system off:
For USA: Turn the switch to the OFF (if so
equipped),
,orposition.
LIC4498
Type D (if so equipped)
LIC2636
2-58Instruments and controls
Page 149 of 644
For CAN:Turn the switch to theposition.
The headlights will turn on automatically at
twilight or in rainy weather (when the wind-
shield wiper is operated continuously).
If the ignition switch is pushed to the OFF
position and one of the doors is opened
and this condition is continued, the head-
lights remain on for 5 minutes.
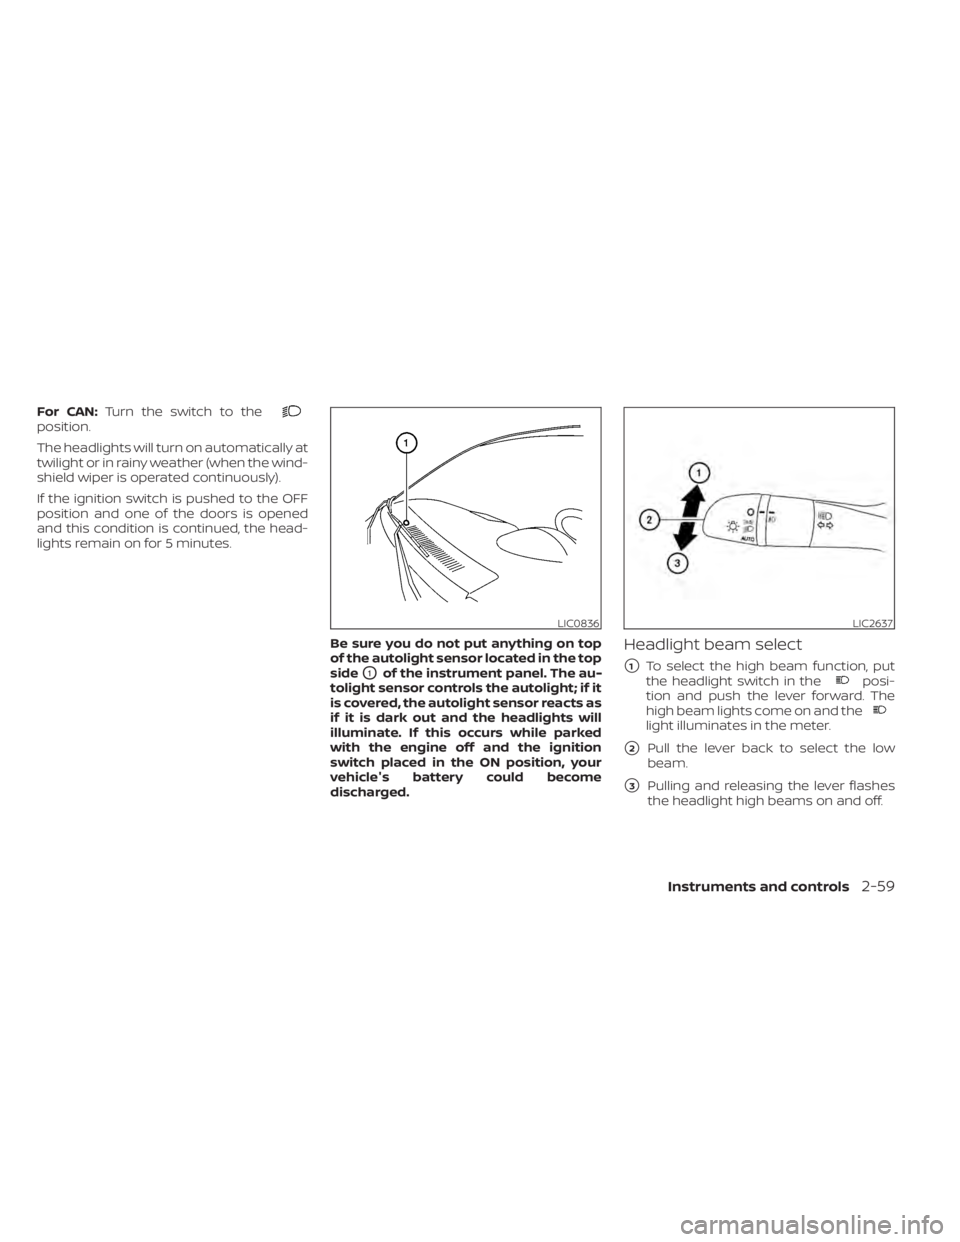
Be sure you do not put anything on top
of the autolight sensor located in the top
side
O1of the instrument panel. The au-
tolight sensor controls the autolight; if it
is covered, the autolight sensor reacts as
if it is dark out and the headlights will
illuminate. If this occurs while parked
with the engine off and the ignition
switch placed in the ON position, your
vehicle's battery could become
discharged.
Headlight beam select
�1To select the high beam function, put
the headlight switch in theposi-
tion and push the lever forward. The
high beam lights come on and the
light illuminates in the meter.
�2Pull the lever back to select the low
beam.
�3Pulling and releasing the lever flashes
the headlight high beams on and off.
LIC0836LIC2637
Instruments and controls2-59
Page 152 of 644
If the ambient image sensor is damaged
due to an accident, it is recommended that
you visit a NISSAN dealer.
Battery saver system
If the ignition switch is placed in the OFF
position while the headlight switch is in the
orposition, the headlights will
turn off af ter a period of time.
CAUTION
Even though the battery saver feature
automatically turns off the headlights
af ter a period of time, you should turn
the headlight switch to the OFF posi-
tion when the engine is not running to
avoid discharging the vehicle battery.
LED DAYTIME RUNNING LIGHTS
(DRL) SYSTEM (if so equipped)
The LED DRL automatically illuminate at
100% intensity when the engine is started
and the parking brake released. The LED
Daytime Running Lights (DRL) operate with
the headlight switch in any position. When
you turn the headlight switch to the
position for full illumination, the LED DRL
illuminate at a lower intensity. If the parking brake is applied before the
engine is started, the LED DRL do not illumi-
nate. The LED DRL illuminate when the
parking brake is released. The LED DRL will
remain on until the ignition switch is placed
in the OFF position.
At dusk, the headlights, interior controls
and switches will automatically illuminate if
the headlight switch is in the AUTO
position.
WARNING
When the LED DRL system is active, tail
lights on your vehicle are not on. It is
necessary at dusk to turn on your
headlights. Failure to do so could cause
an accident injuring yourself and
others.
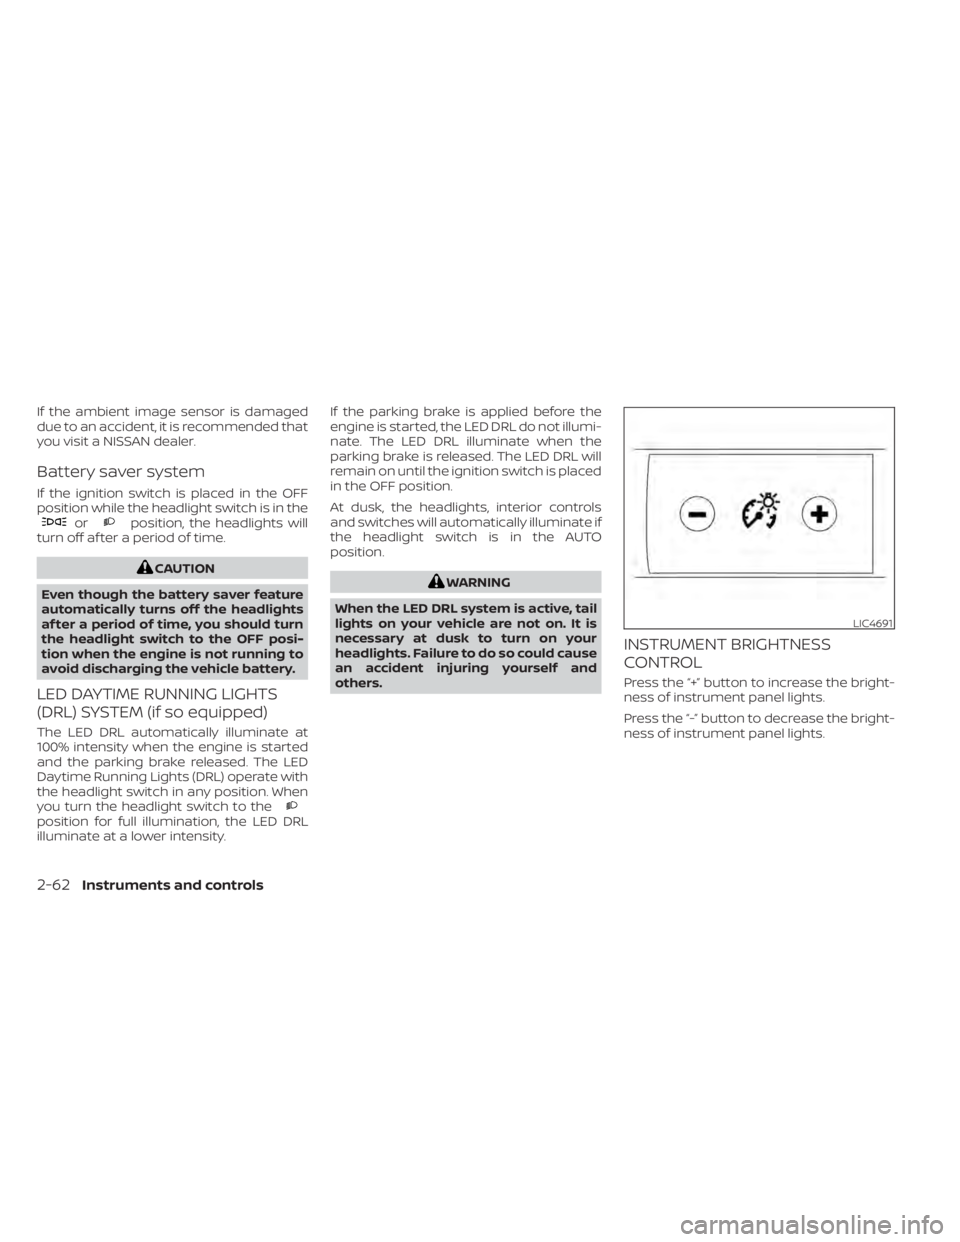
INSTRUMENT BRIGHTNESS
CONTROL
Press the “+” button to increase the bright-
ness of instrument panel lights.
Press the “-” button to decrease the bright-
ness of instrument panel lights.
LIC4691
2-62Instruments and controls
Page 159 of 644
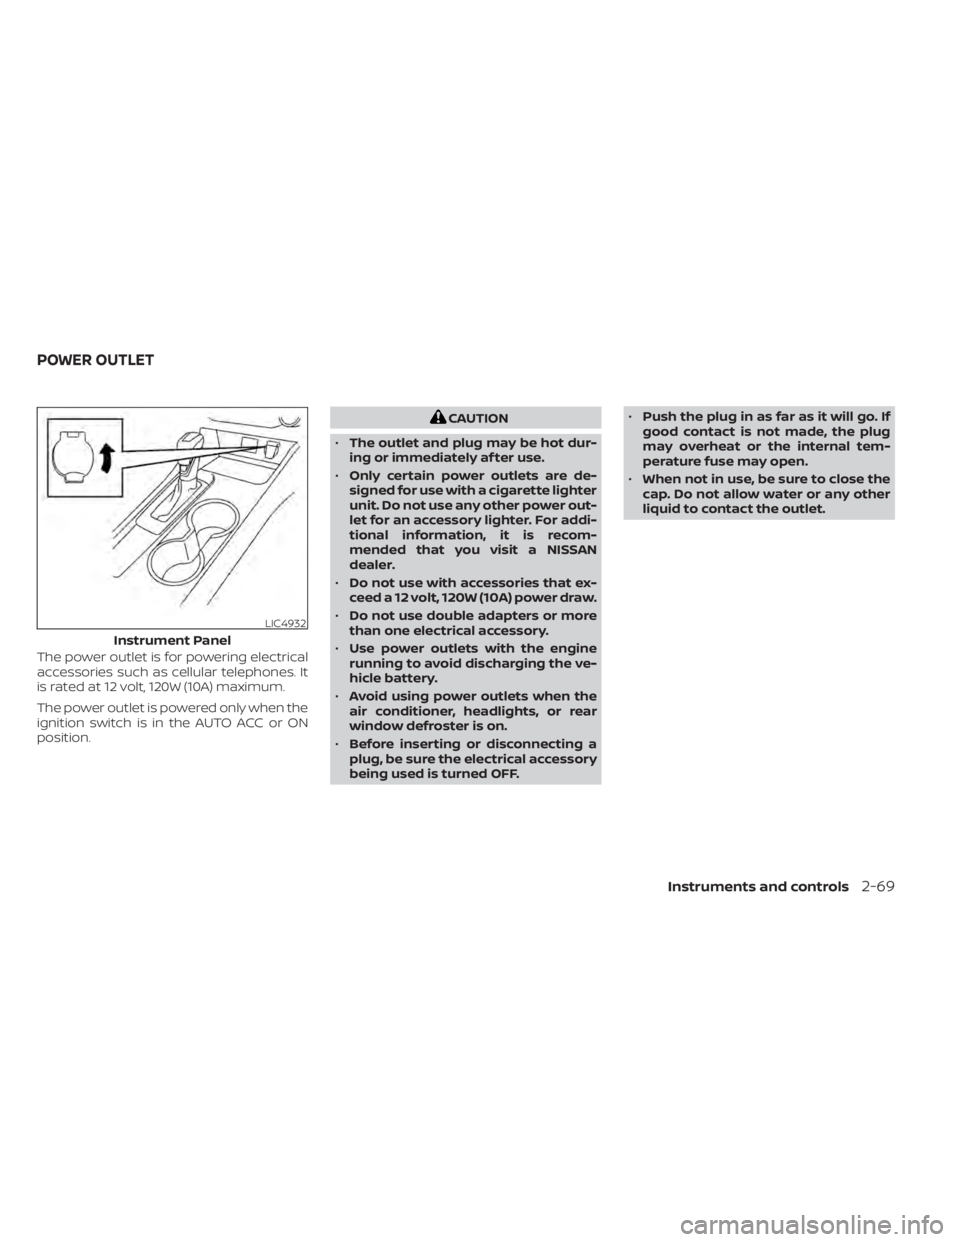
The power outlet is for powering electrical
accessories such as cellular telephones. It
is rated at 12 volt, 120W (10A) maximum.
The power outlet is powered only when the
ignition switch is in the AUTO ACC or ON
position.
CAUTION
• The outlet and plug may be hot dur-
ing or immediately af ter use.
• Only certain power outlets are de-
signed for use with a cigarette lighter
unit. Do not use any other power out-
let for an accessory lighter. For addi-
tional information, it is recom-
mended that you visit a NISSAN
dealer.
• Do not use with accessories that ex-
ceed a 12 volt, 120W (10A) power draw.
• Do not use double adapters or more
than one electrical accessory.
• Use power outlets with the engine
running to avoid discharging the ve-
hicle battery.
• Avoid using power outlets when the
air conditioner, headlights, or rear
window defroster is on.
• Before inserting or disconnecting a
plug, be sure the electrical accessory
being used is turned OFF. •
Push the plug in as far as it will go. If
good contact is not made, the plug
may overheat or the internal tem-
perature fuse may open.
• When not in use, be sure to close the
cap. Do not allow water or any other
liquid to contact the outlet.
LIC4932
Instrument Panel
POWER OUTLET
Instruments and controls2-69
Page 160 of 644
There is a USB/iPod® charging port located
on the rear center console. This port will
charge compatible devices.
NOTE:
Only the USB connection port located
below the instrument panel will allow
operation of the USB/iPod® devices
through the audio system.The extended storage switch is used when
shipping the vehicle. It is located in the fuse
panel to the lef t of the steering wheel on
the instrument panel. If any electrical
equipment does not operate, ensure the
extended storage switch is pushed fully in
place, as shown.
LHA4803LIC4040LIC3266
Pulled position
USB/iPod® CHARGING PORT (if so
equipped)
EXTENDED STORAGE SWITCH
2-70Instruments and controls
Page 165 of 644
POWER WINDOWS
WARNING
• Make sure that all passengers have
their hands, etc., inside the vehicle
while it is in motion and before clos-
ing the windows. Use the window
lock switch to prevent unexpected
use of the power windows.
• To help avoid risk of injury or death
through unintended operation of the
vehicle and/or its systems, including
entrapment in windows or inadver-
tent door lock activation, do not
leave children, people who require
the assistance of others or pets unat-
tended in your vehicle. Additionally,
the temperature inside a closed ve-
hicle on a warm day can quickly be-
come high enough to cause a signifi-
cant risk of injury or death to people
and pets.
The power windows operate when the ig-
nition switch is placed in the ON position or
for a period of time af ter the ignition switch
is placed in the OFF position. If the driver's
or passenger's door is opened during this
period of time, the power to the windows is
canceled.
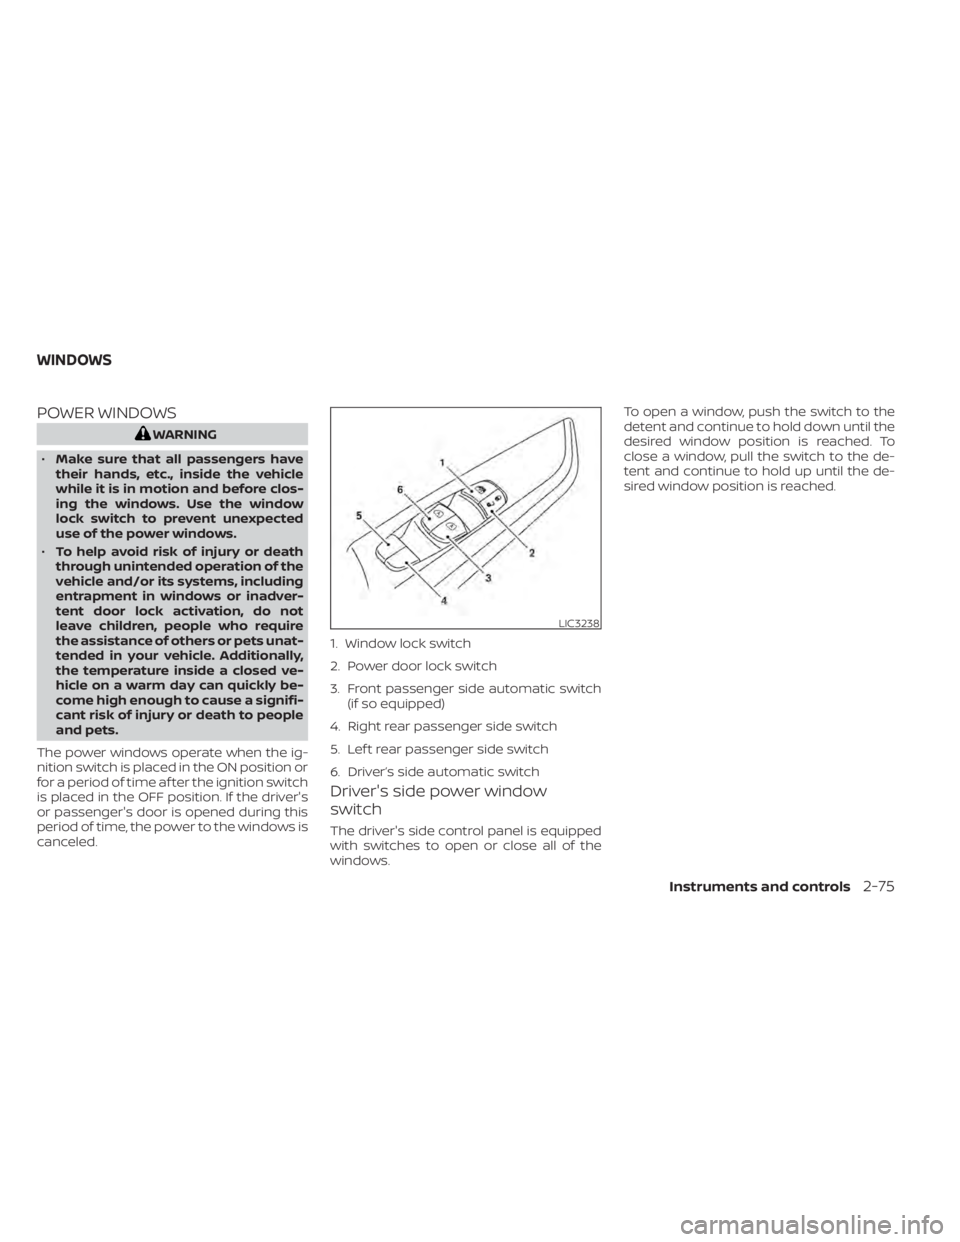
Driver's side power window
switch
The driver's side control panel is equipped
with switches to open or close all of the
windows. To open a window, push the switch to the
detent and continue to hold down until the
desired window position is reached. To
close a window, pull the switch to the de-
tent and continue to hold up until the de-
sired window position is reached.
LIC3238
1. Window lock switch
2. Power door lock switch
3. Front passenger side automatic switch
(if so equipped)
4. Right rear passenger side switch
5. Lef t rear passenger side switch
6. Driver’s side automatic switch
WINDOWS
Instruments and controls2-75
Page 188 of 644
CAUTION
The lockout protection may not func-
tion under the following conditions:
• When the Intelligent Key is placed on
top of the instrument panel.
• When the Intelligent Key is placed on
top of the rear parcel shelf.
• When the Intelligent Key is placed in-
side the glove box or a storage bin.
• When the Intelligent Key is placed in-
side the door pockets.
• When the Intelligent Key is placed on
or under the spare tire area.
• When the Intelligent Key is placed in-
side or near metallic materials.
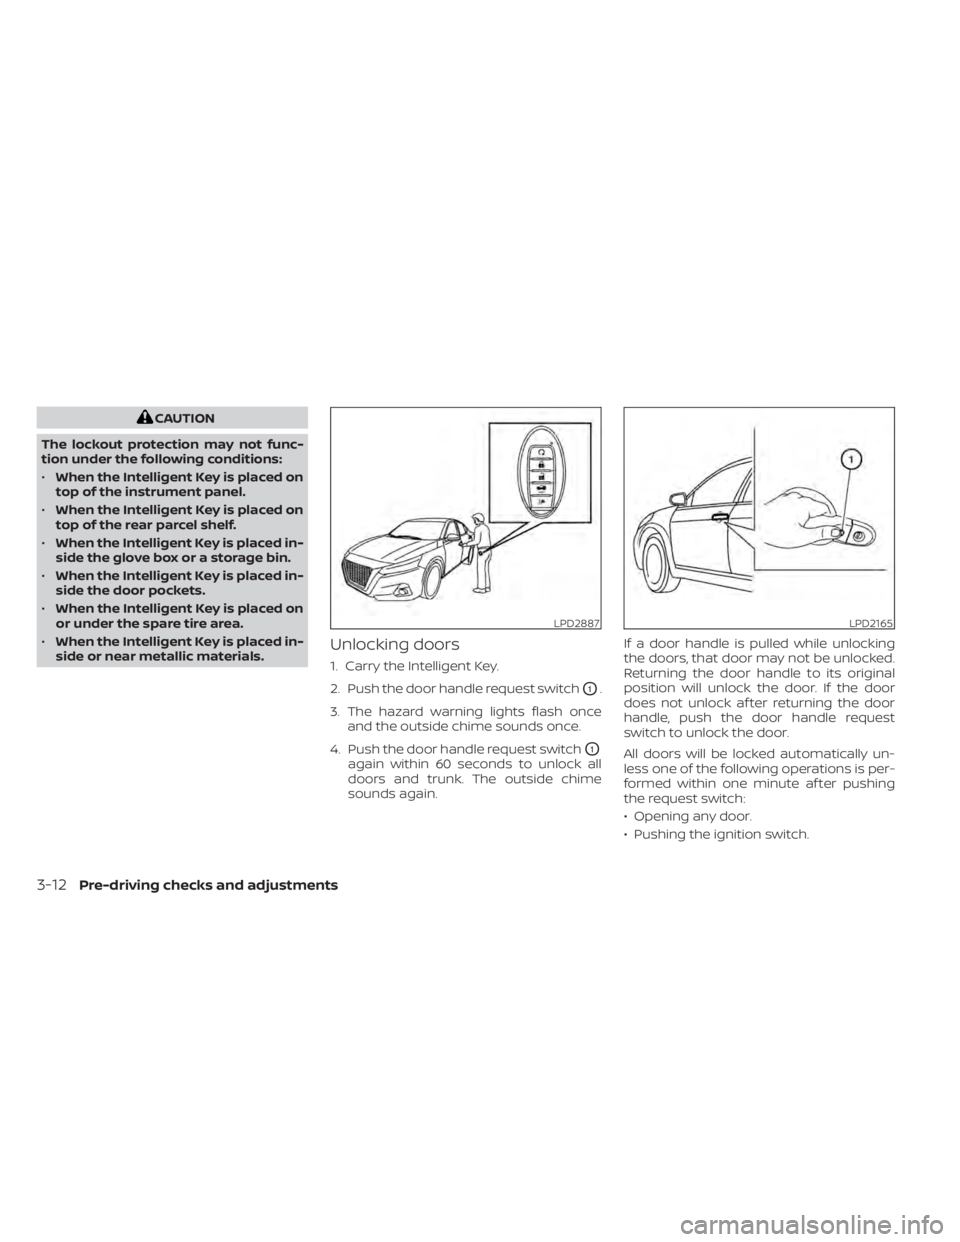
Unlocking doors
1. Carry the Intelligent Key.
2. Push the door handle request switch
O1.
3. The hazard warning lights flash once and the outside chime sounds once.
4. Push the door handle request switch
O1
again within 60 seconds to unlock all
doors and trunk. The outside chime
sounds again. If a door handle is pulled while unlocking
the doors, that door may not be unlocked.
Returning the door handle to its original
position will unlock the door. If the door
does not unlock af ter returning the door
handle, push the door handle request
switch to unlock the door.
All doors will be locked automatically un-
less one of the following operations is per-
formed within one minute af ter pushing
the request switch:
• Opening any door.
• Pushing the ignition switch.
LPD2887LPD2165
3-12Pre-driving checks and adjustments