2023 HYUNDAI TUCSON HYBRID buttons
[x] Cancel search: buttonsPage 274 of 699
05
5-49
4) Canadian Programming
Canadian radio-frequency laws require
transmitter remote signals to “time-
out” (or quit) after a couple seconds of
transmission, which may not be long
enough for HomeLink to pick up the signal
during programming.
If you live in Canada or you are having
difficulties programming a gate operator
or garage door opener by using the
programming procedures, replace
“Programming a New HomeLink Button”
step 3 with the following:
While the HomeLink indicator light (7) is
flashing orange, press and release (“cycle”)
your device’s handheld remote every two
seconds until the HomeLink indicator light
(7) changes from orange to green. You may
now release the hand-held remote button.
Then proceed with “Programming a New
HomeLink Button” step 4.2. Operating HomeLink®
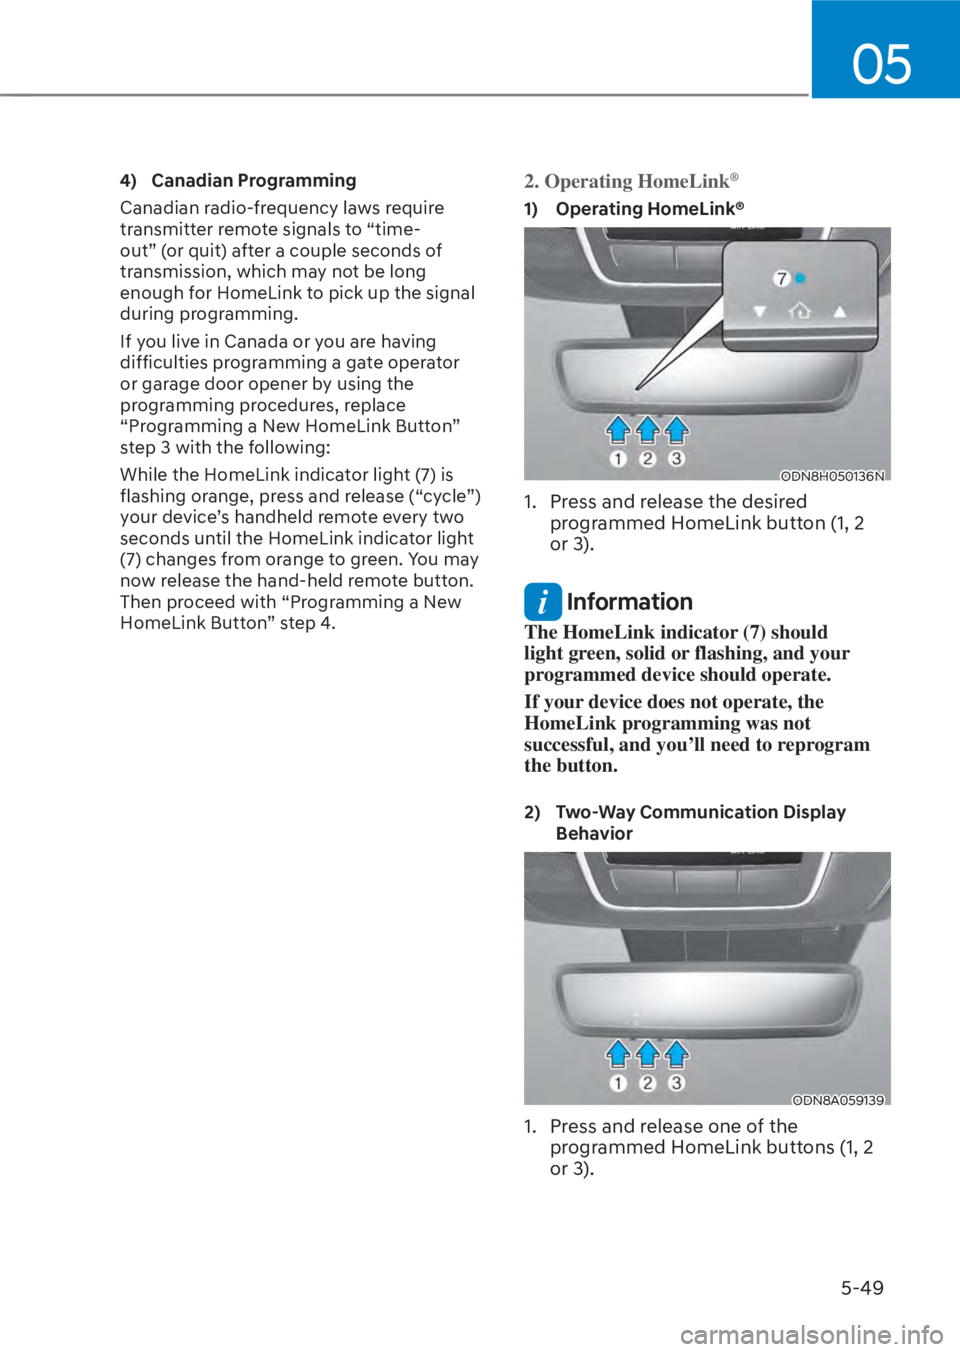
1) Operating HomeLink®
ODN8H050136NODN8H050136N
1. Press and release the desired programmed HomeLink button (1, 2
or 3).
Information
The HomeLink indicator (7) should
light green, solid or flashing, and your
programmed device should operate.
If your device does not operate, the
HomeLink programming was not
successful, and you’ll need to reprogram
the button.
2) Two-Way Communication Display
Behavior
ODN8A059139ODN8A059139
1. Press and release one of the programmed HomeLink buttons (1, 2
or 3).
Page 275 of 699
Convenience Features5-50
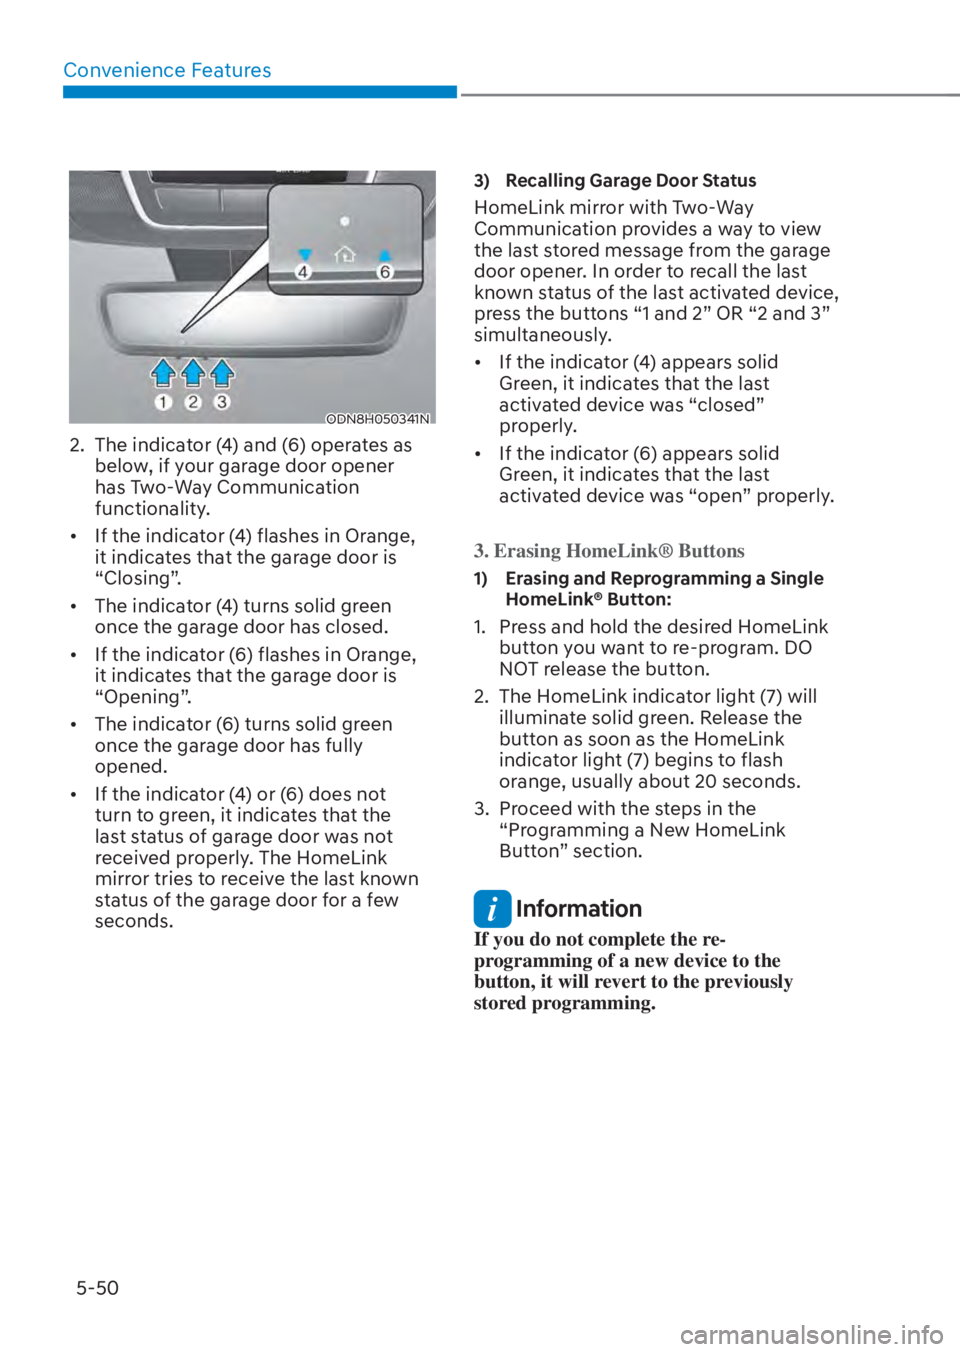
ODN8H050341NODN8H050341N
2. The indicator (4) and (6) operates as below, if your garage door opener
has Two-Way Communication
functionality.
• If the indicator (4) flashes in Orange, it indicates that the garage door is
“Closing”.
• The indicator (4) turns solid green once the garage door has closed.
• If the indicator (6) flashes in Orange, it indicates that the garage door is
“Opening”.
• The indicator (6) turns solid green once the garage door has fully
opened.
• If the indicator (4) or (6) does not turn to green, it indicates that the
last status of garage door was not
received properly. The HomeLink
mirror tries to receive the last known
status of the garage door for a few
seconds.
3) Recalling Garage Door Status
HomeLink mirror with Two-Way
Communication provides a way to view
the last stored message from the garage
door opener. In order to recall the last
known status of the last activated device,
press the buttons “1 and 2” OR “2 and 3”
simultaneously.
• If the indicator (4) appears solid Green, it indicates that the last
activated device was “closed”
properly.
• If the indicator (6) appears solid Green, it indicates that the last
activated device was “open” properly.
3. Erasing HomeLink® Buttons
1) Erasing and Reprogramming a Single HomeLink® Button:
1. Press and hold the desired HomeLink button you want to re-program. DO
NOT release the button.
2. The HomeLink indicator light (7) will illuminate solid green. Release the
button as soon as the HomeLink
indicator light (7) begins to flash
orange, usually about 20 seconds.
3. Proceed with the steps in the “Programming a New HomeLink
Button” section.
Information
If you do not complete the re-
programming of a new device to the
button, it will revert to the previously
stored programming.
Page 276 of 699
05
5-51
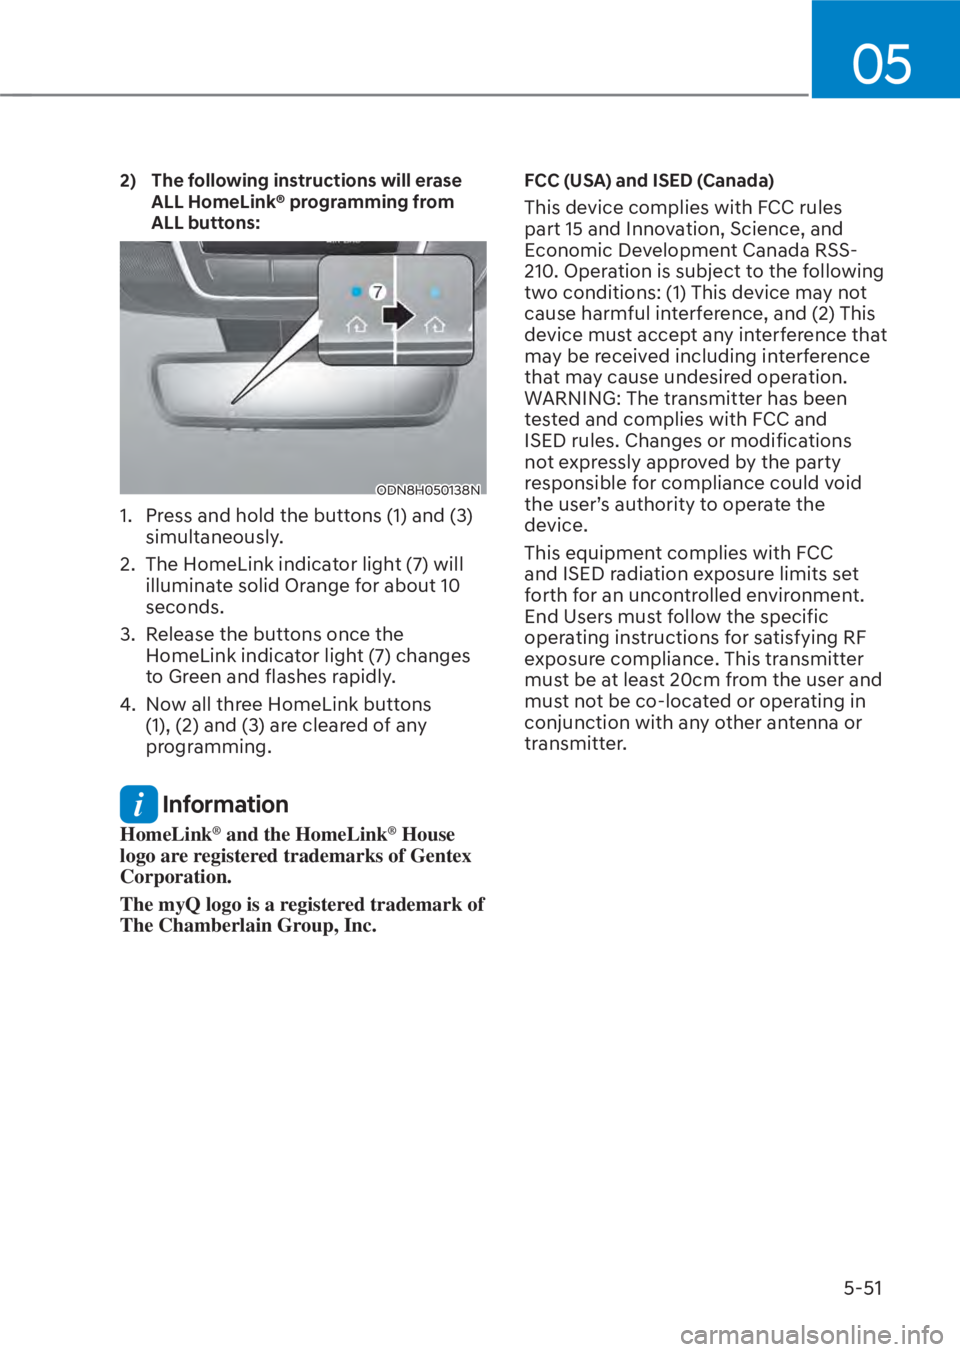
2) The following instructions will erase ALL HomeLink® programming from
ALL buttons:
ODN8H050138NODN8H050138N
1. Press and hold the buttons (1) and (3) simultaneously.
2. The HomeLink indicator light (7) will illuminate solid Orange for about 10
seconds.
3. Release the buttons once the HomeLink indicator light (7) changes
to Green and flashes rapidly.
4. Now all three HomeLink buttons (1), (2) and (3) are cleared of any
programming.
Information
HomeLink® and the HomeLink® House
logo are registered trademarks of Gentex
Corporation.
The myQ logo is a registered trademark of
The Chamberlain Group, Inc.
FCC (USA) and ISED (Canada)
This device complies with FCC rules
part 15 and Innovation, Science, and
Economic Development Canada RSS-
210. Operation is subject to the following
two conditions: (1) This device may not
cause harmful interference, and (2) This
device must accept any interference that
may be received including interference
that may cause undesired operation.
WARNING: The transmitter has been
tested and complies with FCC and
ISED rules. Changes or modifications
not expressly approved by the party
responsible for compliance could void
the user’s authority to operate the
device.
This equipment complies with FCC
and ISED radiation exposure limits set
forth for an uncontrolled environment.
End Users must follow the specific
operating instructions for satisfying RF
exposure compliance. This transmitter
must be at least 20cm from the user and
must not be co-located or operating in
conjunction with any other antenna or
transmitter.
Page 296 of 699
05
5-71
Information
• If the liftgate is not fully closed and
vehicle speed is at or above 1.8 mph (3
km/h), a warning will sound 10 times.
Immediately park the vehicle at a safe
place, close the liftgate, and check
that the liftgate open warning on the
instrument cluster is turned off.
• In cold and wet climates, the outside
power liftgate open/close button may
not work properly due to freezing
conditions. If this occurs, remove the
ice before using the outside power
liftgate open/close button or use the
power liftgate open/close button on the
smart key or the instrument panel.
• Operating the power liftgate more
than 5 times continuously could cause
damage to the operating motor. If
this occurs, the power liftgate will not
operate to prevent the motor from
overheating. If any of the power liftgate
buttons are pressed to try to open the
liftgate, the chime will sound 3 times,
but the liftgate will remain closed.
Allow the power liftgate system to cool
for about 1 minute before operating the
system again.
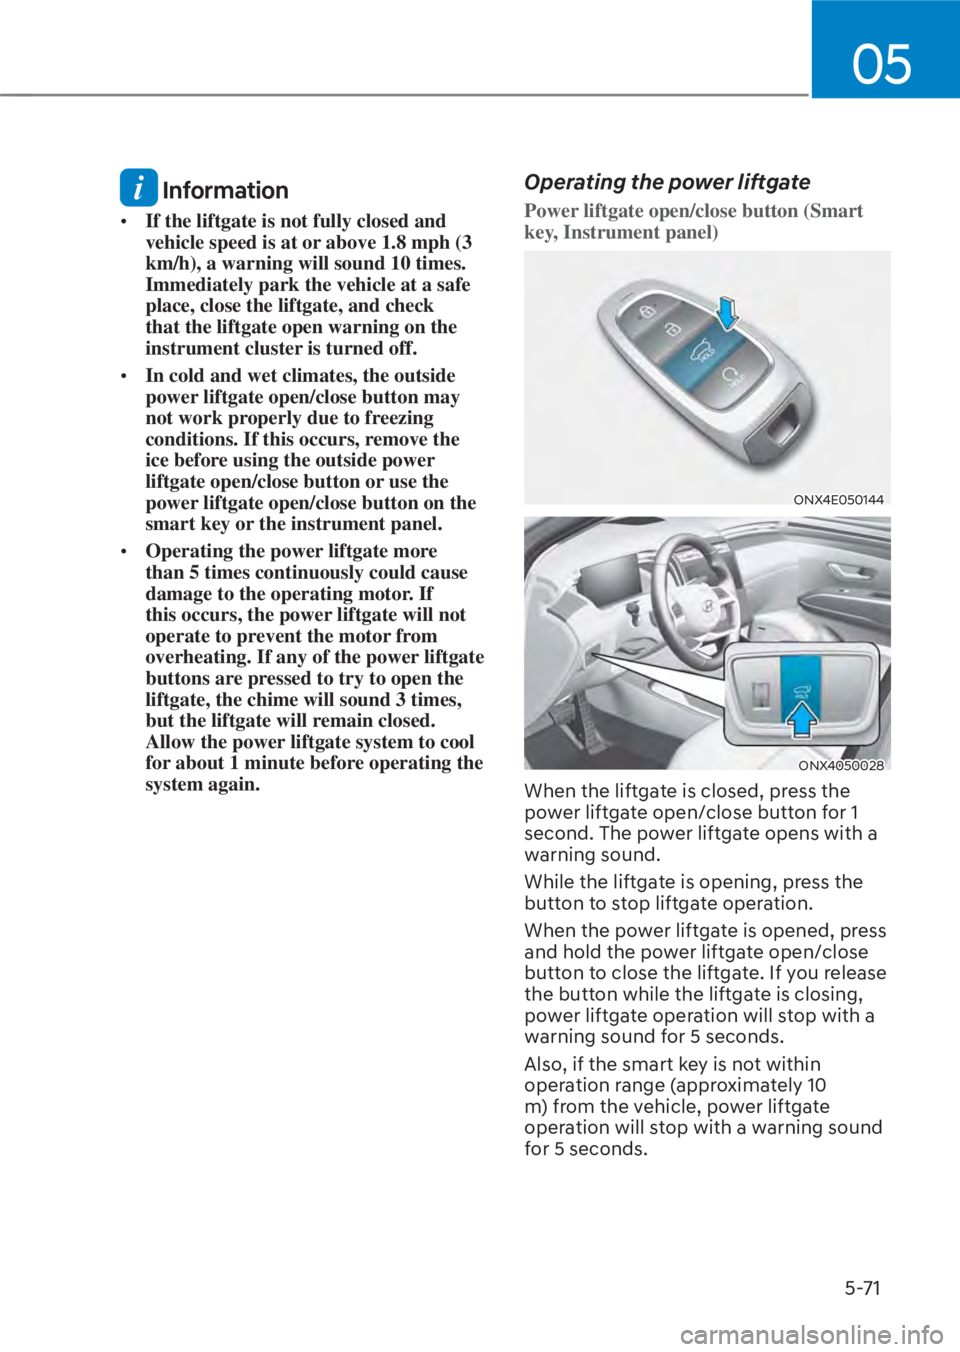
Operating the power liftgate
Power liftgate open/close button (Smart
key, Instrument panel)
ONX4E050144ONX4E050144
ONX4050028ONX4050028
When the liftgate is closed, press the
power liftgate open/close button for 1
second. The power liftgate opens with a
warning sound.
While the liftgate is opening, press the
button to stop liftgate operation.
When the power liftgate is opened, press
and hold the power liftgate open/close
button to close the liftgate. If you release
the button while the liftgate is closing,
power liftgate operation will stop with a
warning sound for 5 seconds.
Also, if the smart key is not within
operation range (approximately 10
m) from the vehicle, power liftgate
operation will stop with a warning sound
for 5 seconds.
Page 326 of 699

05
5-101
ONX4050072ONX4050072
Information
Never place anything near the sensor to
ensure better control of the heating and
cooling system.
Manual Heating and Air
Conditioning
The heating and cooling system can be
controlled manually by pushing buttons
other than the AUTO button. In this case,
the system works sequentially according
to the order of buttons selected. When
pressing any button except the AUTO
button while using automatic operation,
the functions not selected will be
controlled automatically.
1. Start the engine.
2. Set the mode to the desired position. For improving the effectiveness of
heating and cooling, select:
- Heating:
- Cooling:
3. Set the temperature control to the desired position.
4. Set the air intake control to the outside (fresh) air position.
5. Set the fan speed control to the desired speed.
6. If air conditioning is desired, turn the air conditioning system on.
7. Press the AUTO button to convert to full automatic control of the system.
When starting the vehicle in cold
weather using manual temperature
control, operate the system in the
following method to improve heating.
- Turn off or lower the blower, right
after starting the engine.
• Allow the engine to warm up during this time since the air flow from the
heater is still cold.
- After a few minutes of engine warm up, turn on or set the fan to a higher
level and adjust the temperature
setting to hot.
Page 332 of 699
05
5-107
Air conditioning
Push the A/C button to turn the air
conditioning system on (indicator light
will illuminate).
Push the button again to turn the air
conditioning system off.
OFF mode
Push the OFF button to turn the climate
control system off. However, you can still
operate the mode and air intake buttons
as long as the ignition switch is in the ON
position.
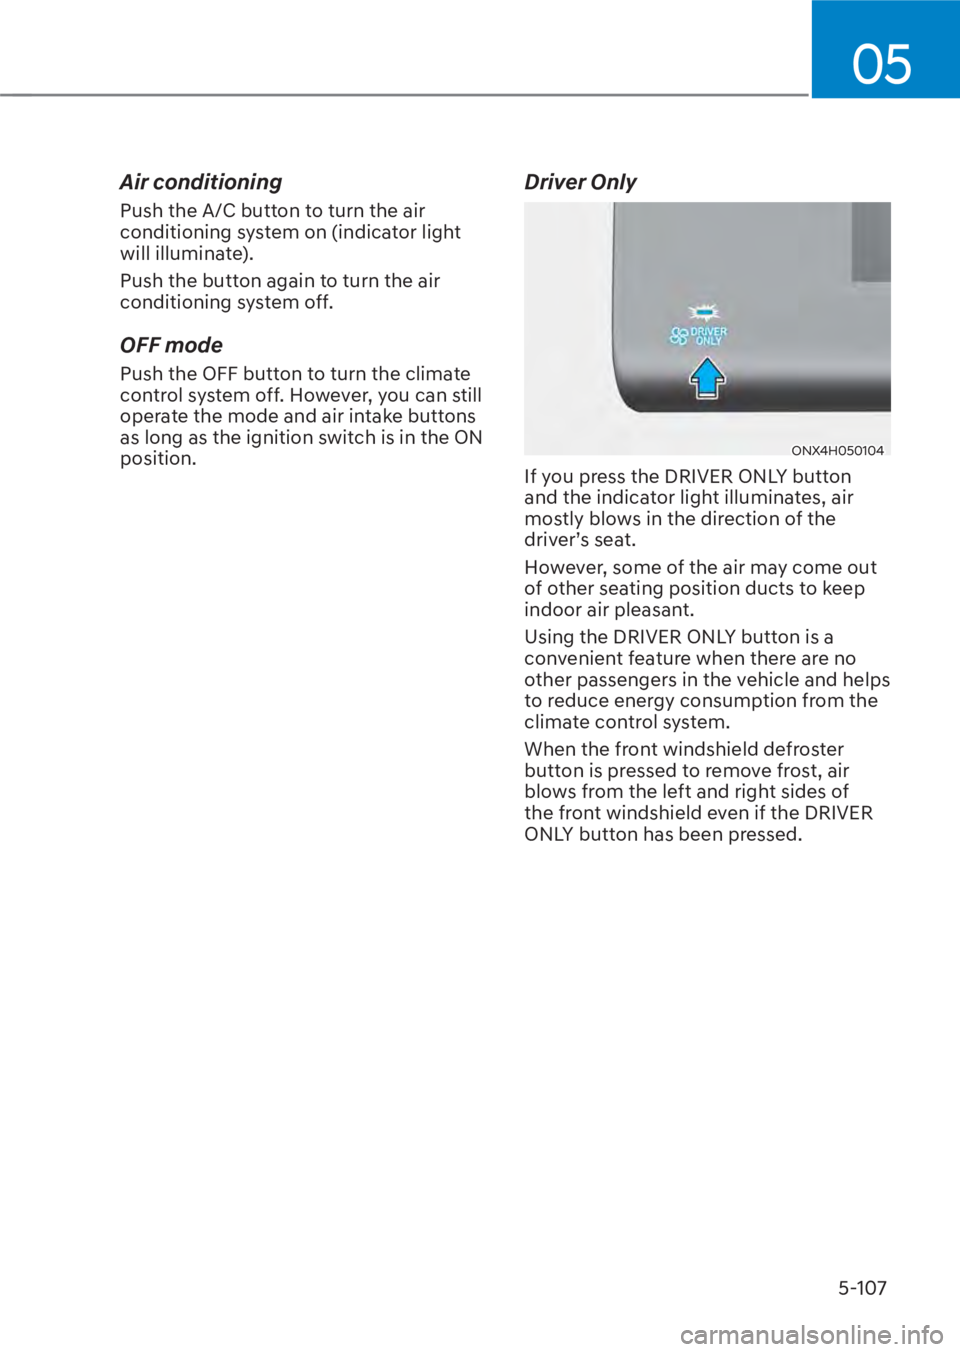
Driver Only
ONX4H050104ONX4H050104
If you press the DRIVER ONLY button
and the indicator light illuminates, air
mostly blows in the direction of the
driver’s seat.
However, some of the air may come out
of other seating position ducts to keep
indoor air pleasant.
Using the DRIVER ONLY button is a
convenient feature when there are no
other passengers in the vehicle and helps
to reduce energy consumption from the
climate control system.
When the front windshield defroster
button is pressed to remove frost, air
blows from the left and right sides of
the front windshield even if the DRIVER
ONLY button has been pressed.
Page 357 of 699
Convenience Features5-132
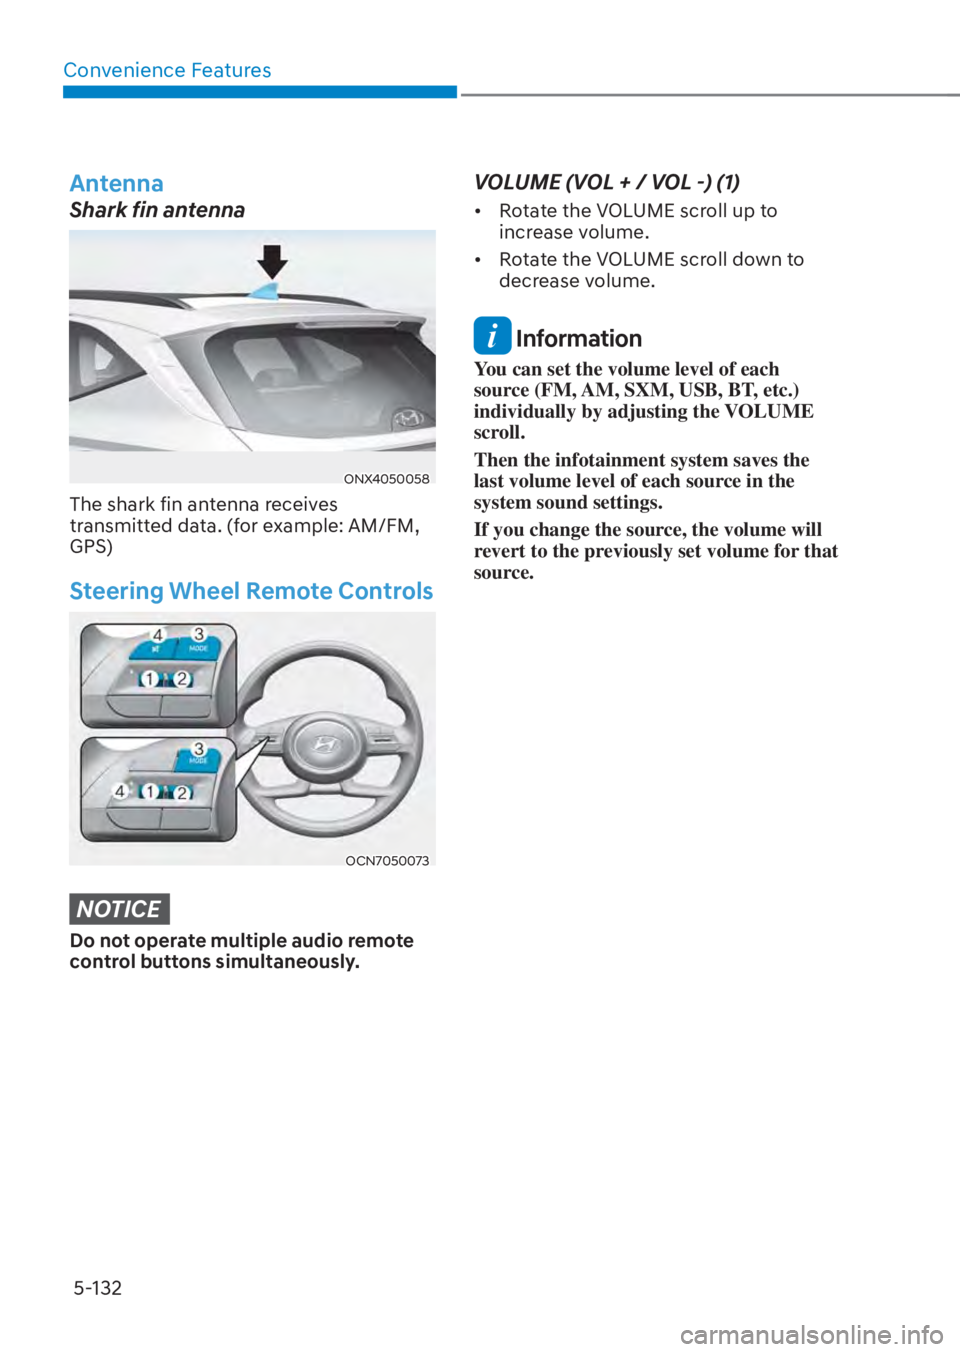
Antenna
Shark fin antenna
ONX4050058ONX4050058
The shark fin antenna receives
transmitted data. (for example: AM/FM,
GPS)
Steering Wheel Remote Controls
OCN7050073OCN7050073
NOTICE
Do not operate multiple audio remote
control buttons simultaneously.
VOLUME (VOL + / VOL -) (1)
• Rotate the VOLUME scroll up to increase volume.
• Rotate the VOLUME scroll down to decrease volume.
Information
You can set the volume level of each
source (FM, AM, SXM, USB, BT, etc.)
individually by adjusting the VOLUME
scroll.
Then the infotainment system saves the
last volume level of each source in the
system sound settings.
If you change the source, the volume will
revert to the previously set volume for that
source.
Page 582 of 699
07
7-153
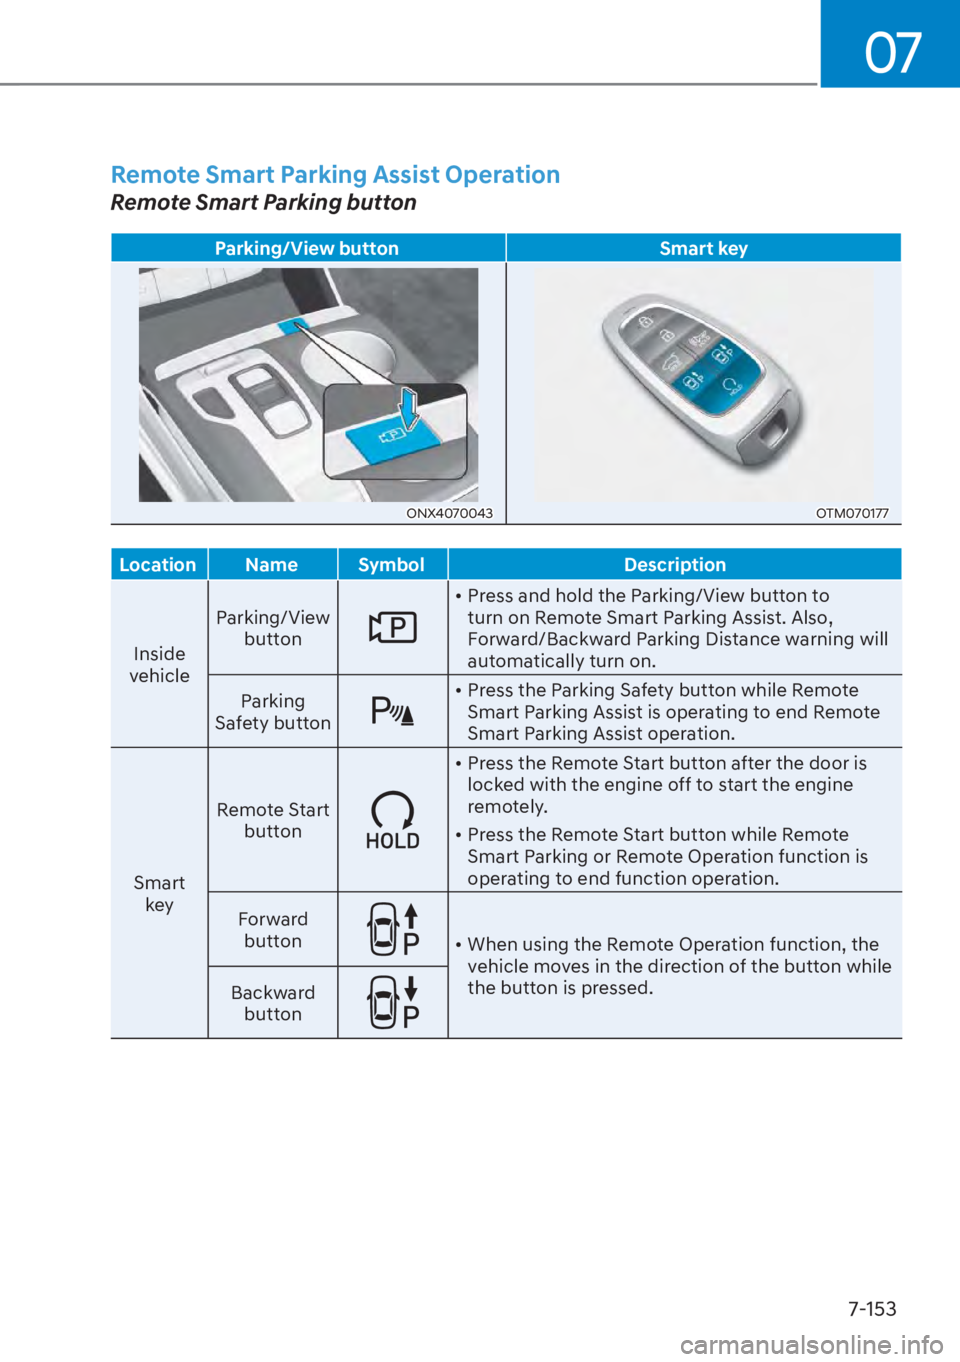
Remote Smart Parking Assist Operation
Remote Smart Parking button
Parking/View buttonSmart key
ONX4070043ONX4070043OTM070177OTM070177
Location Name Symbol Description
Inside
v
ehicle Parking/View
button
• Press and hold the Parking/View button to
turn on Remote Smart Parking Assist. Also,
Forward/Backward Parking Distance warning will
automatically turn on.
Parking
Safety button
• Press the Parking Safety button while Remote Smart Parking Assist is operating to end Remote
Smart Parking Assist operation.
Smart key Remote Start
button
• Press the Remote Start button after the door is
locked with the engine off to start the engine
remotely.
• Press the Remote Start button while Remote Smart Parking or Remote Operation function is
operating to end function operation.
Forward button
• When using the Remote Operation function, the vehicle moves in the direction of the button while
the button is pressed.
Backward
button