2023 HYUNDAI KONA EV sensor
[x] Cancel search: sensorPage 139 of 548
Safety system
3-60
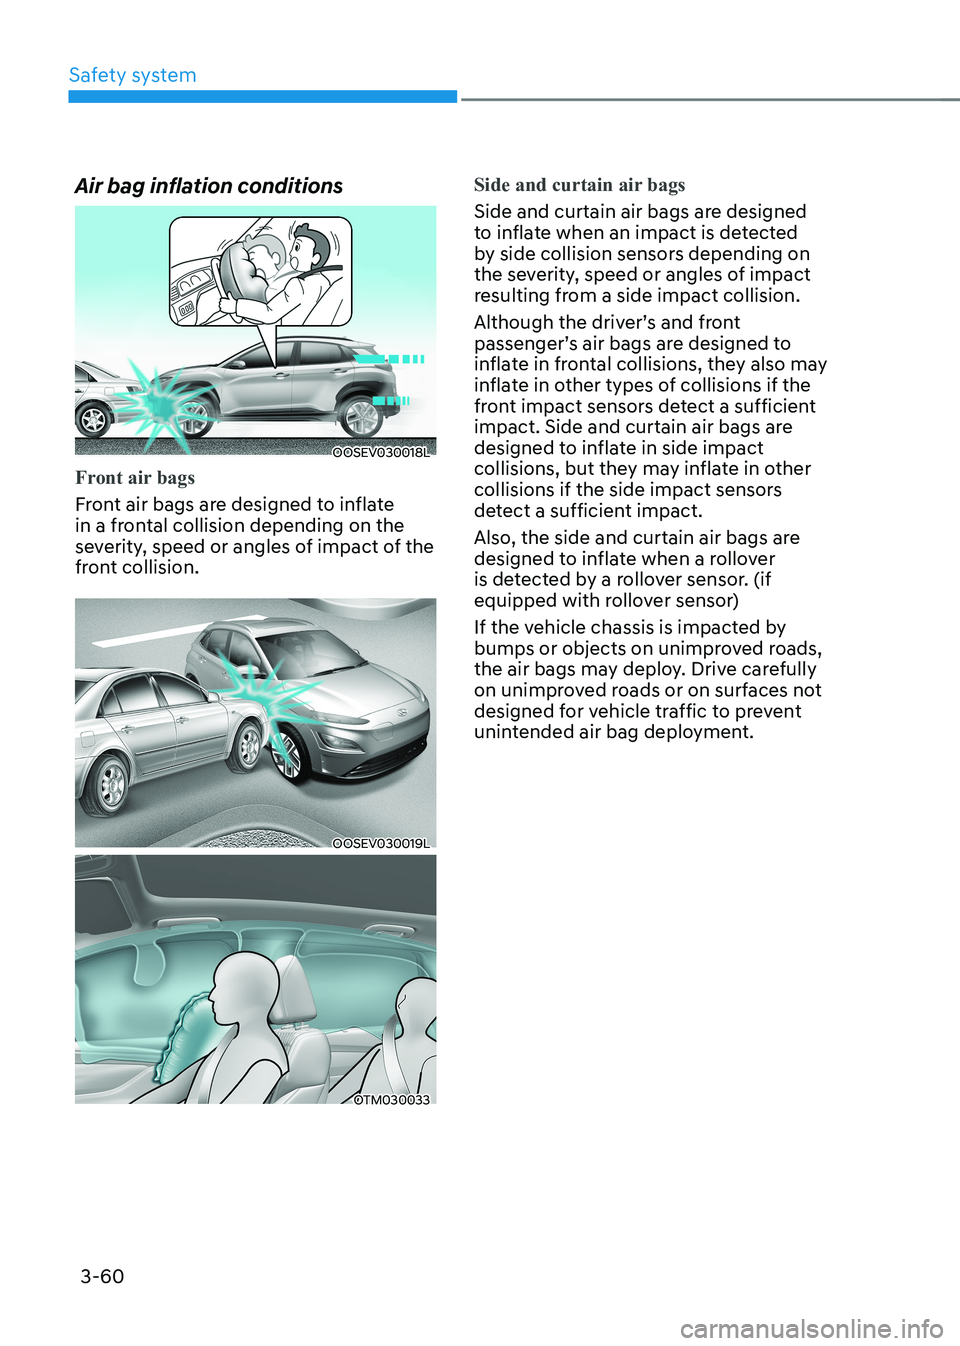
Air bag inflation conditions
OOSEV030018L
Front air bags
Front air bags are designed to inflate
in a frontal collision depending on the
severity, speed or angles of impact of the
front collision.
OOSEV030019L
OTM030033
Side and curtain air bags
Side and curtain air bags are designed
to inflate when an impact is detected
by side collision sensors depending on
the severity, speed or angles of impact
resulting from a side impact collision.
Although the driver’s and front
passenger’s air bags are designed to
inflate in frontal collisions, they also may
inflate in other types of collisions if the
front impact sensors detect a sufficient
impact. Side and curtain air bags are
designed to inflate in side impact
collisions, but they may inflate in other
collisions if the side impact sensors
detect a sufficient impact.
Also, the side and curtain air bags are
designed to inflate when a rollover
is detected by a rollover sensor. (if
equipped with rollover sensor)
If the vehicle chassis is impacted by
bumps or objects on unimproved roads,
the air bags may deploy. Drive carefully
on unimproved roads or on surfaces not
designed for vehicle traffic to prevent
unintended air bag deployment.
Page 140 of 548
03
3-61
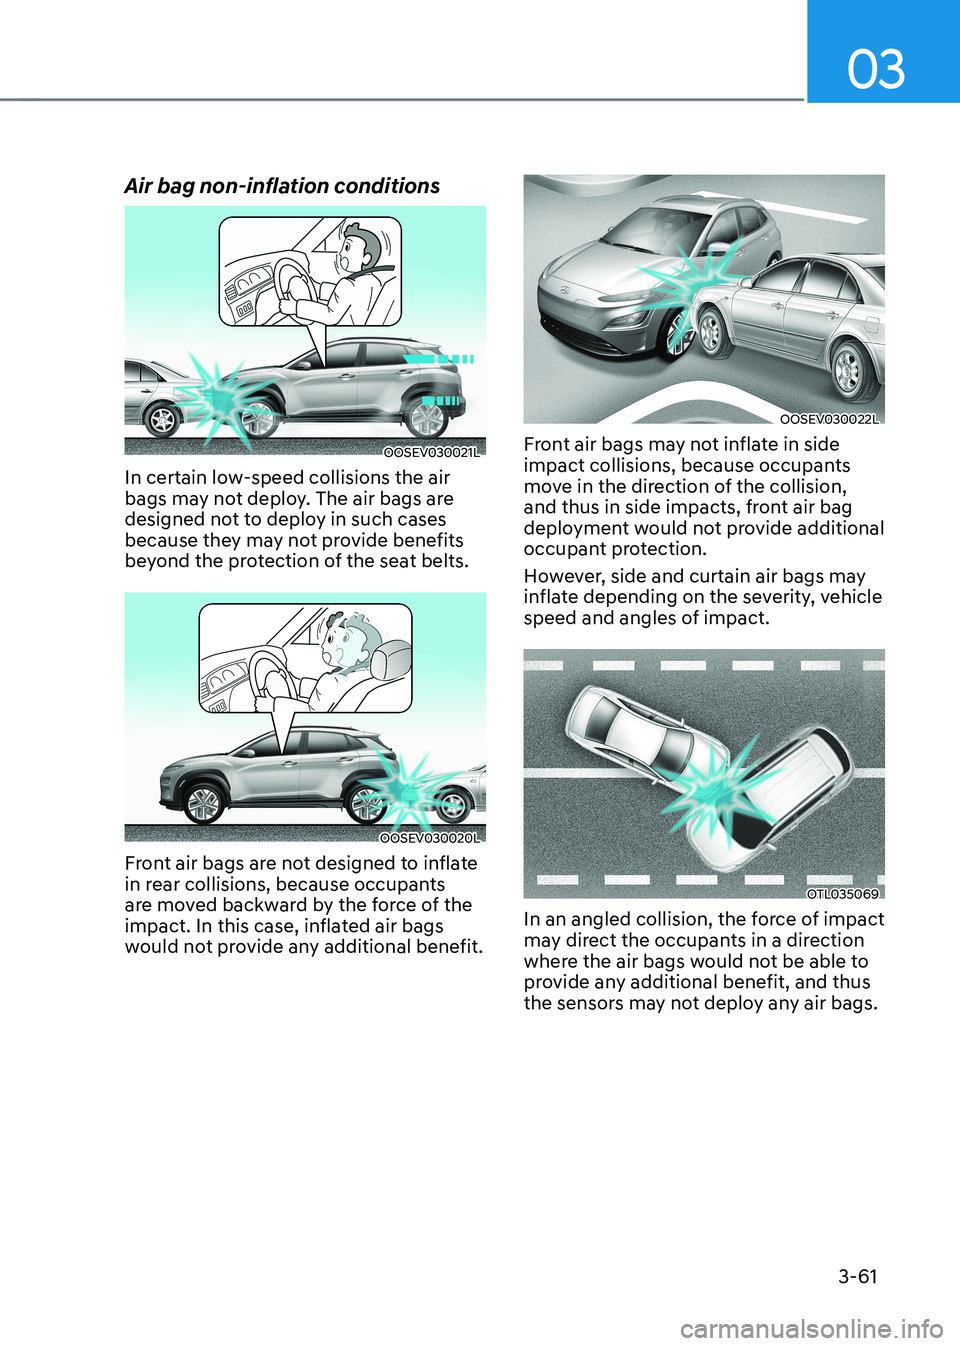
Air bag non-inflation conditions
OOSEV030021L
In certain low-speed collisions the air
bags may not deploy. The air bags are
designed not to deploy in such cases
because they may not provide benefits
beyond the protection of the seat belts.
OOSEV030020L
Front air bags are not designed to inflate
in rear collisions, because occupants
are moved backward by the force of the
impact. In this case, inflated air bags
would not provide any additional benefit.
OOSEV030022L
Front air bags may not inflate in side
impact collisions, because occupants
move in the direction of the collision,
and thus in side impacts, front air bag
deployment would not provide additional
occupant protection.
However, side and curtain air bags may
inflate depending on the severity, vehicle
speed and angles of impact.
OTL035069
In an angled collision, the force of impact
may direct the occupants in a direction
where the air bags would not be able to
provide any additional benefit, and thus
the sensors may not deploy any air bags.
Page 141 of 548
Safety system
3-62
OOSEV030023L
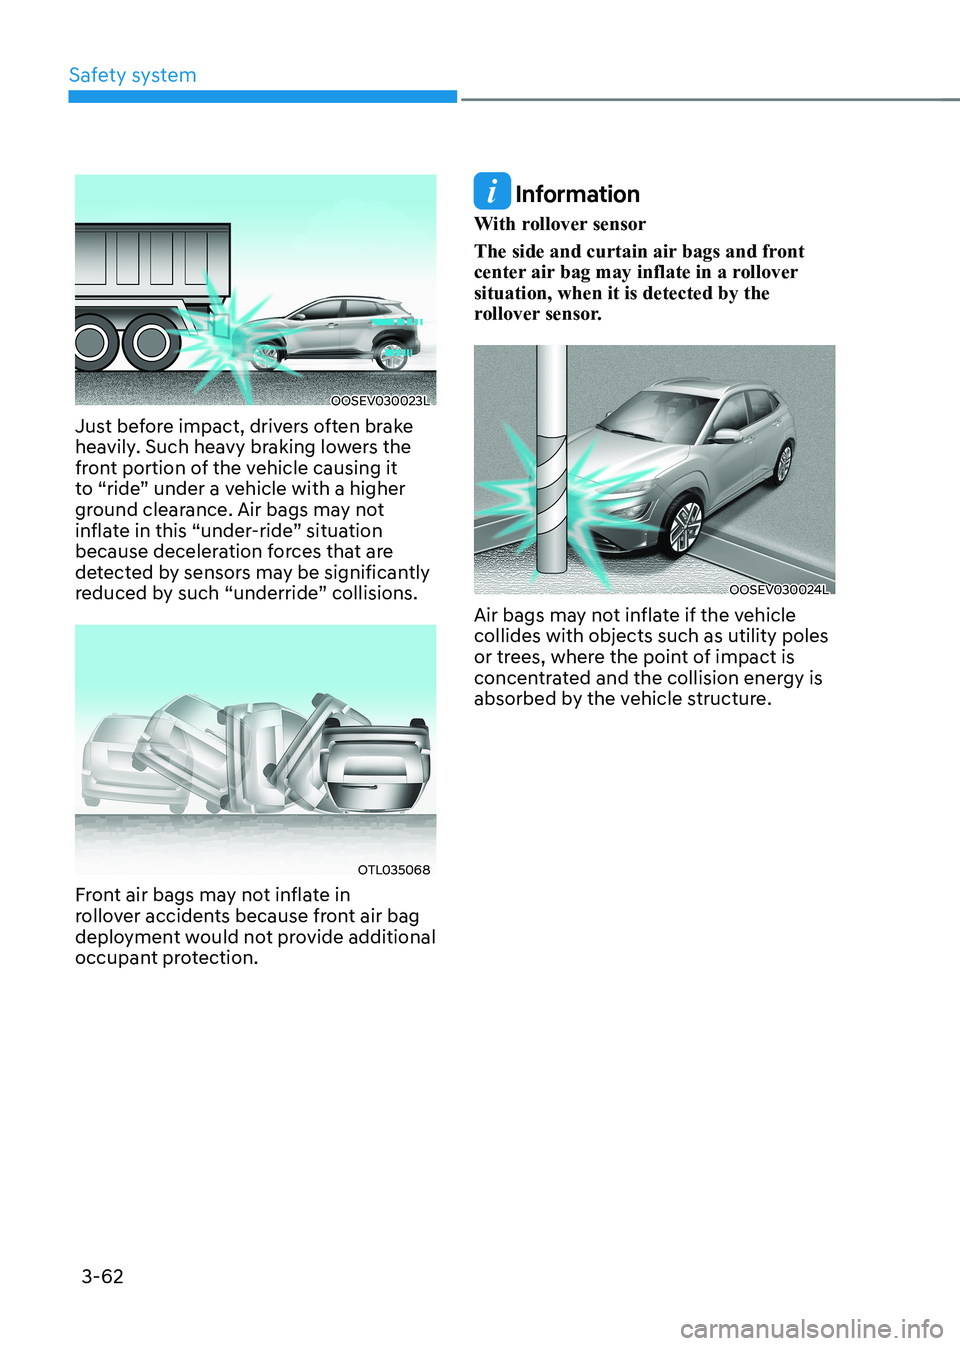
Just before impact, drivers often brake
heavily. Such heavy braking lowers the
front portion of the vehicle causing it
to “ride” under a vehicle with a higher
ground clearance. Air bags may not
inflate in this “under-ride” situation
because deceleration forces that are
detected by sensors may be significantly
reduced by such “underride” collisions.
OTL035068
Front air bags may not inflate in
rollover accidents because front air bag
deployment would not provide additional
occupant protection.
Information
With rollover sensor
The side and curtain air bags and front
center air bag may inflate in a rollover situation, when it is detected by the
rollover sensor.
OOSEV030024L
Air bags may not inflate if the vehicle collides with objects such as utility poles
or trees, where the point of impact is
concentrated and the collision energy is
absorbed by the vehicle structure.
Page 150 of 548
04
4 -7
Warning and indicator lights
Information
Make sure that all warning lights are OFF
after starting the vehicle. If any light is still ON, this indicates a situation that needs attention.
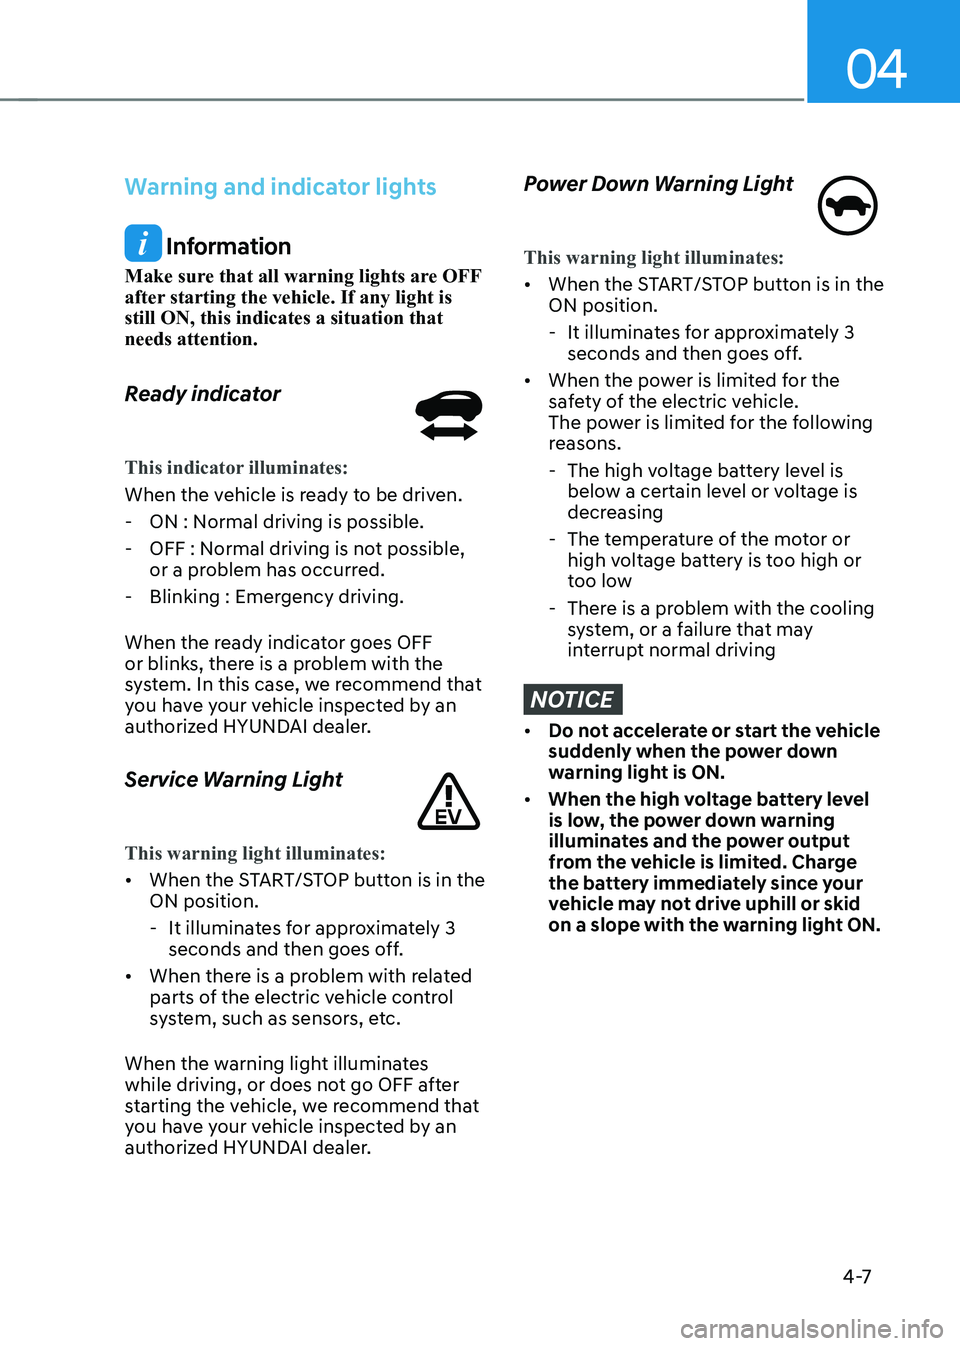
Ready indicator
This indicator illuminates:
When the vehicle is ready to be driven. - ON : Normal driving is possible.
- OFF : Normal driving is not possible, or a problem has occurred.
- Blinking : Emergency driving.
When the ready indicator goes OFF
or blinks, there is a problem with the
system. In this case, we recommend that
you have your vehicle inspected by an
authorized HYUNDAI dealer.
Service Warning Light
This warning light illuminates:
• When the START/STOP button is in the ON position.
- It illuminates for approximately 3 seconds and then goes off.
• When there is a problem with related
parts of the electric vehicle control
system, such as sensors, etc.
When the warning light illuminates
while driving, or does not go OFF after
starting the vehicle, we recommend that
you have your vehicle inspected by an
authorized HYUNDAI dealer.
Power Down Warning Light
This warning light illuminates:
• When the START/STOP button is in the ON position.
- It illuminates for approximately 3 seconds and then goes off.
• When the power is limited for the
safety of the electric vehicle.
The power is limited for the following
reasons.
- The high voltage battery level is below a certain level or voltage is
decreasing
- The temperature of the motor or high voltage battery is too high or
too low
- There is a problem with the cooling system, or a failure that may
interrupt normal driving
NOTICE
• Do not accelerate or start the vehicle
suddenly when the power down
warning light is ON.
• When the high voltage battery level
is low, the power down warning
illuminates and the power output
from the vehicle is limited. Charge
the battery immediately since your
vehicle may not drive uphill or skid
on a slope with the warning light ON.
Page 204 of 548
![HYUNDAI KONA EV 2023 Owners Manual Convenient features
5-20
Electric Chromic Mirror (ECM) (if equipped)
OOSEV048006L
[A] : Indicator
The electric chromic rearview mirror
automatically controls the glare from
the headlamp of the v HYUNDAI KONA EV 2023 Owners Manual Convenient features
5-20
Electric Chromic Mirror (ECM) (if equipped)
OOSEV048006L
[A] : Indicator
The electric chromic rearview mirror
automatically controls the glare from
the headlamp of the v](/manual-img/35/56170/w960_56170-203.png)
Convenient features
5-20
Electric Chromic Mirror (ECM) (if equipped)
OOSEV048006L
[A] : Indicator
The electric chromic rearview mirror
automatically controls the glare from
the headlamp of the vehicle behind
you in nighttime or low light driving
conditions. When the vehicle is ON, the
glare is automatically controlled by the
sensor mounted in the rearview mirror.
The sensor detects the light level around
the vehicle, and automatically adjusts
to control the headlamp glare from
vehicles behind you. Whenever the gear
is shifted to R (Reverse), the mirror will
automatically go to the brightest setting
in order to improve the driver’s view
behind the vehicle. Electrochromic mirror (ECM) with
HomeLink® system and Genesis
Connected Service (if equipped)
Your vehicle may be equipped with
a Gentex Automatic-Dimming Mirror
with an Integrated HomeLink® Wireless
Control System.
During nighttime driving, this feature will
automatically detect and help reduce
rearview mirror glare. The HomeLink®
Universal Transceiver allows you to
activate your garage door(s), electric
gate, home lighting, etc.
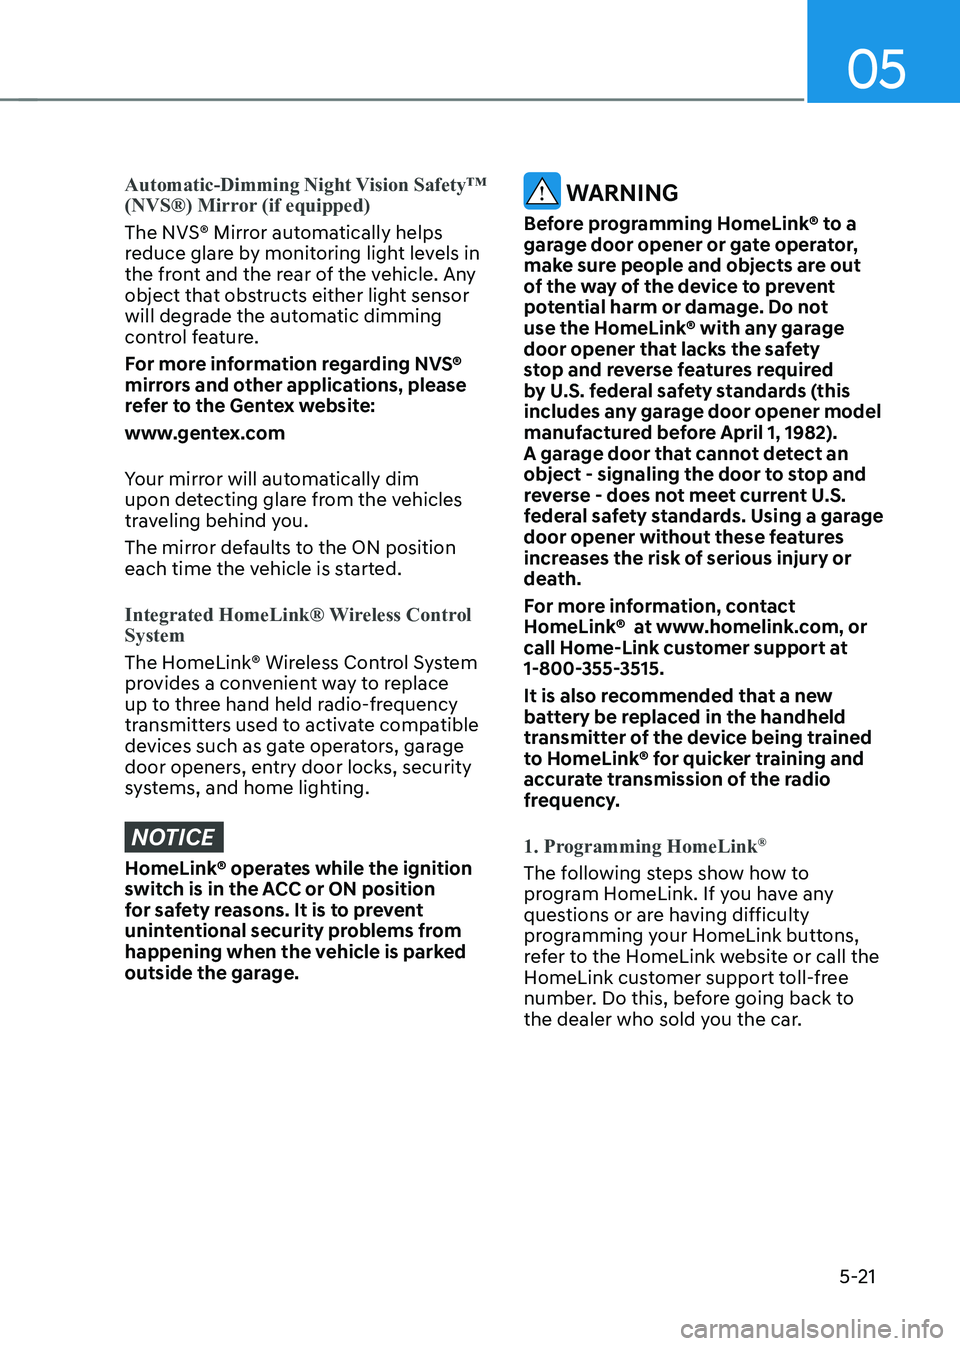
OOS040477N
(1) HomeLink Channel 1
(2) HomeLink Channel 2
(3) HomeLink Channel 3
(4) Garage Door Opener Status Indicator : Closing or Closed
(5) HomeLink Operation Indicator
(6) Garage Door Opener Status Indicator : Opening or Opened
(7) HomeLink User Interface Indicator
Page 205 of 548
05
5-21
Automatic-Dimming Night Vision Safety™
(NVS®) Mirror (if equipped)
The NVS® Mirror automatically helps
reduce glare by monitoring light levels in
the front and the rear of the vehicle. Any
object that obstructs either light sensor
will degrade the automatic dimming
control feature.
For more information regarding NVS®
mirrors and other applications, please
refer to the Gentex website:
www.gentex.com
Your mirror will automatically dim
upon detecting glare from the vehicles
traveling behind you.
The mirror defaults to the ON position
each time the vehicle is started.
Integrated HomeLink® Wireless Control System
The HomeLink® Wireless Control System
provides a convenient way to replace
up to three hand held radio-frequency
transmitters used to activate compatible
devices such as gate operators, garage
door openers, entry door locks, security
systems, and home lighting.
NOTICE
HomeLink® operates while the ignition
switch is in the ACC or ON position
for safety reasons. It is to prevent
unintentional security problems from
happening when the vehicle is parked
outside the garage.
WARNING
Before programming HomeLink® to a
garage door opener or gate operator,
make sure people and objects are out
of the way of the device to prevent
potential harm or damage. Do not
use the HomeLink® with any garage
door opener that lacks the safety
stop and reverse features required
by U.S. federal safety standards (this
includes any garage door opener model
manufactured before April 1, 1982).
A garage door that cannot detect an
object - signaling the door to stop and
reverse - does not meet current U.S.
federal safety standards. Using a garage
door opener without these features
increases the risk of serious injury or
death.
For more information, contact
HomeLink® at www.homelink.com, or
call Home-Link customer support at
1-800-355-3515.
It is also recommended that a new
battery be replaced in the handheld
transmitter of the device being trained
to HomeLink® for quicker training and
accurate transmission of the radio
frequency.
1. Programming HomeLink ®
The following steps show how to
program HomeLink. If you have any
questions or are having difficulty
programming your HomeLink buttons,
refer to the HomeLink website or call the
HomeLink customer support toll-free
number. Do this, before going back to
the dealer who sold you the car.
Page 232 of 548
Convenient features
5-48
Exterior lights
Lighting control
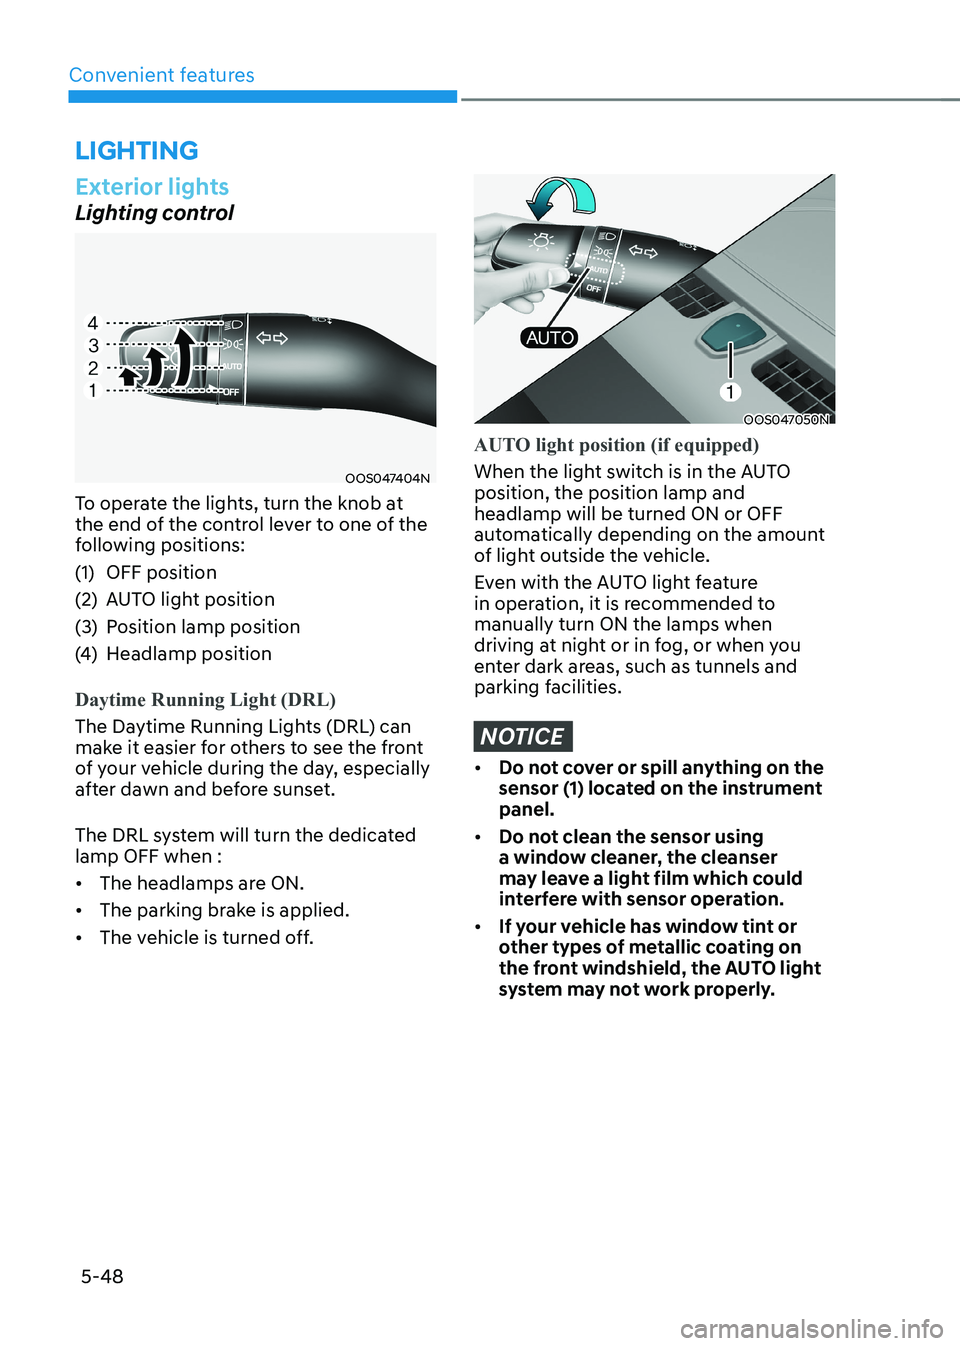
OOS047404N
To operate the lights, turn the knob at
the end of the control lever to one of the
following positions:
(1) OFF position
(2) AUTO light position
(3) Position lamp position
(4) Headlamp position
Daytime Running Light (DRL)
The Daytime Running Lights (DRL) can
make it easier for others to see the front
of your vehicle during the day, especially
after dawn and before sunset.
The DRL system will turn the dedicated lamp OFF when : • The headlamps are ON.
• The parking brake is applied.
• The vehicle is turned off.
OOS047050N
AUTO light position (if equipped)
When the light switch is in the AUTO position, the position lamp and headlamp will be turned ON or OFF
automatically depending on the amount
of light outside the vehicle.
Even with the AUTO light feature
in operation, it is recommended to manually turn ON the lamps when
driving at night or in fog, or when you
enter dark areas, such as tunnels and
parking facilities.
NOTICE
• Do not cover or spill anything on the
sensor (1) located on the instrument panel.
• Do not clean the sensor using
a window cleaner, the cleanser
may leave a light film which could
interfere with sensor operation.
• If your vehicle has window tint or
other types of metallic coating on
the front windshield, the AUTO light
system may not work properly.
lighting
Page 239 of 548
05
5-55
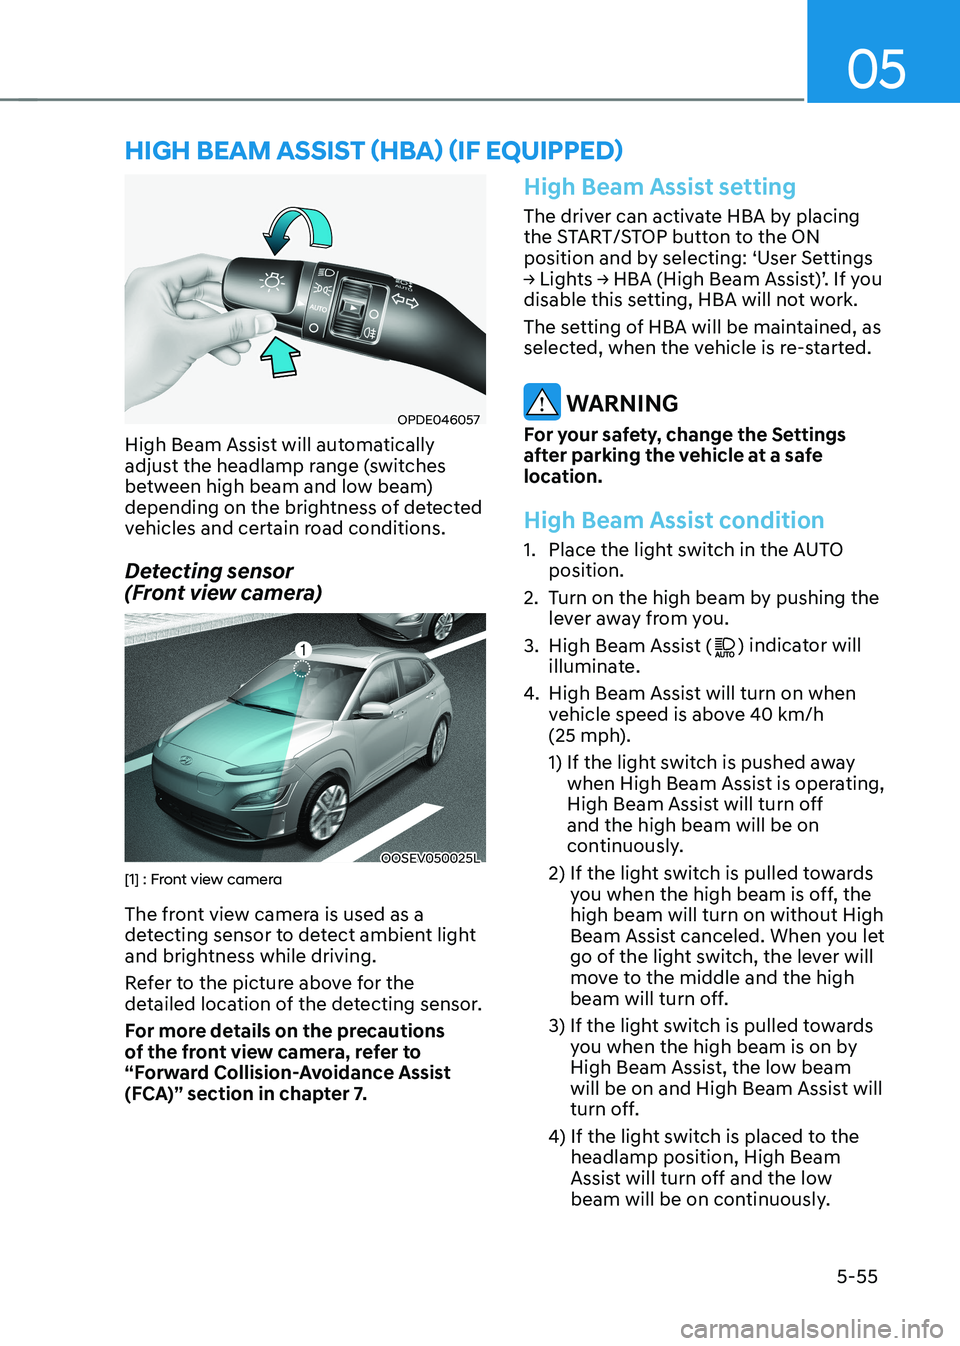
OPDE046057
High Beam Assist will automatically
adjust the headlamp range (switches
between high beam and low beam)
depending on the brightness of detected
vehicles and certain road conditions.
Detecting sensor
(Front view camera)
OOSEV050025L[1] : Front view camera
The front view camera is used as a
detecting sensor to detect ambient light
and brightness while driving.
Refer to the picture above for the
detailed location of the detecting sensor.
For more details on the precautions
of the front view camera, refer to
“Forward Collision-Avoidance Assist
(FCA)” section in chapter 7.
High Beam Assist setting
The driver can activate HBA by placing
the START/STOP button to the ON
position and by selecting: ‘User Settings
→ Lights → HBA (High Beam Assist)’. If you
disable this setting, HBA will not work.
The setting of HBA will be maintained, as
selected, when the vehicle is re-started.
WARNING
For your safety, change the Settings
after parking the vehicle at a safe
location.
High Beam Assist condition
1. Place the light switch in the AUTO position.
2. Turn on the high beam by pushing the lever away from you.
3. High Beam Assist (
) indicator will
illuminate.
4. High Beam Assist will turn on when
vehicle speed is above 40 km/h
(25 mph).
1) If the light switch is pushed away
when High Beam Assist is operating,
High Beam Assist will turn off and the high beam will be on
continuously.
2) If the light switch is pulled towards you when the high beam is off, the high beam will turn on without High
Beam Assist canceled. When you let
go of the light switch, the lever will
move to the middle and the high
beam will turn off.
3) If the light switch is pulled towards you when the high beam is on by
High Beam Assist, the low beam
will be on and High Beam Assist will
turn off.
4) If the light switch is placed to the headlamp position, High Beam
Assist will turn off and the low
beam will be on continuously.
high Beam assisT (hBa) (if equipped)